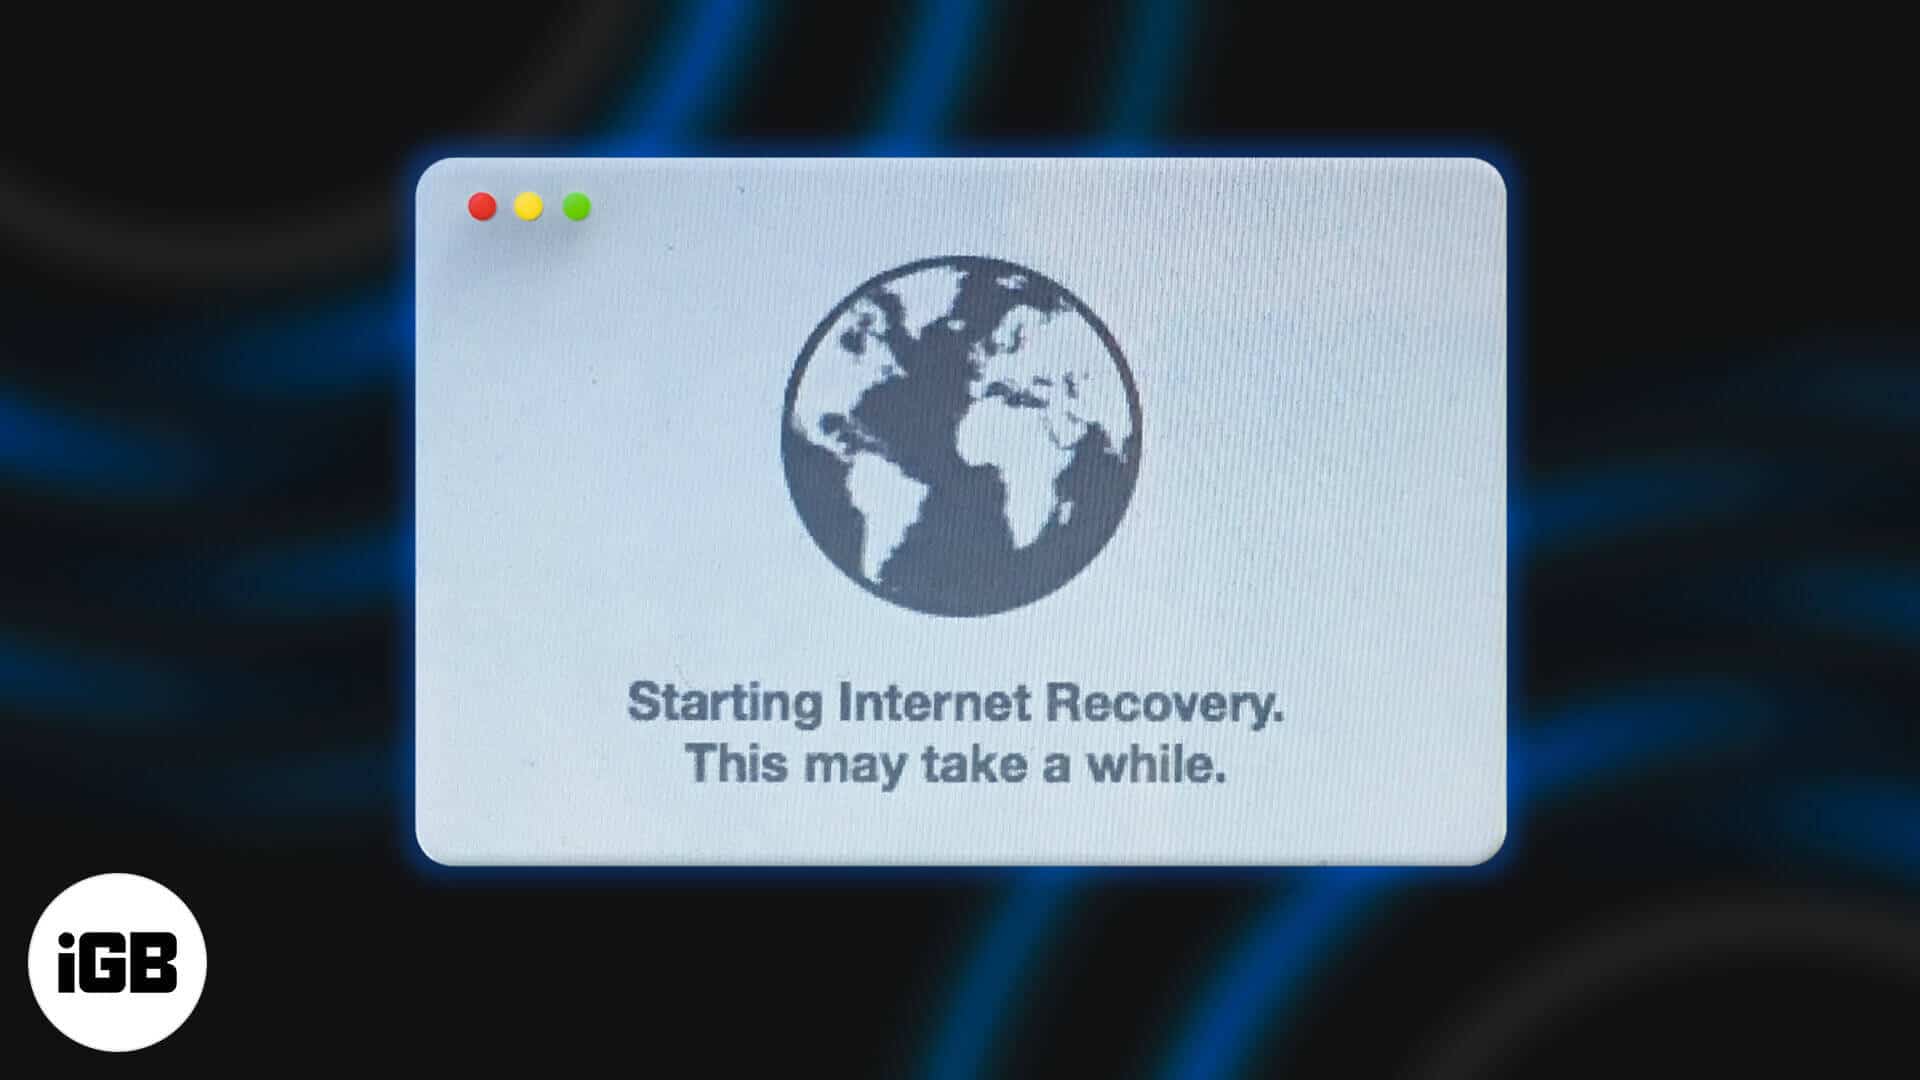
When the Mac cannot start with the built-in macOS Recovery system, you have the option of doing the same over the internet. In this, the computer fetches the requisites for performing the recovery directly from Apple servers. Once that’s done, you can reinstall macOS, restore from Time Machine backup, fix disk issues, etc. So, here’s more about it and how to start up your Mac in Internet Recovery mode.

What Does Internet Recovery Do on Mac?
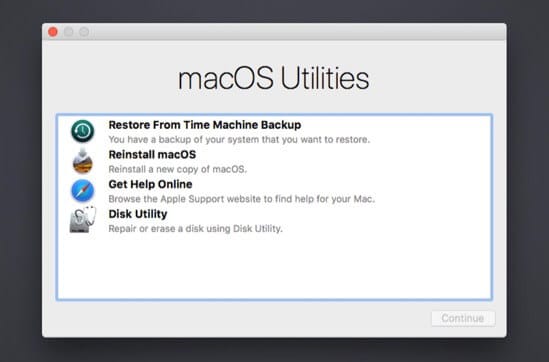
As mentioned above, Internet Recovery comes to rescue when normal recovery isn’t available. You can perform the same actions with this. They are:
- Restore from Time Machine Backup
- Reinstall macOS
- Get Help Online: In this Safari browser will open so that you can use the web. However, Safari Extensions would be disabled.
- Disk Utility: For erasing, repairing disks, etc.
Which Macs Are Compatible with Internet Recovery Mode
All modern Macs have the option of Internet recovery. In fact, older models released even in 2010 or 2011 can use Internet recovery after a firmware update.
How to Enter Internet Recovery Mode on Mac
If the inbuilt recovery isn’t working correctly, and you switch on the Mac, it will automatically start recovery via the internet. But you can force this as well via the steps below.
- Restart or power on your Mac using the power button and immediately press and hold the Command (⌘) + Option (⌥) + R keys.
- Leave the keys when you see the spinning globe icon on the screen.
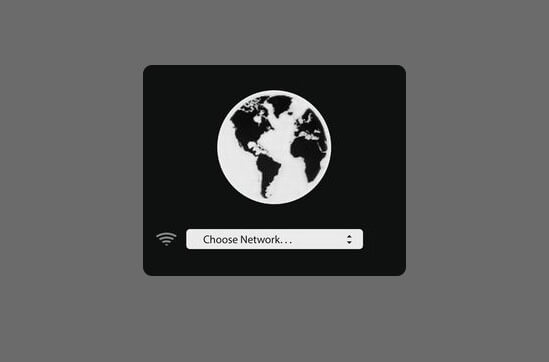
- If you are not using a wired connection, click on Choose Network and connect to a Wi-Fi.
- After things are set, you will see a progress bar below the spinning globe. Let the process finish uninterpreted.
Once it completes, you will see the macOS recovery screen. From here, you can choose one of the four primary options – Restore from Time Machine Backup, Reinstall macOS, Get Help Online, and Disk Utility.

What to Do When Internet Recovery Doesn’t Work?
If the internet recovery is not successful, you will see a globe icon with an exclamation mark inside. You may also see a number below it like -143. If this happens, follow the recommendations below.
- Ensure the network uses WPA (Wireless Protected Access), WPA2, or WEP (Wired Equivalent Privacy) security. Most home and office networks already do.
- Switch to a different Wi-Fi. Make sure VPN is not connected at the router level.
- Use Ethernet (recommended).
- Try after some time.
- Restart your Mac and immediately press Command + R. See if the built-in Recovery system is working or not.
- Create a bootable drive and try to install macOS using this.
Signing Off
This is how you can start your Mac in Internet Recovery mode. I hope this short guide helped you fix the problem related to your machine.
In case you have questions or additional suggestions, please make use of the comments box below.
READ NEXT:


