At times, we end up in situations where we need to inform friends or family members about our current location. Thankfully, Apple Maps offers a simple and effective solution with its Share My Location feature. In this article, we’ll explore all the possible ways to share live locations using Apple Maps on iPhone, iPad, and Mac.
How to share live location using Apple Maps on iPhone and iPad
Since there are so many methods revolving around this idea, many users still wonder what’s the best way to share live locations via Apple Maps. Hence, today, we’ll discuss them all so you can find the most optimal method.
Method 1: Using Home Screen quick actions
- Long press the Apple Maps app icon on your iPhone.
- Tap Share My Location.
- If prompted, allow the app to access your live location.
You can either grant access at all times or only when the app is in use. - Now, simply select a medium you desire to share your live location.
- Follow the on-screen instructions and complete the process by hitting Send.
Method 2: From Apple Maps
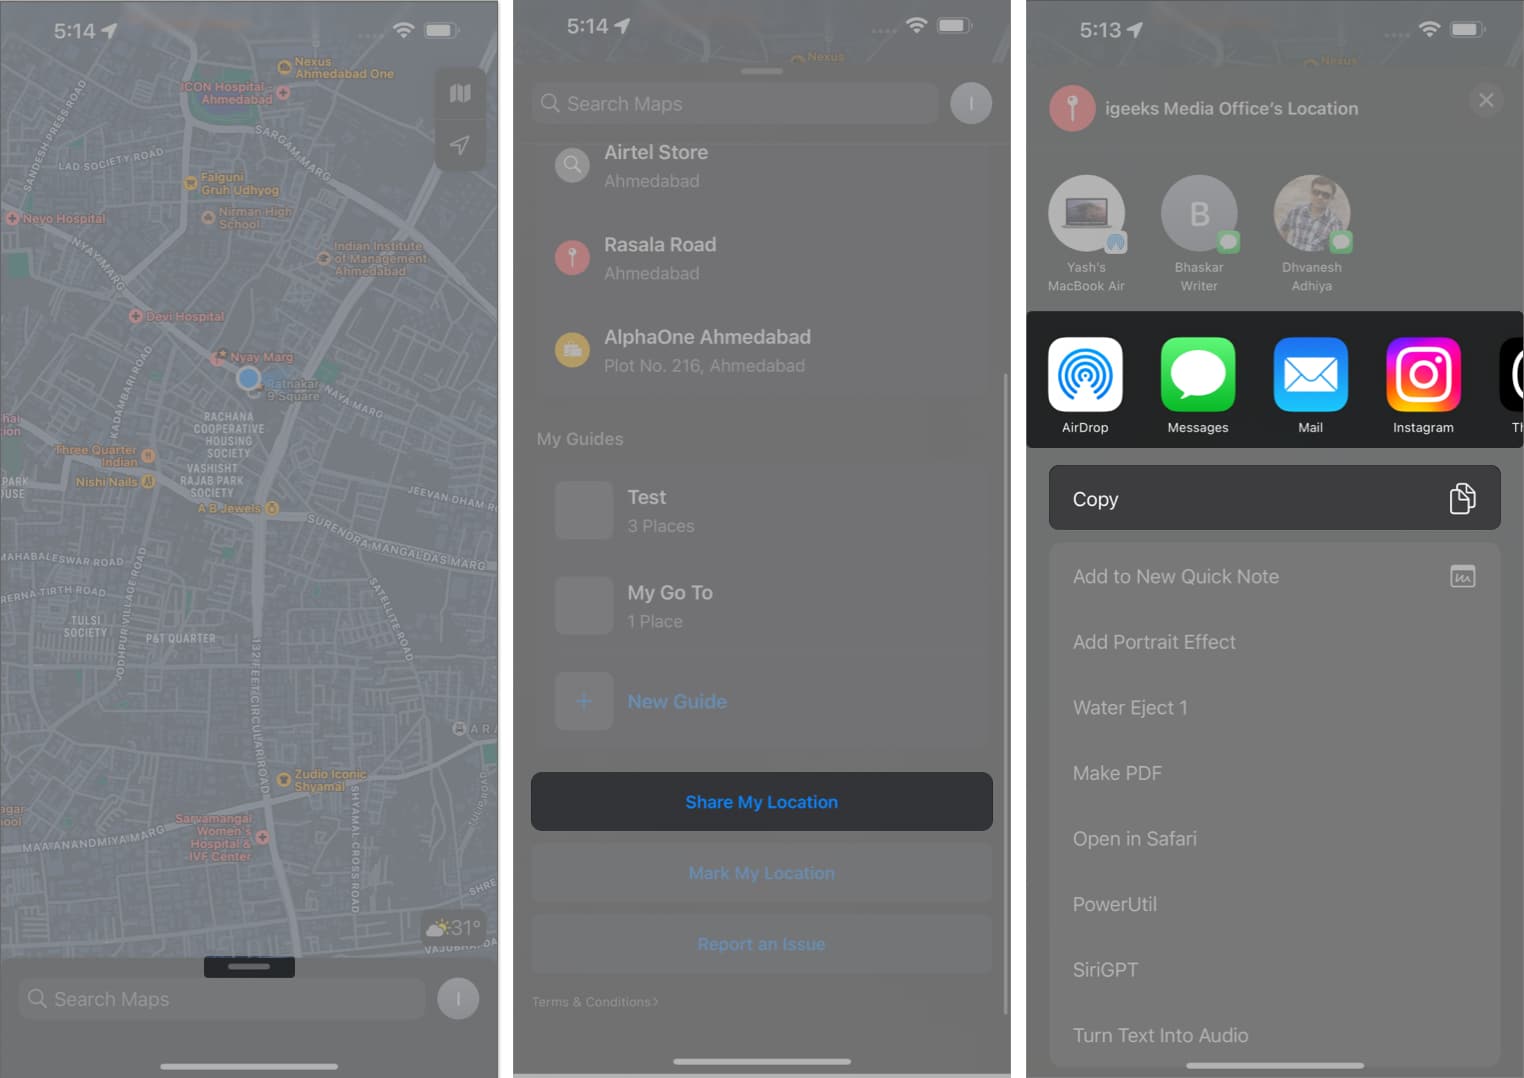
- Launch Apple Maps on your iPhone.
- Swipe up the map controls menu.
- Scroll down and select Share My Location.
- Now, you can share your location via any medium of your choice.
- Follow the on-screen instructions and complete the process by hitting Send.
Method 3: Sharing your pin from Apple Maps
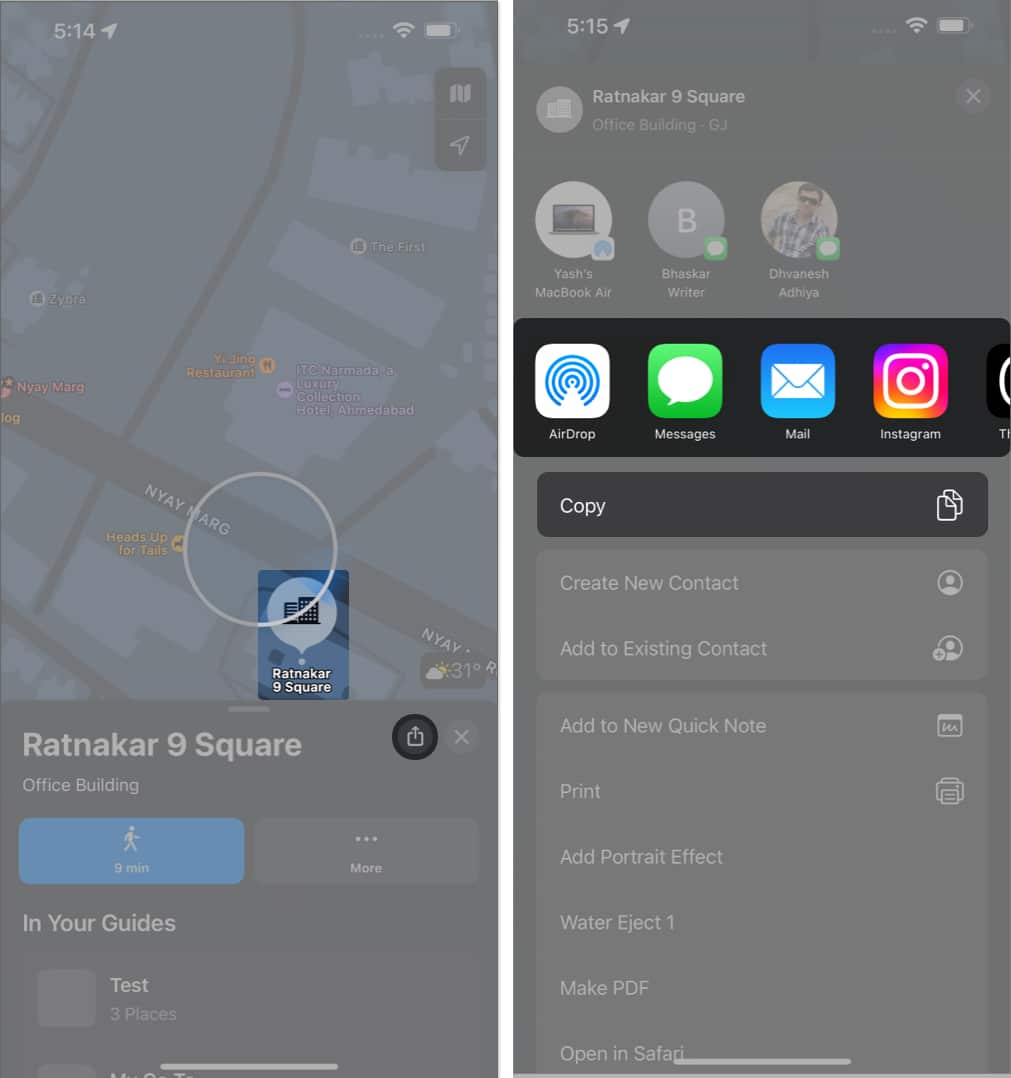
- Access Apple Maps on your iPhone.
- Drop the pin on the location you want to share.
- When prompted, choose the Share icon.
- As usual, select a medium through which you want to transfer your location.
Follow the on-screen instructions and hit Send to complete the process.
How to share live location using Apple Maps on Mac
Sharing live locations using Apple Maps on iPhone is easy. With Mac, it gets easier.
Method 1:
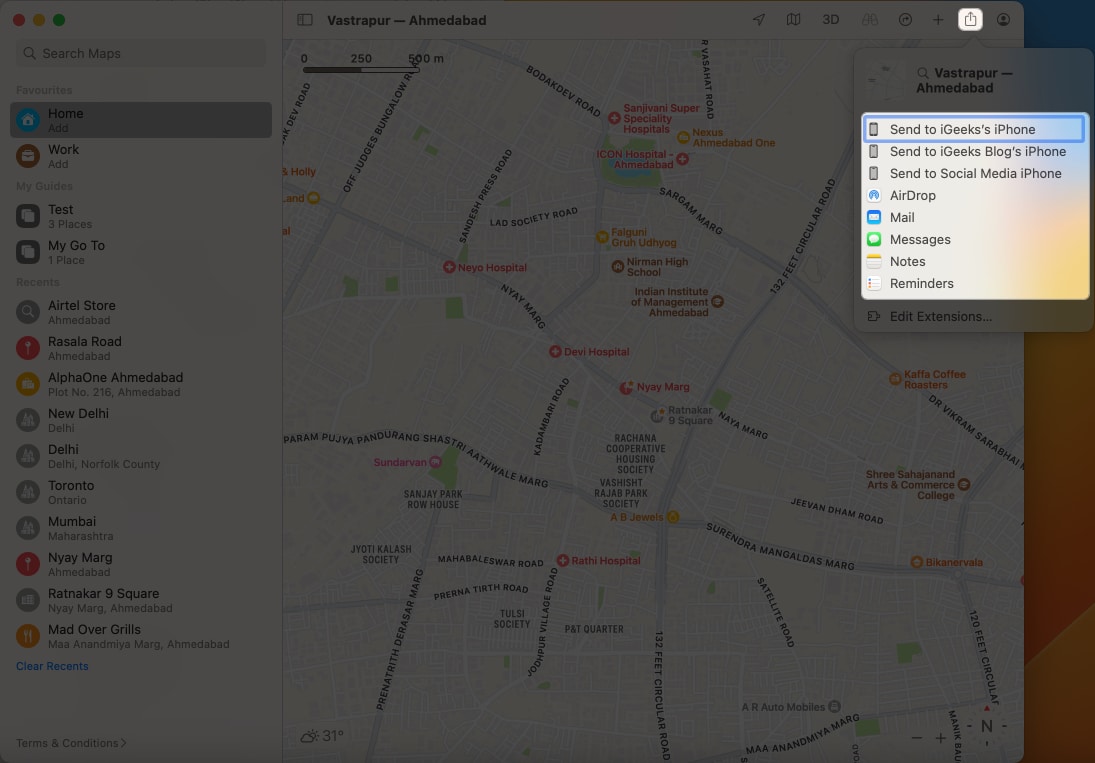
- Access Apple Maps on your Mac.
- Click the Share icon from the top-right corner of the screen.
- Choose a medium of your preference.
Too easy to be true? Well, don’t worry. By follow the above-mentioned steps, Apple Maps will automatically fetch and share your live location by default!
Method 2:
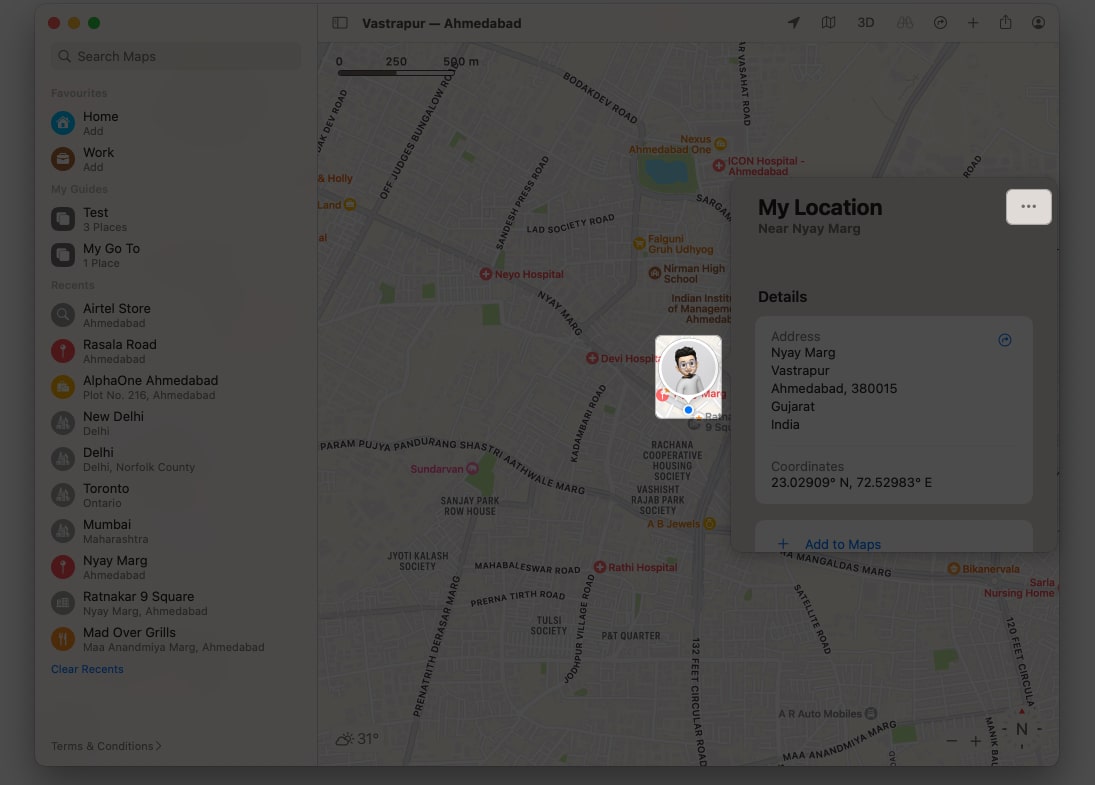
- Launch Apple Maps on your Mac.
- Click the location of your choice.
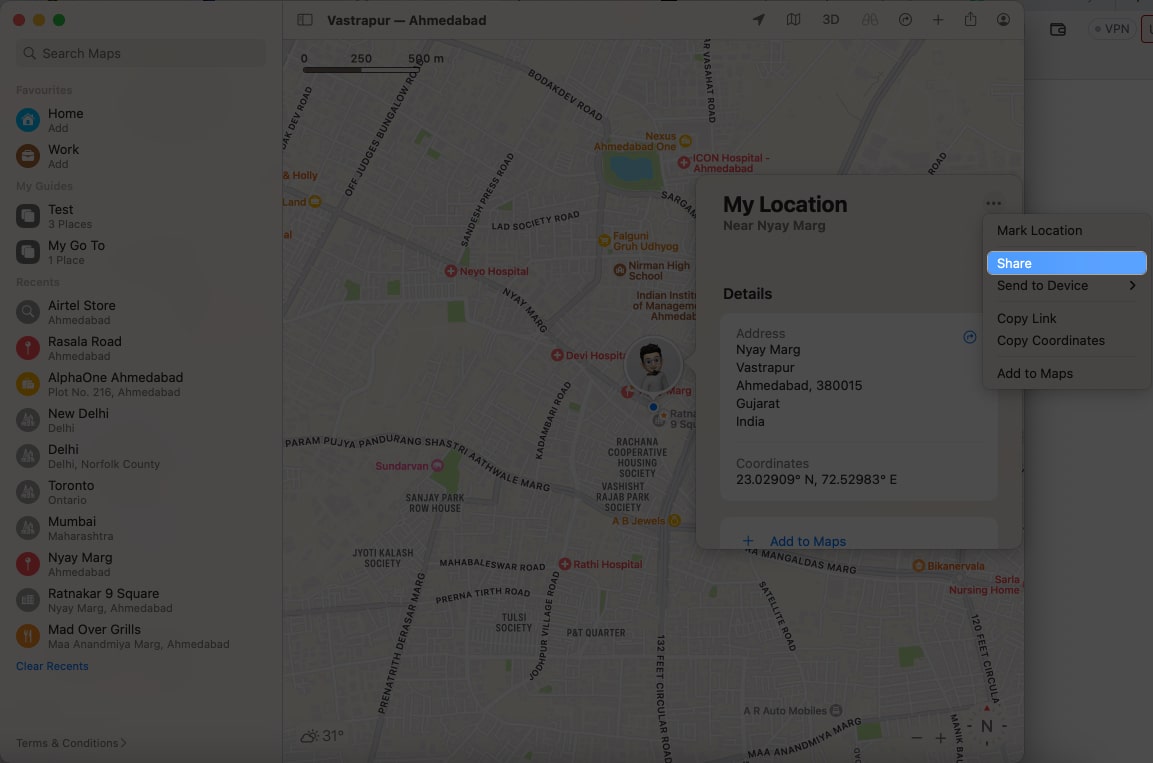
- As the pop-up menu appears, select the three-dot icon.
- Now hit Share to directly share your location.
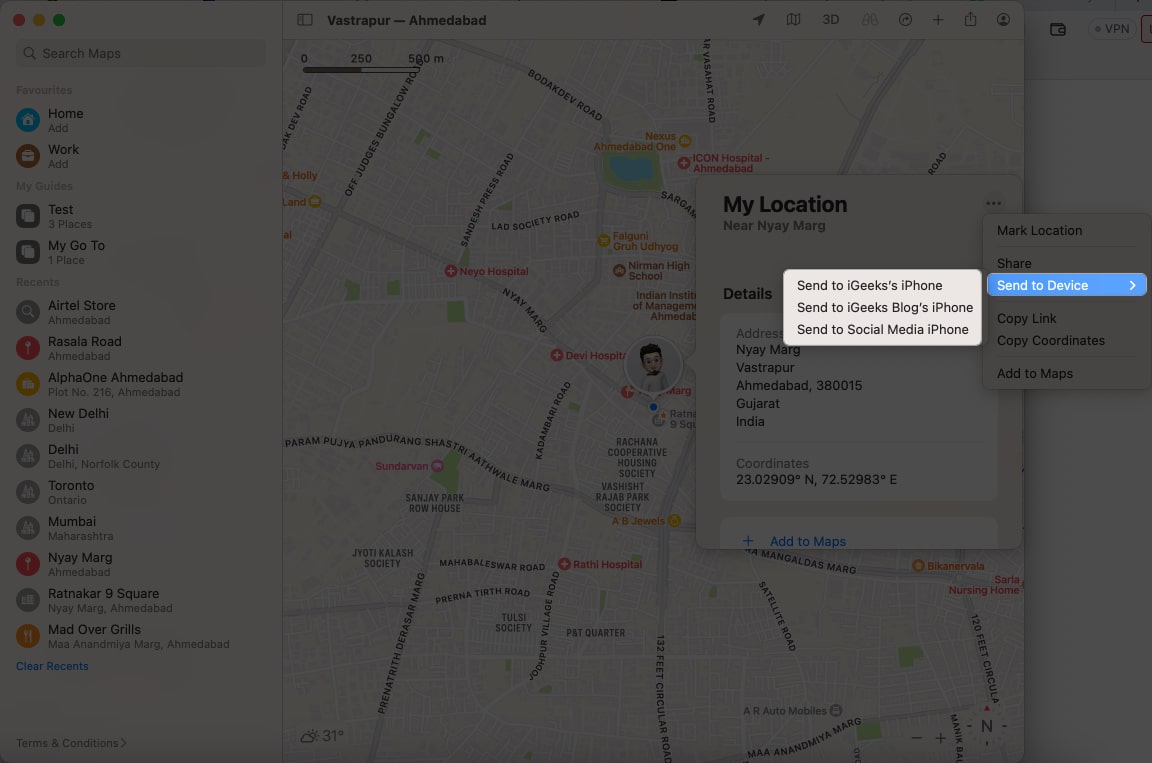
- You can further share it with any of the connected devices via Airdrop.
- Simply click Share to Device and select your paired device.
It’s that simple.
Yes, you can share your live location with someone who doesn’t have an Apple device. When you share your live location using Apple Maps, the recipient will receive a link that can be opened on any device with a web browser.
Yes, Apple Maps allows you to share your location regardless of the power-saving settings on your devices.
Stay connected, stay safe!
Now, as we bring this location-sharing odyssey to an end, you now possess the key to unlock a world of connected experiences through Apple Maps. From enabling peace of mind for your loved ones to enhancing group adventures, the ability to share your live location opens up endless possibilities.
Thank you for reading. Please take a moment to leave your thoughts in the comment section below.
Read more:


