Apple has stopped supporting Safari for Windows for quite some time, and there are no updates, bug fixes, or patches available. Besides that, using older versions of Safari on PC might invite malware from certain websites. Given the risk, it is not really advisable to download and use Safari on Windows for regular users.
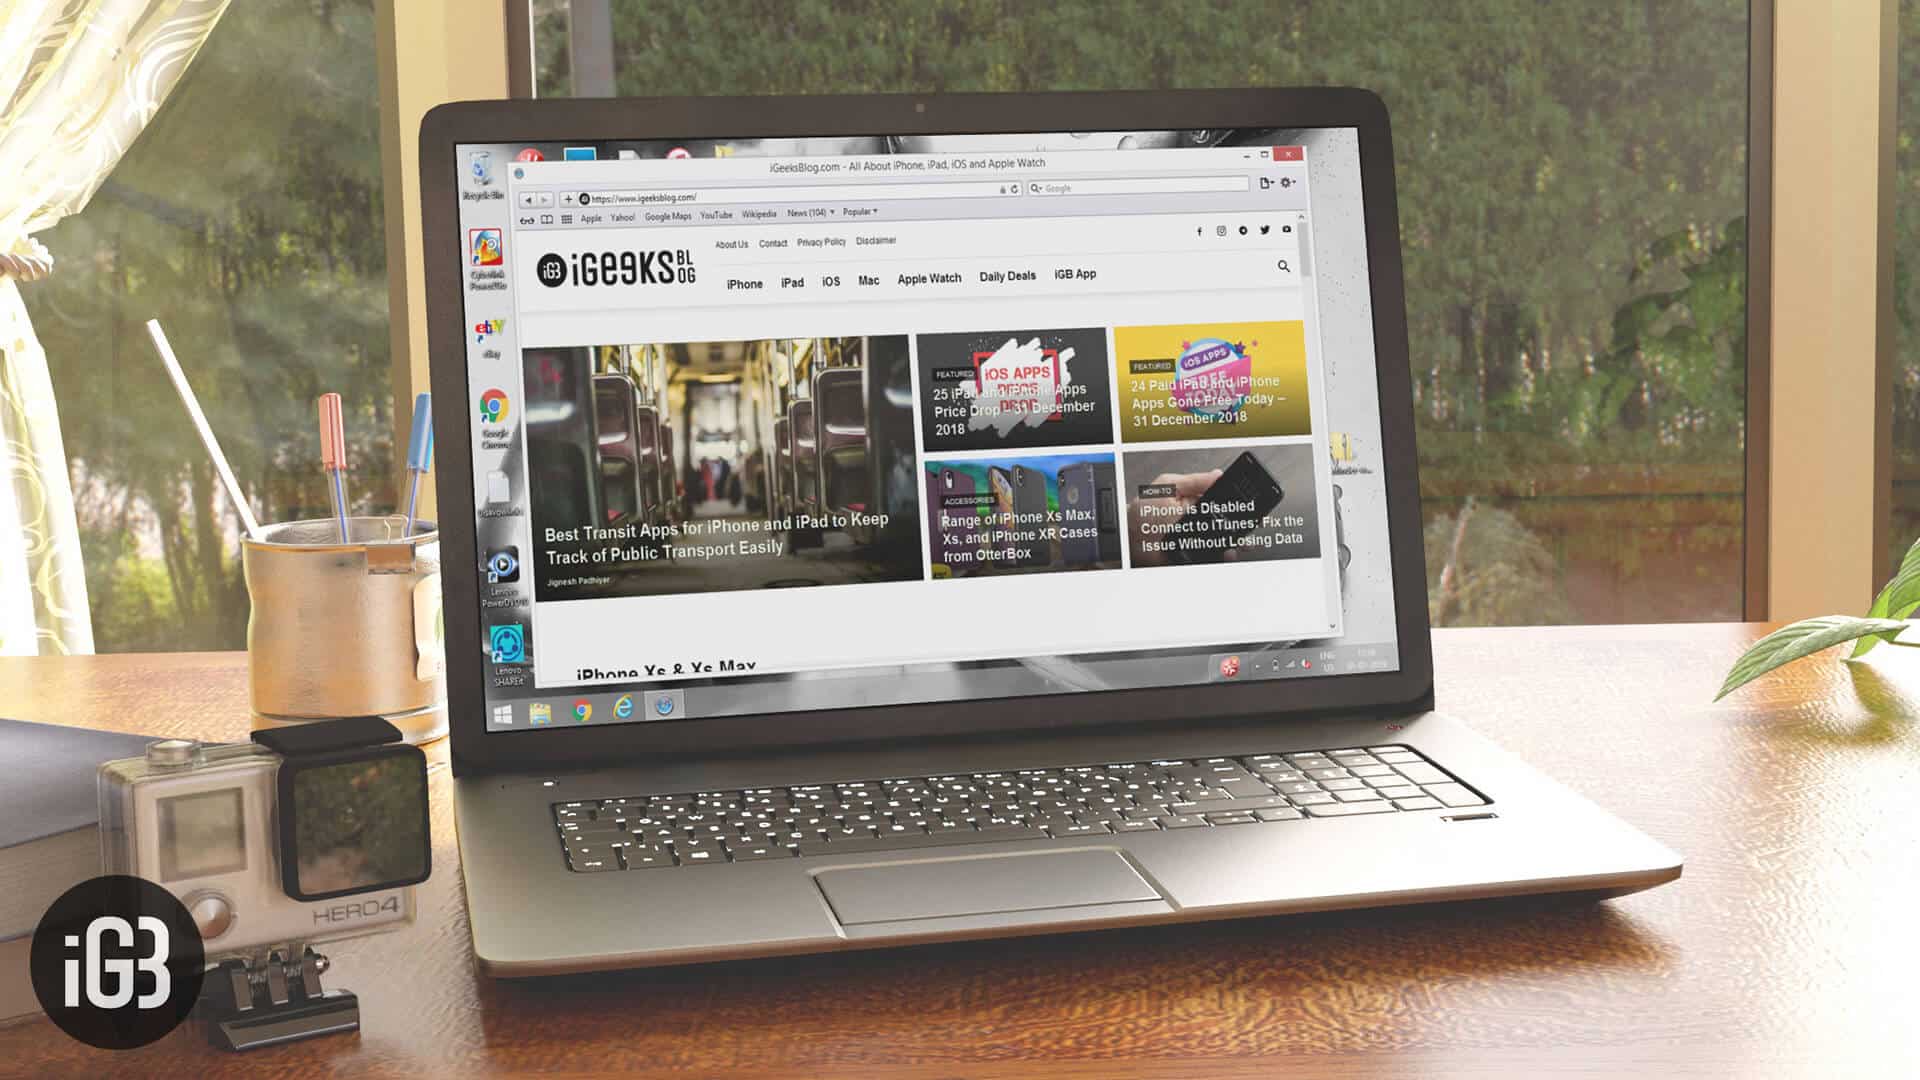
Just in case if you are a developer, designer, or a UI tester, you will need to check browser compatibility for your project. This is where downloading and using Safari on Windows becomes inevitable. There are two ways to use Safari on Windows PC:
- Using an older version of Safari by downloading the executable file
- Using online service to use Safari with Mac OS X environment
We will discuss both of them in details, keep reading.
How to Install and Use Safari Browser on Windows PC
Step #1. On your Windows PC, download Safari by clicking here.
Step #2. Depending on the browser you are using; you might be prompted to Save the file, or it will automatically start downloading the file without prompting.

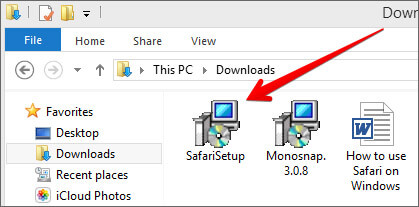
Step #3. After the download is completed, double click it and go through the installation process.
Step #4. Once the installation is completed, you can launch it and start browsing as usual.
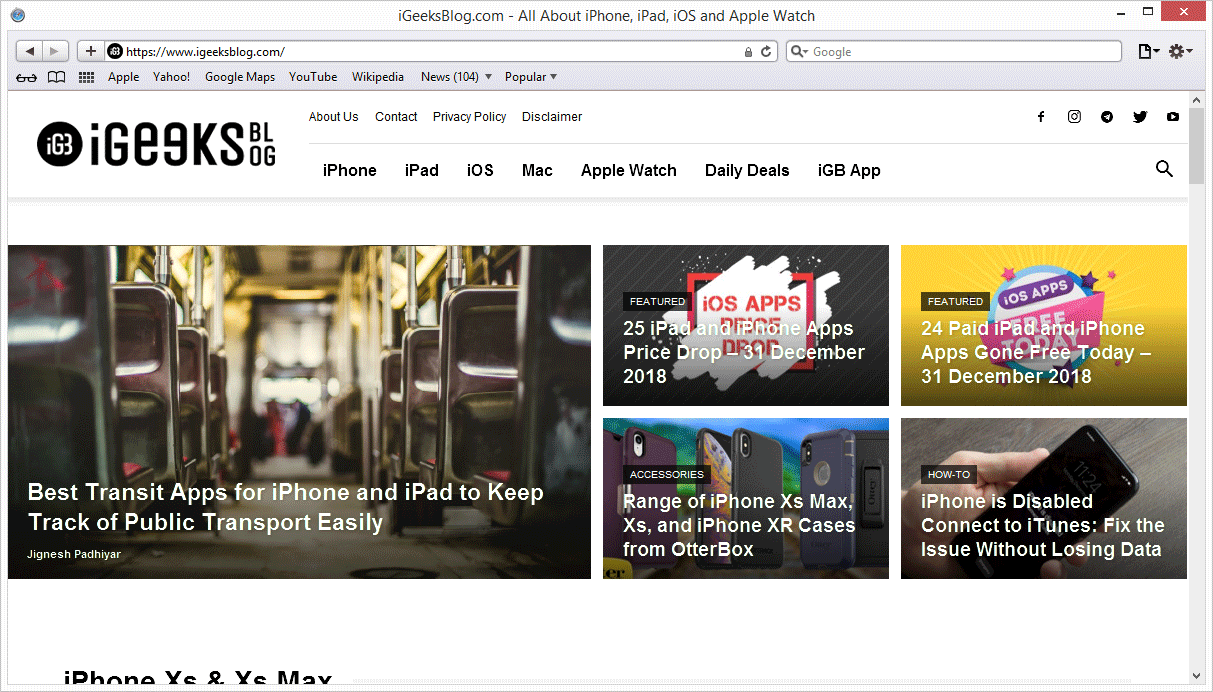
That’s it! You are now ready to experience the Apple touch on your Windows PC. Reiterating the risk, make sure you do not do any important things on the Safari-like accessing your bank accounts, making payments, buying things from Amazon or other websites that need your personal information.
This version of Safari is quite old and is prone to many web vulnerabilities that have already been fixed in modern browsers. Unless and until it is critically inevitable, we strongly discourage users to use Safari on Windows PC.
Besides security concerns, there are not many plugins available for the older version of Safari, which is easily available on Firefox and Google Chrome.
How to Use Safari on Windows PC using Online Service
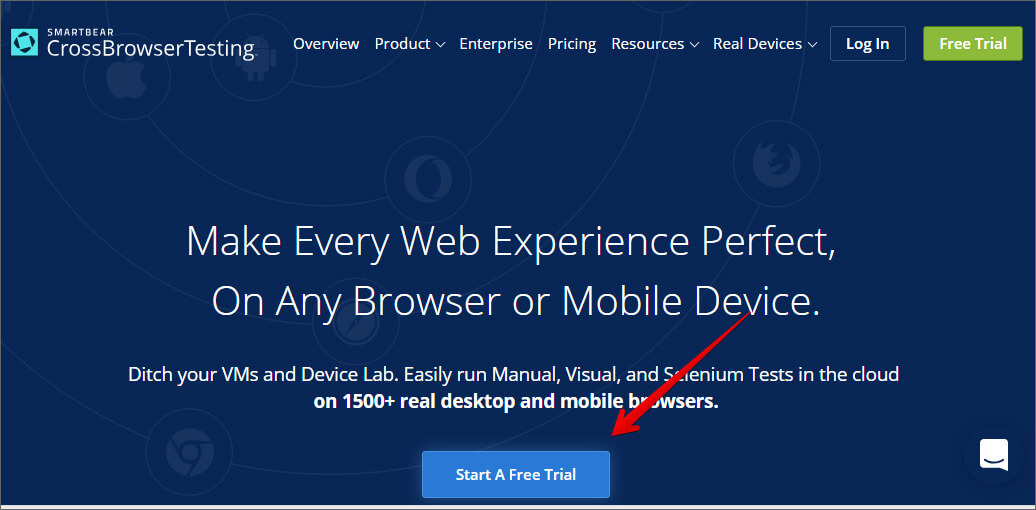
Step #1. Open Crossbrowsertesting.com on any of the browser in your Windows PC.
Step #2. Create a free account with the site and log in.
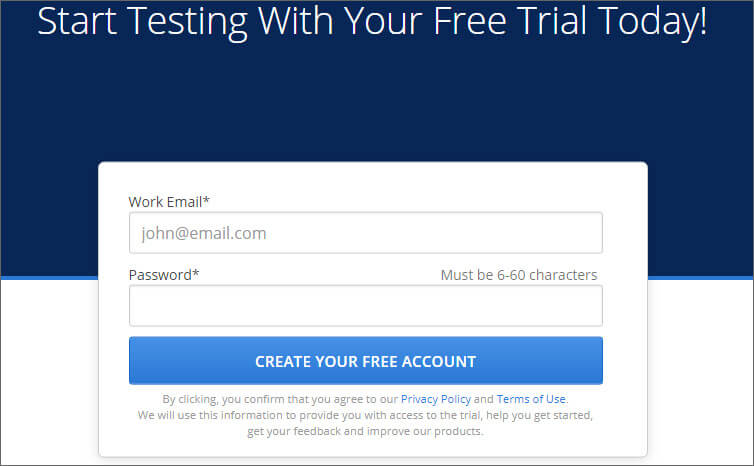
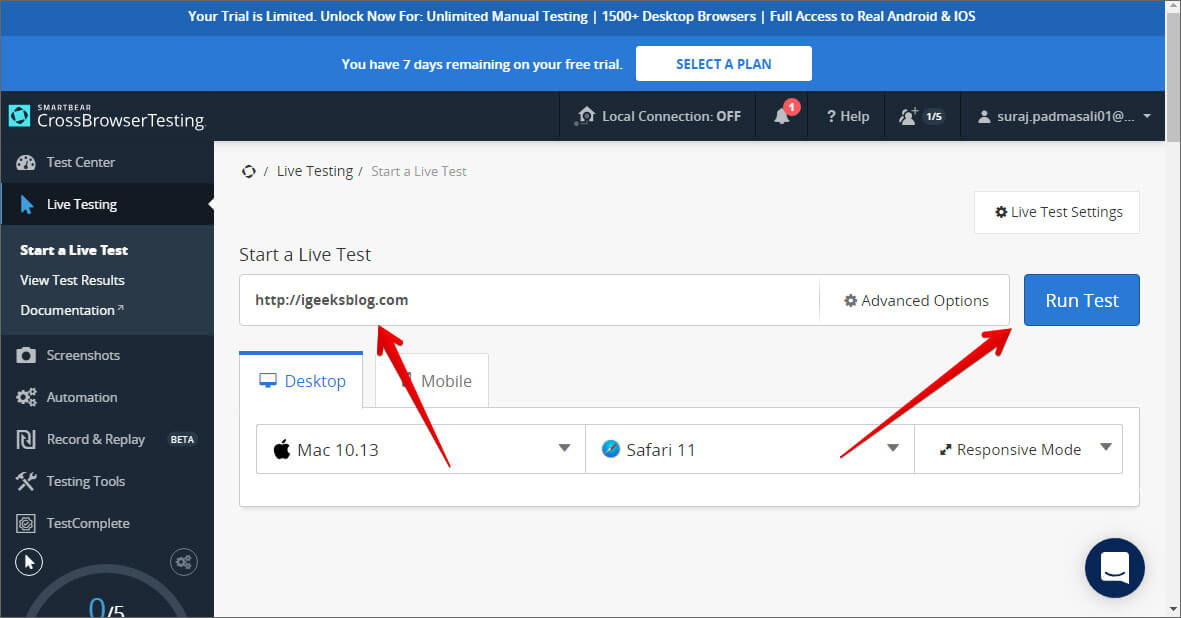
Step #3. From the left menu, hover your mouse pointer on “Live Testing” option and then click on “Start a Live Test.”
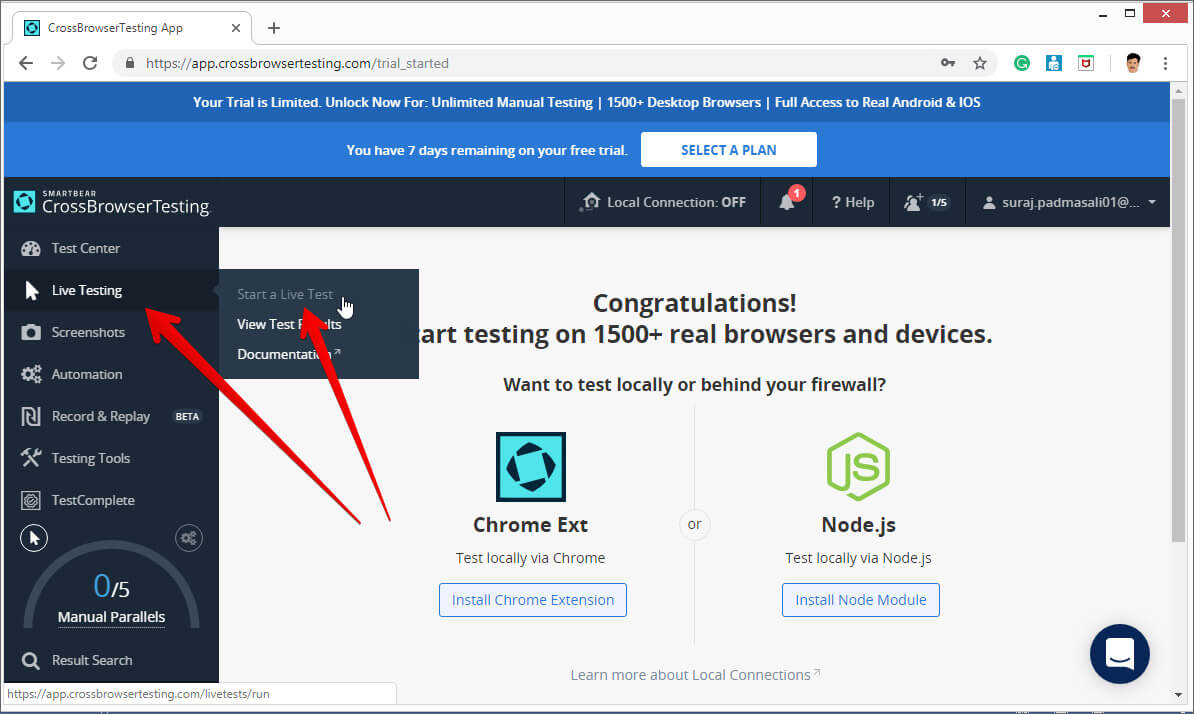
Step #4. On the right, under the “Desktop” tab, click on the drop-down menu and then click on the Mac OSX version.
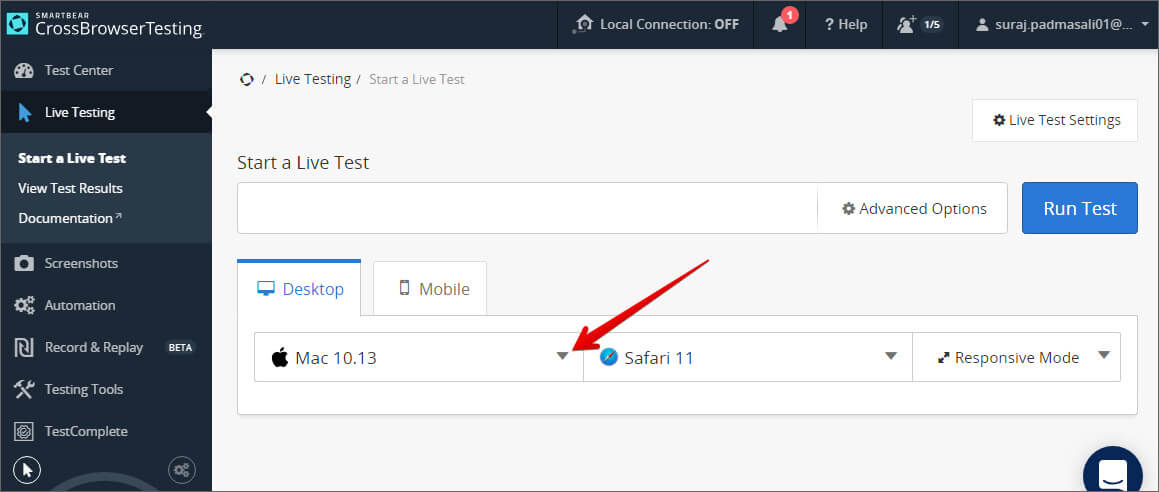
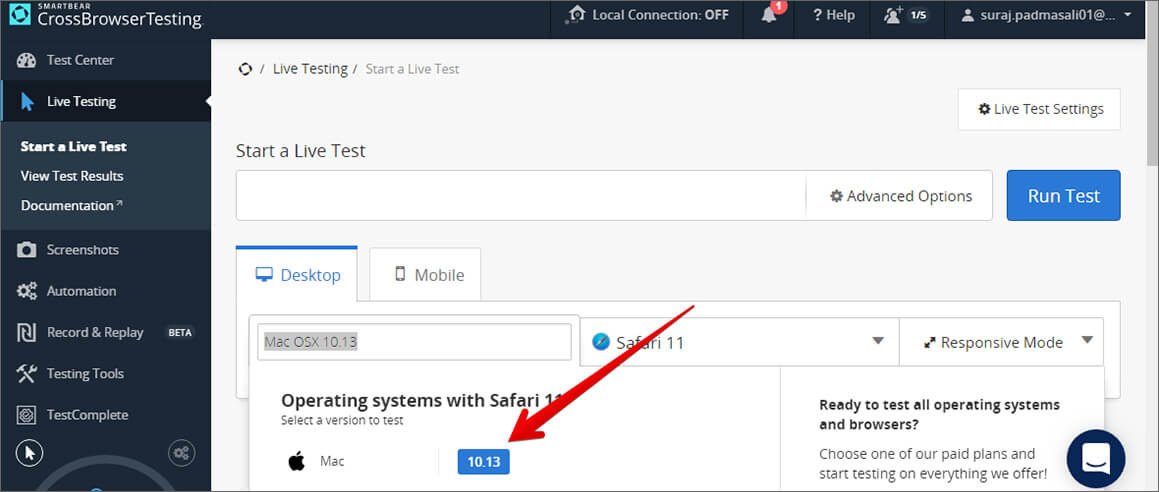
Once you select the Mac OSX version, you’ll notice that the menu beside it will automatically select Safari 11.
Step #5. All you need to do now is to enter the website in the text field. Click “Run Test” button to load up the website.
You can change scaling, resolution, take the screenshot, record video, and many other things from the top menu bar.
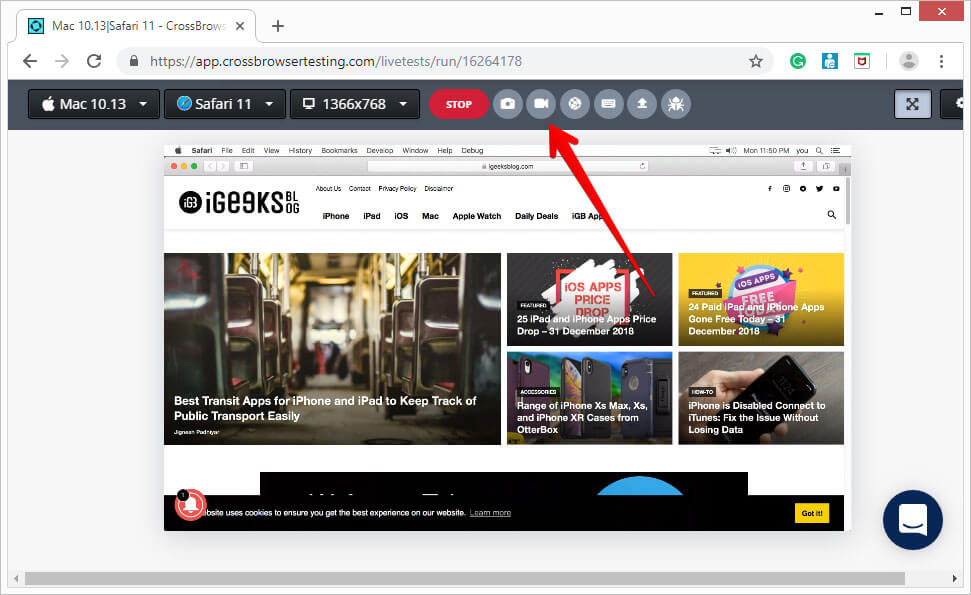
This is certainly not very smooth for day-to-day use for normal users. This again comes in handy for developers and testers. It is much more secure compared to downloading an older version of the Safari.
Personally, I was not much impressed with the browsing experience as there were a lot of lags while scrolling. But as a tester, I wouldn’t mind using it, as getting different devices physically is a tedious and expensive task.
The service offers 100 minutes of free browsing, and then you can go with different paid plans if you are happy with it.
Signing off…
It would have been great if Apple continued Safari support for Windows PC as it would have made life a lot easier for a lot of people. Especially for developers and designers, who need to check their work on different browsers.
Do you use Safari on Windows? If yes, how has been your experience? Share it with fellow users by commenting below.


