An Apple ID is a must to let your Apple devices work perfectly. Most people, including me, use a single ID to enjoy the famed ecosystem. However, it is vital to remove a device that is associated with Apple ID once you’ve sold, given it away, or misplaced it. Fortunately, Apple has made it very simple to view and remove devices from Apple ID. Keep reading to learn how.
How to check which devices are using your Apple ID
There are several methods to check the devices that are associated with Apple ID. You can choose one at your convenience.
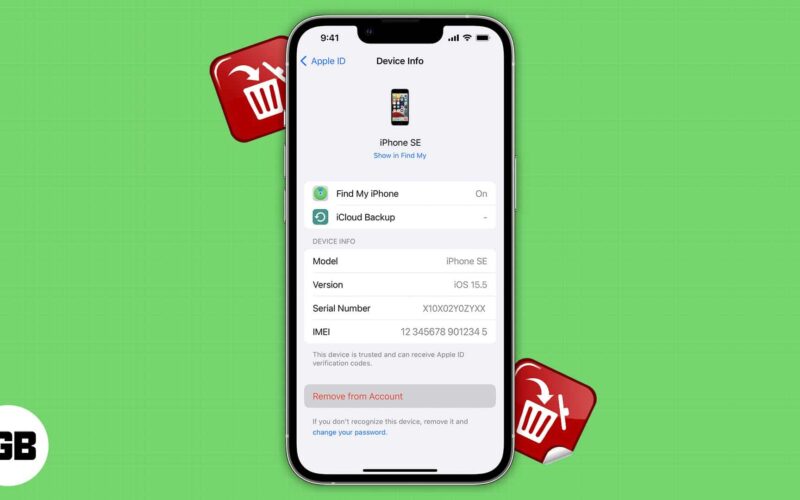
Note: You can check the device’s information, such as the device model, serial number, and OS version, by selecting a device name.
Method 1: View devices from iPhone
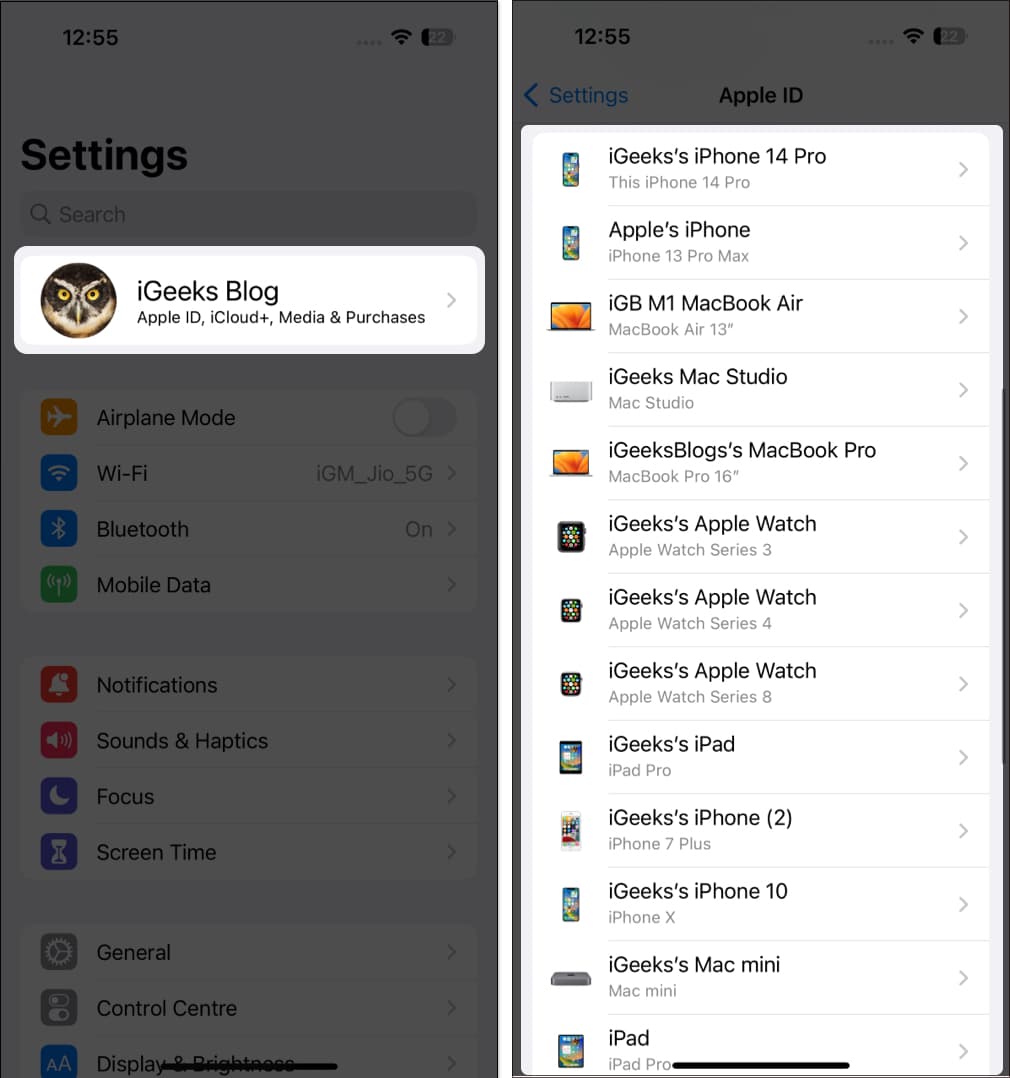
- Launch the Settings app → Tap your name.
- Scroll down, and you will see the list of devices that are using your Apple.
Method 2: View devices from Mac
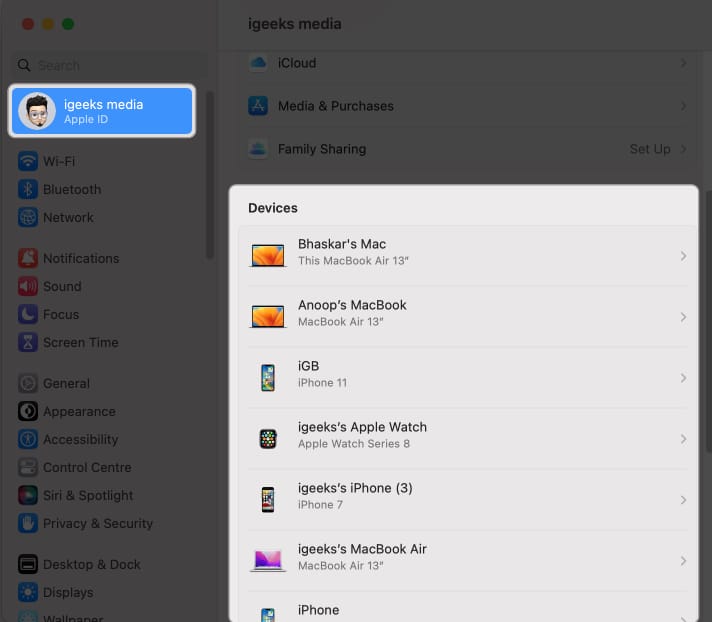
- Click the Apple logo on the menu bar → Select System Settings.
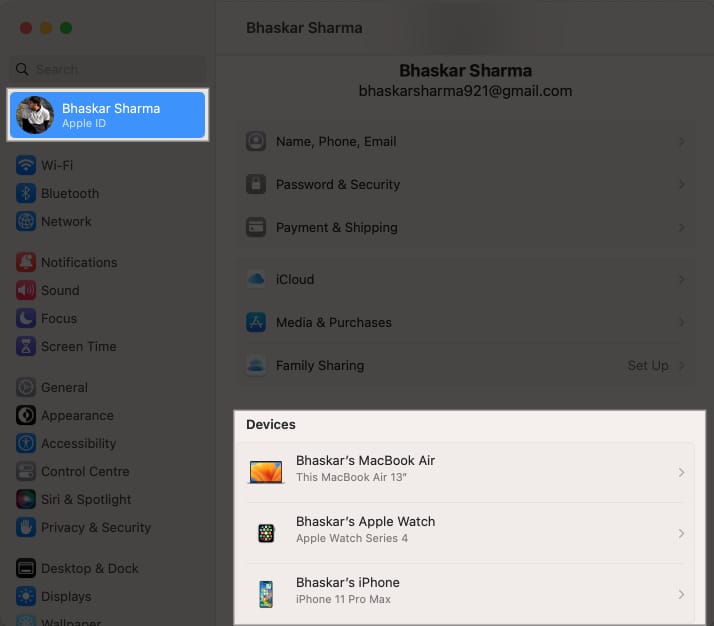
- Choose your name → Navigate to the Devices section to view your list of devices.
Method 3: View devices using iCloud
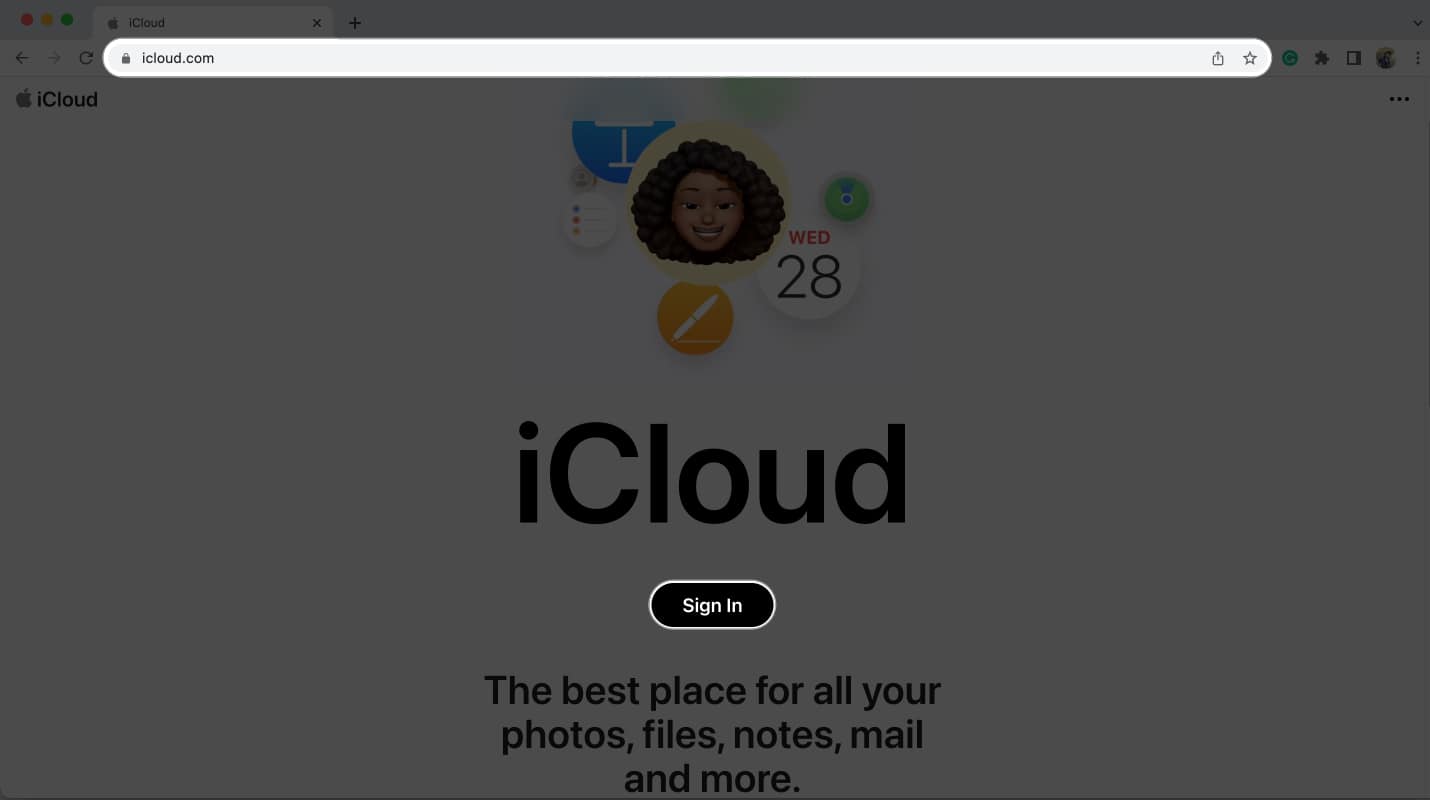
- Open any web browser. I’m using Google Chrome for illustration purposes.
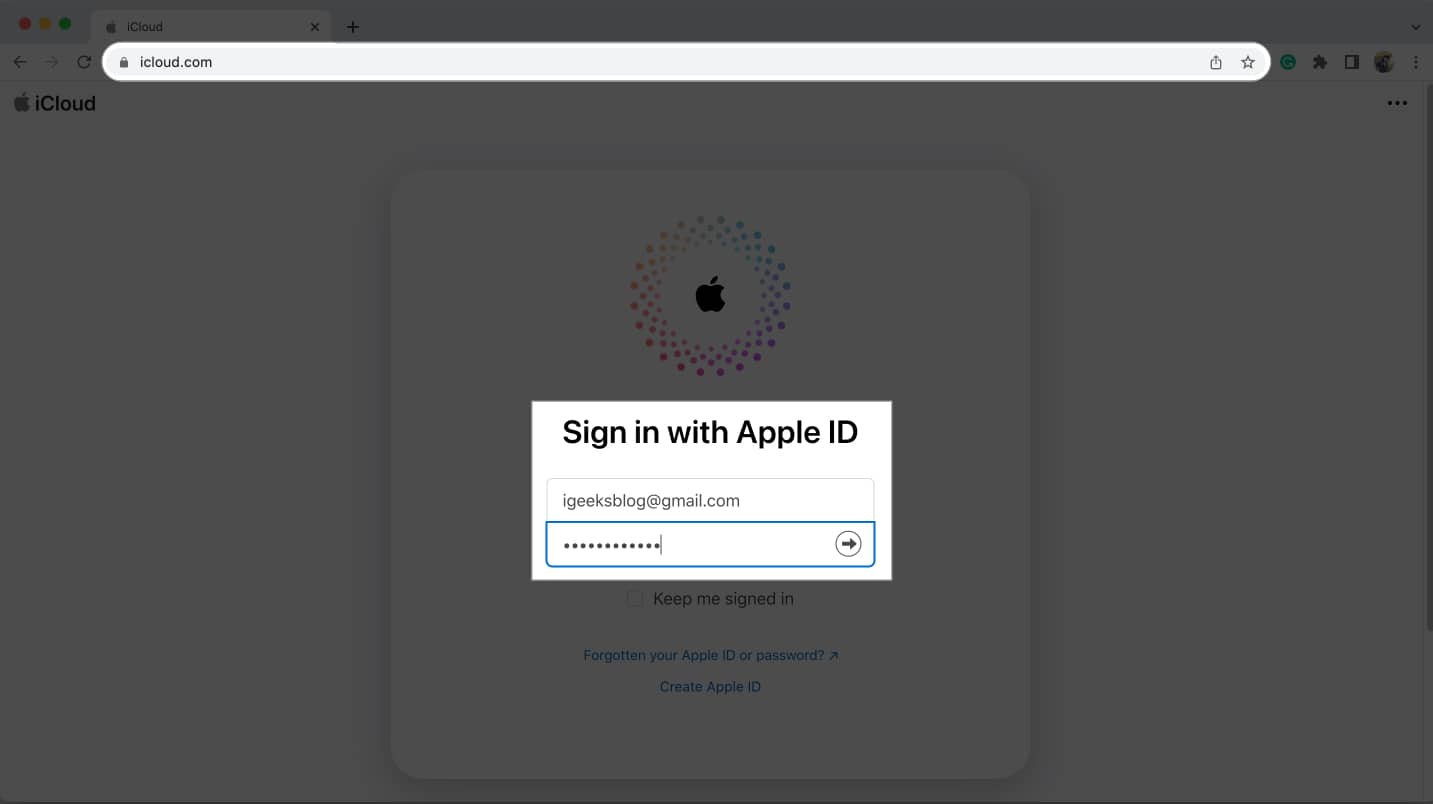
- Search iCloud.com → Select Sign in.
- Sign In with your Apple ID and Password.
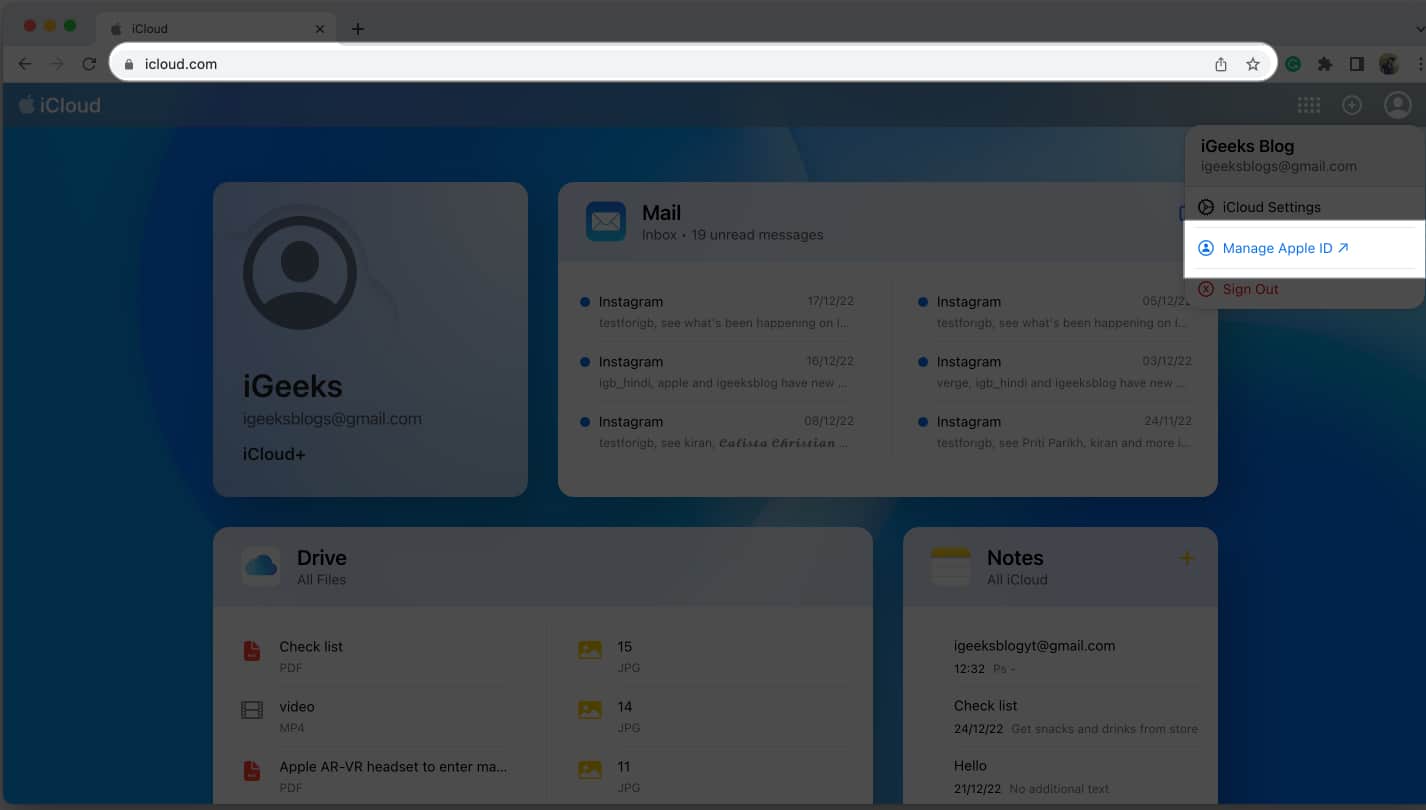
- Go to Profile icon → Choose Manage Apple ID ↗.
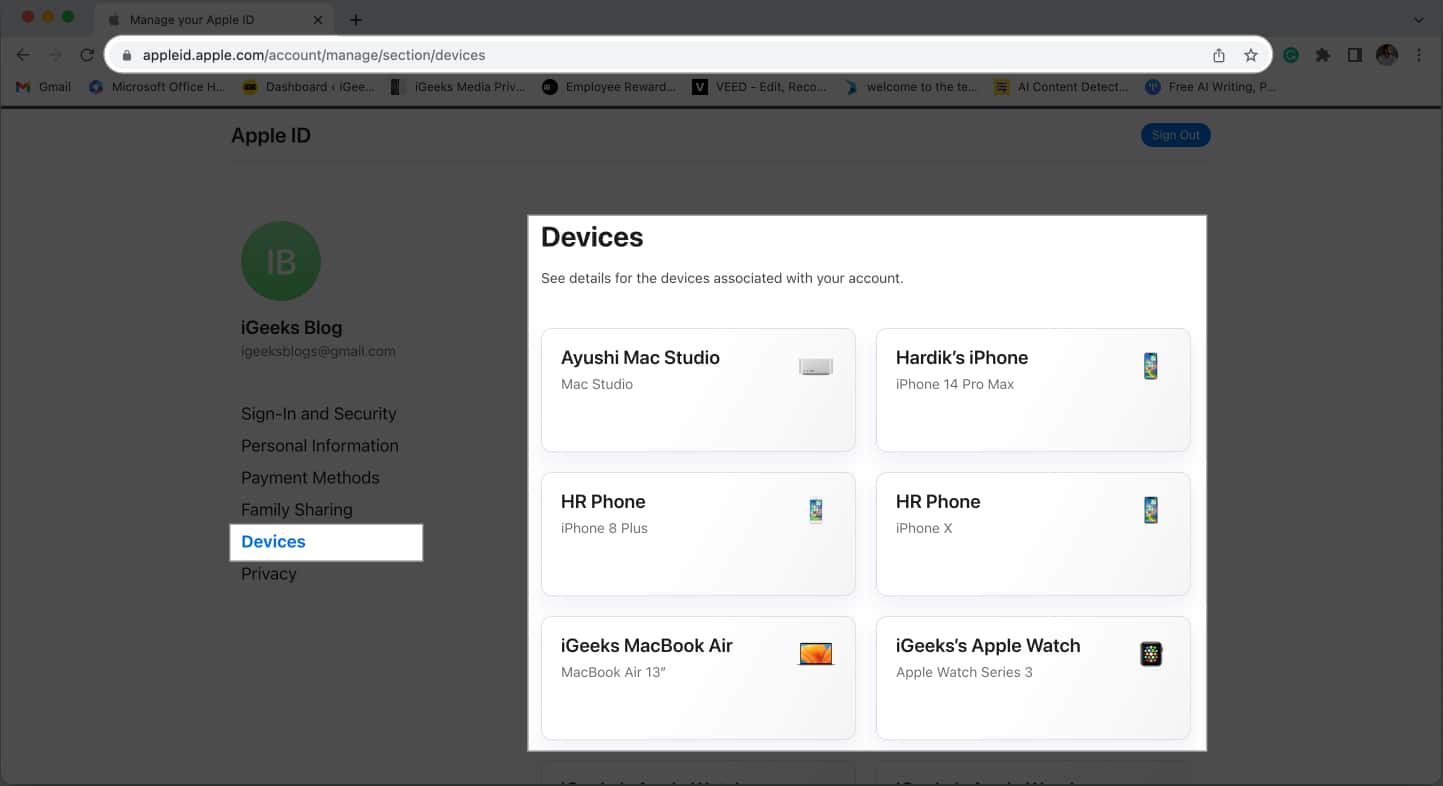
- Head to the Devices tab. Now you can see all the connected devices on the right side of the pane.
Method 4: Check devices on the web
- Launch any browser → Head to appleid.apple.com.
- Choose Sign In → Provide your Apple ID and Password.
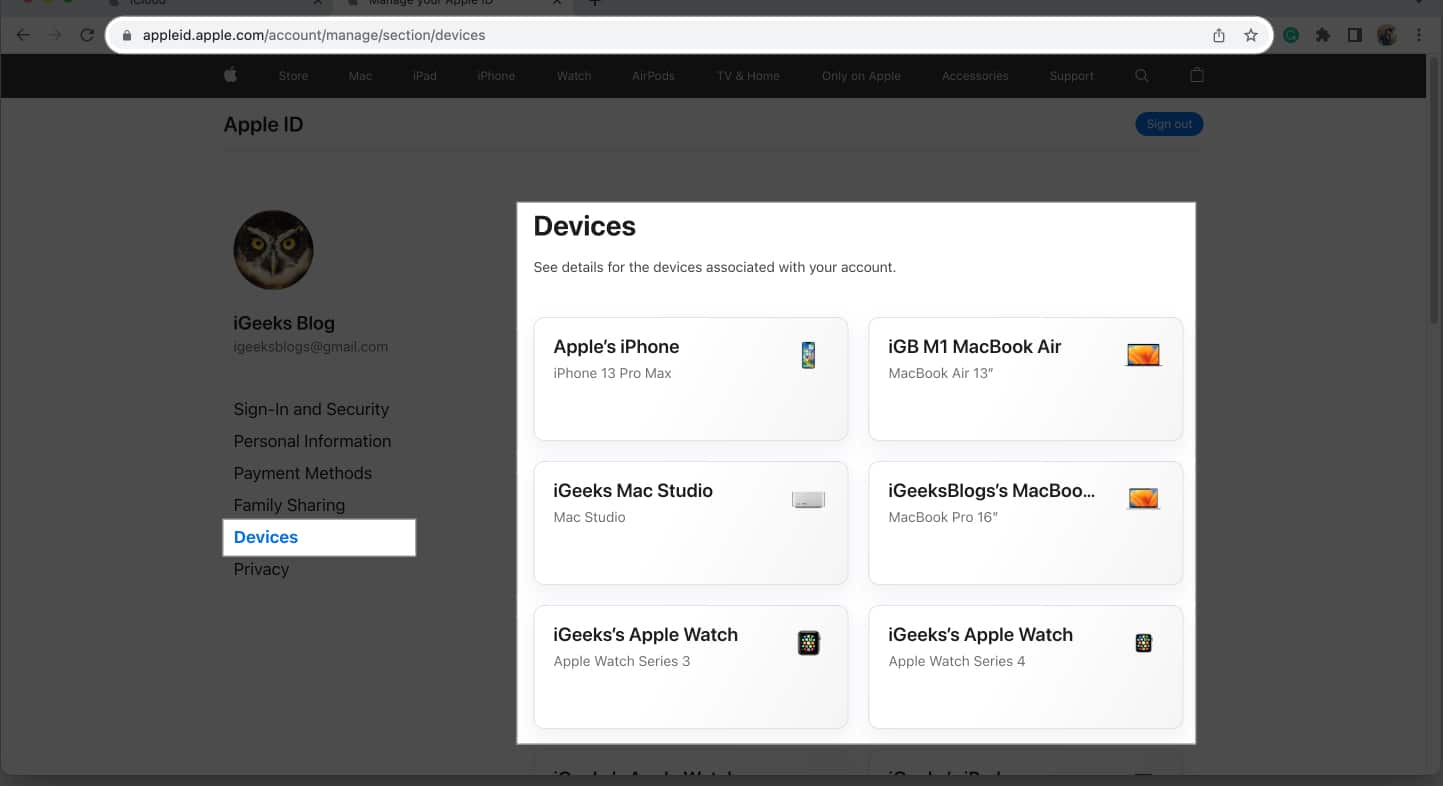
- Select Devices. Now on the right side of the window, check the devices connected to your Apple ID.
4 Ways to remove a device from your Apple ID
Apple gives a variety of simple techniques to remove a device from your Apple ID. You can check them out below.
Note that you can’t use a device to remove itself from the Apple ID.
Method 1: Remove a device from your Apple ID using iPhone
- Open the Settings app→ Tap your name.
- Scroll down to the list of devices.
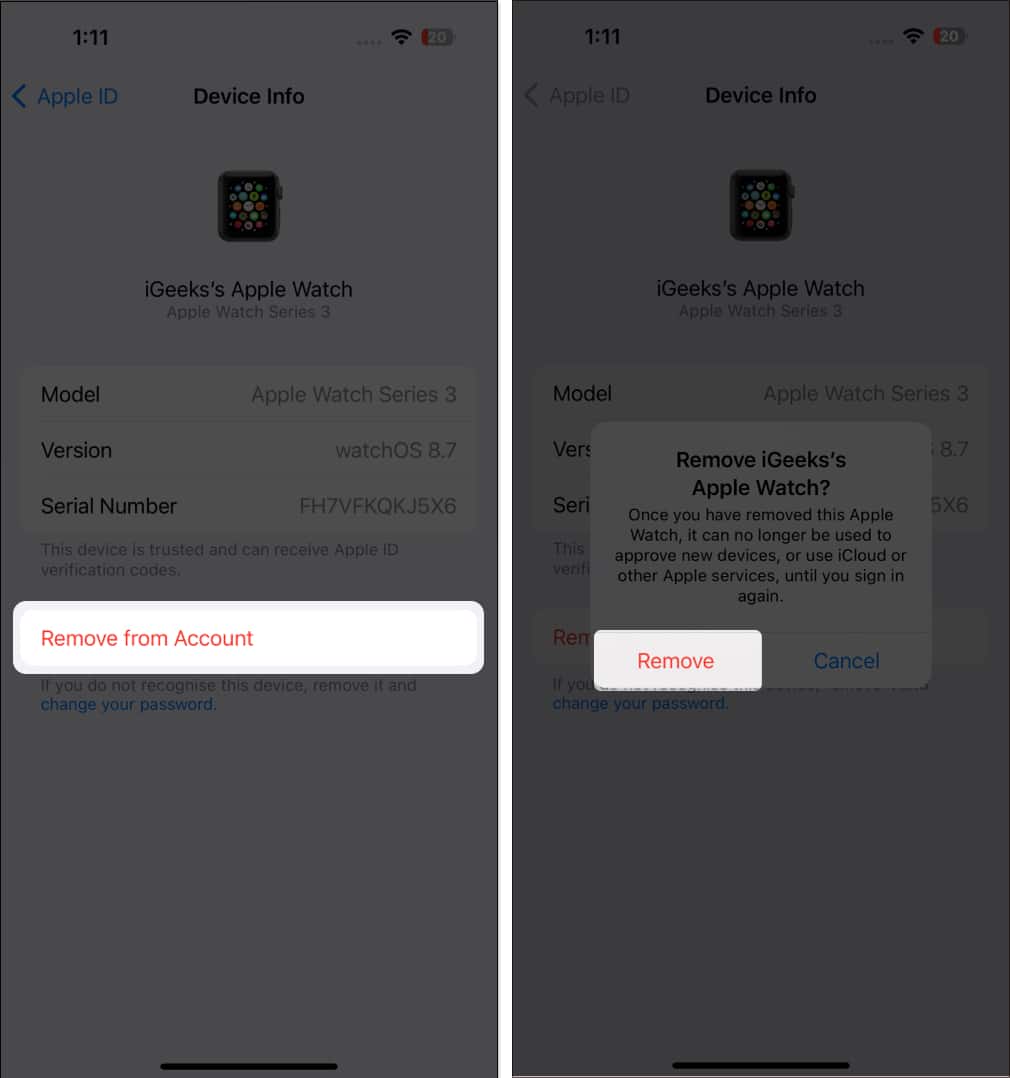
- Tap the device you wish to remove.
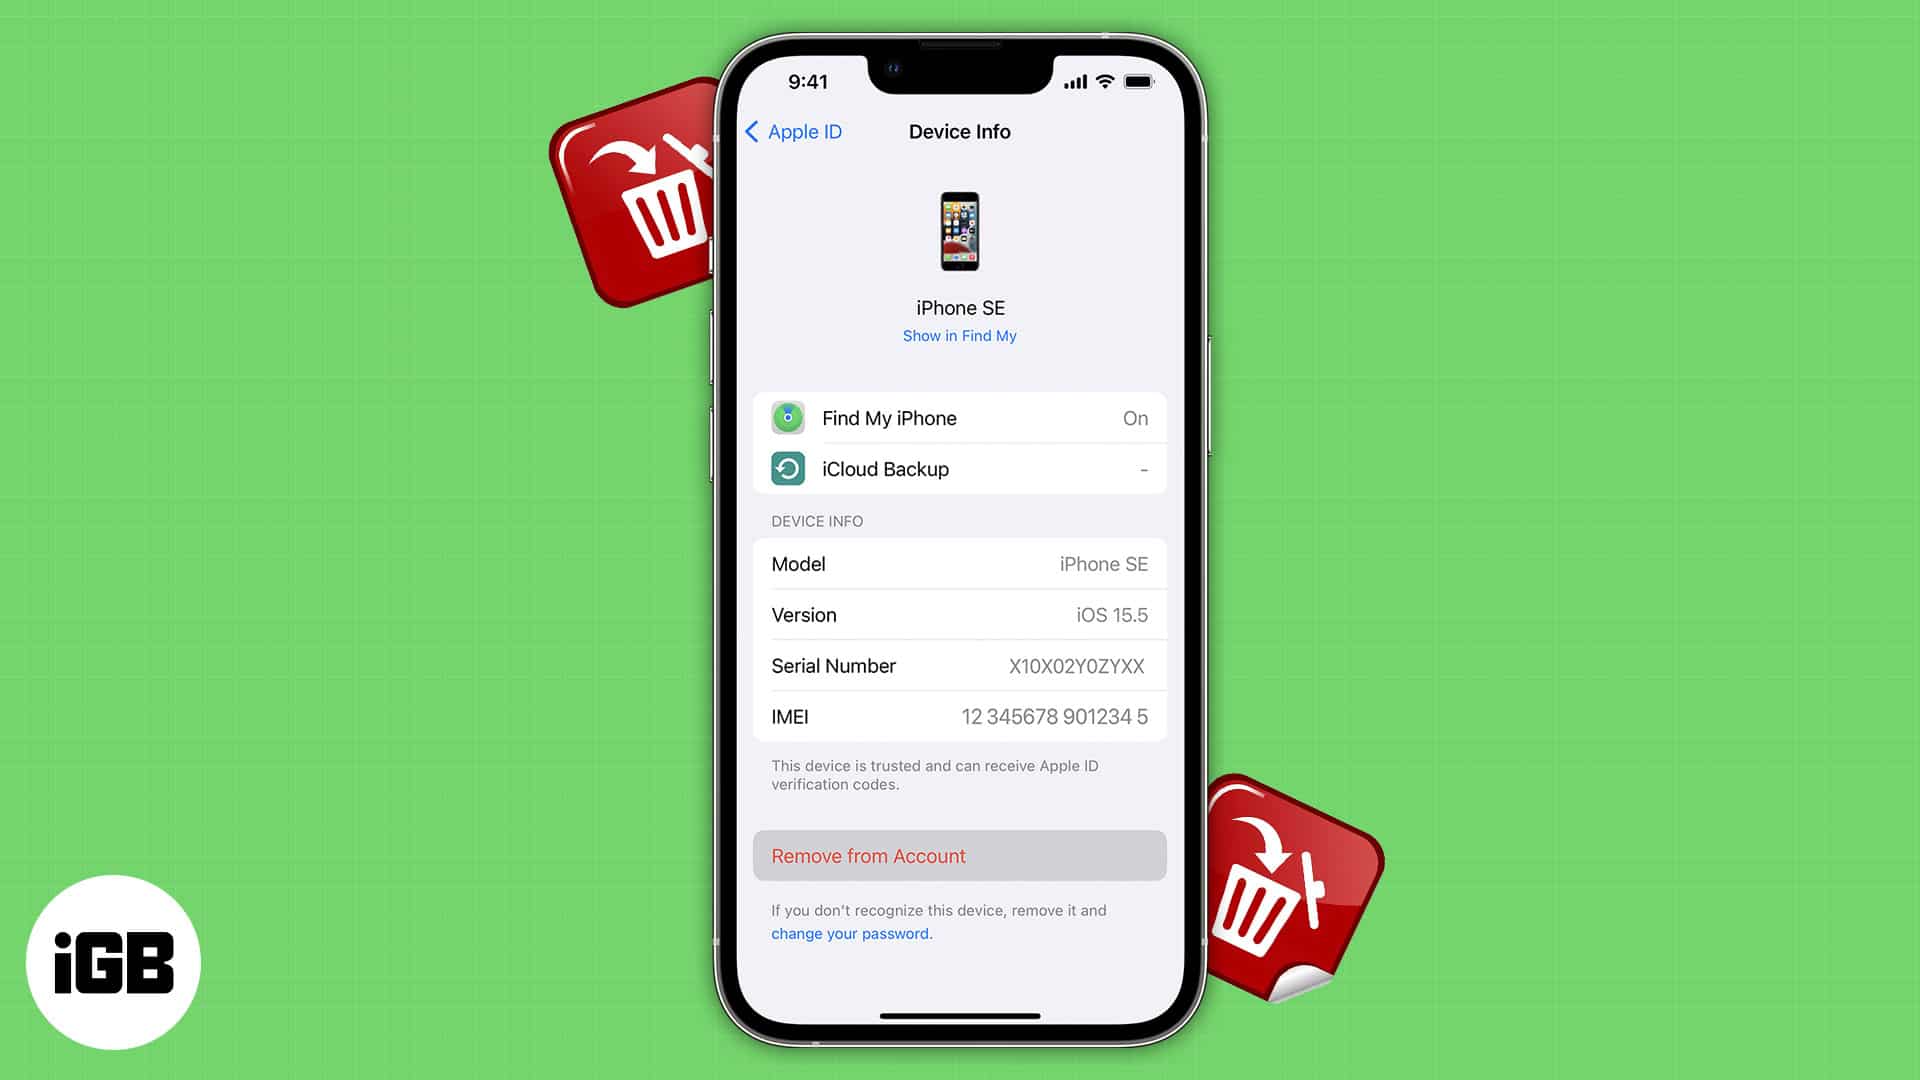
- Select Remove from Account → Choose Remove.
After you remove a device from your Apple ID, it may still prompt you to sign in and have access to your old data. So, it’s safe to wipe out all login details from that device.
Besides, if you want to sell your device, it’s ideal to perform a factory reset.
- Go to Settings → Apple ID on that removed device.
- Tap Sign Out.
- Type in your Apple ID password → Tap Turn Off.
Method 2: Remove a device from your Apple ID using Mac
- Head to Apple logo → System Settings.
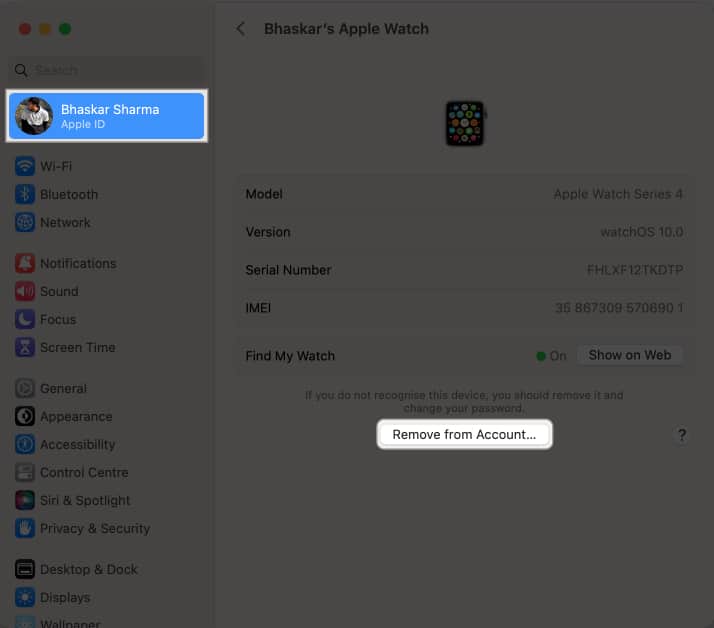
- Select your name → Head to the Devices section → Click the device name.
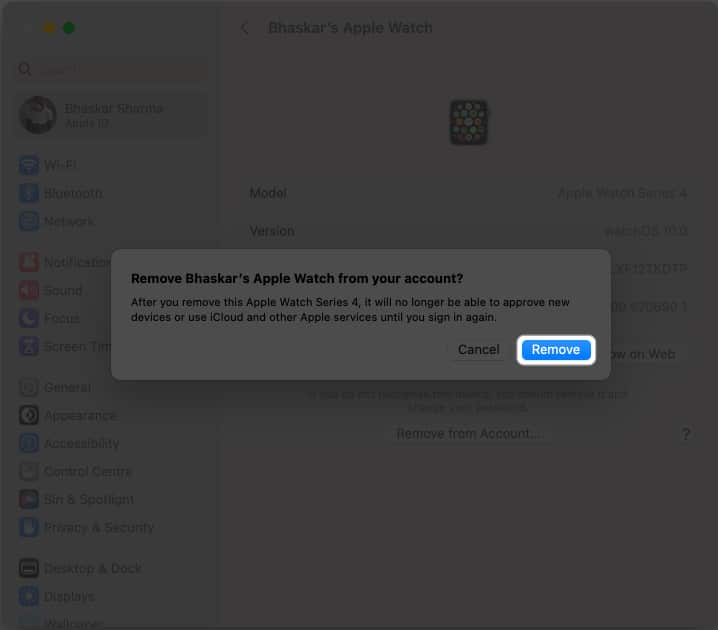
- Select Remove from Account.
- Choose Remove.
Method 3: Remove a device from Apple ID using iCloud
- Open iCloud.com → Sign in.
- Enter your Apple ID and Password.
- Select Profile icon → Choose Manage Apple ID → Go to Devices.
- Choose the device name.
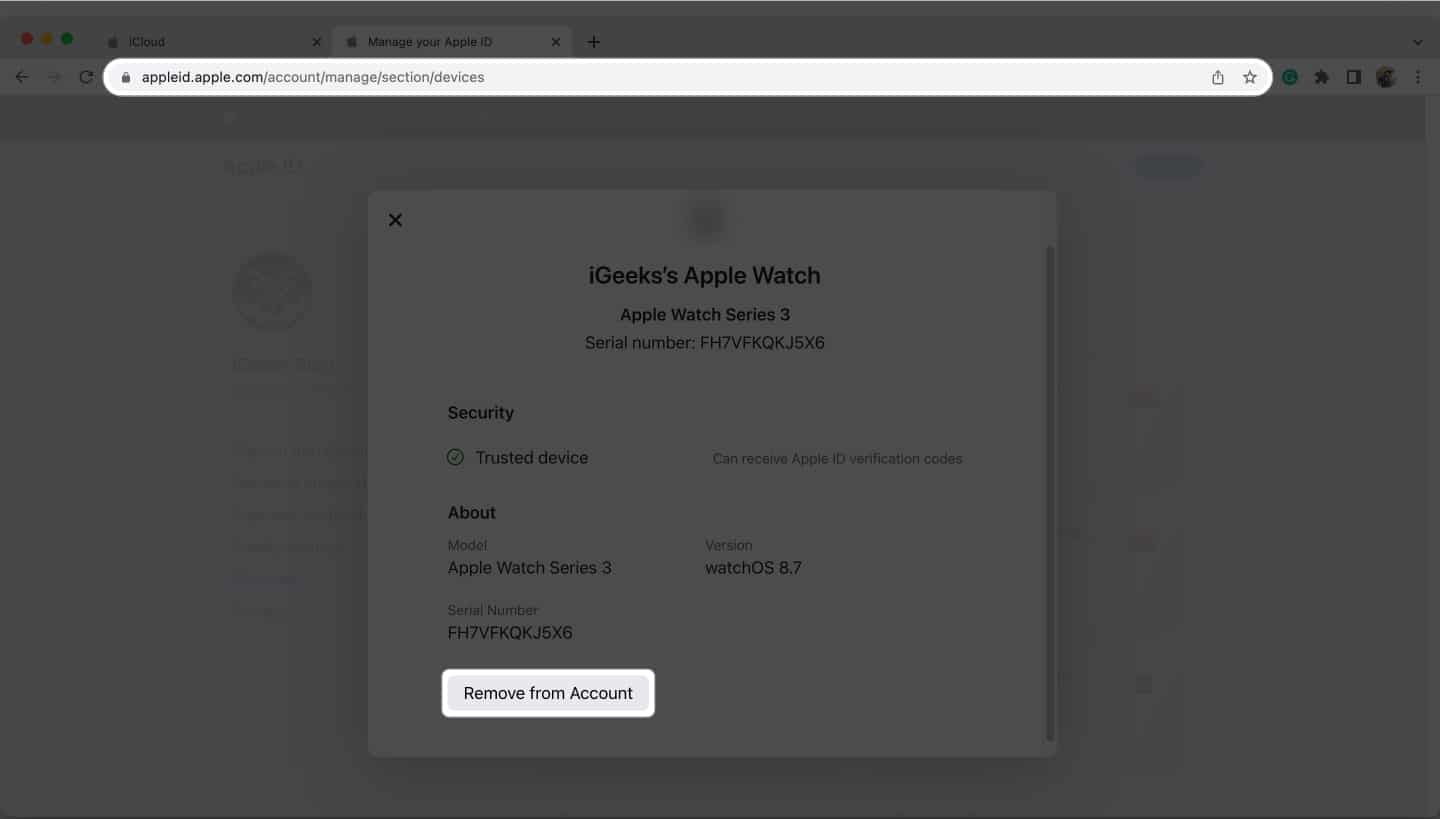
- Select Remove from Account →Choose Remove.
Method 4: Use Apple ID account page to remove a device
- Visit appleid.apple.com → Choose Sign In.
- Enter your Apple ID and Password.
- Navigate to Devices → Select the device name.
- Choose Remove from Account → Remove.
When should you remove a device from your Apple ID?
You must remove the devices that are associated with Apple ID if you want to sell it or hand it over to your friends and family. It will stop all operations connected to your Apple account on that removed device, such as iCloud syncing, accepting 2-factor authentication credentials, getting alerts or messages sent to your Apple account, making any purchases on the App Store, or creating backups of itself.
Also, if you want to add another device after reaching your device association limit (10 devices/5 computers), you may also need to remove one from your Apple ID. You could do this in order to create a place for the new gadget by removing the old one.
Wrapping up…
You should be aware that when you remove your Apple ID from your device, services such as Find My, Apple Music, Podcast, App Store, and so on will cease to function. That was everything from my end. Don’t forget to check around for more from us. My recommendations are listed below.
FAQs
When you log in to your device with your Apple ID, the device will be automatically connected to it.
Yes, you should delete outdated devices from your Apple ID since you may decide to give up your related device or quickly approach your association limit if you keep adding devices to your Apple ID.
Your Apple ID password can be reset in several ways. Check out our post on how to reset your Apple ID password for a complete list of options.
In case you’re unable to delete a device from your Apple ID, sign out of your ID from the device and try again later. Aside from that, Apple Support states that if you are still unable to remove it, then you may have to wait up to 90 days before re-associating the device with a different Apple ID.
Read more:

