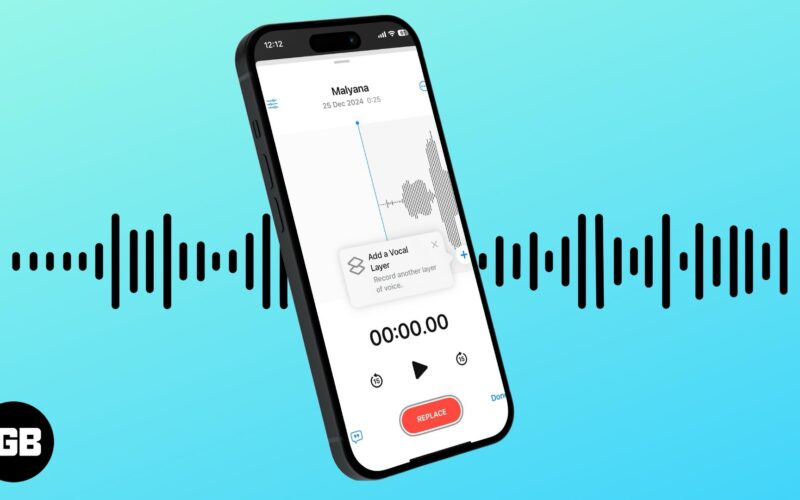
Starting with iOS 18.2 or later, Apple added the Layered Voice Memo recordings feature to the iPhone 16 Pro and 16 Pro Max models. This new feature elevates the already available Voice Memo app into a more versatile tool for creators, students, and professionals. Musicians and social media creators can now create dual-layered tracks right on their iPhones and export them to Logic Pro for professional-level editing.
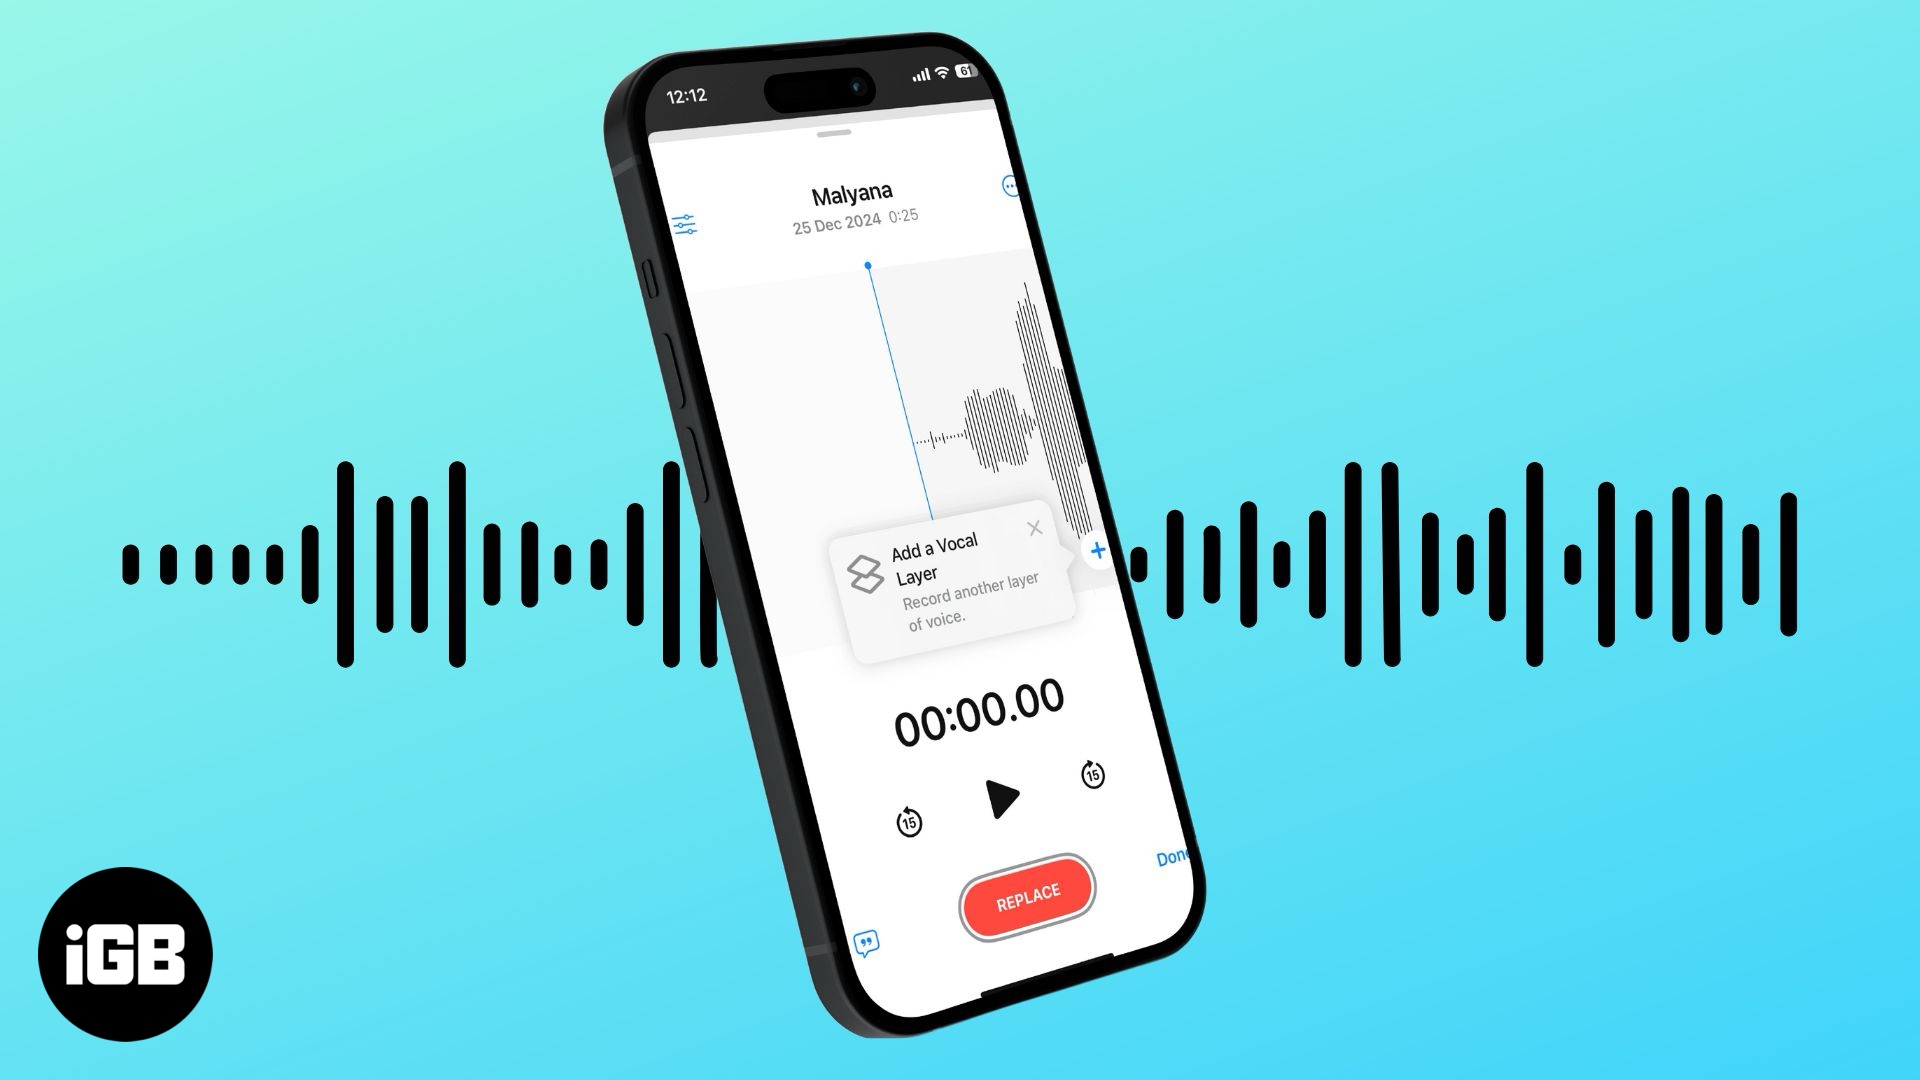
Keep reading to learn how to create layered voice memo recordings on iPhone in iOS 18.2.
What is Layered Voice Memos on iPhone?
Layered Recordings is a new feature added to the Voice Memos app on the iPhone 16 Pro lineup running on iOS 18.2 or later. It allows you to record and overlay secondary audio recordings on top of existing ones. This makes the Voice Memo app a powerful tool for creating more complex audio recordings, such as annotations, podcasts, music compositions, or collaborative projects.
Prerequisites for using Layered Voice Memos
While the Layered Voice Memos feature is part of iOS 18.2, not all iPhones running on iOS 18.2 support it. You can only create Layered Voice Memos on the latest iPhone 16 Pro and 16 Pro Max, as only these models come with built-in studio-quality microphones. However, devices running on iOS 18.2, iPadOS 18.2, or macOS Sequoia 15.2 can play these recordings.
How to record Layered Voice Memos on iPhone
Thanks to the studio-quality microphones on the iPhone 16 Pro, you can record vocals over an instrumental recording without speaking through the headphone mic.
You can add vocals to already recorded instrumental music, try out new lyrics, and vice versa. Here’s how you can do this:
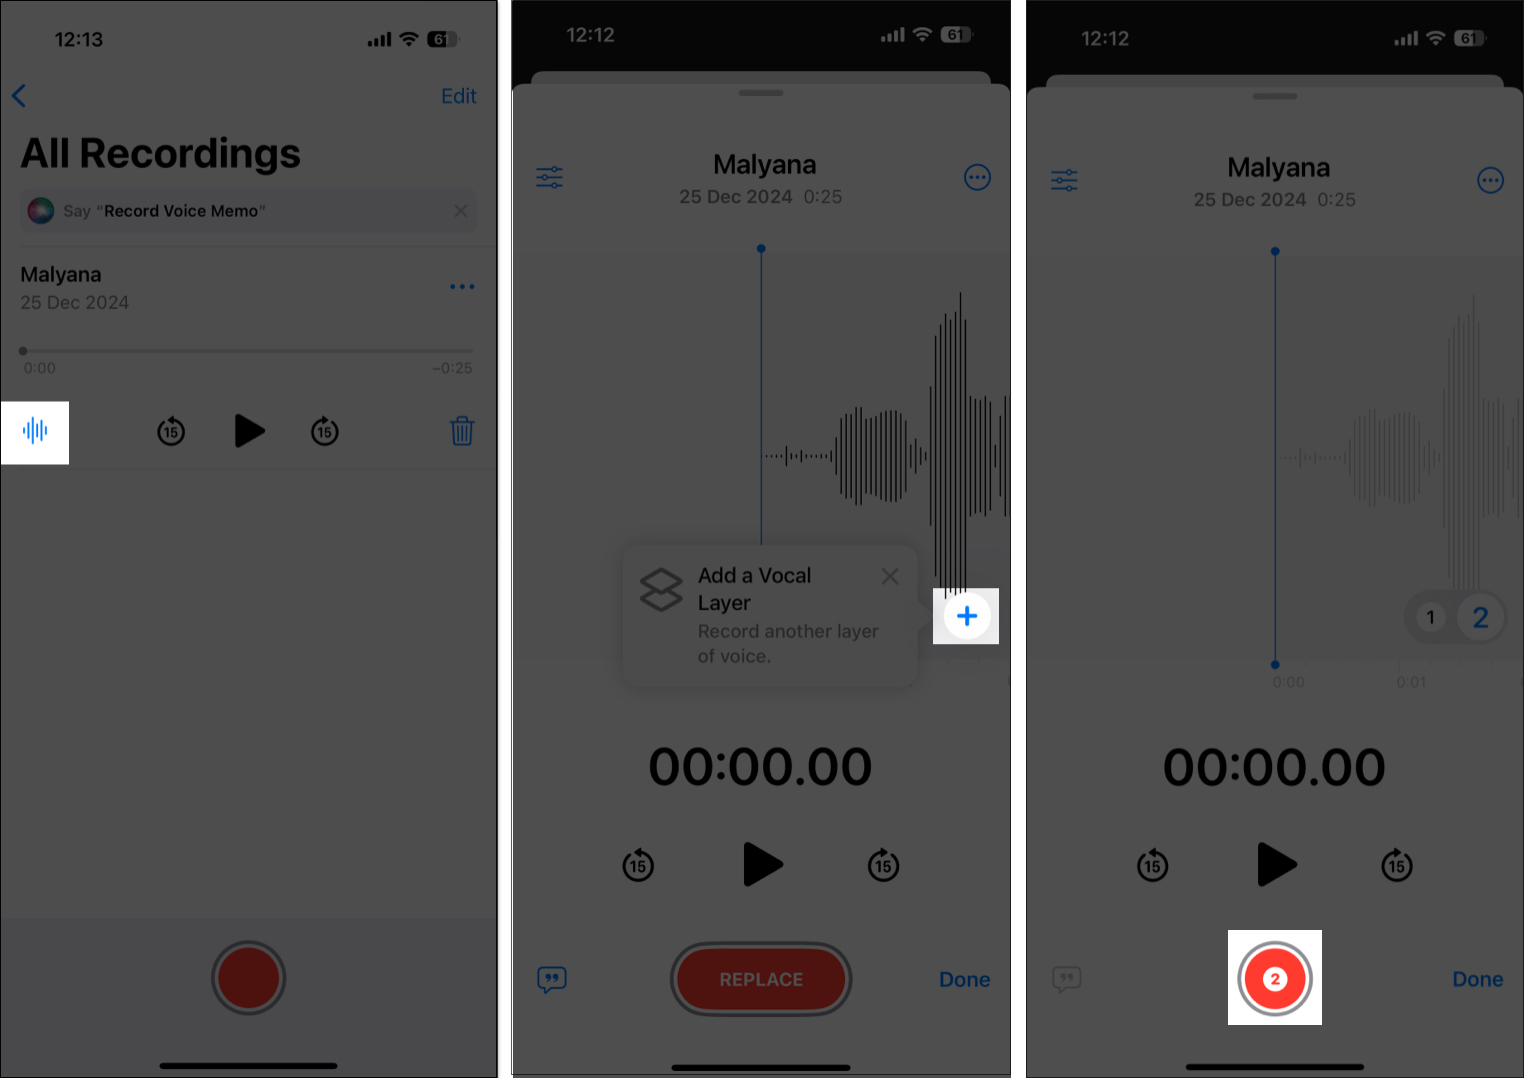
- Open the Voice Memos app on your iPhone.
- Here, from the list of available recordings, select the recording to which you wish to add a layer from the list of available recordings.
- Next, tap the Waveform icon that appears at the bottom left of the selected recording.
- Now, tap the “+” button at the bottom right of the recording waveform to add a vocal layer to your recording.
- Finally, tap the red Record button at the bottom center to start recording your second layer.
- Once done, tap the Record button again to stop recording.
While it is evident that the built-in microphones on the iPhone will automatically pick up the first recording being played through the speaker, the A18 Pro chip on the iPhone 16 Pro automatically isolates the vocals via “advanced processing and machine learning.”
How to edit layered voice memo recording on iPhone
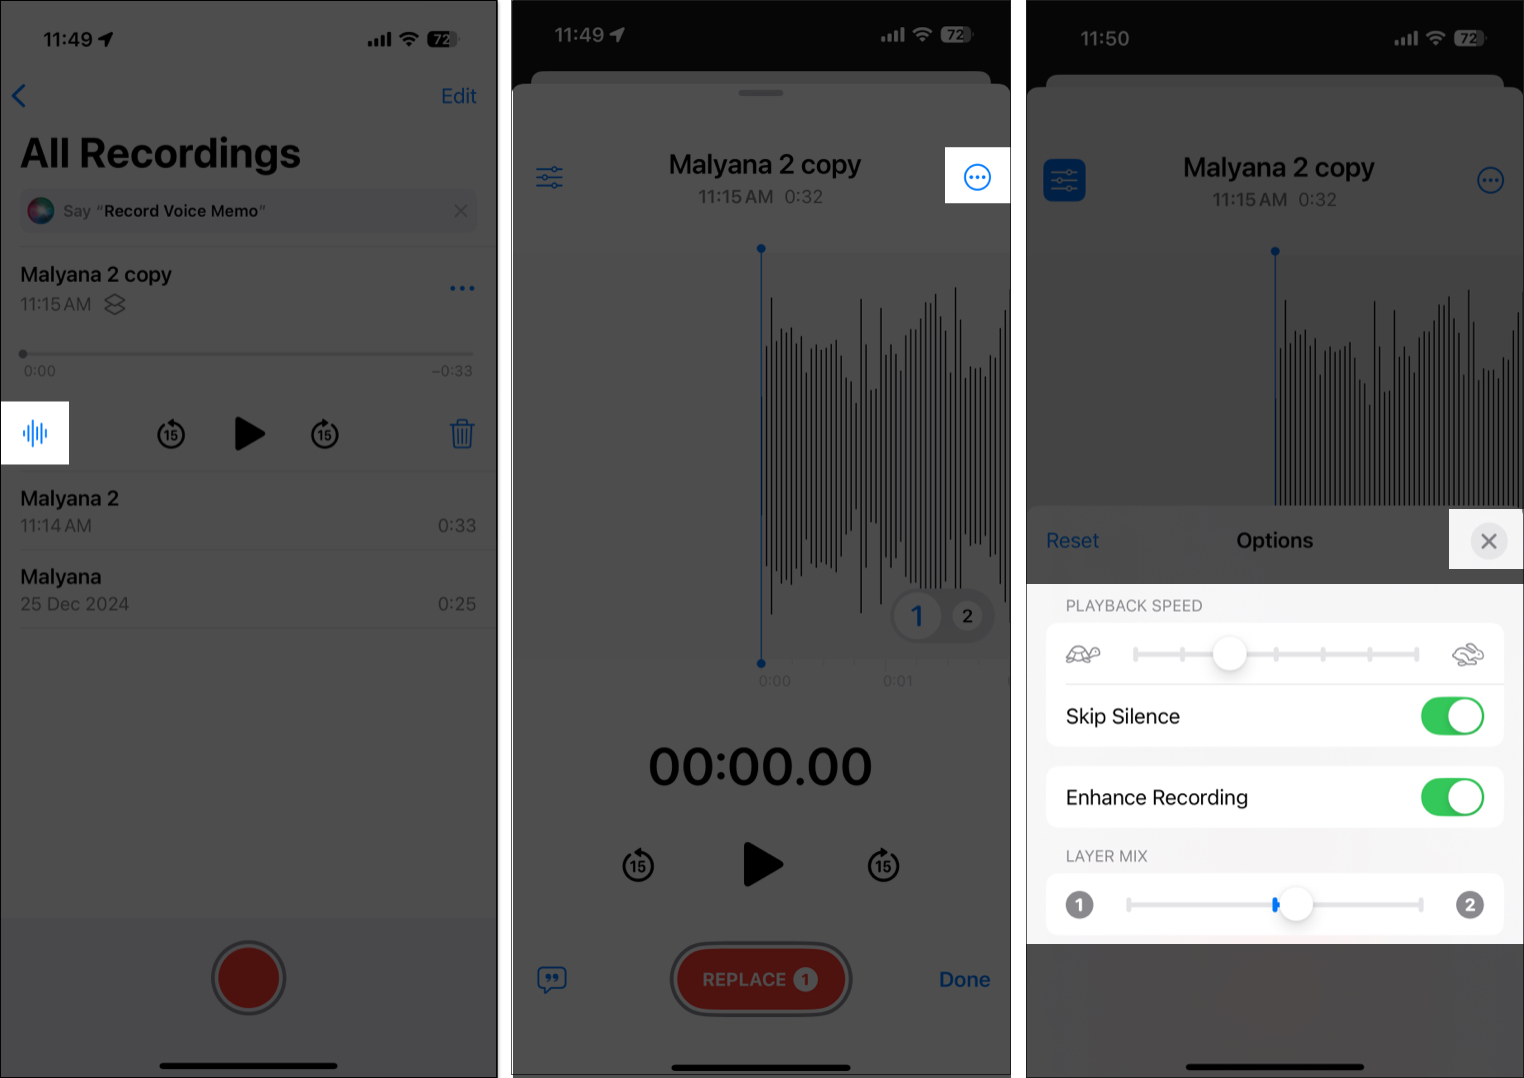
Once you have saved a layered voice memo recording, you can increase or reduce the playback speed, skip silence, enhance it, and mix the layers per your preference. Here’s how:
- In the Voice Memos app, select the layered recording you wish to edit.
- Here, tap the Waveform button that appears, then tap the Three Horizontal Lines icon at the top left of the subsequent screen.
- Next, use the Playback Speed slider to increase or reduce the playback speed.
- Toggle on Skip Silence and Enhance Recoding if you want to.
- Use the Layer Mix slider to mix the two layers accordingly.
- Once done, tap the X button at the top right corner of the edit window.
How to separate layers in voice notes
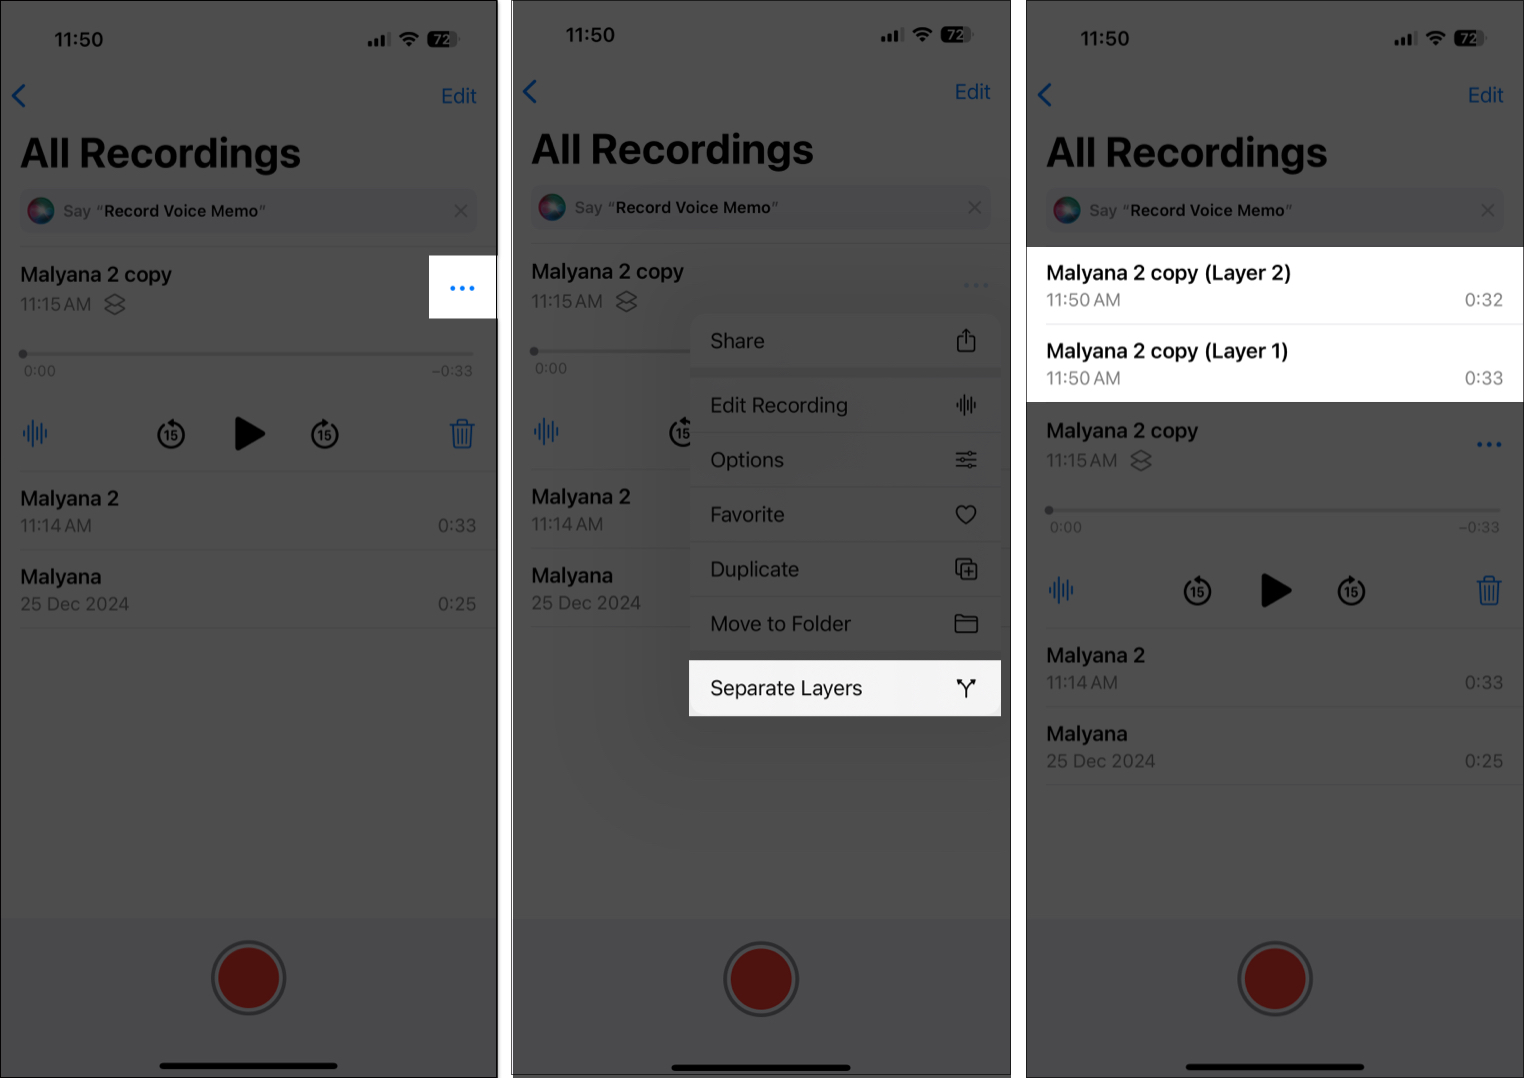
If you want to use the two layers in the layered recording separately, you can easily separate the two layers. Here’s how:
- Open the Voice Memos app and select the layered recording.
- Next, tap the Three Dot button at the top right of the recording.
- Here, tap on Separate Layers in the drop-down menu.
- The two layers are then saved automatically while the layered recording remains intact.
Wake up the musician in you….
Adding layered recordings to the Voice Memos app is a welcome step that creators and musicians will cherish. And since all the recordings are synced across your Apple devices, you can easily export them to Logic Pro for post-production.
What do you think of the layered recordings feature in the Voice Memos app? Do share your thoughts in the comments.
Also read:

