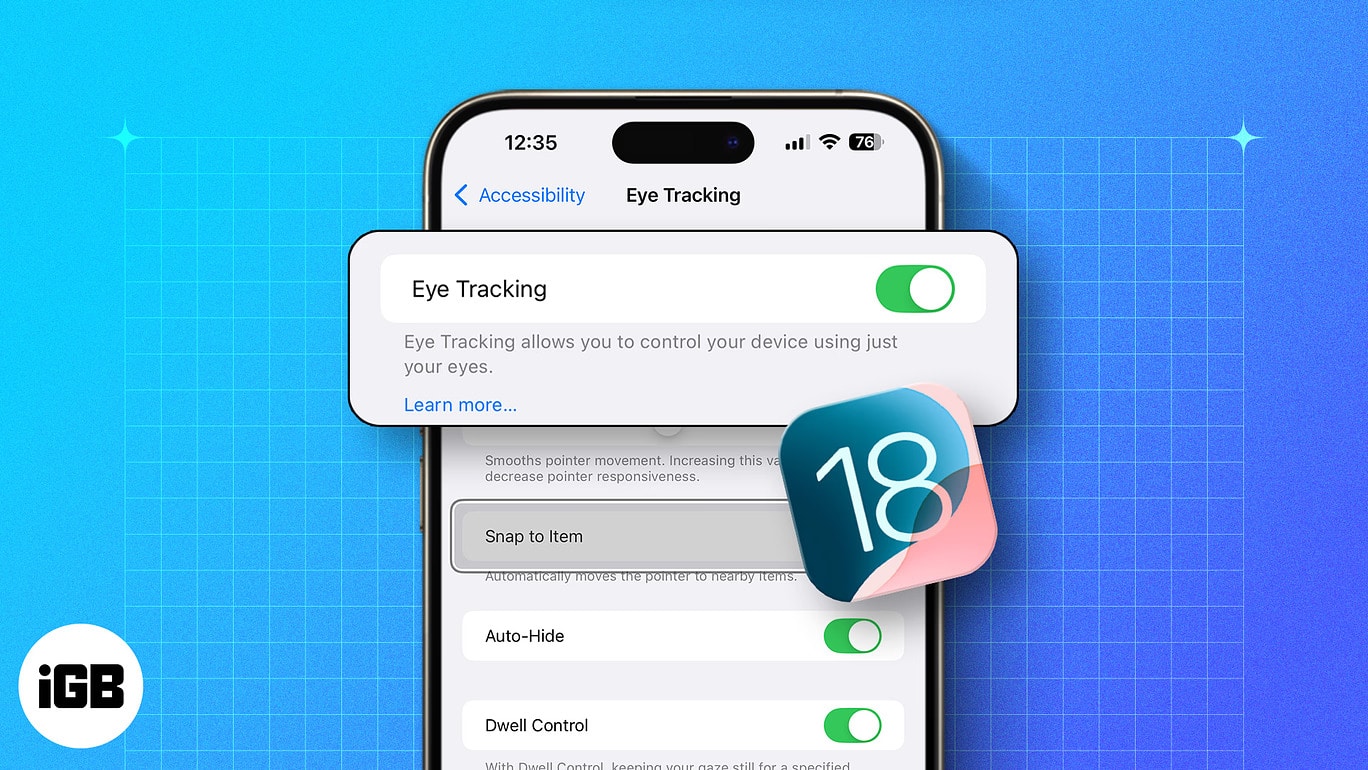
iOS 18 and iPadOS 18 pack several new features, including Apple Intelligence. However, besides these headlining features, these new software releases offer many new accessibility features to make iPhones and iPads more usable. One such feature, Eye Tracking, can truly transform how people with motor disabilities, or anyone, interact with devices. Eye Tracking lets you control your iPhone with the movement of your eyes to perform various actions without touching the screen, such as launching apps, scrolling through social media, taking screenshots, locking your device, etc.

This guide can help you try this unique accessibility feature on your iPhone or iPad. Keep reading as we show you how to turn on and use Eye Tracking in iOS 18.
What is Eye Tracking on an iPhone?
Eye tracking is an accessibility feature that lets you control your iPhone with the movement of your eyes. It use the front-facing camera to detect your eyes’ movement. Based on the movement of your eyes, you can scroll, move, and select various areas and buttons on your screen.
This is a useful feature for individuals who face challenges with their mobility and those who cannot physically access the screen. That said, you can still use the touchscreen functionality when eye tracking is enabled on your iPhone.
iOS 18 Eye Tracking supported devices
Eye tracking is available on any iPhone or iPad that is running iOS 18. This includes the following devices:
| iPhone | iPad |
| iPhone 16 Series | iPad mini 6th gen |
| iPhone 15 Series | iPad 10th gen |
| iPhone 14 Series | iPad Air 4th gen and later |
| iPhone 13 Series | iPad Air 11-inch and 13-inch (M2) |
| iPhone 12 Series | iPad Pro 11-inch 3rd gen and later |
| iPhone SE 3rd gen | iPad Pro 11-inch (M4) |
| iPhone 16e | iPad Pro 12.9-inch 3rd gen and later |
| iPad Pro 13-inch (M4) |
How to turn on iOS 18 Eye Tracking on your iPhone
Setting up Eye Tracking on an iPhone only takes about a minute. To do so, you must enable the feature on your device and complete the calibration process. Here’s how it works:
- Open the Settings app on your iPhone or iPad.
- Navigate to Accessibility and tap on Eye Tracking.
- Place your device 1.5 feet (45 cm) away from your face.
- Toggle on Eye Tracking to initiate the calibration process.
- Stare at the ten coloring dots as they appear around the screen.
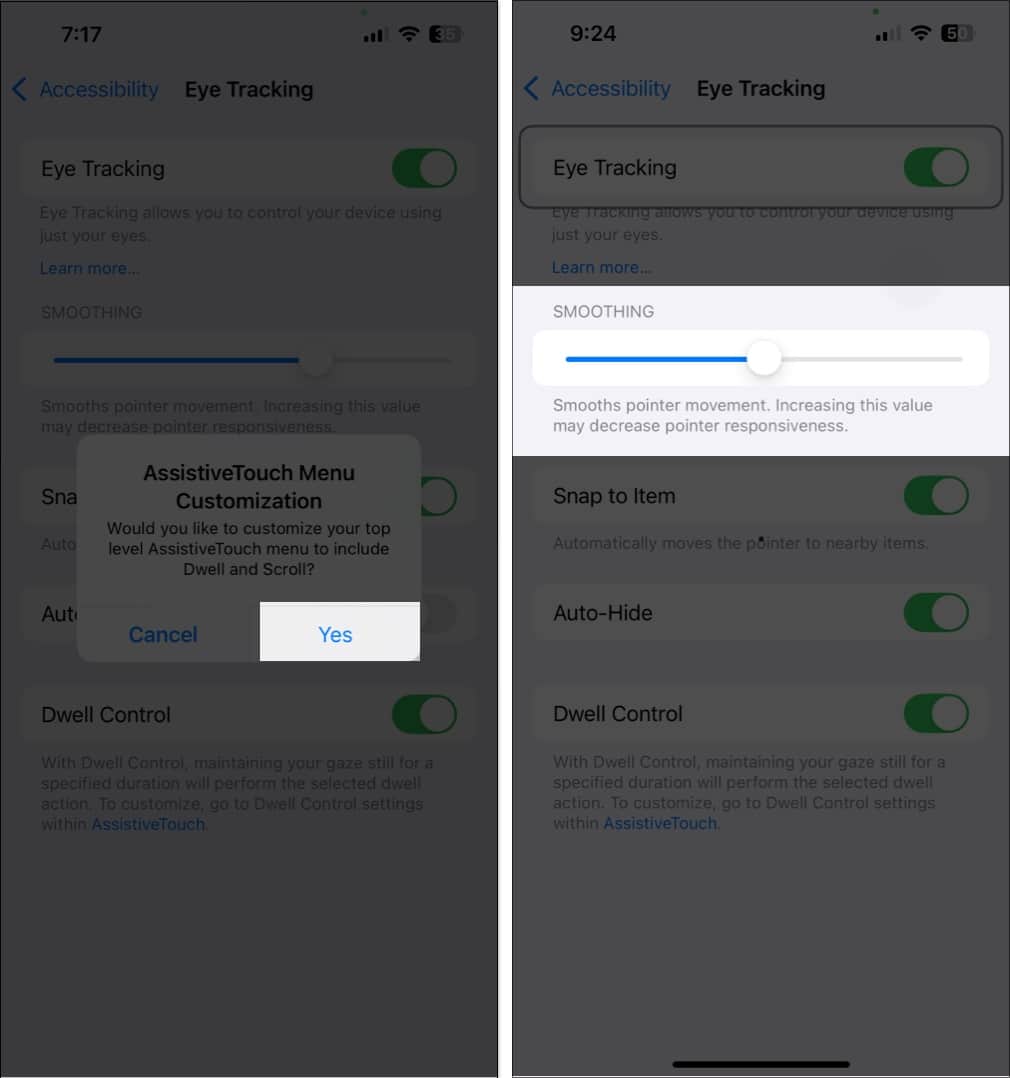
- If an AssistiveTouch Menu Customization dialog pops up, tap Yes.
- Use the Smoothing slider to reduce the cursor’s jittery movements.
Turning on Eye Tracking on your iPhone or iPad will also enable Dwell Control. As you’ll learn in the next section, this is another accessibility feature, and it’s used by Eye Tracking to help you perform various actions without using physical touch.
How to use iOS 18 Eye Tracking on your iPhone
Once you set up the feature, here’s how you can use Eye Tracking:
- To scroll or navigate around the screen, you just need to move your eyes to the desired area.
- When you focus on a button, a ‘dwell timer’ is set off for a couple of seconds. When the timer is finished, the option or button is selected or clicked on your screen.
- If you move your gaze before the timer is complete, the timer is canceled, and the action will not be performed. In the next section of the article, we’ll explain how to customize this dwell timer.
To improve your experience with eye tracking, you can enable the following settings:
- Enabling Smoothing to increase the smoothness at which the cursor moves with respect to the position of your eyes.
- Enabling Snap to Item automatically moves the cursor to the nearest button or selectable action based on the position of your eye.
- Auto Hide hides the cursor when you are moving your eyes. It only appears when you fix your gaze on a certain area on the screen.
- Dwell Control adjusts the time you need to fix your gaze on an area of the screen to perform the intended action. Let’s explore what Dwell Control settings mean and how they work on your iPhone.
What are Dwell Control Settings?
Dwell Control settings configure the time that you need to hold your cursor before an action is performed. With context to Eye Tracking, it is the time for which you need to fix your gaze on a button/option before an action is performed.
To access the Dwell Control settings, go to Settings → Accessibility → Touch → Assistive Touch. Scroll down to find the Dwell Control settings.
Once you enable Dwell Control, you can adjust the time you need to focus your eyes on the screen before an action is performed. Here’s how you can further customize the feature.
- Fallback Action: When enabled, this reverts to the default action if Dwell Control isn’t available on the area of the screen. For example, if you dwell on an area with no buttons or options, this feature decides what action to perform. You can select the Fallback Action to Tap or Pause Dwell.
- Movement Tolerance: This feature controls the precision with which you need to dwell on your screen to activate the timer. It adjusts how little or how much you can move your eyes to keep or cancel the dwell timer.
- Hot Corners: This allows you to trigger specific actions by dwelling at the corners of your screen. You can configure an action as you dwell at each of the four corners of your screen.
- Extended Predictions: This helps your iPhone predict the next action based on your eye movement.
How to turn off Eye Tracking on iPhone
If you want to disable the Eye Tracking, the process is simple—follow the steps below.
- Go to Settings on your iPhone and tap Accessibility.
- Tap Eye Tracking under the Physical and Motor section.
- Turn Off the switch next to Eye Tracking.
- Now, a Pop-up will appear on the Screen; tap Yes to Confirmation.
Video: How to control your iPhone with iOS 18 Eye Tracking feature
Signing off…
Eye Tracking is a great accessibility feature that extends the possibilities of using an iPhone or iPad. This opens up the Apple ecosystem to users who previously couldn’t access it due to a touch-first interface. Nevertheless, as of now, the feature still needs a little more polishing before it can work as Apple intended it to.
FAQs
If Eye Tracking is not working on your iPhone or iPad, you should first ensure that the TrueDepth camera used for Face ID is clean and not blocked by a case. If that doesn’t help, you can restart your device or recalibrate Eye Tracking by turning the feature off and then setting it up again.
Eye Tracking is not supported on Macs in macOS Sequoia. However, if you want a similar feature on your Mac, you can go to System Settings > Accessibility > Pointer Control and turn on Head Control. This feature lets you move the mouse pointer with the movement of your head and perform actions like double-click, right-click, or left-click using your facial expressions.
Also Read:


