You never know how safe you are at a particular location. Emergencies may occur anywhere. In that case, Apple launched emergency SOS, so that you can call for help quickly and conveniently and alert your emergency contacts. This is the reason I personally feel that it’s a smart idea to add emergency communication to your iPhone. So, now let’s move ahead and understand how to use emergency SOS on iPhone!
- What does the Emergency SOS on iPhone do?
- How to Call Emergency Services on iPhone?
- How to Turn Off Emergency SOS Auto Call on iPhone
- How to End an Emergency SOS Call on iPhone
What Does the Emergency SOS on iPhone Do?
Once you make a call with Emergency SOS, your phone will immediately notify your emergency contact with a text message from your iPhone. Your phone will also send your current location and updates to your emergency contacts for a period of time as soon as you enter SOS mode and your location changes. You can even set up your Medical ID so that anyone besides you can easily access the details through the screen lock directly. You can choose Police, Fire, or Ambulance as your Emergency Contact Numbers in countries like the United States and Germany.
How to Call Emergency Services on iPhone?
Make a Call on iPhone 11, X series or later
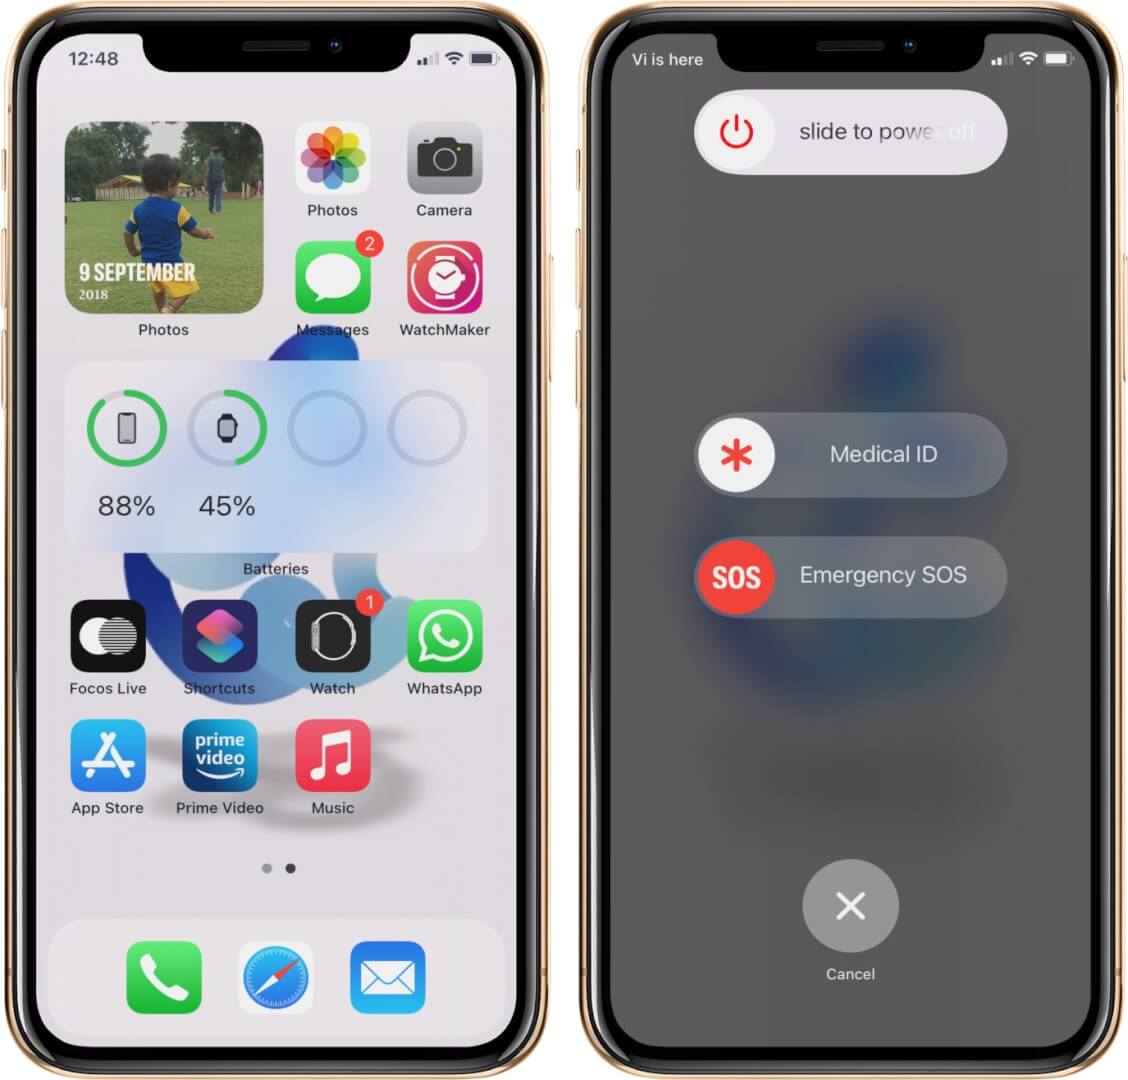
- Long press the side button and one of the volume buttons till the emergency SOS slider appears.
- Drag the Emergency SOS slider to call emergency services.
- If you continue to hold down the side button and Volume button, instead of dragging the slider, a countdown begins.
Make a Call on iPhone 7 or earlier
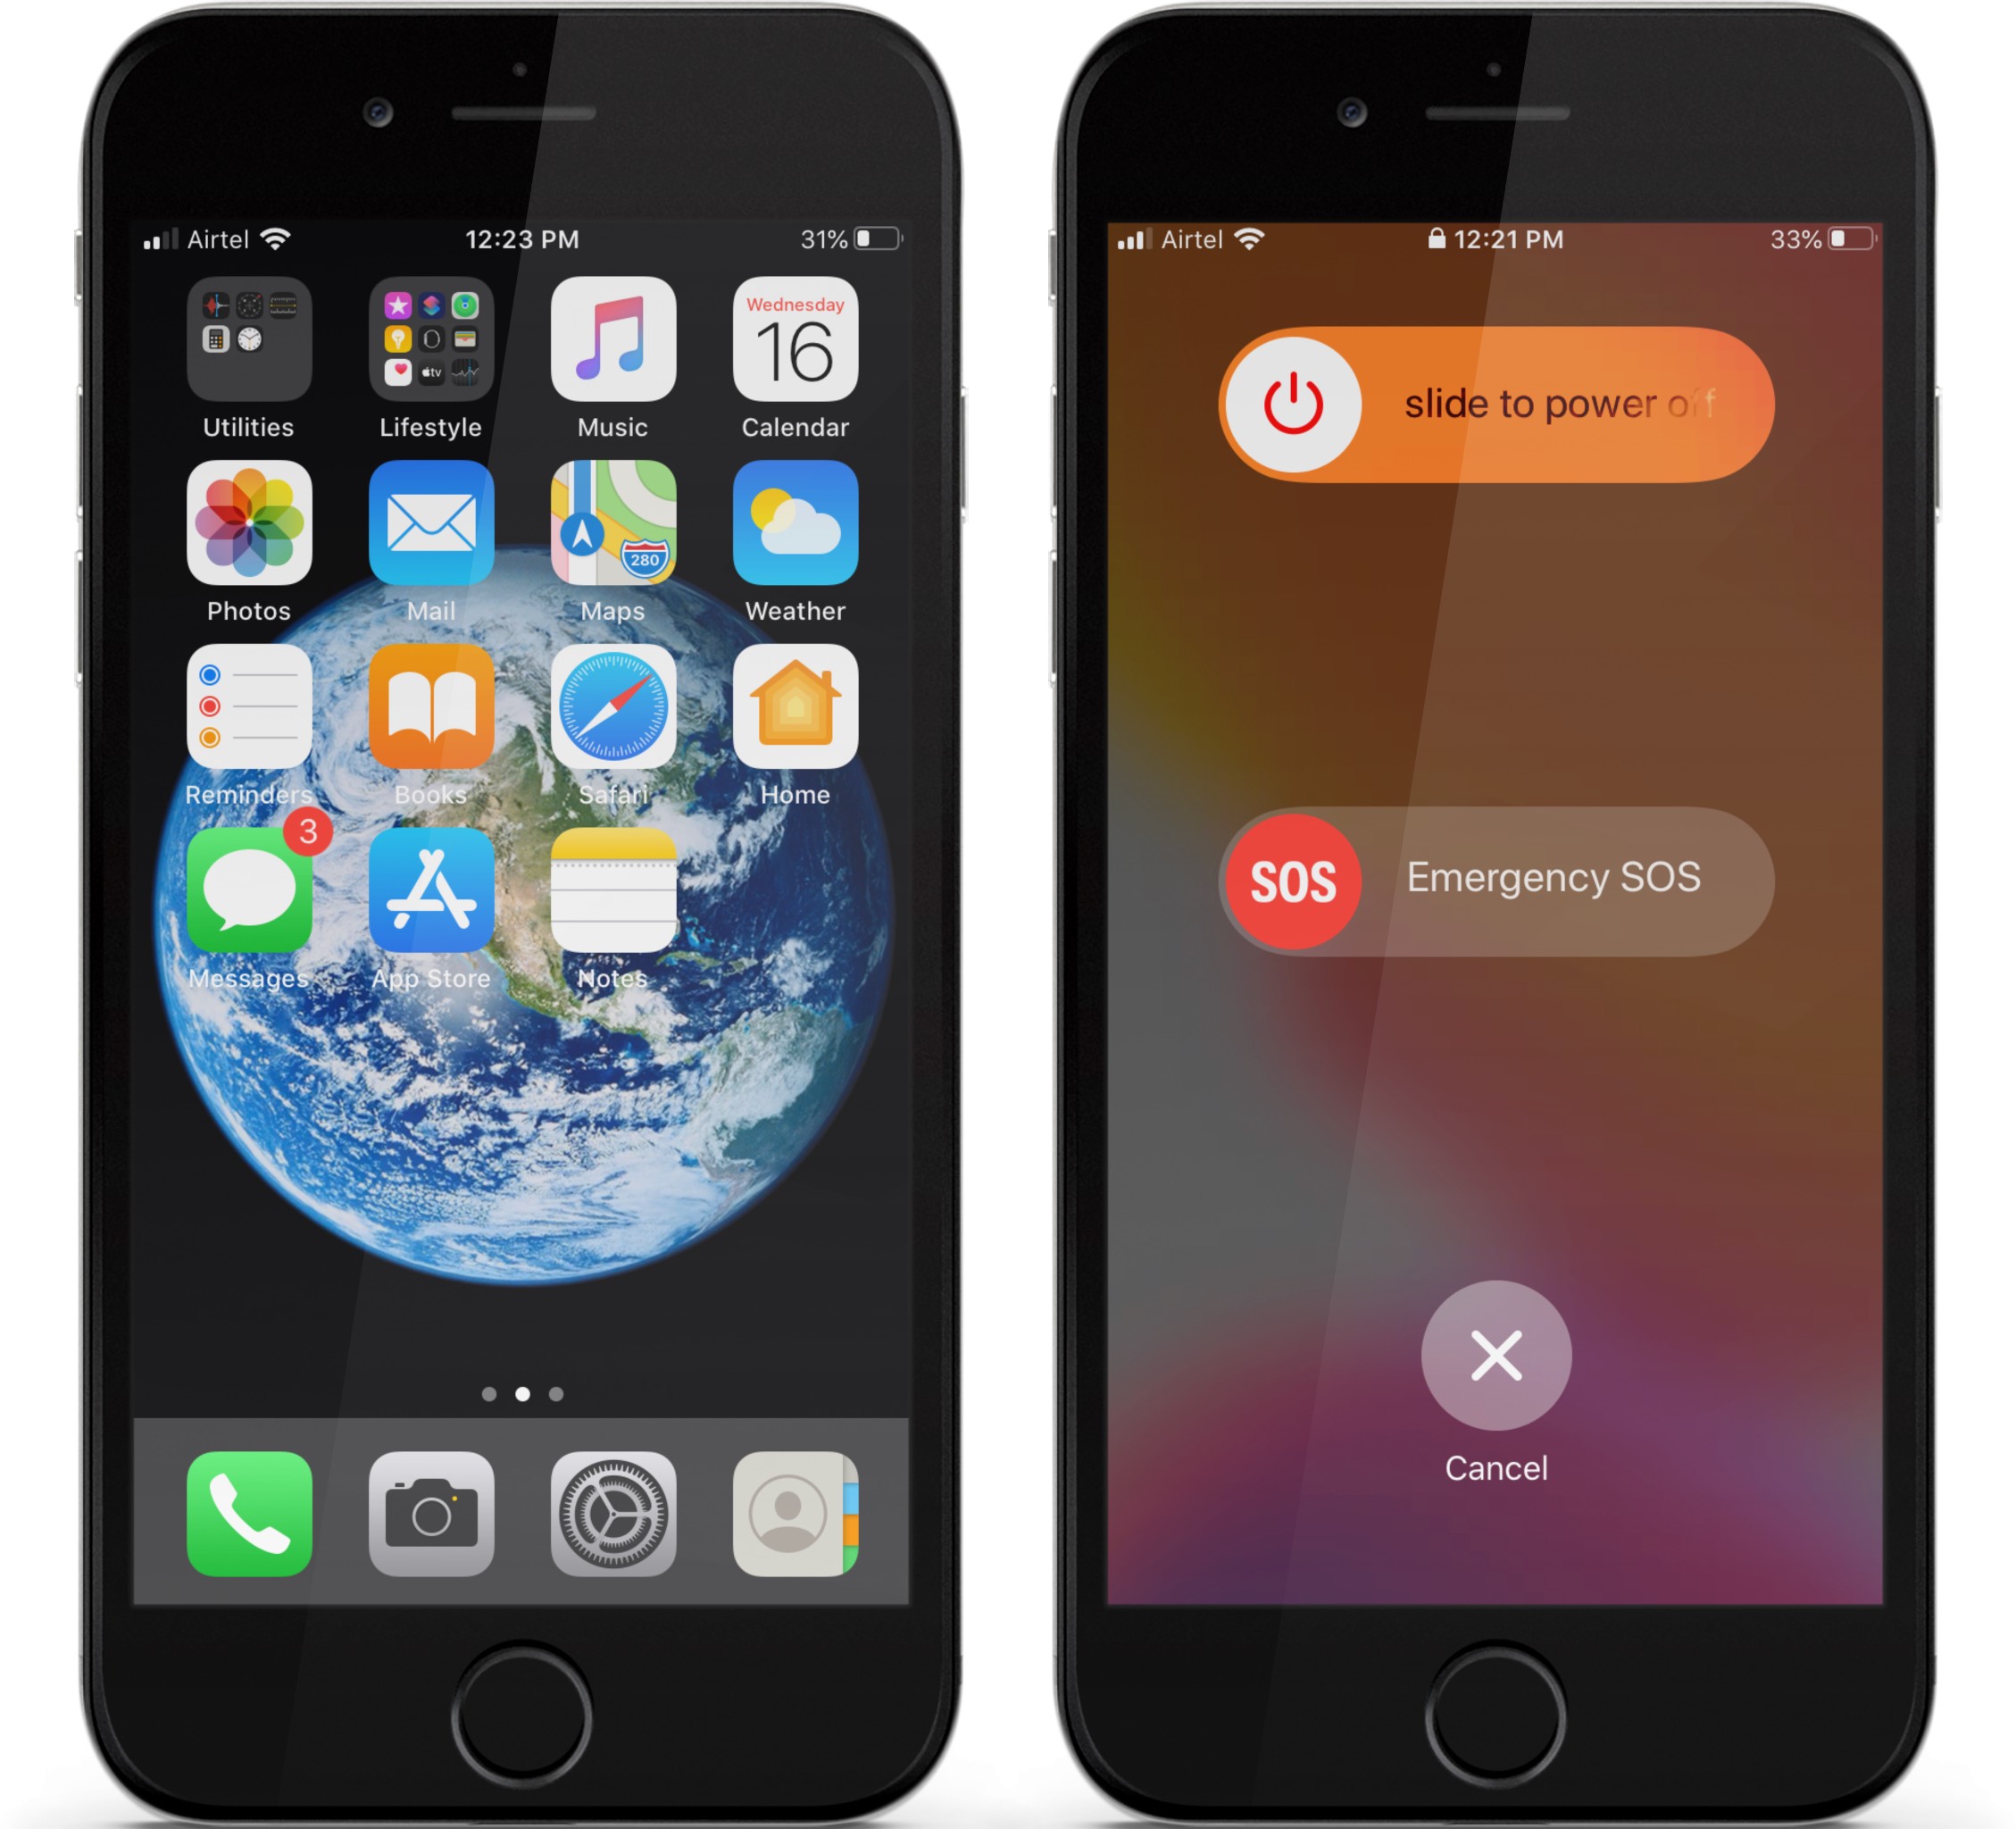
- Tap the side button three to five times rapidly. The Emergency SOS slider will be activated.
- Drag the Emergency SOS slider to call.
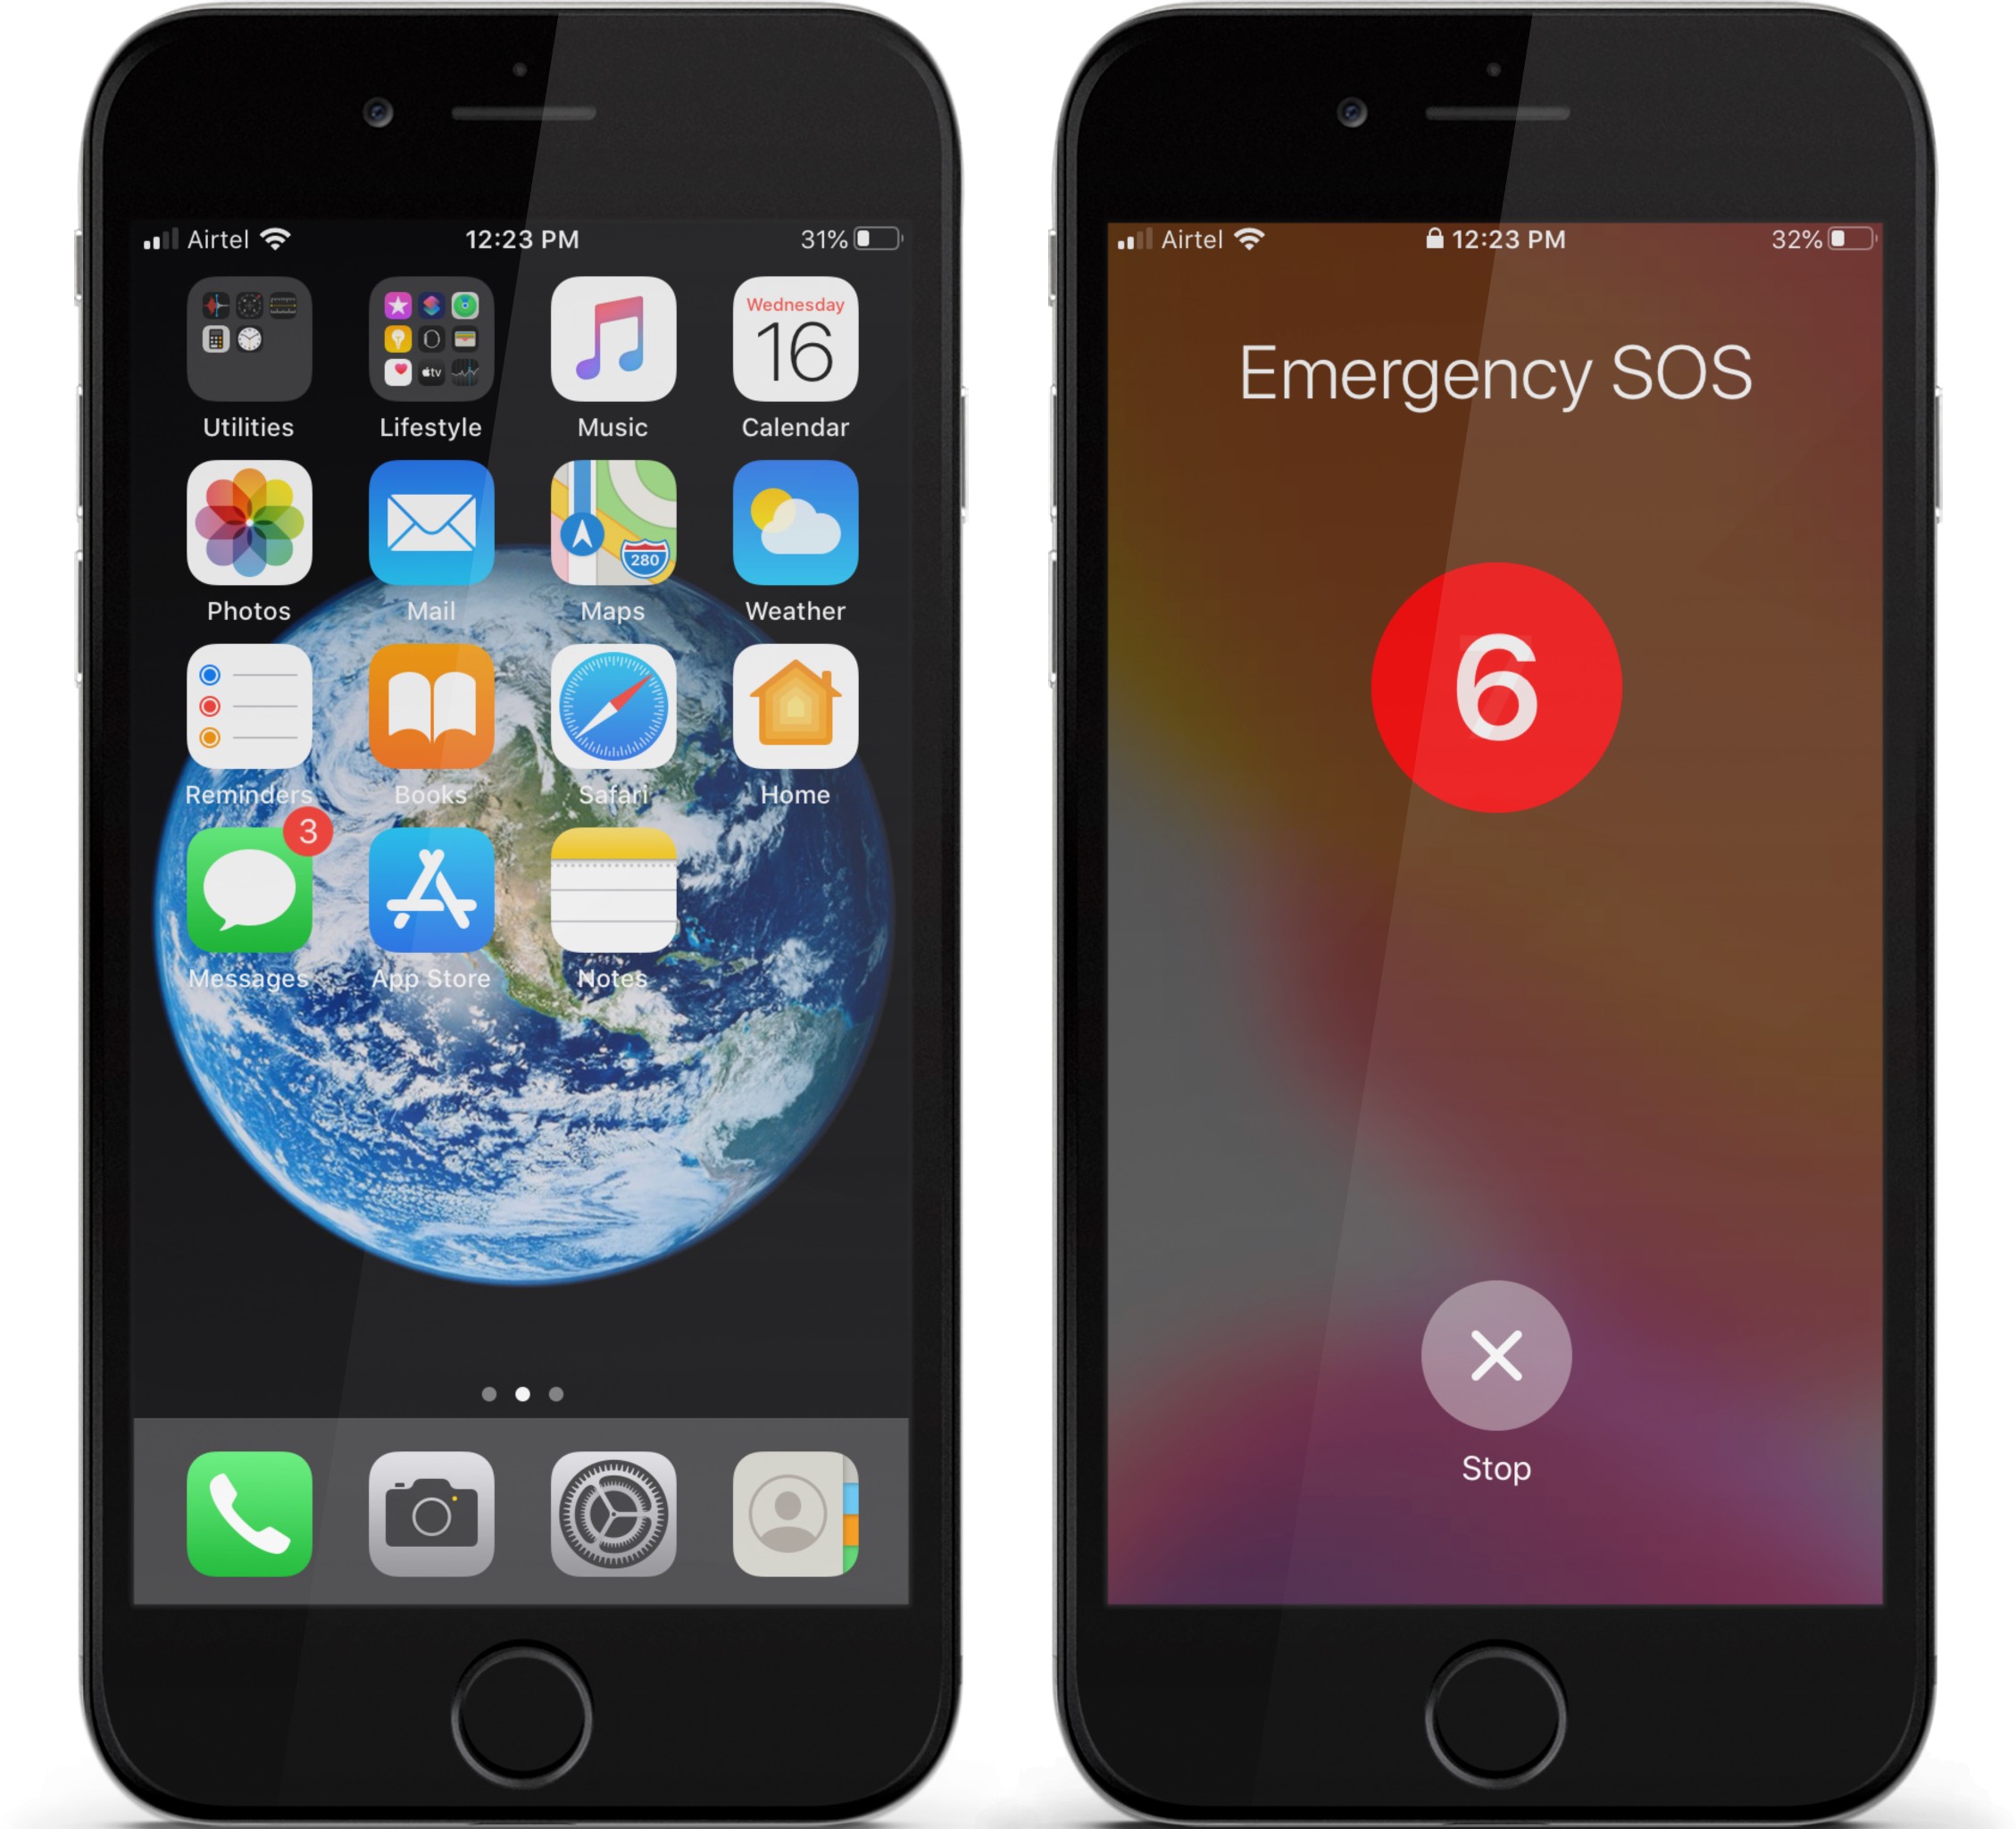
- In case, you have already selected the Auto call option from your settings, the slider will not appear but the iPhone screen will show a timer.
- As soon as the timer ends, it would place the call.
How to Turn Off Emergency SOS Auto Call on iPhone
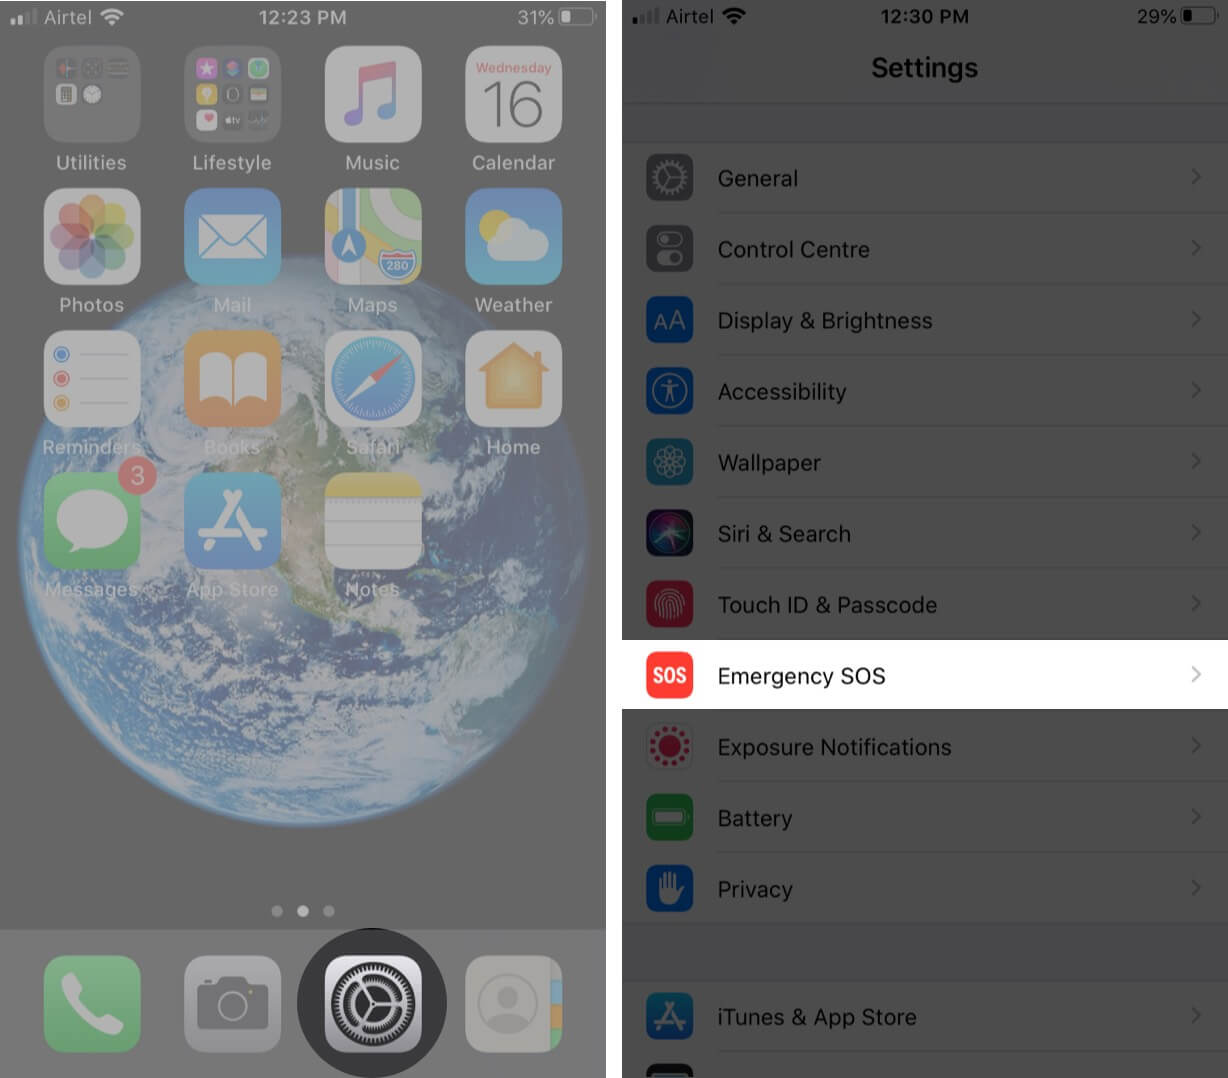
- Open the Settings app on your iPhone.
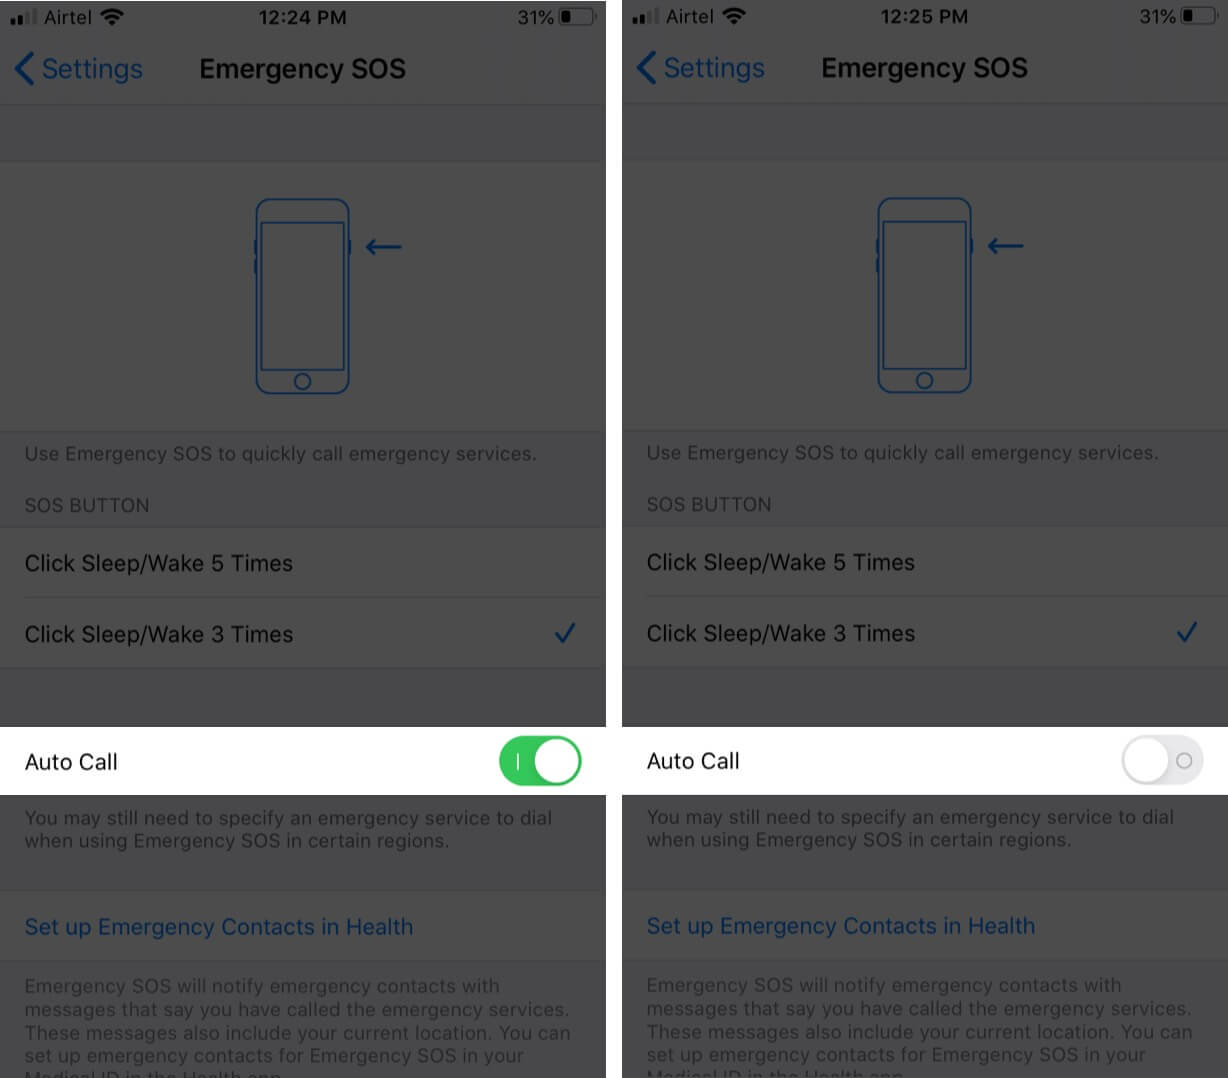
- Scroll down and tap on Emergency SOS.
- Now you can turn Auto call off.
To turn on, you can follow the same steps mentioned above and turn the toggle on.
On iPhone 11 or later, you can call by pressing the side button five times:
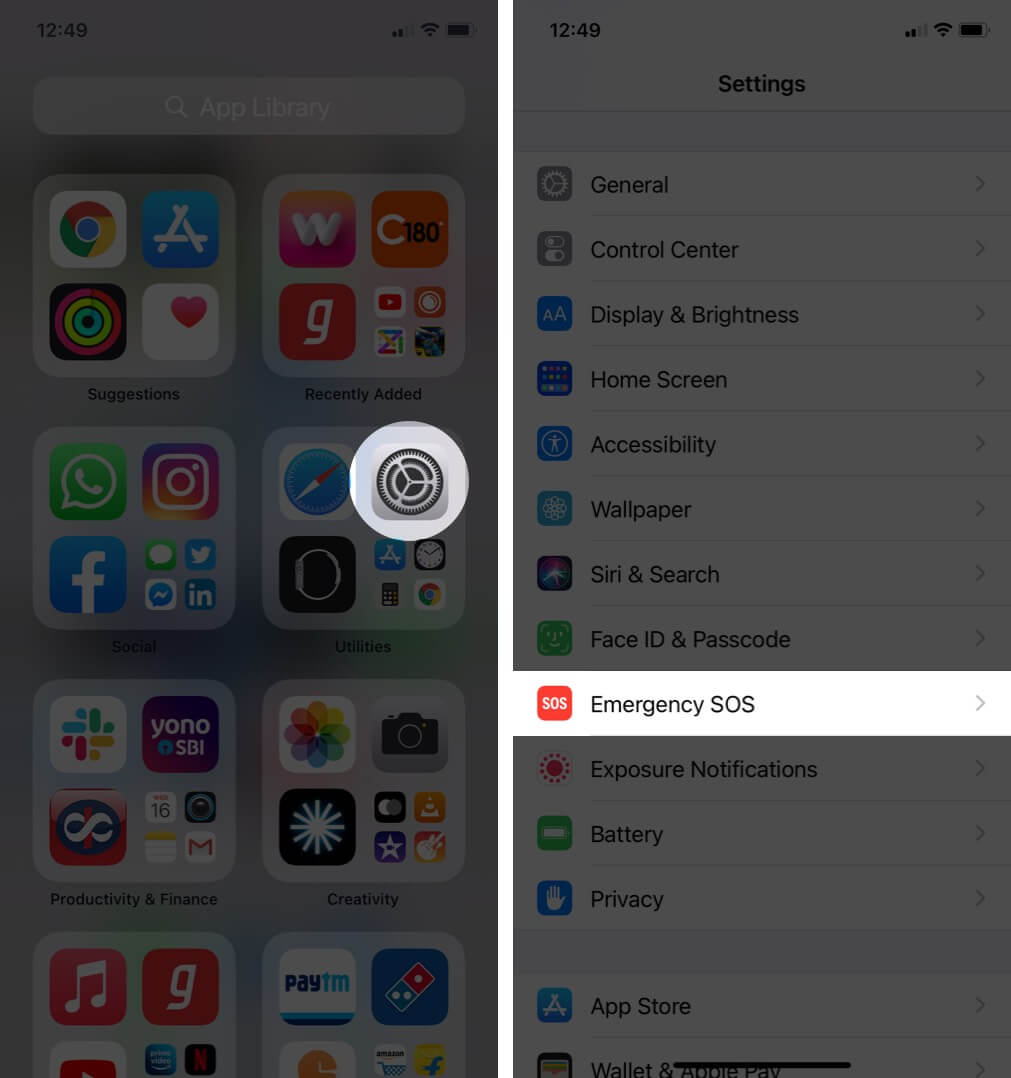
- Open the Settings app on your iPhone.
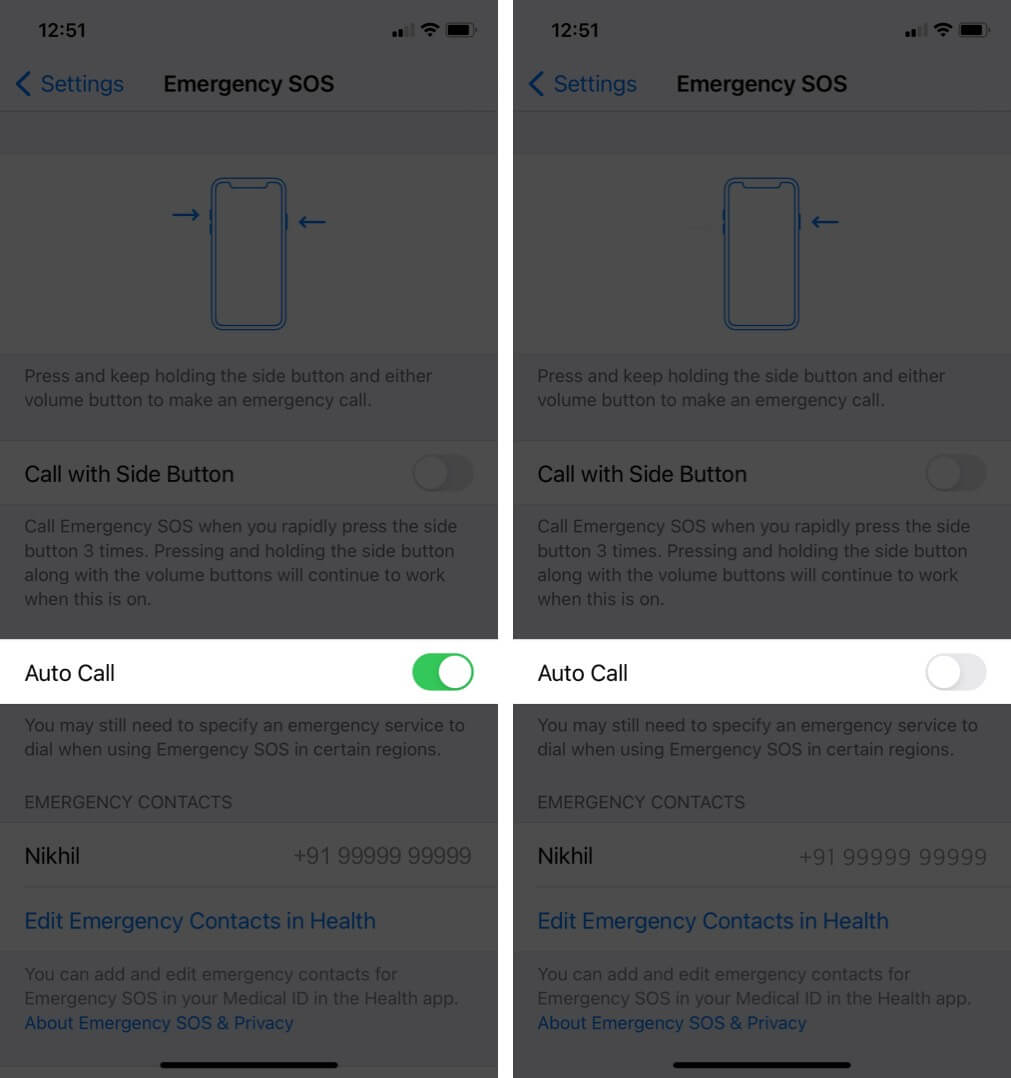
- Tap Emergency SOS.
- Turn Call with Side Button on or off. (Pressing and holding the side button along with the Volume button will continue to work when this is on.)
How to End an Emergency SOS Call on iPhone
If the Emergency SOS gets activated accidentally, you have an option to cancel it as well.
- On iPhone 11, X, or later: You can release the side button and volume button to deactivate it.
- On iPhone 7 or earlier: You can press the stop button and confirm that you want to end the call.
And if you accidentally call the emergency services, the call can be ended by tapping on End call icon and confirming that you want to cut the call.
Singing off!!
Nobody meets with an accident by choice, it’s by chance. In that case, it is always good if we keep ourselves ready for any such situations in life. Hoping that you liked the guidelines on setting up and using Emergency SOS.
Do share your views below in the comment section!
Next time we’ll see you with more such insights. Till then stay updated to all the new features coming out!!
You would like to read these posts as well:

