The Apple Watch tops the charts of the best-selling smartwatches worldwide, and for a good reason. In the Far Out event on September 7, 2022, the tech giant unveiled the Apple Watch Ultra, Apple Watch SE, Apple Watch Series 8, and watchOS 9.

What got many people excited, especially outdoor enthusiasts, is the redesigned Compass app. It sports two new features, Waypoints and Backtrack, upping the game for those who love navigating the backcountry.
Here’s everything you need to know about using Compass Waypoints and Backtrack on your Apple Watch!
- What are Compass Waypoints and Backtrack features?
- Which Apple Watches are compatible?
- How to create and display Compass Waypoints on Apple Watch
- How to add Compass Waypoint complications to your Apple Watch face
- Trace your steps with Apple Watch’s Backtrack feature
What are Compass Waypoints and Backtrack features?
The new lineup of Apple Watches packs a punch with a host of new features, including Crash Detection, Low Power Mode, and Apple Watch Waypoint navigation. Compass Waypoints and Backtrack are new Apple Watch features that come with the revamped Compass.
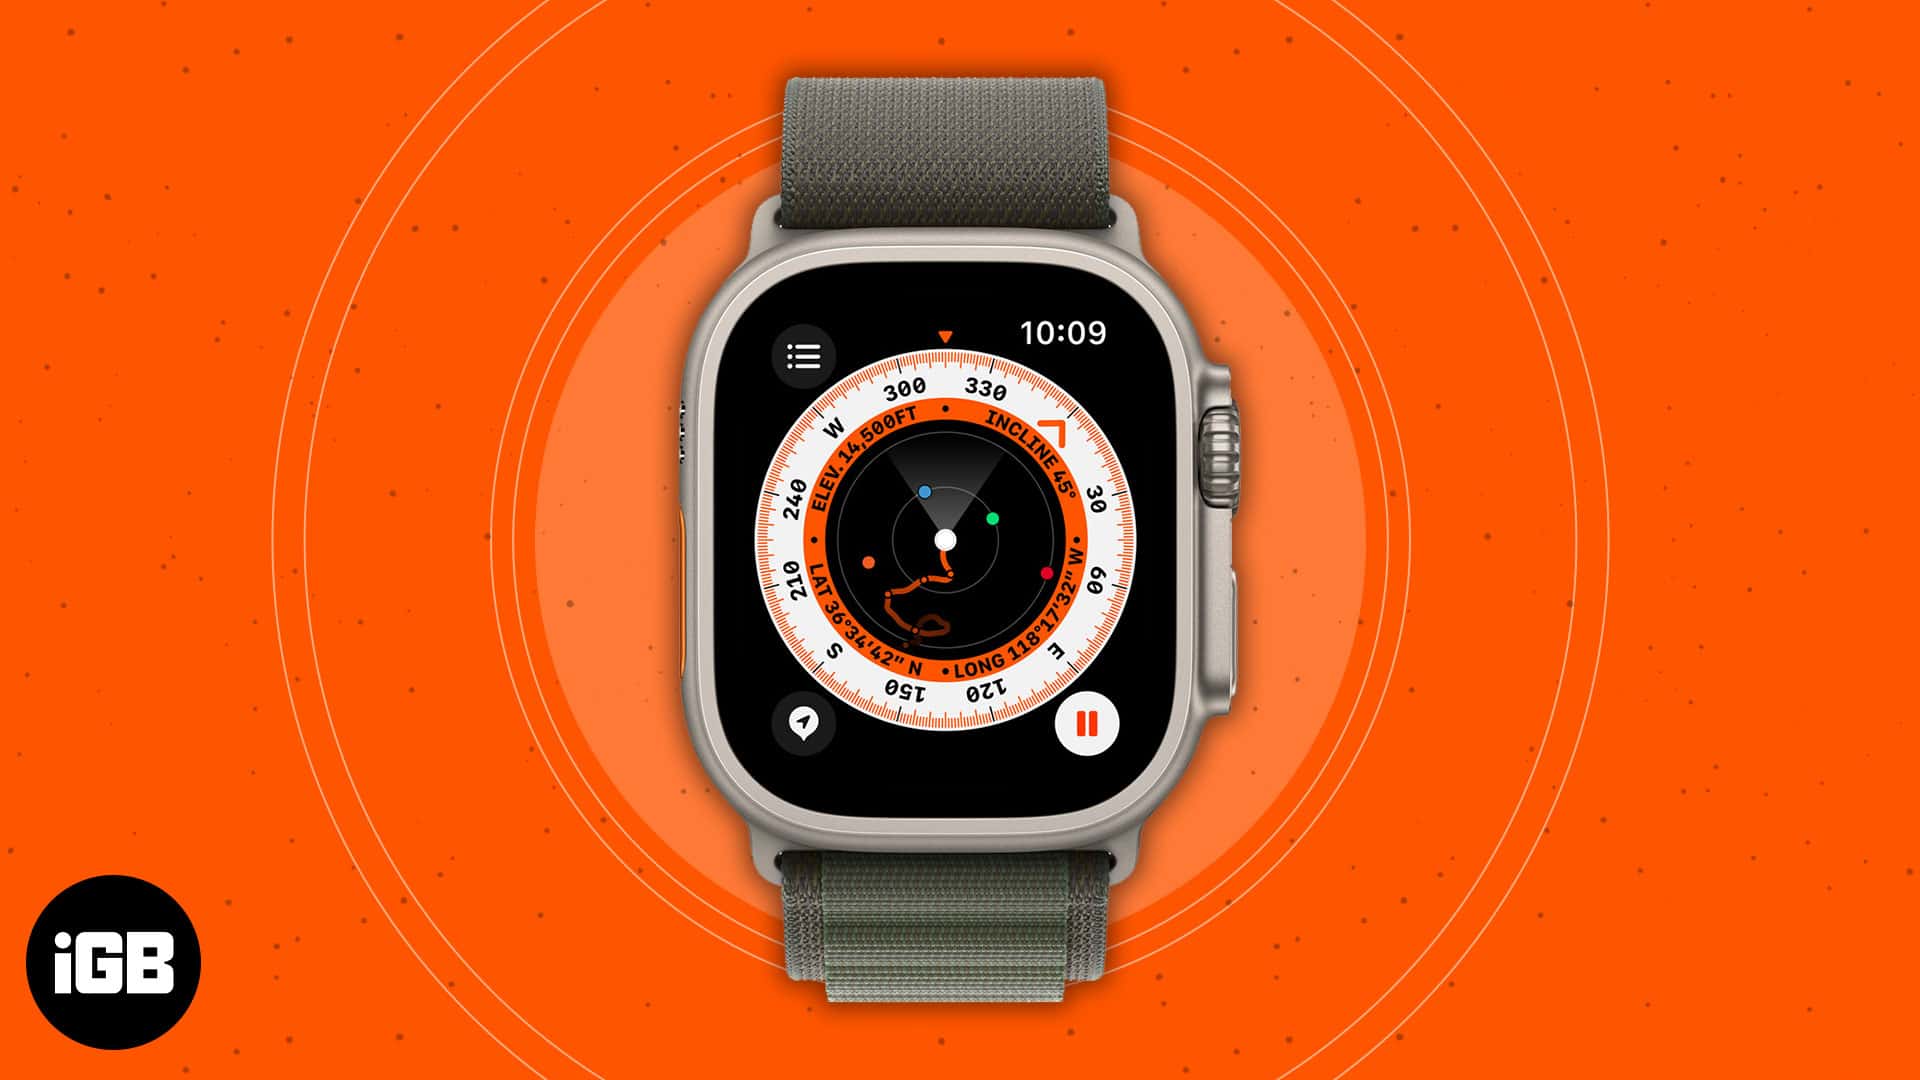
The Compass app now offers a hybrid view that shows you both a digital view and an analog compass dial. Turning your watch’s Digital Crown gives you an additional view that shows relevant location information like latitude, longitude, elevation, and incline.
What’s more? It displays an orienteering view, where the Compass Waypoints and Backtrack features are built-in.
Compass Waypoints lets you conveniently and quickly mark points of interest or locations directly in the app. Just tap the Compass Waypoint icon or the Action button on the Apple Watch Ultra to drop a waypoint.
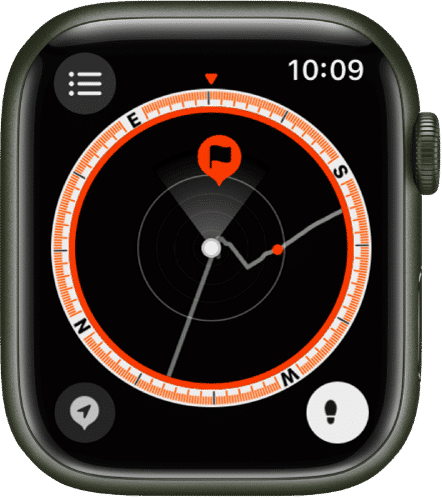
When you select a point, your device will give you a targeted view of the direction of the waypoint and an approximation of how far it is from you.
Backtrack uses GPS to create a visual path based on where you have been. Once your device detects that you went off the grid, the Backtrack feature automatically turns on in the background. It helps you trace your way back if you are disoriented or lost.
Which Apple Watches are compatible?
All of the recently added Apple Watches to Apple’s lineup, namely the Apple Watch Ultra, Apple SE, and Apple Watch Series 8, have the Waypoint and Backtrack features inside their Compass apps.
Note: Removing the Compass app from your Apple Watch also removes the Compass Waypoints and Backtrack features that are embedded within the app.
The features come with the watchOS 9, and any Apple Watch since Watch SE and Series 6 will be able to run the same. Here’s the list.
- Apple Watch Ultra
- Apple Watch Series 8
- Apple Watch Series 7
- Apple Watch Series 6
- Apple Watch SE
You also need an iPhone 8 or later running on iOS 16 or later. Moreover, not all features are available on all devices, languages, or regions.
Sadly, the features won’t be available for you if you own an Apple Watch Series 5 or older.
Have an eligible watch but don’t know how to update it? Read our article on how to update watchOS to the latest version.
How to create and display Compass Waypoints on Apple Watch
You can use Compass Waypoints to drop important waypoints so that your Apple Watch can help you find the distance and direction between these points. To begin using the feature:
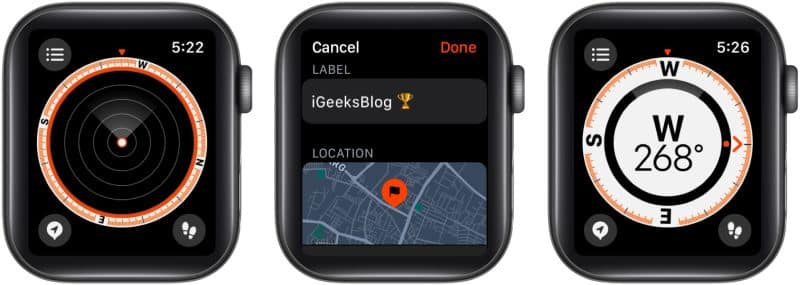
- Open the Compass app.
- Tap the Compass Waypoint icon, which looks like an arrow inside a message bubble.
- Customize the waypoint by adding a label and choosing a color or a symbol for it → tap Done.
- View a Compass Waypoint, tap it on any of the three Compass screens → turn the Digital Crown to select a waypoint → tap Select.
You should see the distance and direction to your chosen waypoint. For example, you’ll find something like “2.5 miles to your right.” - Scroll to the bottom of the screen to see the waypoint on the map, including its coordinates.

Add Compass Waypoint complications to your Apple Watch face
If you need to refer back to a specific waypoint, say your tent or your parked car, you can add a waypoint to your watch face by adding it as a Complication.
Apple Watch complications are small bits of information from certain apps that you want to see on your watch face. This lets you quickly revisit and navigate the waypoints you’ve created or the last one you viewed.
Note: This only works on Apple Watch SE, Apple Watch Series 6 and later.
- With the watch face showing, touch and hold the display → tap Edit.
- Watch faces that offer complications are situated on the last screen, so you need to swipe left until you reach the end.
- Select a complication by tapping it → turn the Digital Crown to Compass Waypoints. Then do one of the following:
– Tap any of the first three listed waypoints to add it as a complication.
– Tap More → choose between a waypoint, Last Viewed Waypoint, or Parked Car Waypoint. - Save your changes by pressing the Digital Crown. Tap the face to set it as your default face.
- On your watch face, tap the complication to view the waypoint in the Compass app.
Trace your steps with Apple Watch’s Backtrack feature
You can also trace your steps if you lose your way while using your Apple Watch’s Backtrack feature.
Note: This feature is useful when you are in a remote or densely-covered place.
To use it:
- Open the Compass app → tap the Backtrack icon (the one with footsteps) → tap Start to begin recording the path you’re taking. It’ll show the location where you first tapped the Backtrack icon.
- Just follow the path to head back to the pinned spot.
- Once you’re back, tap the Backtrack icon again → tap Delete Steps.

Wrapping up…
Compass Waypoints and Backtrack features are built into the Apple Watch’s Compass app. These are must-have features if you’re an outdoor enthusiast or a traveler who loves visiting backcountries.
Have you used these features yet? What do you think about them, and where did you use them? Why not share your adventures below?
Read more:

