For a long time, Mac users have relied on third-party tools like Magnet and Rectangle to create automatic and custom window tiling layouts. But you can now let go of these tools as macOS Sequoia brings the automatic window tiling in-built. Let me show you how to use the new automatic window-tiling feature on Mac in macOS Sequoia.
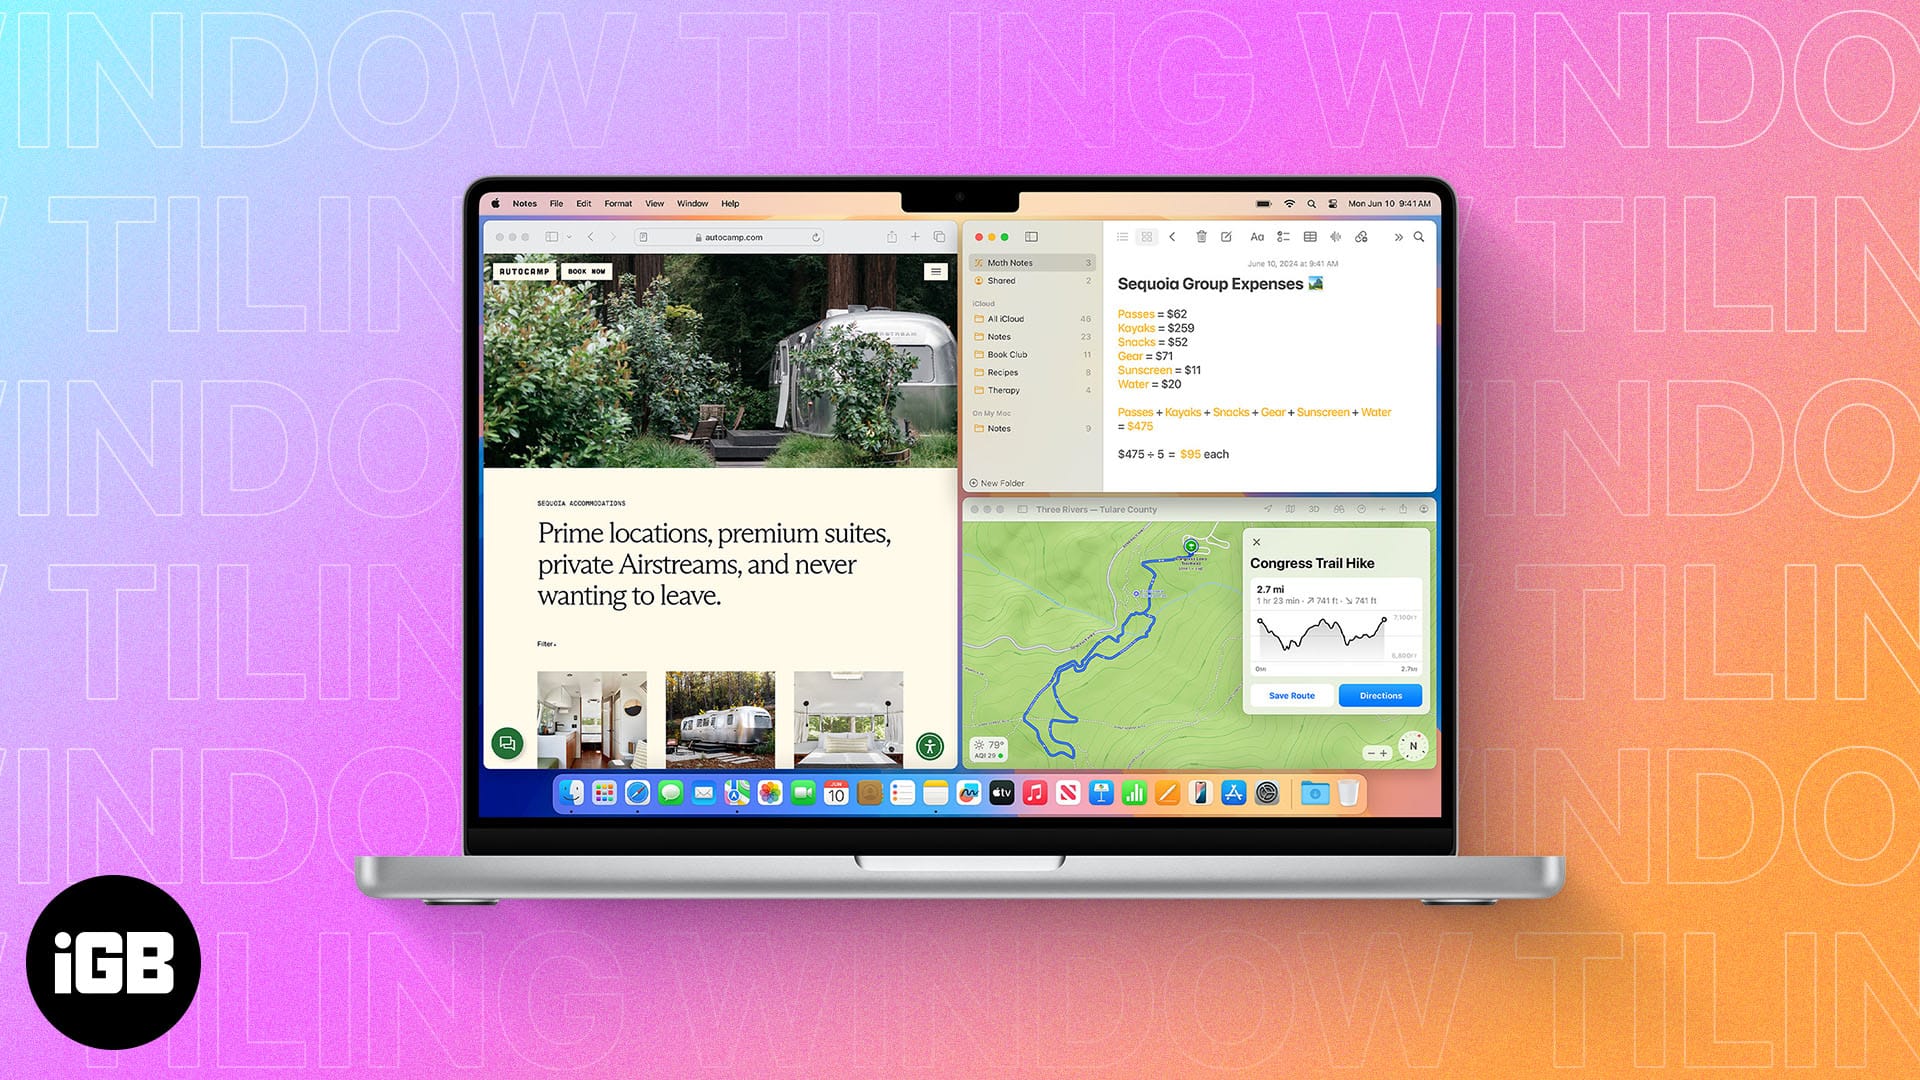
How to use automatic window tiling in macOS 15 Sequoia
Before you proceed, make sure your Mac is running the latest version of the macOS Sequoia.
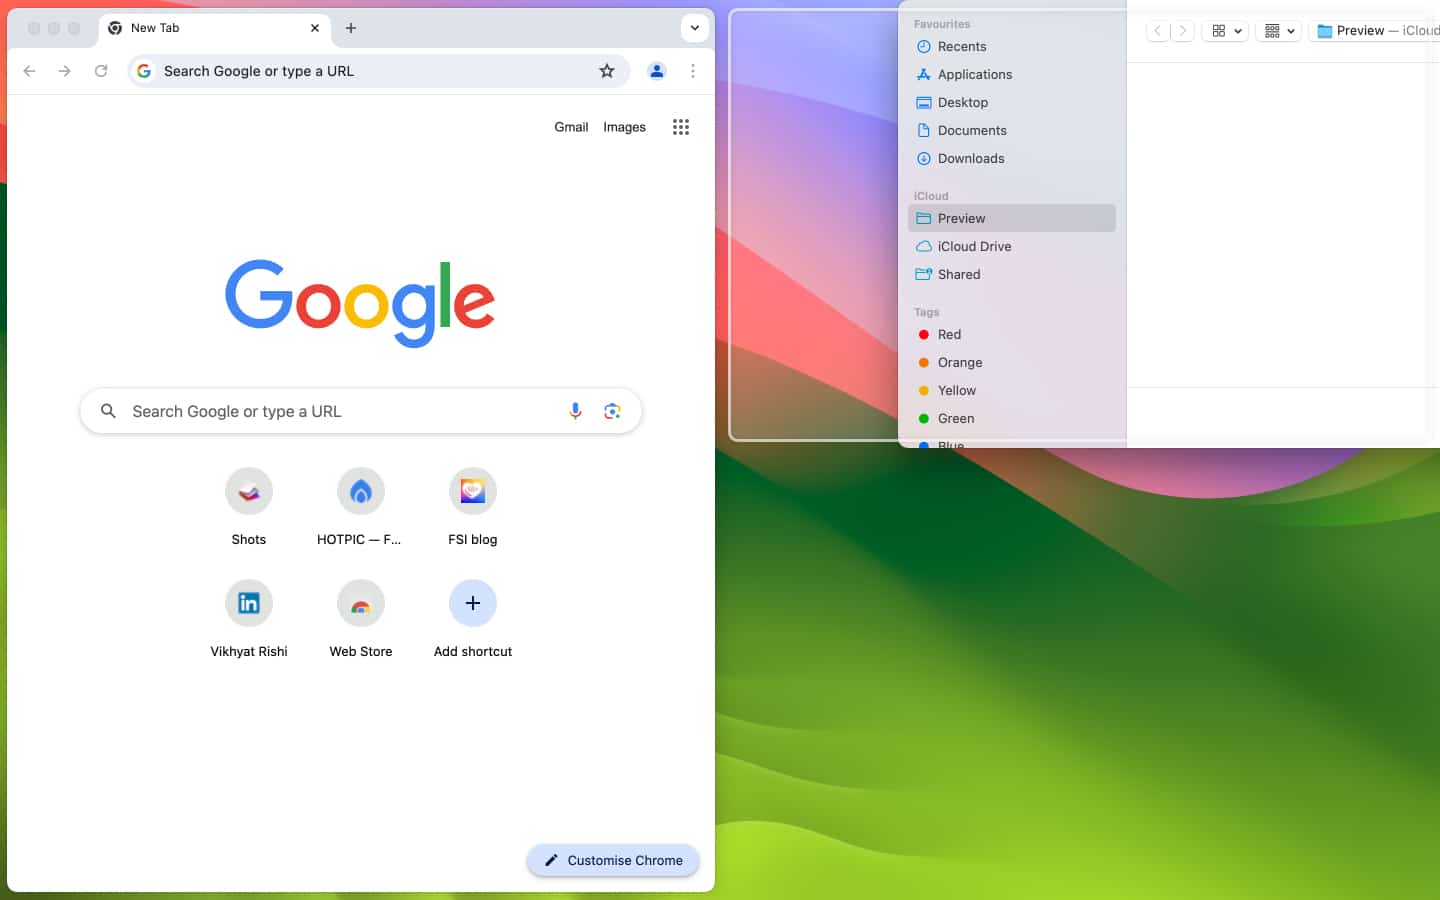
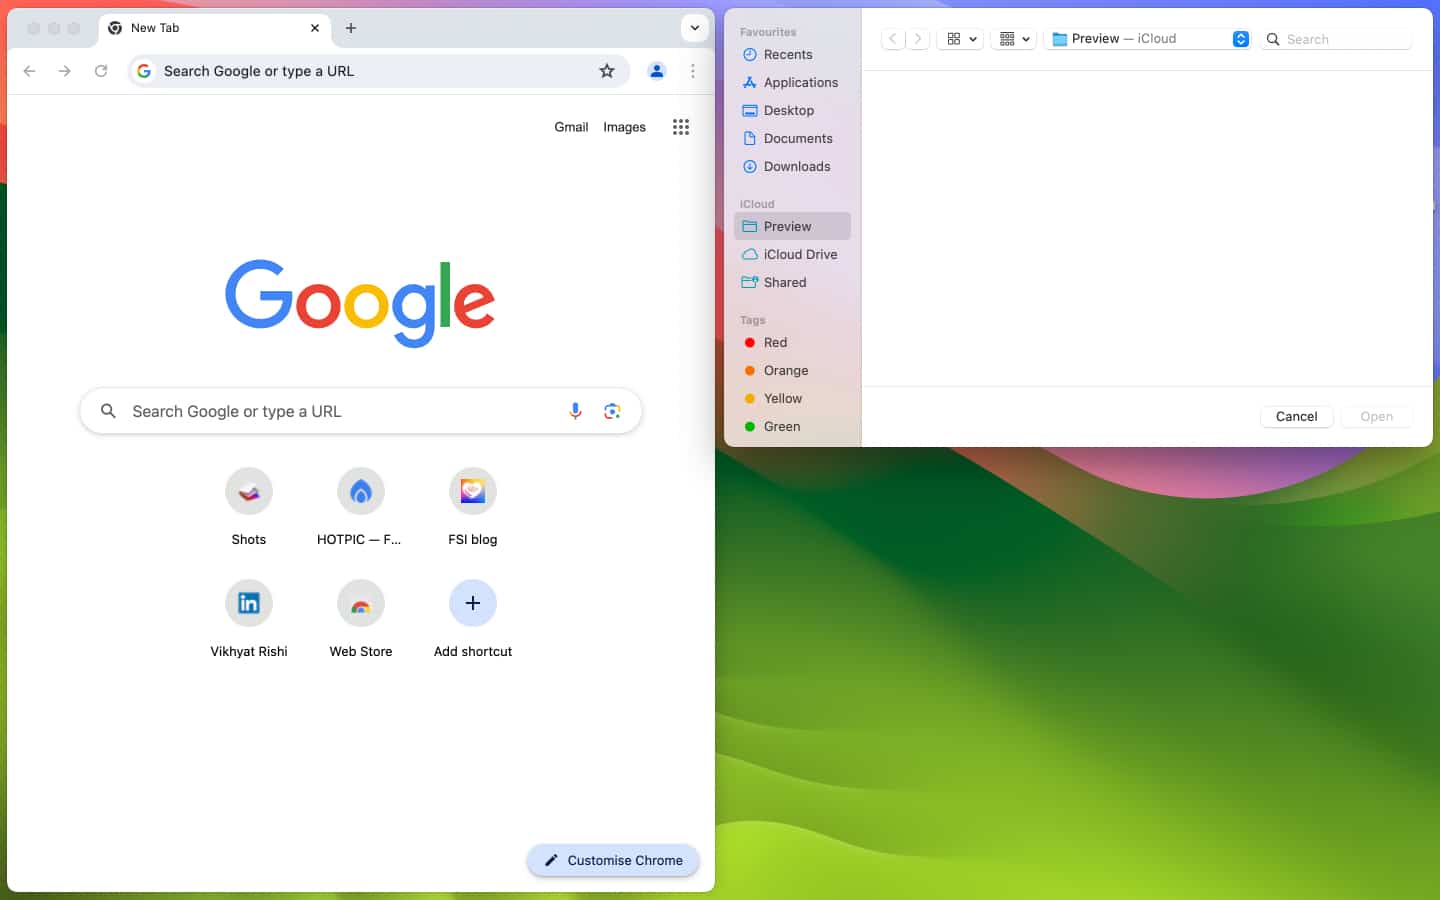
- Click and drag the window to the right or left edge or towards any of the top or bottom corners.

- When you do so, a gray border will appear around the window to preview the size and position of the window tile.
- Once you leave the window, it will automatically snap into the designated window tile.

Mac Keyboard shortcuts for automatic window tiling
If dragging and dropping is not your go-to choice, you can use the Mac keyboard shortcuts to frame the window tiles in a particular spot.
- To create a half-screen window tile, press the (Fn) function + (⌘) control + the left, right, up, or down arrow keys.
- To change the orientation of the window tile, press (Fn) function + (⌘) control + shift + the left, right, up, or down arrow keys.
- Press the (Fn) function + (⌘) control + R keys to return the window tile to its original size.
While keyboard shortcuts are a great way to use the new automatic window-tiling feature, I found them malfunctioning or not working a few times during my testing.
Another method to use the new automatic window-tiling feature is to use the top toolbar.
- Select the window you want to move.
- Click the Window button in the top toolbar.
- Next, click on Move & Resize, then select the desired option.


You can always exit auto-tiling by moving the window, which will return it to its original size.
Video: How to use macOS Sequoia window tiling
Screen management sorted…
This was all about the macOS Sequoia automatic window tiling from my side. The feature is simple to use and yields many benefits, as you no longer have to rely on any third-party tool.
What do you think of this new native capability of automatic window tiling on Mac? Do share your thoughts in the comments below.
Also Read: