While Apple added the Deep Fusion tech on the iPhones to improve image quality, the auto-enhancement feature sometimes goes the extra mile, ruining the image quality due to overprocessing.
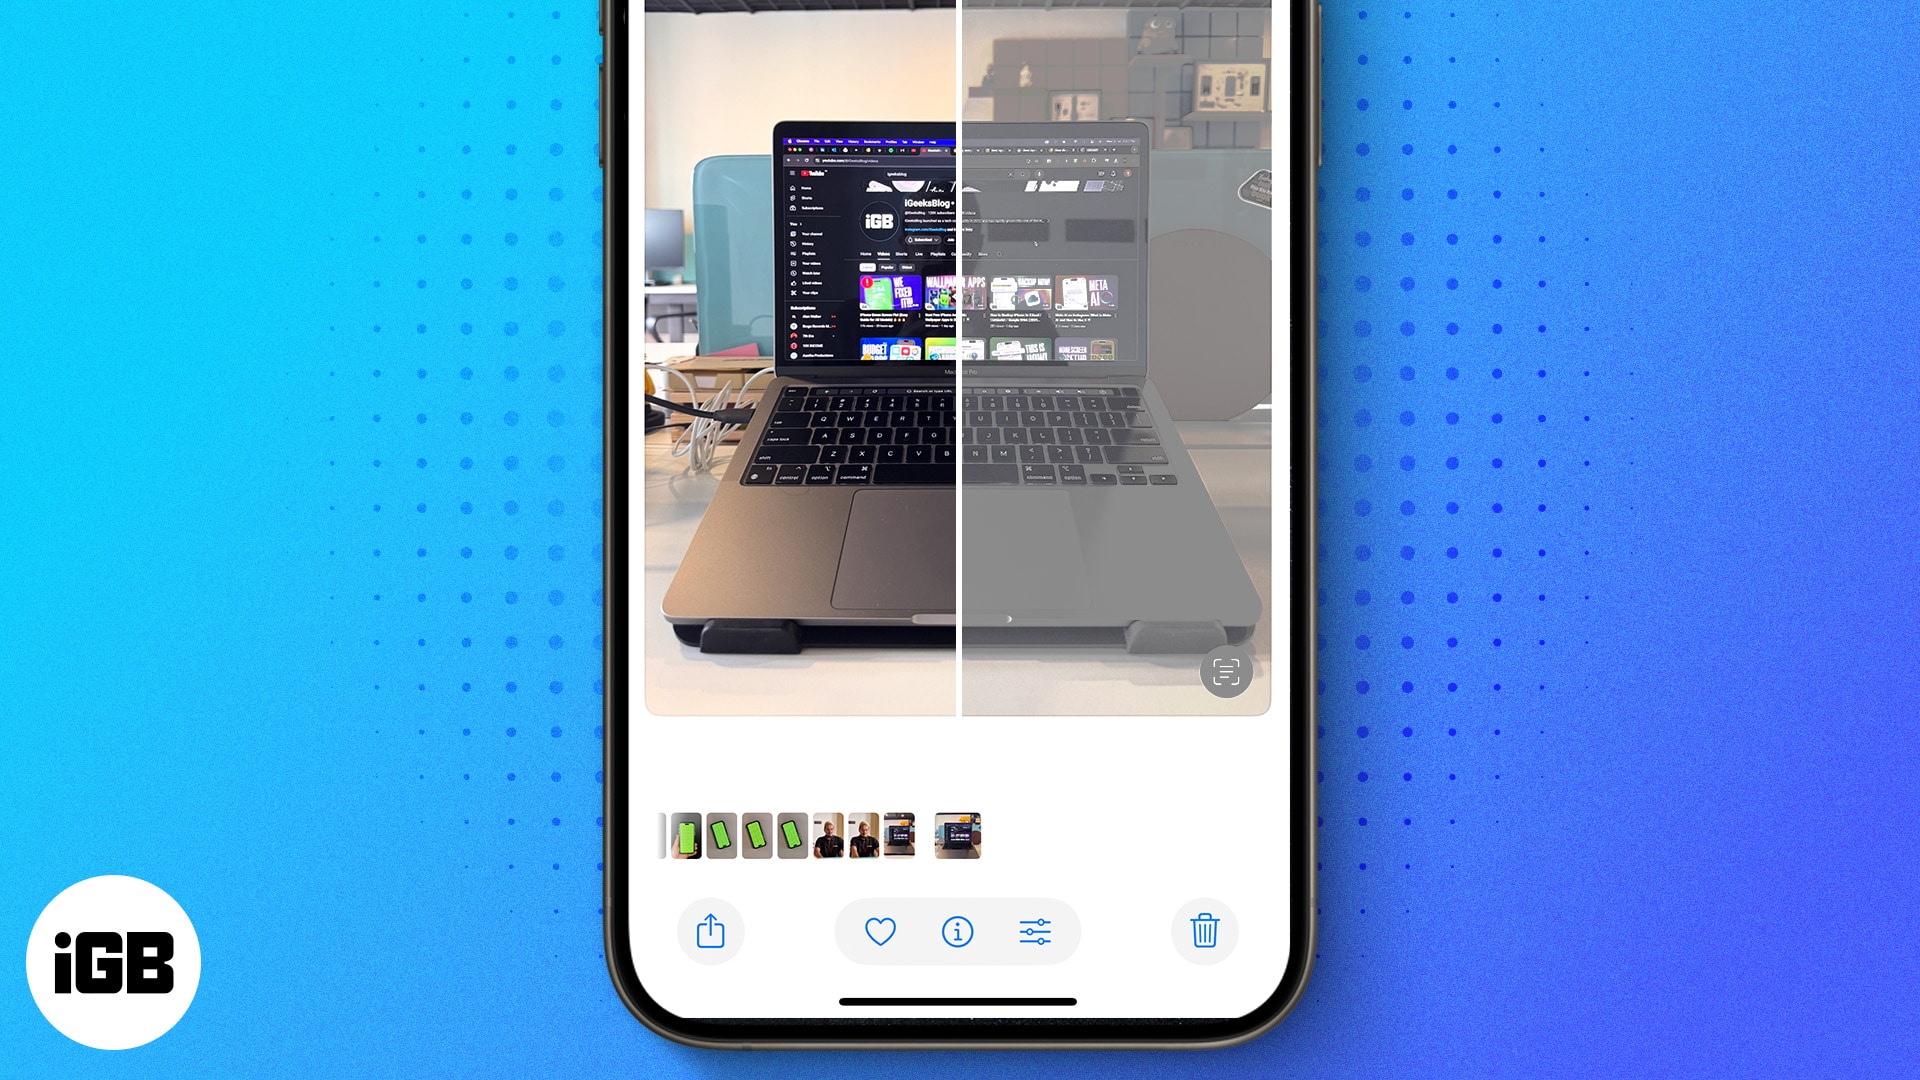
Many reports from users across the globe suggest that it often overprocess the images, making them look unrealistic and artificial. If you have been looking for a way to turn off the photo auto-enhancement on your iPhone, you’ve arrived at the right place.
Read on to learn whether or not you can turn off auto-enhancement on the iPhone and the possible ways to do that.
Can you disable the auto-enhancement camera feature on an iPhone?
To be very clear, you can not disable the auto-enhancement camera feature on your iPhone. This is because the Deep Fusion tech is built into the heart of the iPhone camera system, and mingling with it is impossible. The Deep Fusion tech automatically comes into action as soon as you click an image on your iPhone and applies some basic edits, such as brightness adjustments, color correction, and noise reduction, to enhance the image quality.
However, in most cases, these auto enhancements, due to oversaturation and overexposure, alter the true essence of the image. Unfortunately, you cannot even revert the image to its original state after the auto enhancements are applied, which happens in a fraction of a second.
How to stop an iPhone from auto-enhancing your photos
While you can not turn off the auto enhancements altogether, there do exist a few workarounds that you can follow to stop your iPhone from auto-enhancing photos to some extent. Let’s check them out.
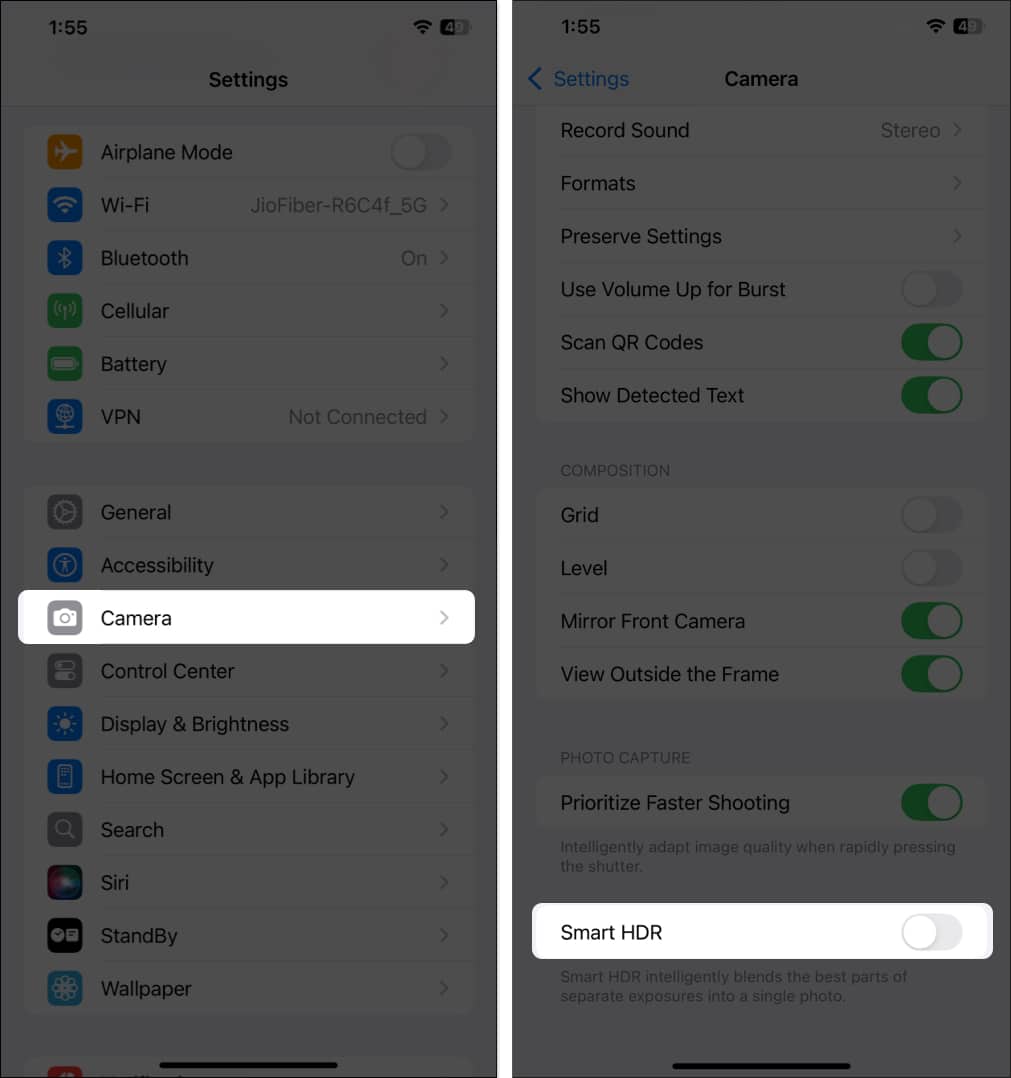
1. Turn off Smart HDR
Apple introduced the Smart HDR feature in the Camera for the first time with the iPhone XS. Smart HDR enhances the quality of the captured images in varying lighting conditions by allowing the Camera to capture multiple shots in different exposures and then combine them later to create a single image with better highlights and shadow detailing.
Hence, the resulting exposed images might actually be due to the Smart HDR feature instead of Deep Fusion. As such, turning off the Smart HDR feature might deliver better-quality images. While Smart HDR automatically comes into action on iPhone 13 or later models, you can manually configure it on iPhone 12 or previous models. Here’s how:
- Open the Settings app on your iPhone.
- Select Camera.
- Scroll to the bottom and toggle off Smart HDR.

2. Disable HDR Video
Similar to photos, the HDR Video feature also affects the quality of the recorded video by giving it “true-to-life color and contrast” and can make it look a little too bright. Turning the feature off can help retain better quality.
- In the Settings app, navigate to the Camera settings.
- Tap on Record Video.
- Finally, toggle off HDR Video.


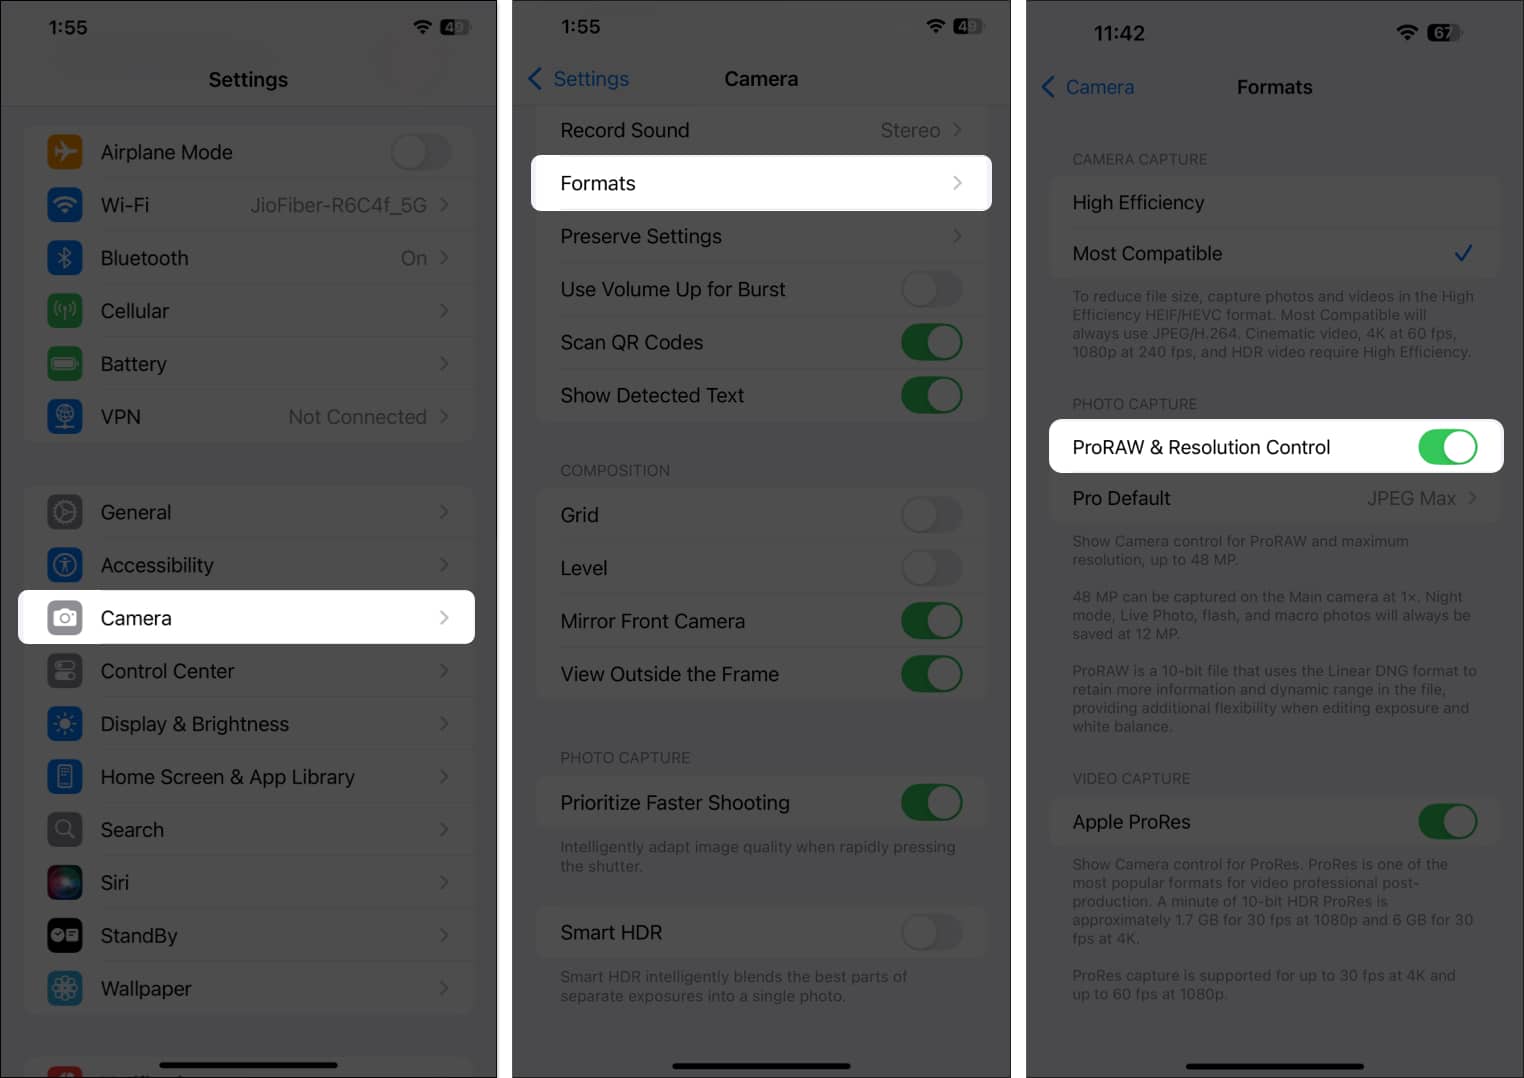
3. Shoot in RAW format
If toggling off Smart HDR doesn’t help, try capturing images in RAW format. When you switch to the Apple ProRAW format, you get full control over your iPhone’s Camera app capabilities, and the resulting photos will come out with little or no image processing. Here’s how you switch to Apple ProRAW format on your iPhone:
- Open the Settings app and navigate to Camera.
- Tap on Formats.
- Next, toggle on Apple ProRAW & Resolution Control.
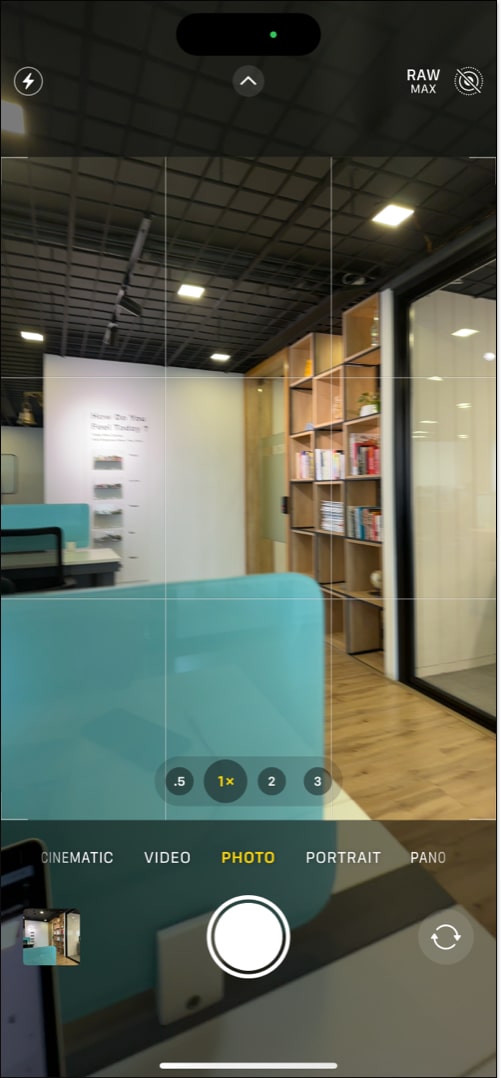
- Exit Settings, and open the Camera app.
- Here, tap the RAW MAX button in the top-right corner, then start recording the video.

4. Turn off Night Mode
While Deep Fusion is usually responsible for producing overenhanced images, the Night Mode might be the main culprit behind overshadowed and oversaturated images when shooting in low-light conditions. The Night Mode is enabled automatically whenever the camera sensor detects low-light conditions. However, you can turn it off manually.
- Open the Camera app.
- Tap the Night Mode icon next to the flash button in the top-left corner to turn it off if it isn’t already.

5. Take photos in Burst mode
Another great workaround to bypass auto enhancements on your iPhone is to capture photos in Burst mode. When shooting in Burst mode, the iPhone Camera captures a series of images in a fraction of a second, giving Deep Fusion tech little to no time to apply auto enhancements. Here’s how you to shoot in Burst mode on an iPhone:
- In the Camera app, drag the Camera button to the left or press the Volume Up button.
- The longer you keep holding the Camera button or Volume Up button, the more shots the camera will capture.
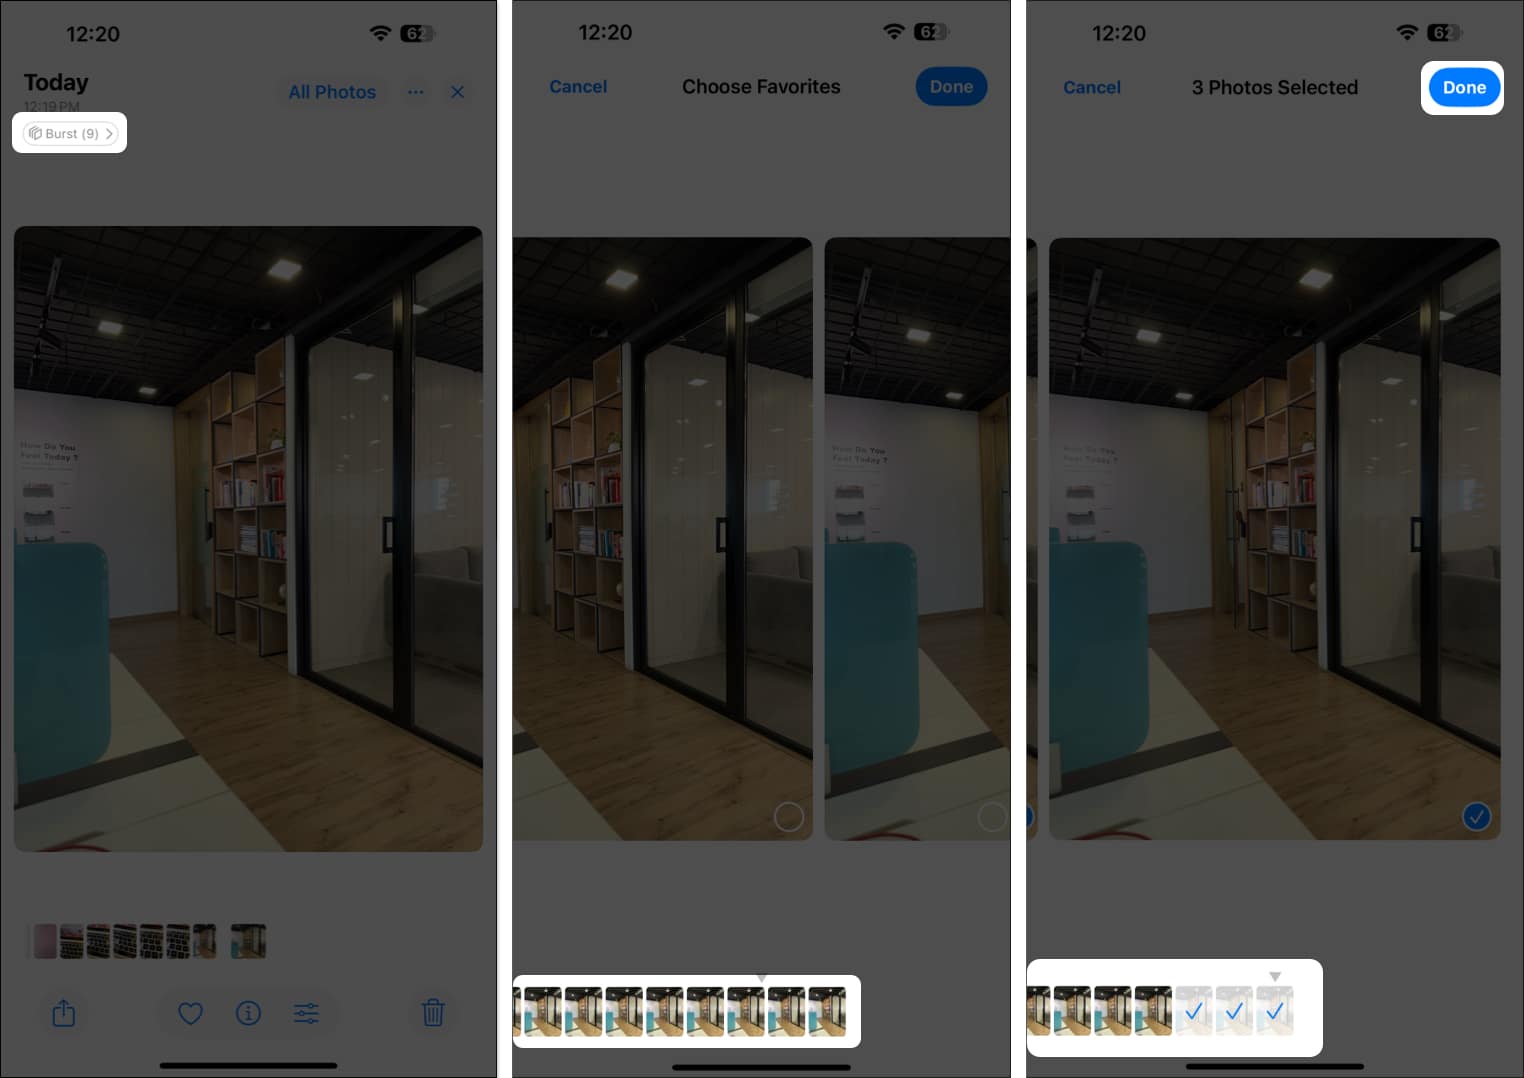
Once you are done with the shooting, you can view all the images and select only the best to keep in your library. Here’s how:
- In the Photos app, open the burst image you took.
- Here, tap the gray Burst button in the top left-corner.
- Swipe right or left to choose your favorite images.
- Once done, tap on Done in the top-right corner.
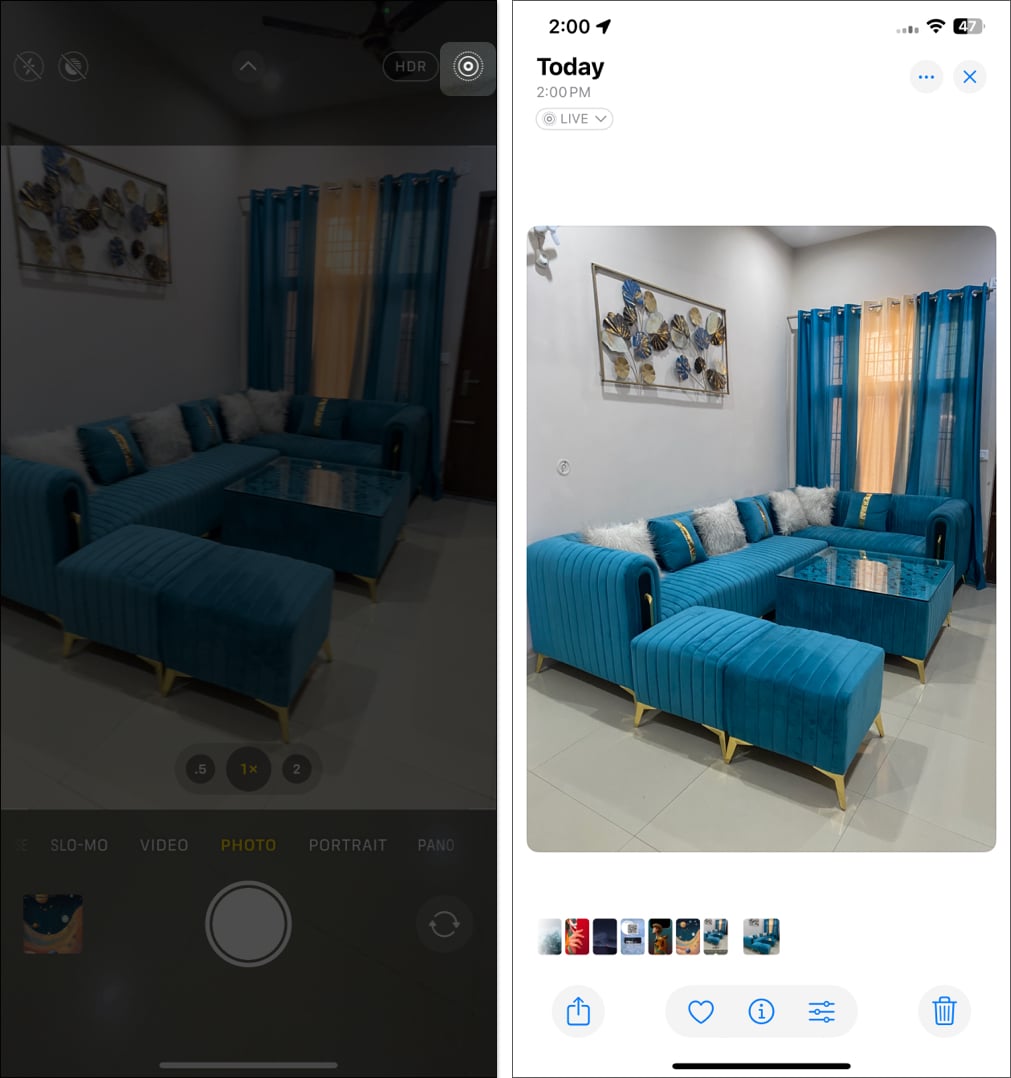
6. Use Live Photos
Using Live Photos is by far the best way to bypass auto-enhancement on the iPhone, as images captured in Live Photo mode do not get the auto-enhancement treatment. Thus, you can easily access the unedited versions of the captured image.
- In the Camera app, tap the Live Photo icon in the top-right corner to turn it on if it isn’t already.
- Now, click a Live Photo.
- Next, open the captured image in the Photos app.
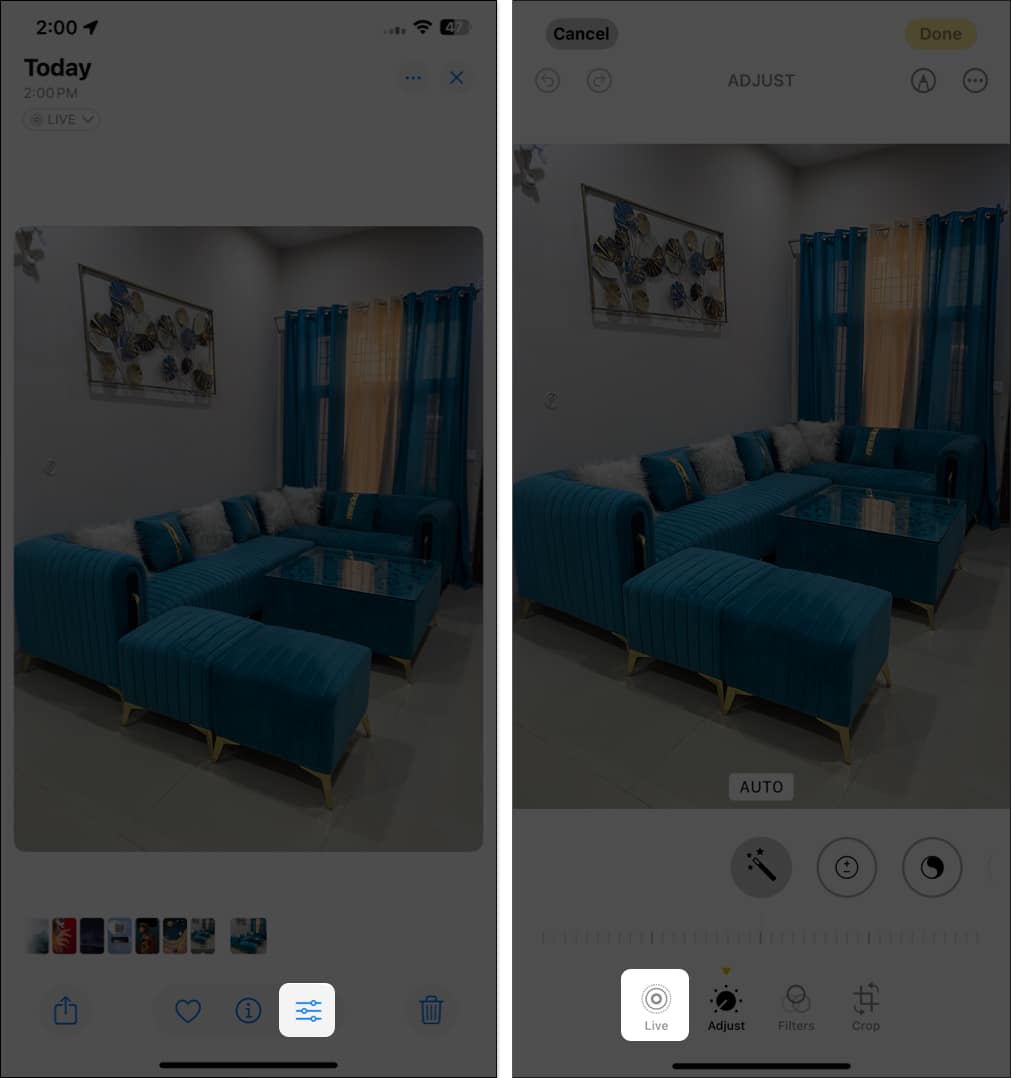
- Tap the Edit button (three parallel horizontal lines with a dot on each) at the bottom.
- Tap the Live Photo button on the left.
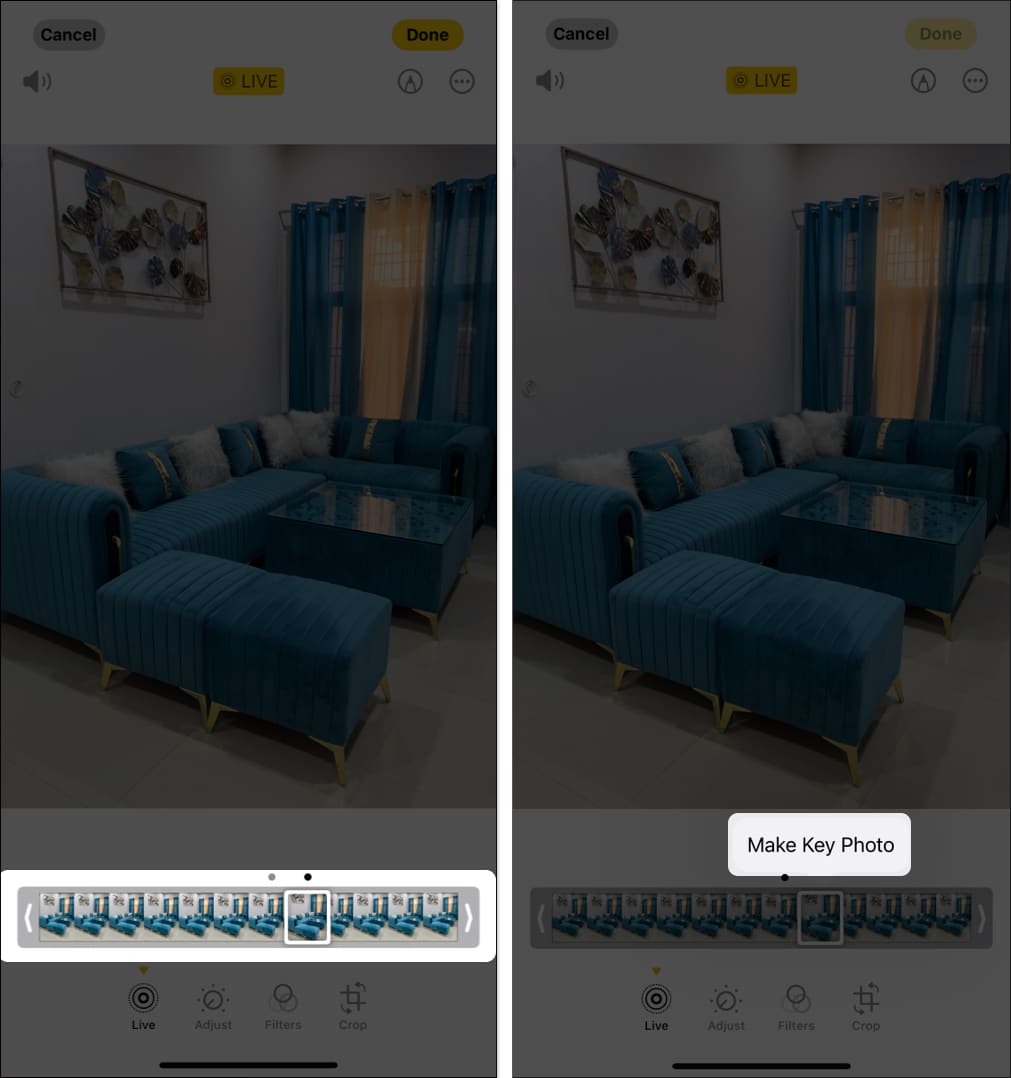
- Now, swipe right or left on the frame slider to find the preferred frame.
- Once done, tap the Make Key Photo button appearing over it.
7. Switch to a third-party camera app
If remembering all these workarounds is too much of a task for you, you can switch to third-party Camera apps like Blackmagic Camera, designed specifically for iPhones. Not only does the Blackmagic Camera app bypass auto-enhancements on your iPhone, but it also gives you access to pro camera controls that you can only get with a professional-grade camera.
I have been using the Blackmagic Camera app on my iPhone since the day it got added to the App Store, and not even once did I think of switching back to the native Camera app.
Image quality retained…
As much as we hail the iPhone’s picture quality, the Deep Fusion tech sometimes fails to deliver up to our expectations. The sad part is that you don’t even have a choice when it comes to auto enhancements. Fortunately, the workarounds detailed in this post can help you to some extent.
If you know of another way to bypass the iPhone auto-enhance feature, let us know in the comments below.
To stop your iPhone Camera from auto-adjusting exposure while shooting, tap and hold the subject on the screen to lock the exposure on it. You can then slide up or down on the subject to increase or decrease the exposure.
To disable Camera lens correction, open Settings, go to Camera, and toggle off Lens Correction.
Also read:
