Did you receive the Google Maps Timeline 2019 update and feel creepy about it? Me Too! So I have decided to turn off Google Maps timeline feature on my iPhone. If you would like to do the same, just follow the detailed guide below.

While a great feature from the app, it is alarmingly dangerous for our privacy and safety. Google is basically tracking your every move with your intentional or unintentional permission. Google Maps timeline history knows what you did last summer; check your timeline, if you don’t believe us. Eerie right? So, let’s get our location privacy back from Google.
How to Turn OFF and Delete Google Maps Timeline on iPhone and Android
Well, this is a problem. On the one hand, I don’t want Google to track me, and on the other, I like finding the places I have visited and the routes traveled. Is there some way to circumvent the issue?
Google is smart enough to understand you, which is why the app has multiple solutions. So, you can ask the app to not to store your location history at all or delete specific data manually or automatically. Let’s first start with the former option.
Quick Access:
- How to Disable Location History in Google Maps on iPhone and Android
- How to Delete Google Maps Timeline History on iPhone and Android
Disable Location History in Google Maps on iPhone and Android
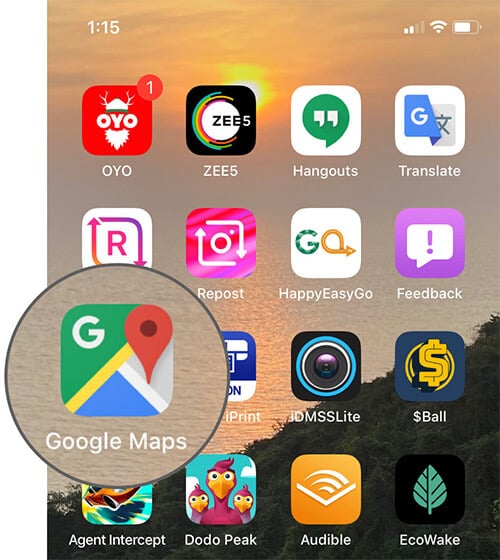
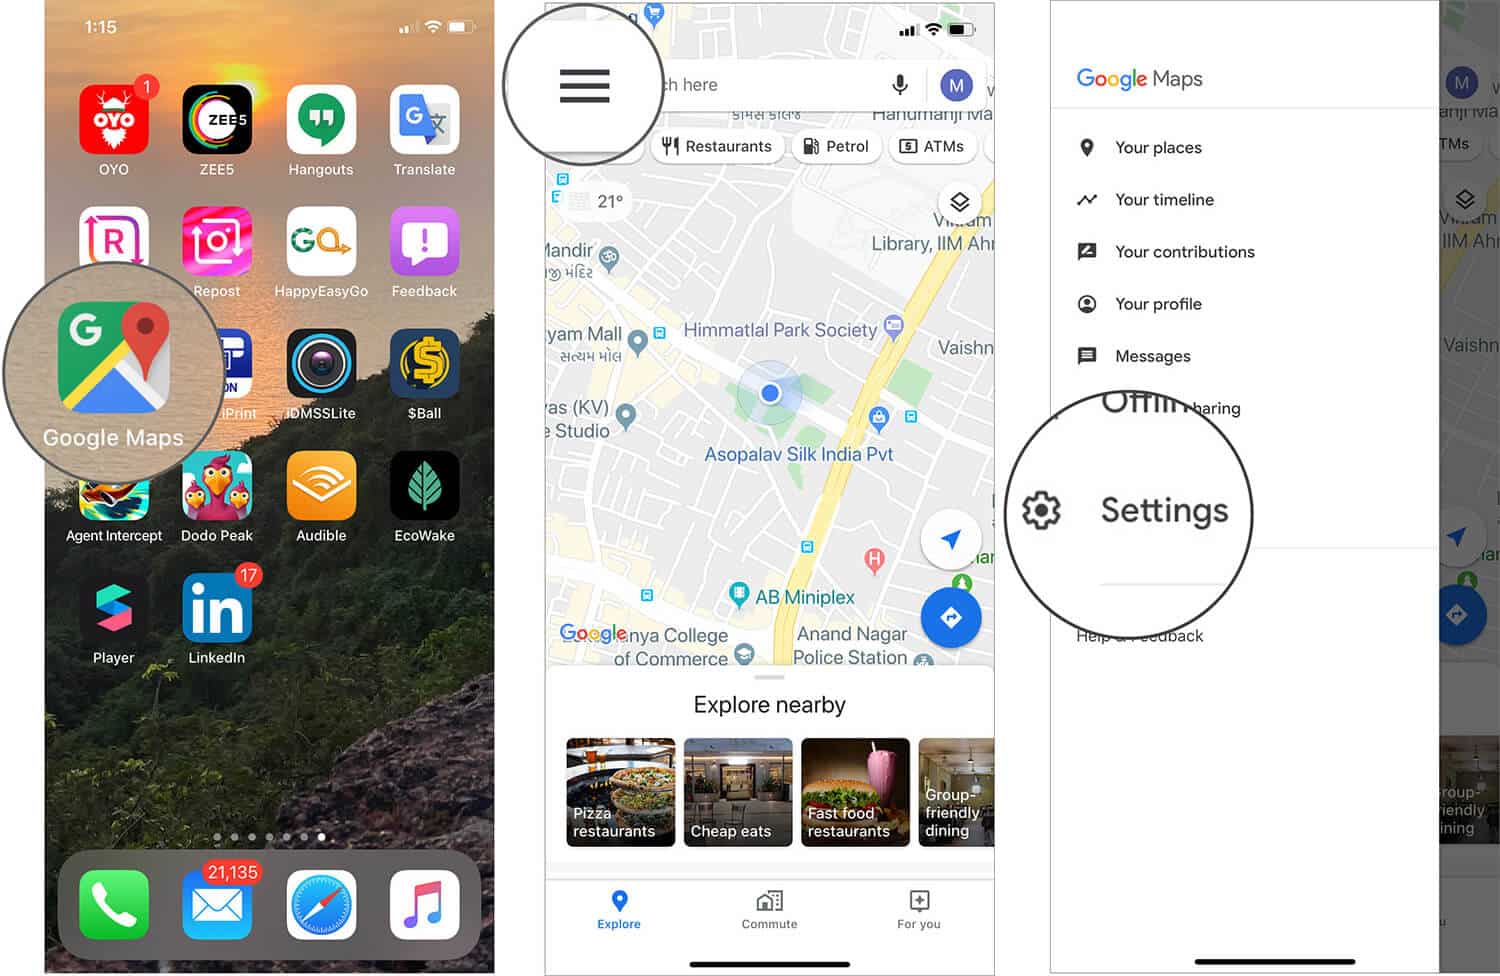
Step #1. Open Google Maps app on your device.
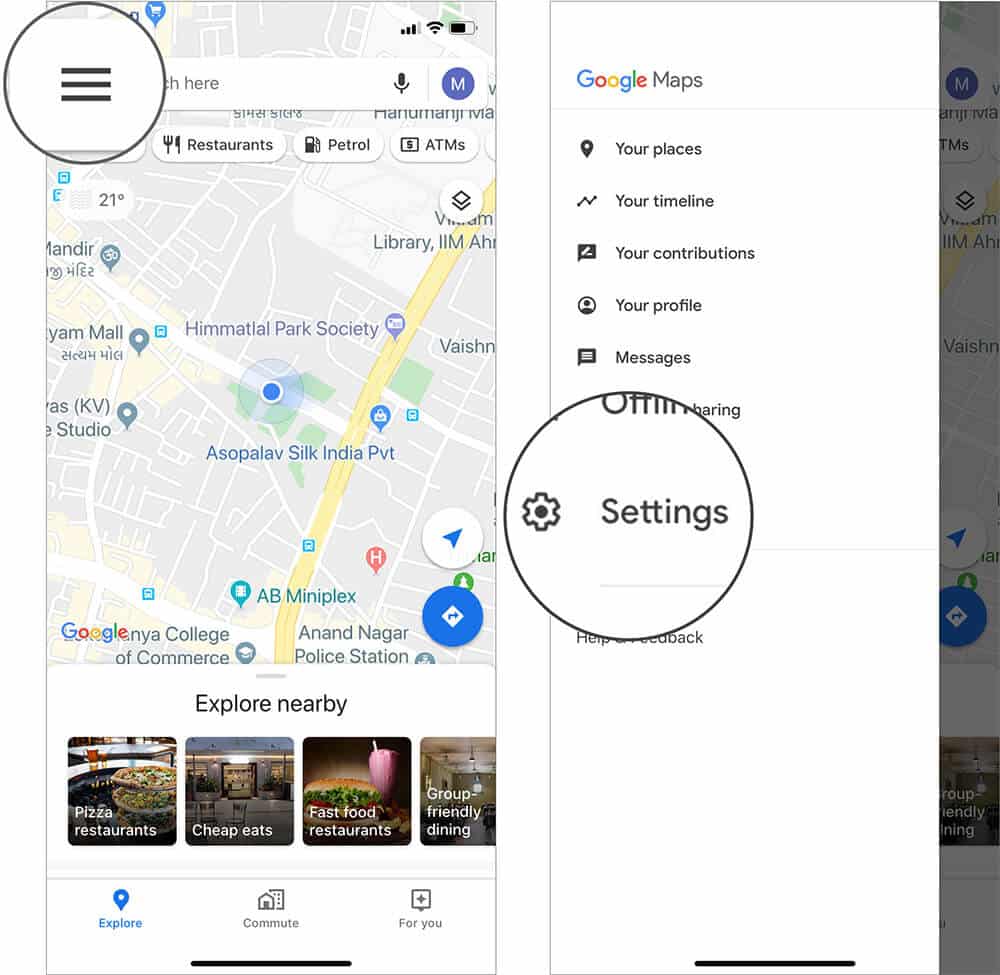
Step #2. Tap on the hamburger icon (three horizontal lines) and select Settings from the menu.
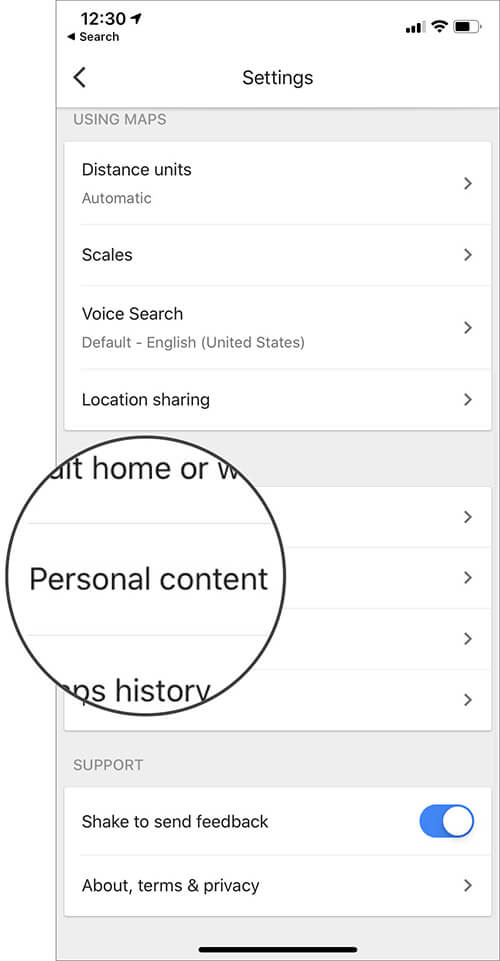
Step #3. Now, scroll down and select Personal Content (it is placed under Account Settings in devices running iOS 13).
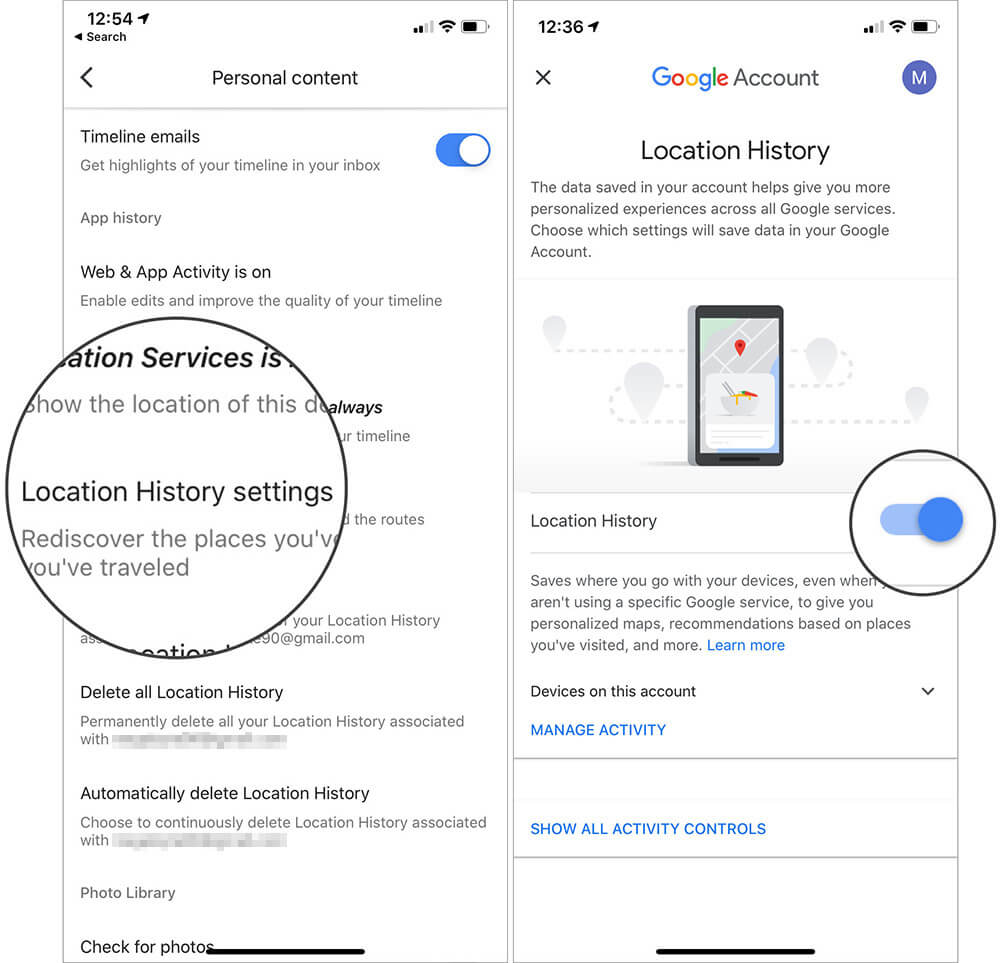
Step #4. Select Location History settings and Tap on toggle next to Location History.
Step #5. Select Pause to continue and then press Pause again to disable the Location History.
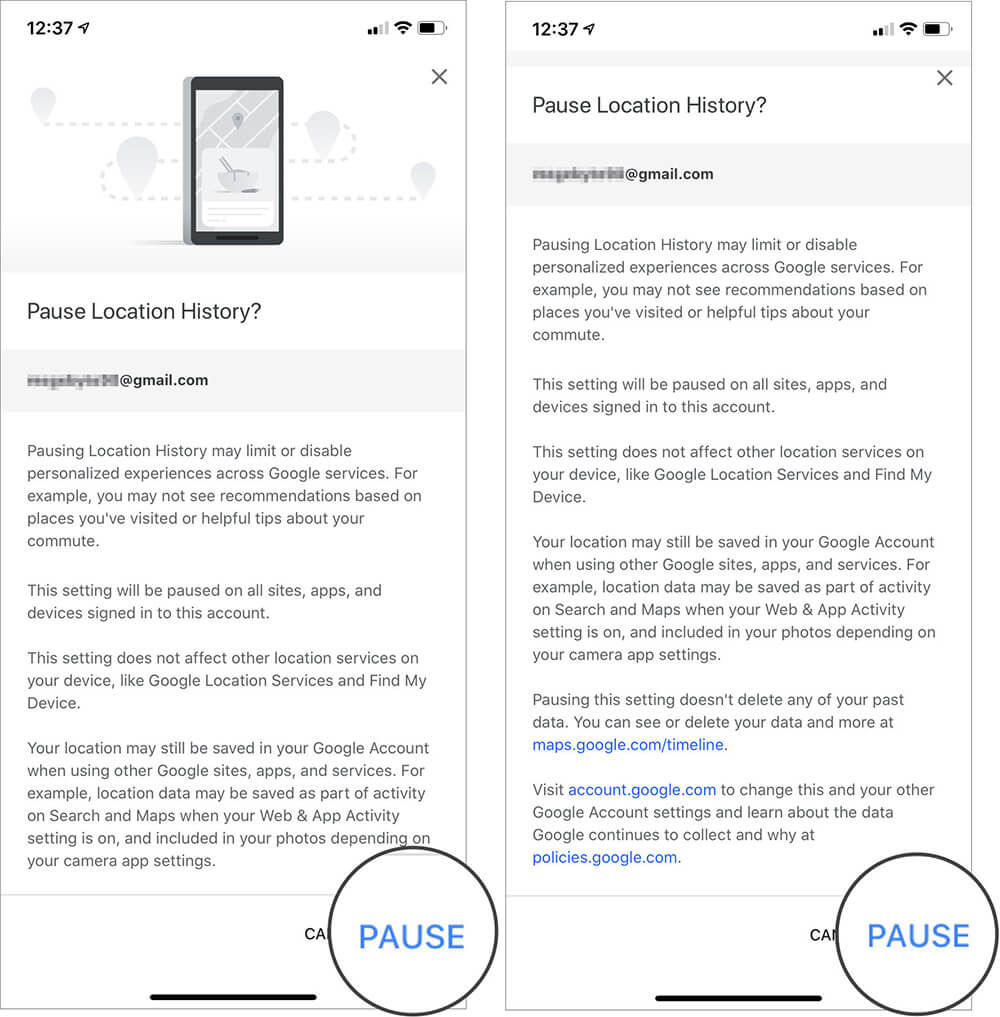
After this, Google Maps will not store your Location History. Let’s see how you can delete the history it already has in its database.
How to Delete Google Maps Timeline History on iPhone and Android
Deleting your Google Maps timeline history is a breeze. Moreover, thanks to a ton of options, you can choose to remove data for one day, a few days, or all of it.
Delete Location History for One Day on Google Maps
Step #1. Open the Google Maps app on your device.

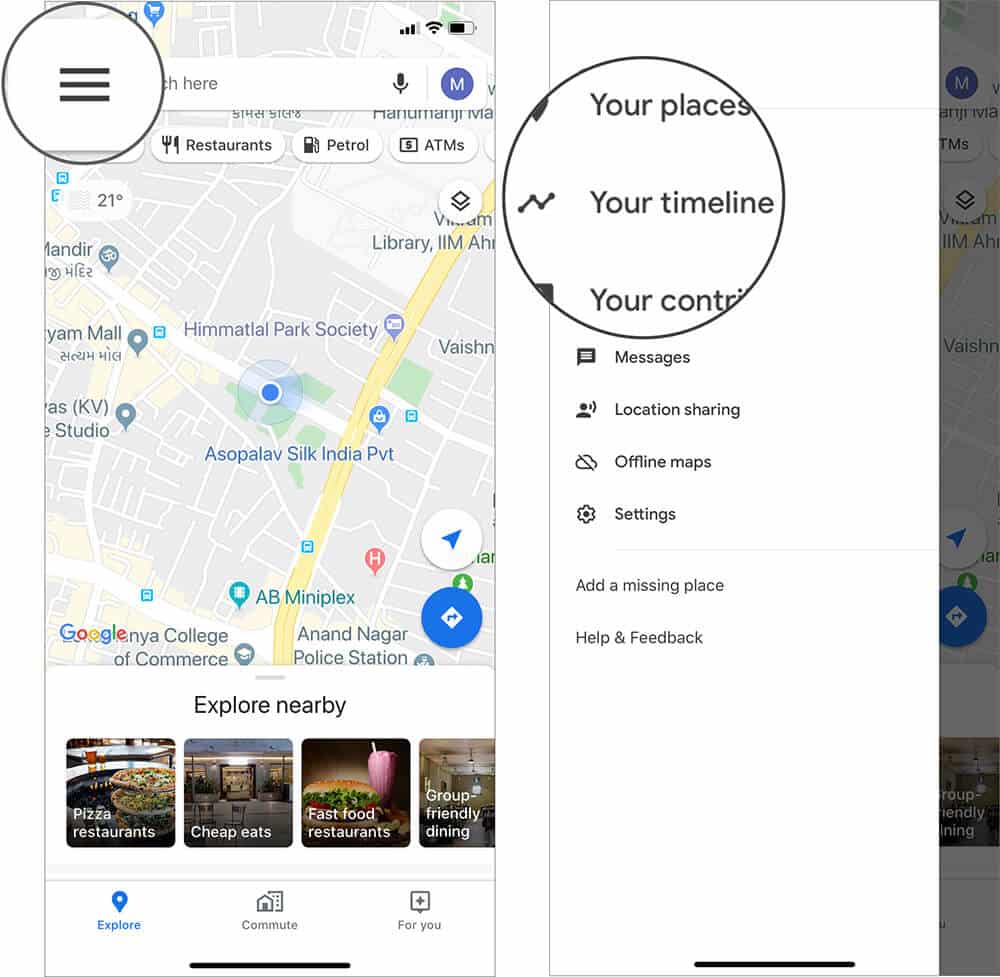
Step #2. Tap on the hamburger icon and select Your Timeline from the menu.
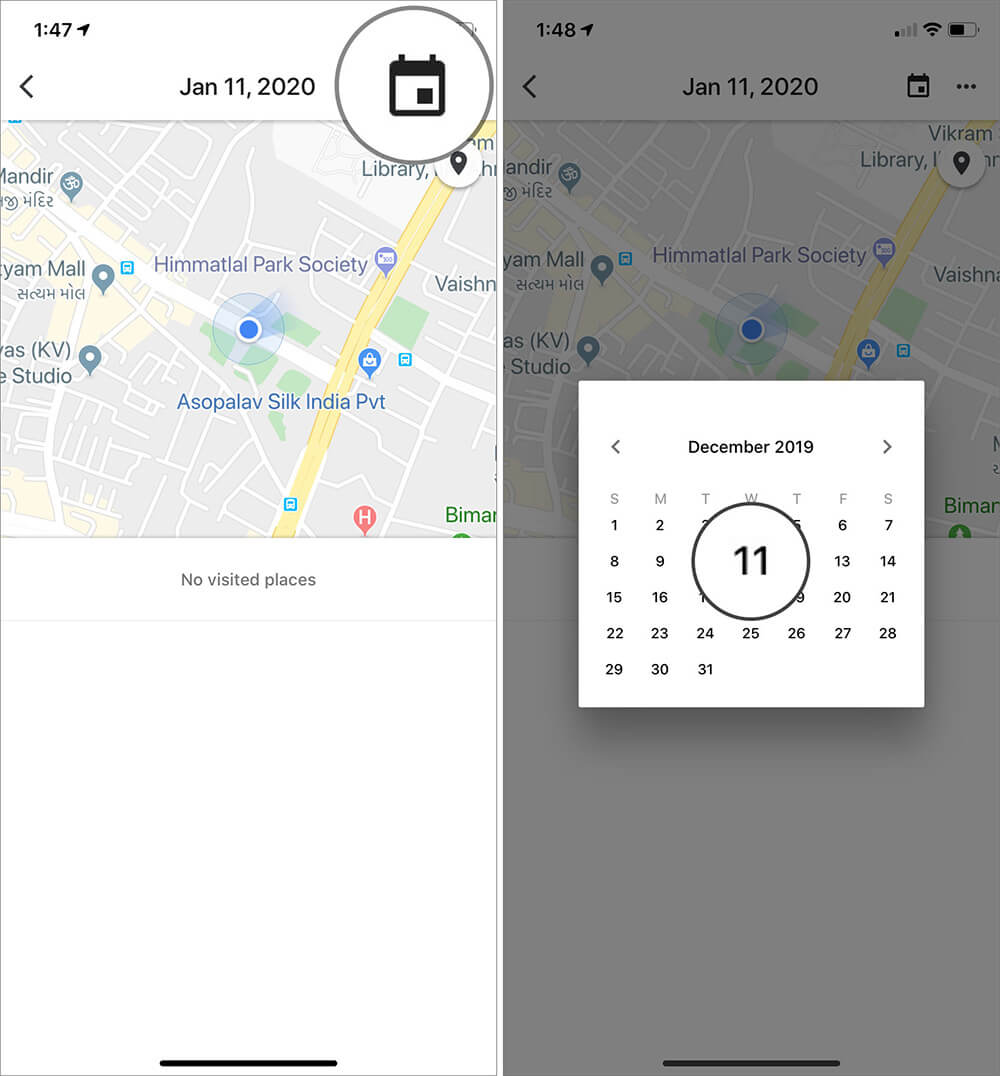
Step #3. Select the Calendar icon from the top bar and select the date.
Step #4. Now, tap on the three dots and select Delete the day.
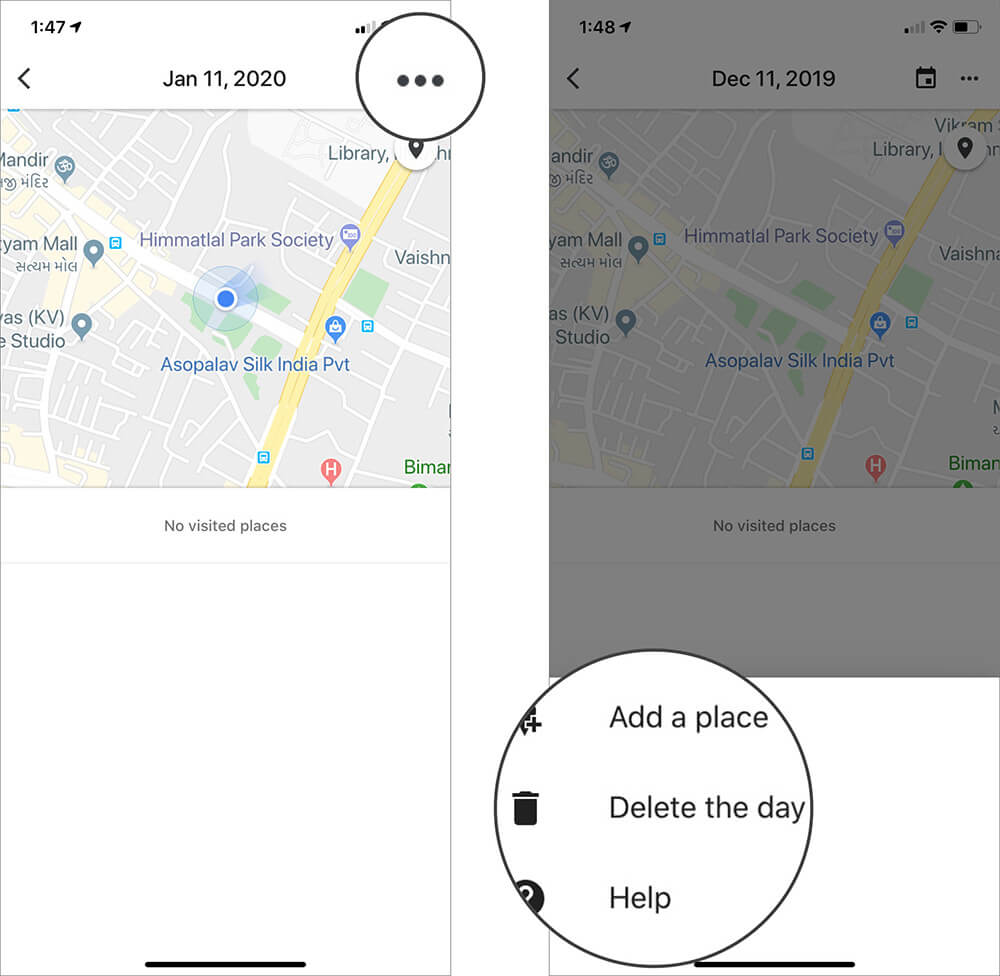
Step#5. Press Delete again to confirm the action.
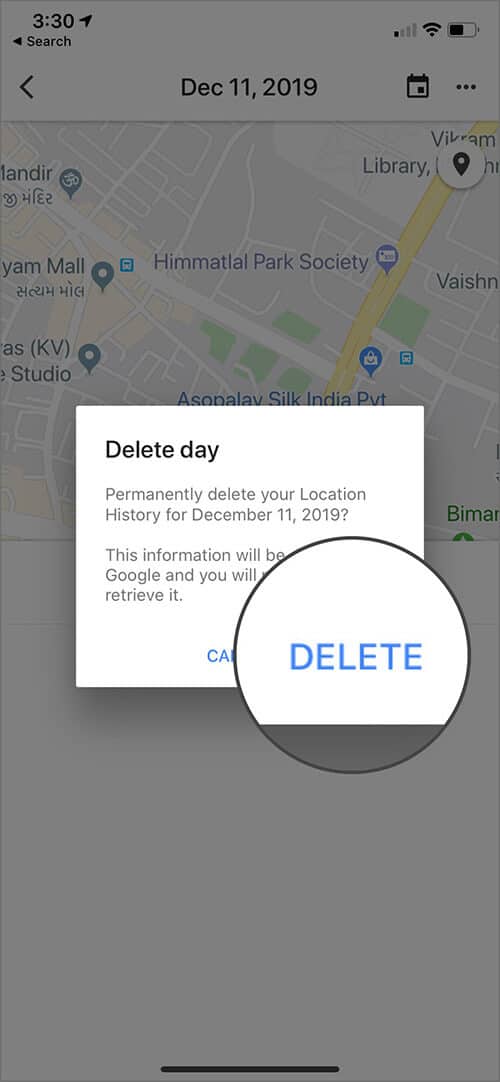
Remove Location History for Particular Days from Google Maps App
Step #1. Open Google Maps → Settings → Personal Content on your iOS or Android device.
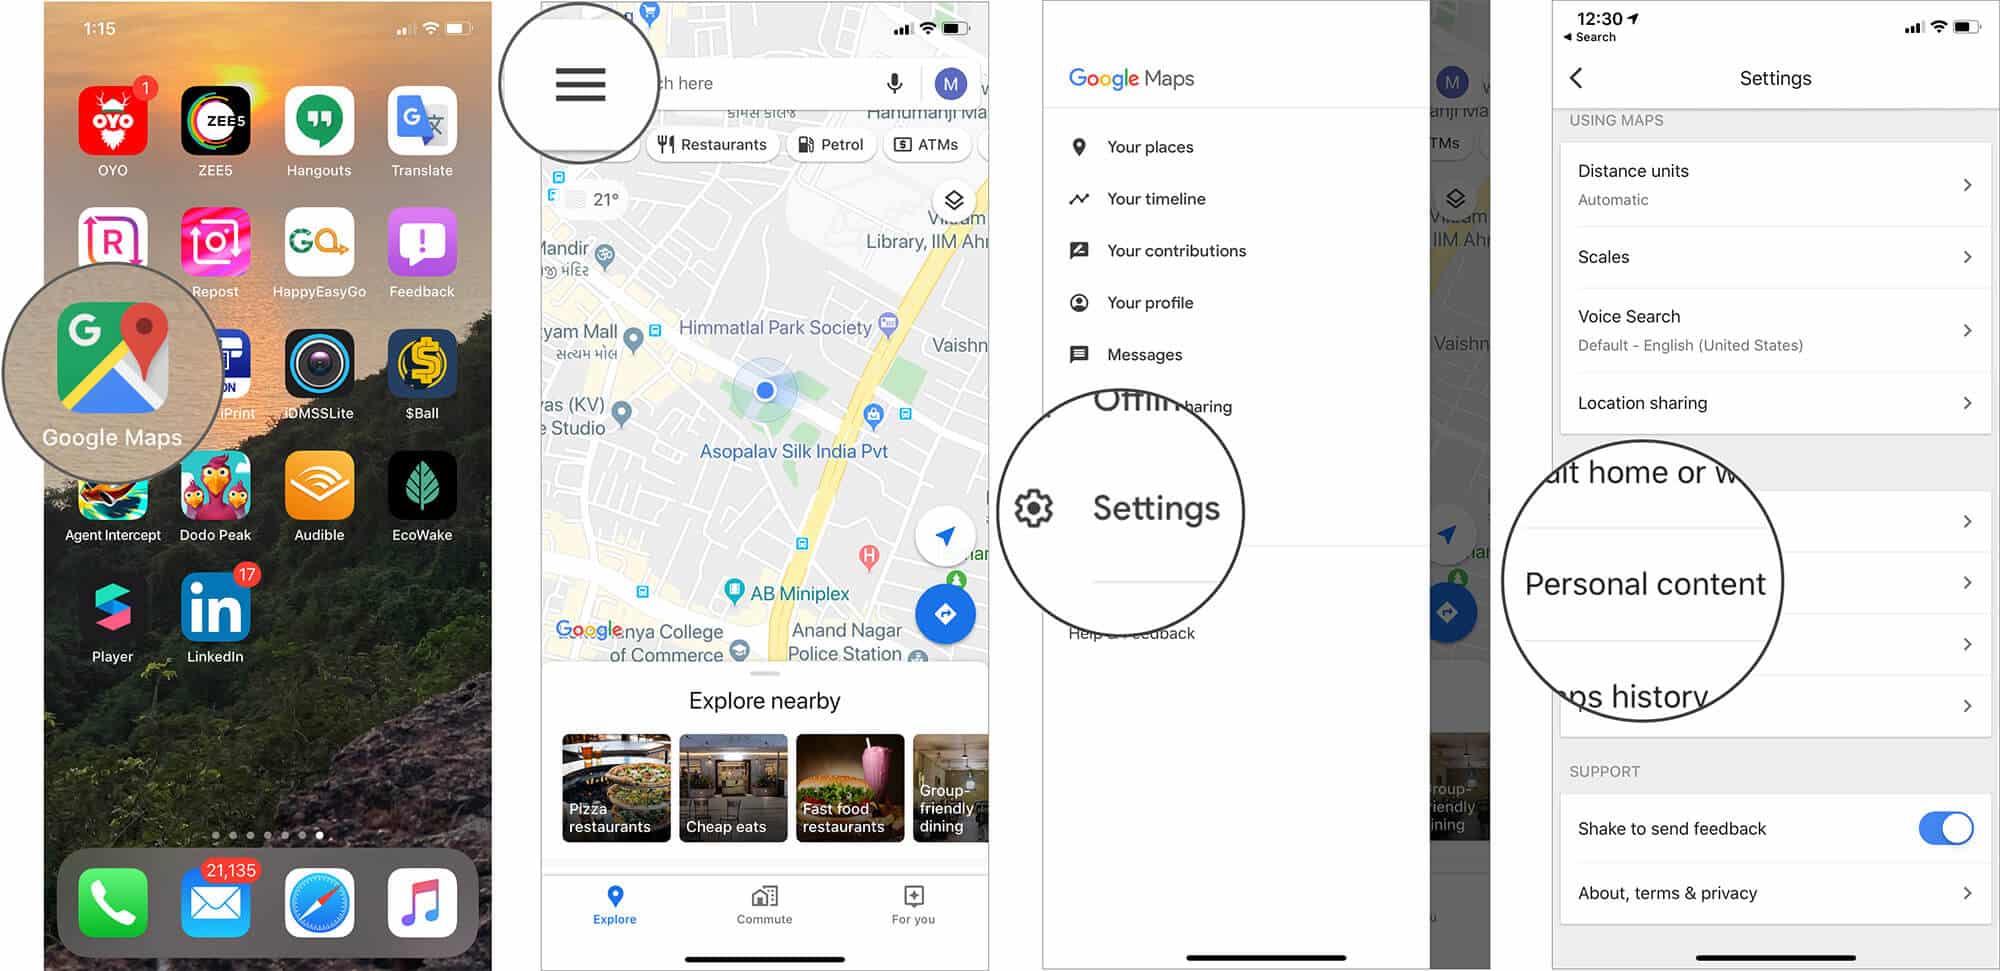
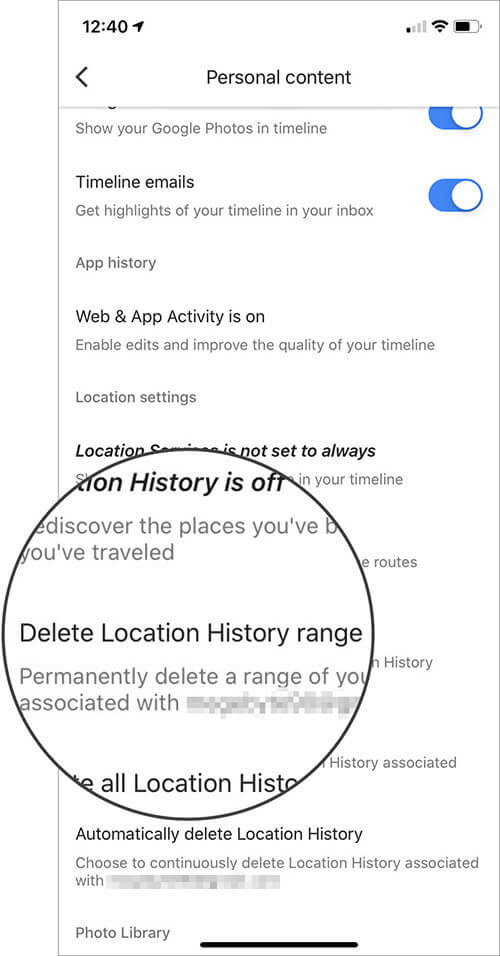
Step #2. Tap on Delete Location History Range.
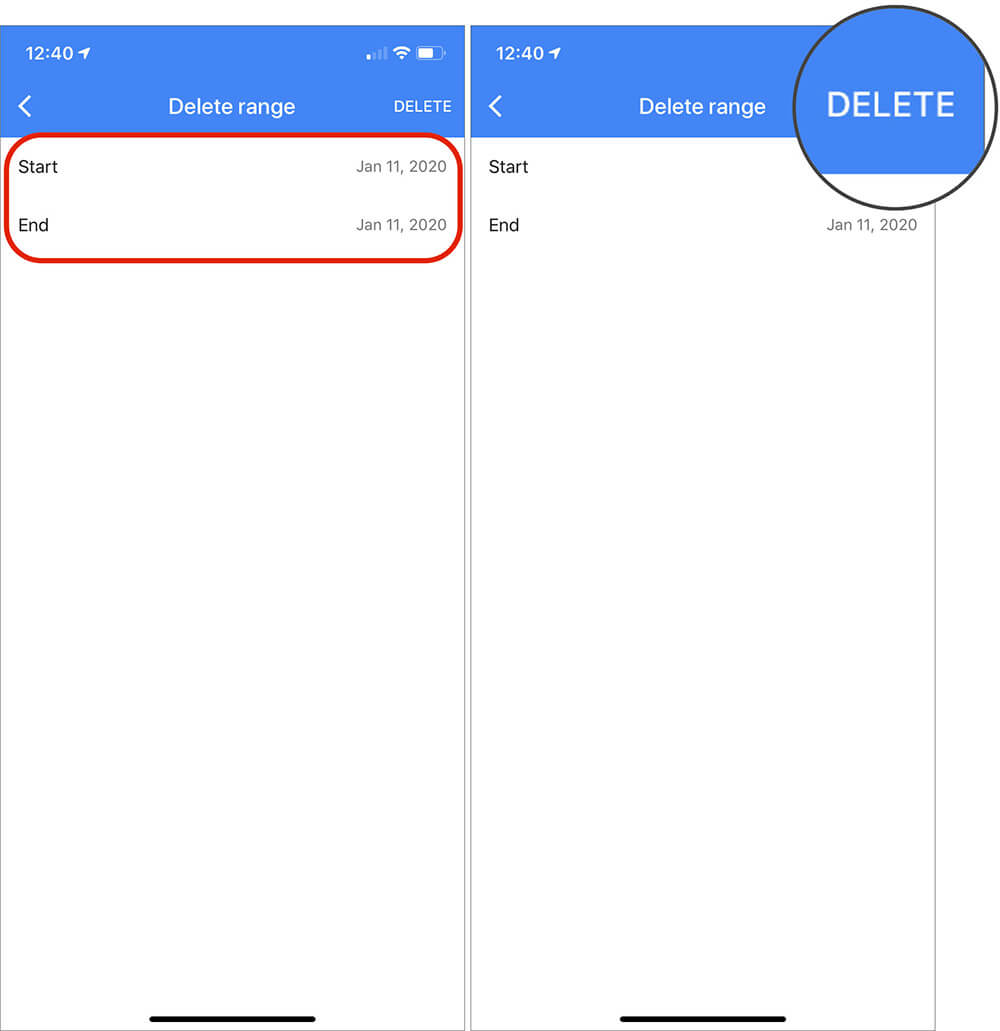
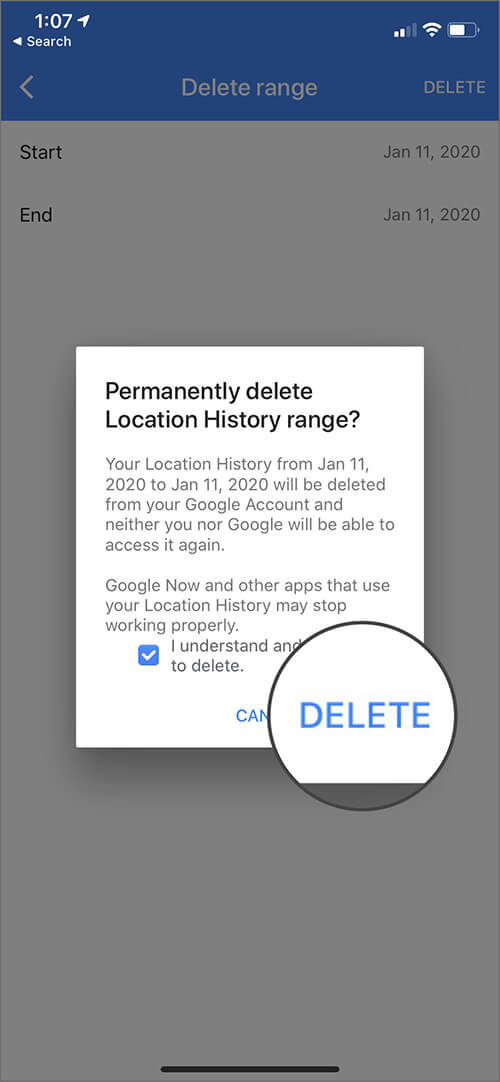
Step #3. Here select the dates/range you want to delete the data from and tap on Delete.
Become an iGeeksBlog Premium member and access our content ad-free with additional perks.
Step #4. Check I understand and want to delete and press Delete again.
Delete All Location History in Google Maps on iPhone and Android
Step #1. Open Google Maps → Settings → Personal Content on your iOS or Android device.

Step #2. Tap on Delete all Location History.
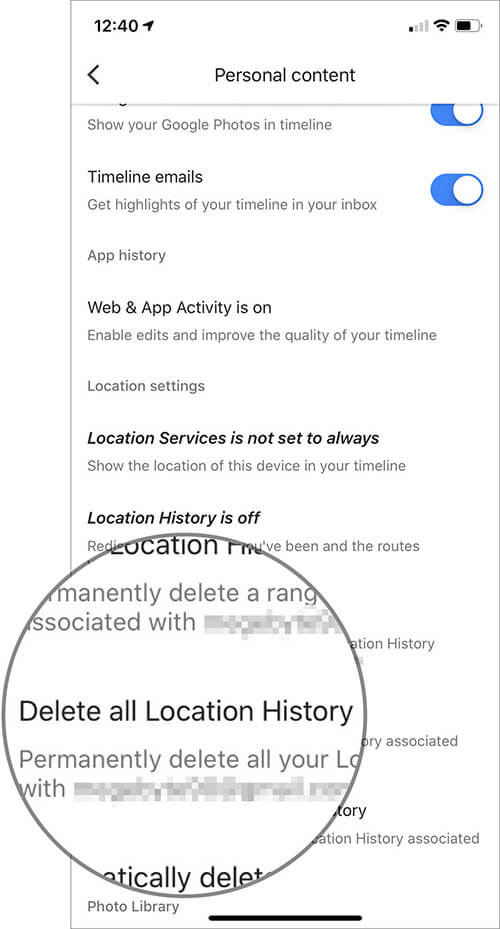
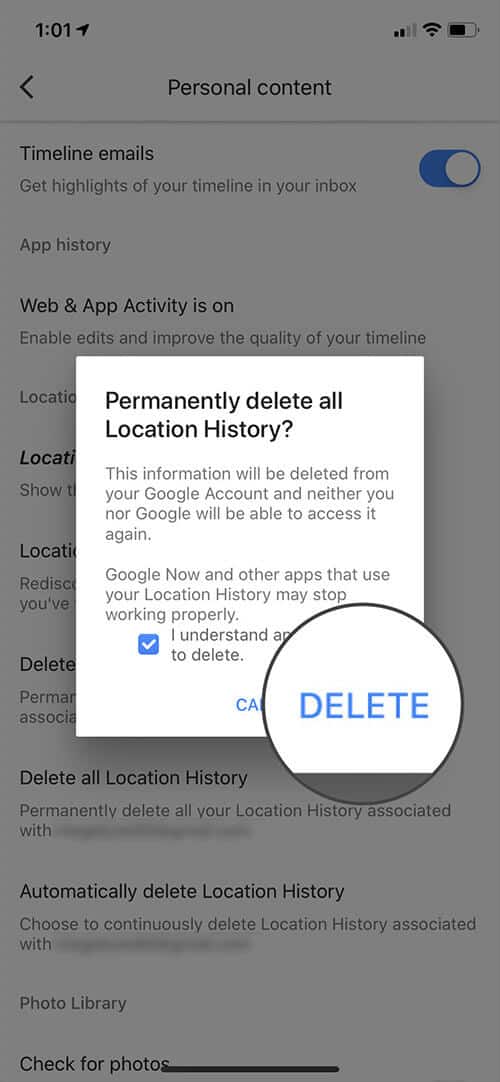
Step #3. Check I understand and want to delete and press Delete.
Automatically Delete Location History in Google Maps on iPhone and Android
Step #1. Open Google Maps → Settings → Personal Content on your iOS or Android device.

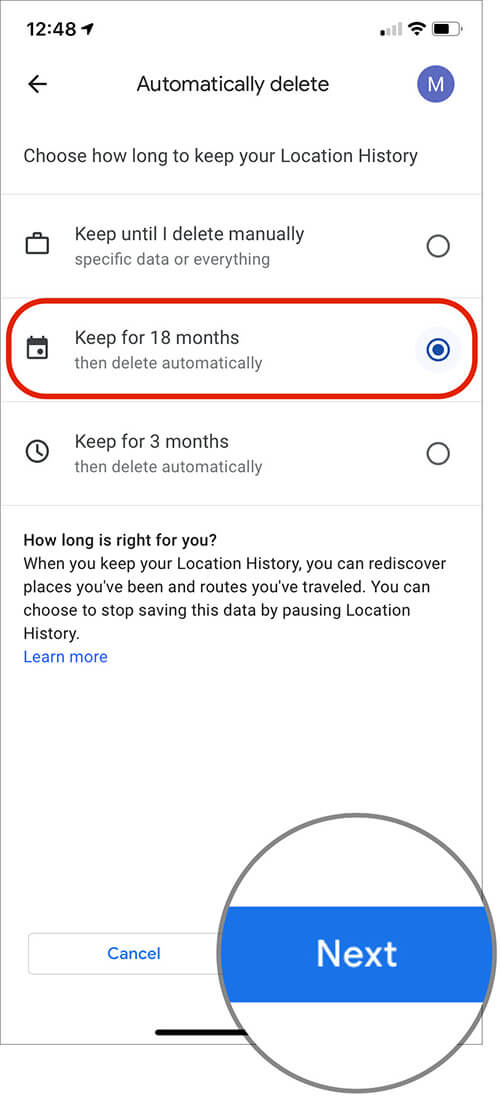
Step #2. Tap on Automatically delete Location History.
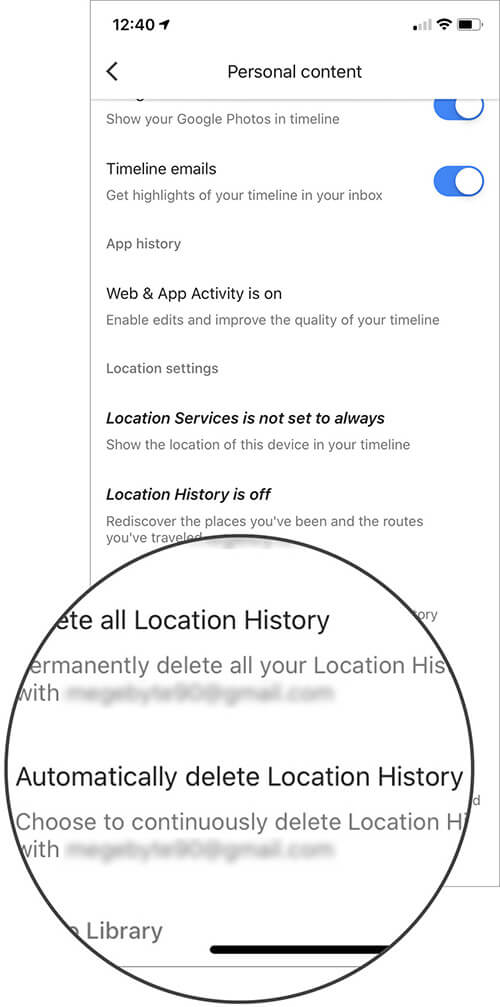
Step #3. You can either select Keep for 18 months or Keep for 3 months, as per your convenience and tap on Next.
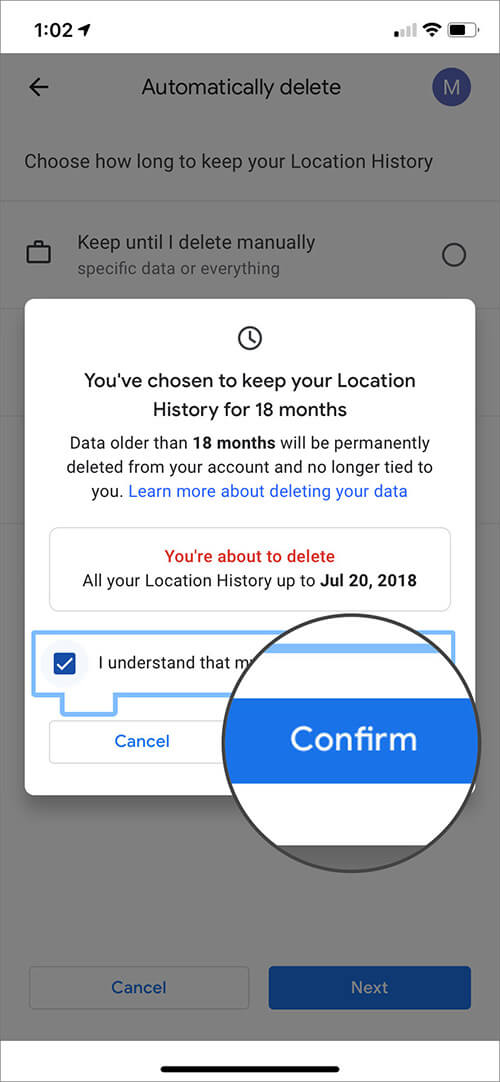
Step #4. Here, check I understand and want to delete and press Confirm.
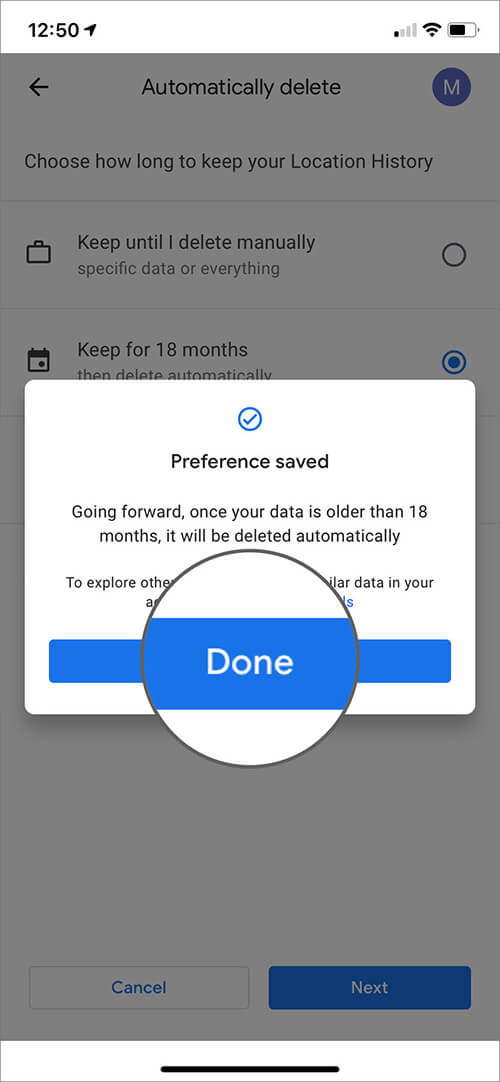
Step #5. Press Done and exit the app.
Don’t Allow Google Maps to Access your Location All the Time
There is another precautionary measure to secure your privacy, though that’s only applicable for iOS users. Thanks to Apple’s vigilance, you can limit Google Maps access to the location only when using the app.
On your iPhone, open Google Maps apps → Settings → Personal Content → Location settings and Tap Location Service is on.
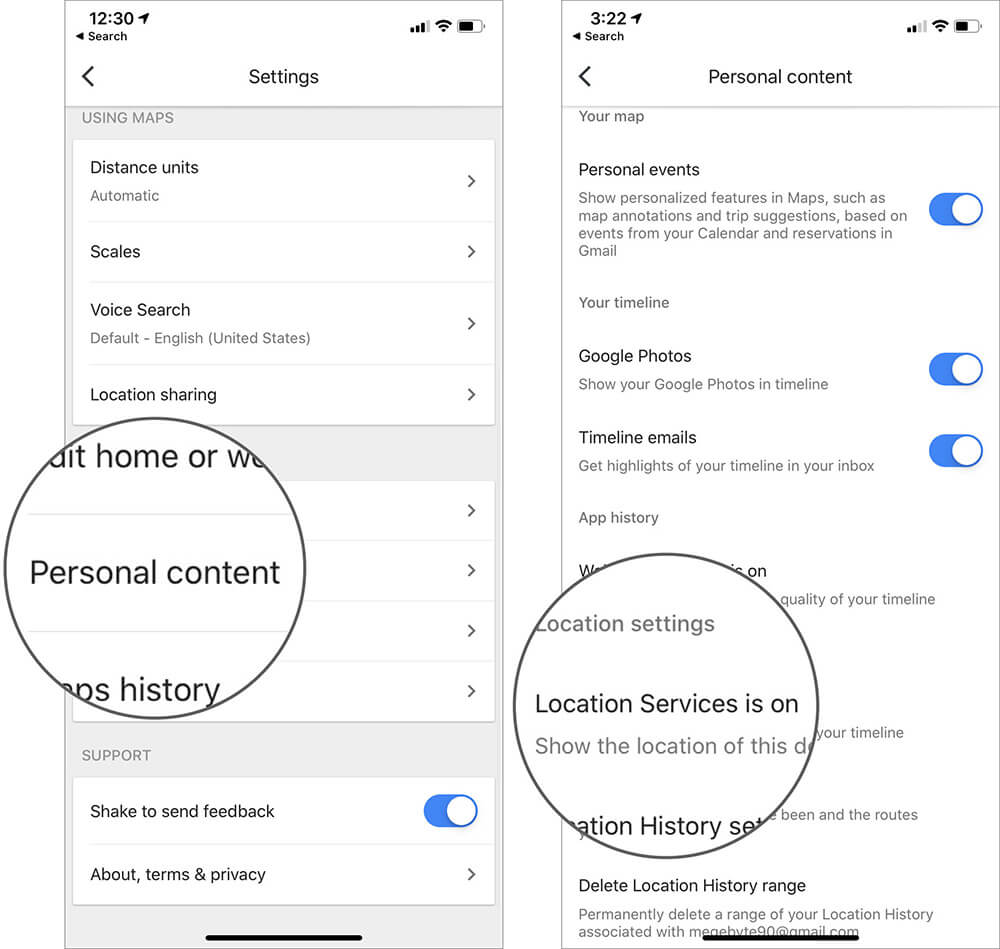
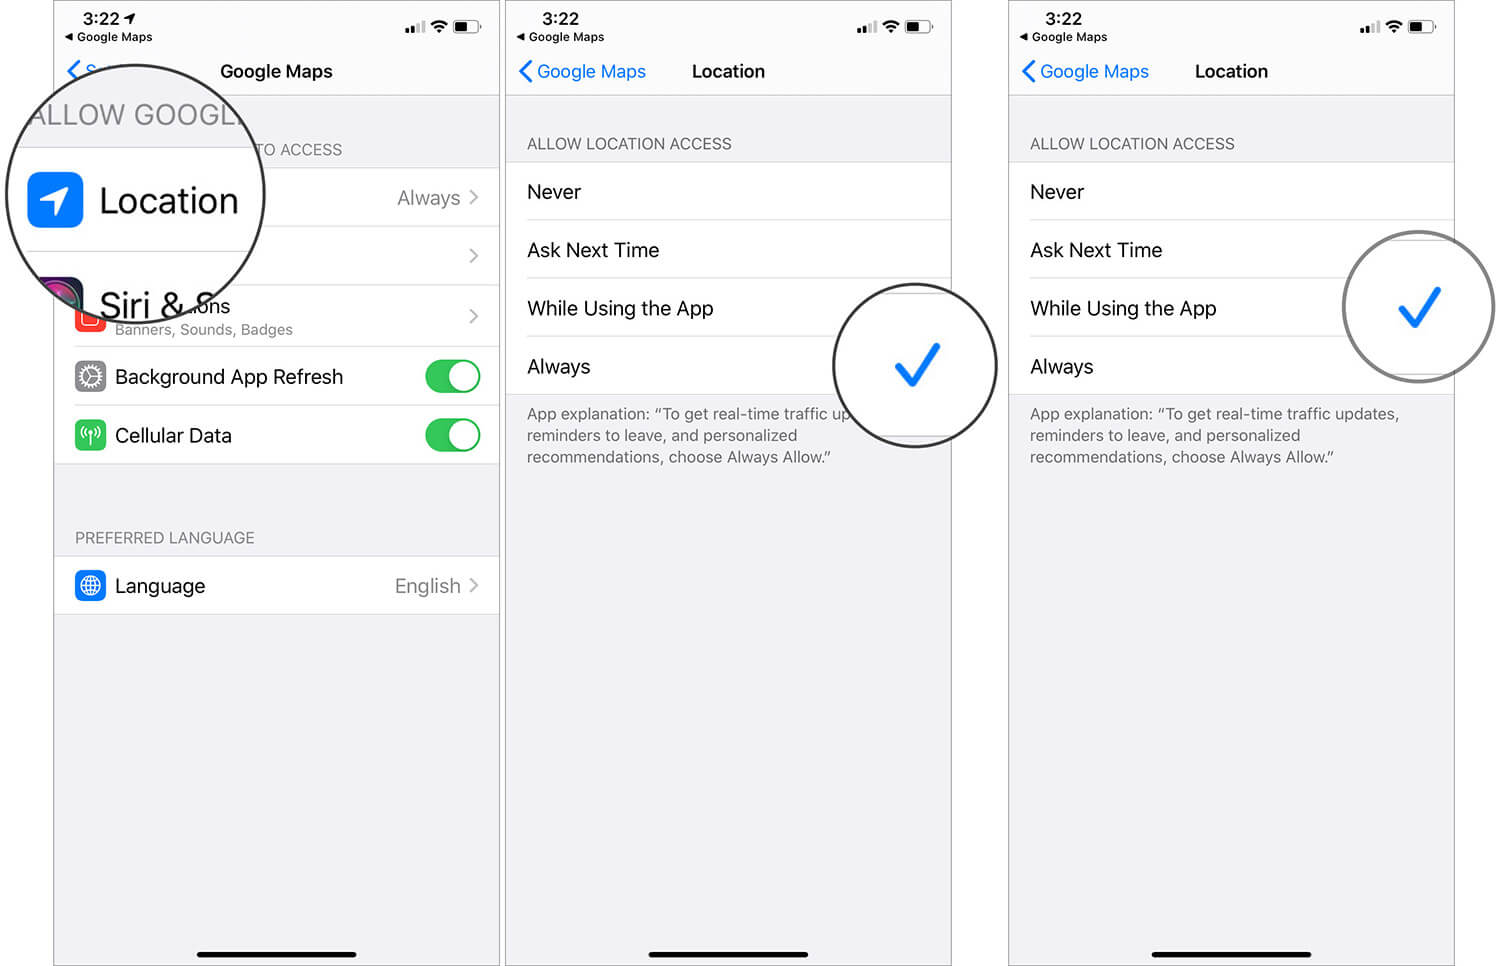
Here tap on Location and switch the Location permission from Always to While Using the App.
Hope you Have a Secure 2020!
Undoubtedly, the Google Maps timeline is an excellent feature to reminiscence your past travels and trips. However, like everything in technology, there’s a right side and wrong side.
Given my affiliation and contact with tech, my 2020 resolutions include smartly handling such issues for a healthier and safer me. What are your resolutions for this year? Let us know in the comment section below.
Links you may like:

