Imagine you’re in the middle of a vacation, and your iPhone storage is completely filled with photos and videos. Sure, you could use cloud storage to take a backup and free up space, but what if you’re offline?
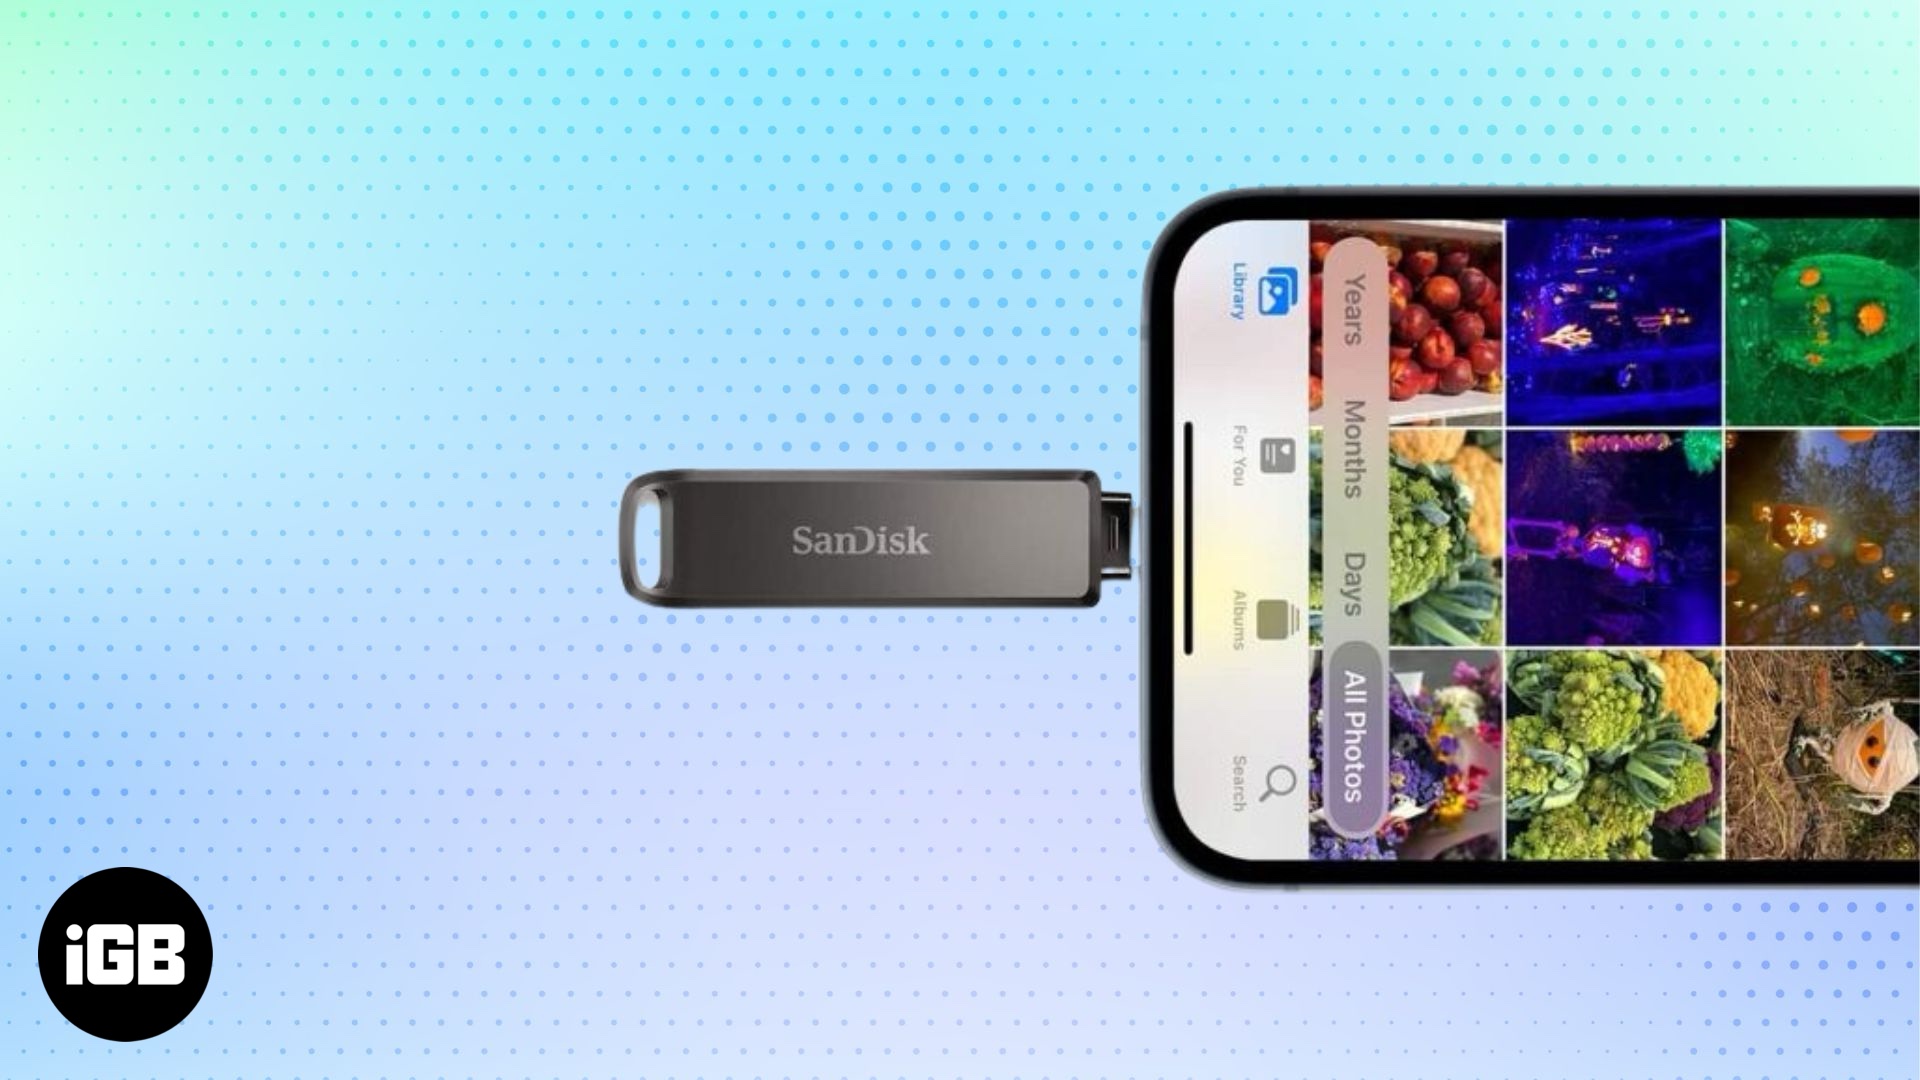
Get an external drive and transfer photos from your iPhone to it. Let’s check out how to do it on your iPhone and a Mac or a Windows PC.
What you need to transfer photos from iPhone to external drive?
Before you jump into the process, here’s what you need to transfer photos from your iPhone to an external drive:
- An iPhone running iOS 13 or later for direct USB transfers
- An external drive, SSD, or flash drive formatted to APFS, APFS (encrypted), macOS Extended (HFS+), exFAT (FAT64), FAT32, or FAT, such as SSK Portable SSD
- Depending on your iPhone model and the external drive’s interface, you may need a Lightning to USB adapter, USB hub, or a USB-C to USB cable (for iPhone 15 and later)
- Optional: A computer (Mac or Windows) and a compatible cable if you’re going that route
How to transfer photos from iPhone to external drive
There are a few different ways to move your photos from iPhone to external drive. All of them are pretty straightforward, so pick the one that feels right for your needs.
1. Transfer photos from iPhone to external drive directly
The easiest and fastest way to move photos from your iPhone to an external drive is to plug the drive right into your iPhone and use the Files app to access the external storage and move photos there. Here’s how:
- Connect your external drive to your iPhone using the right adapter (Lightning or USB-C).
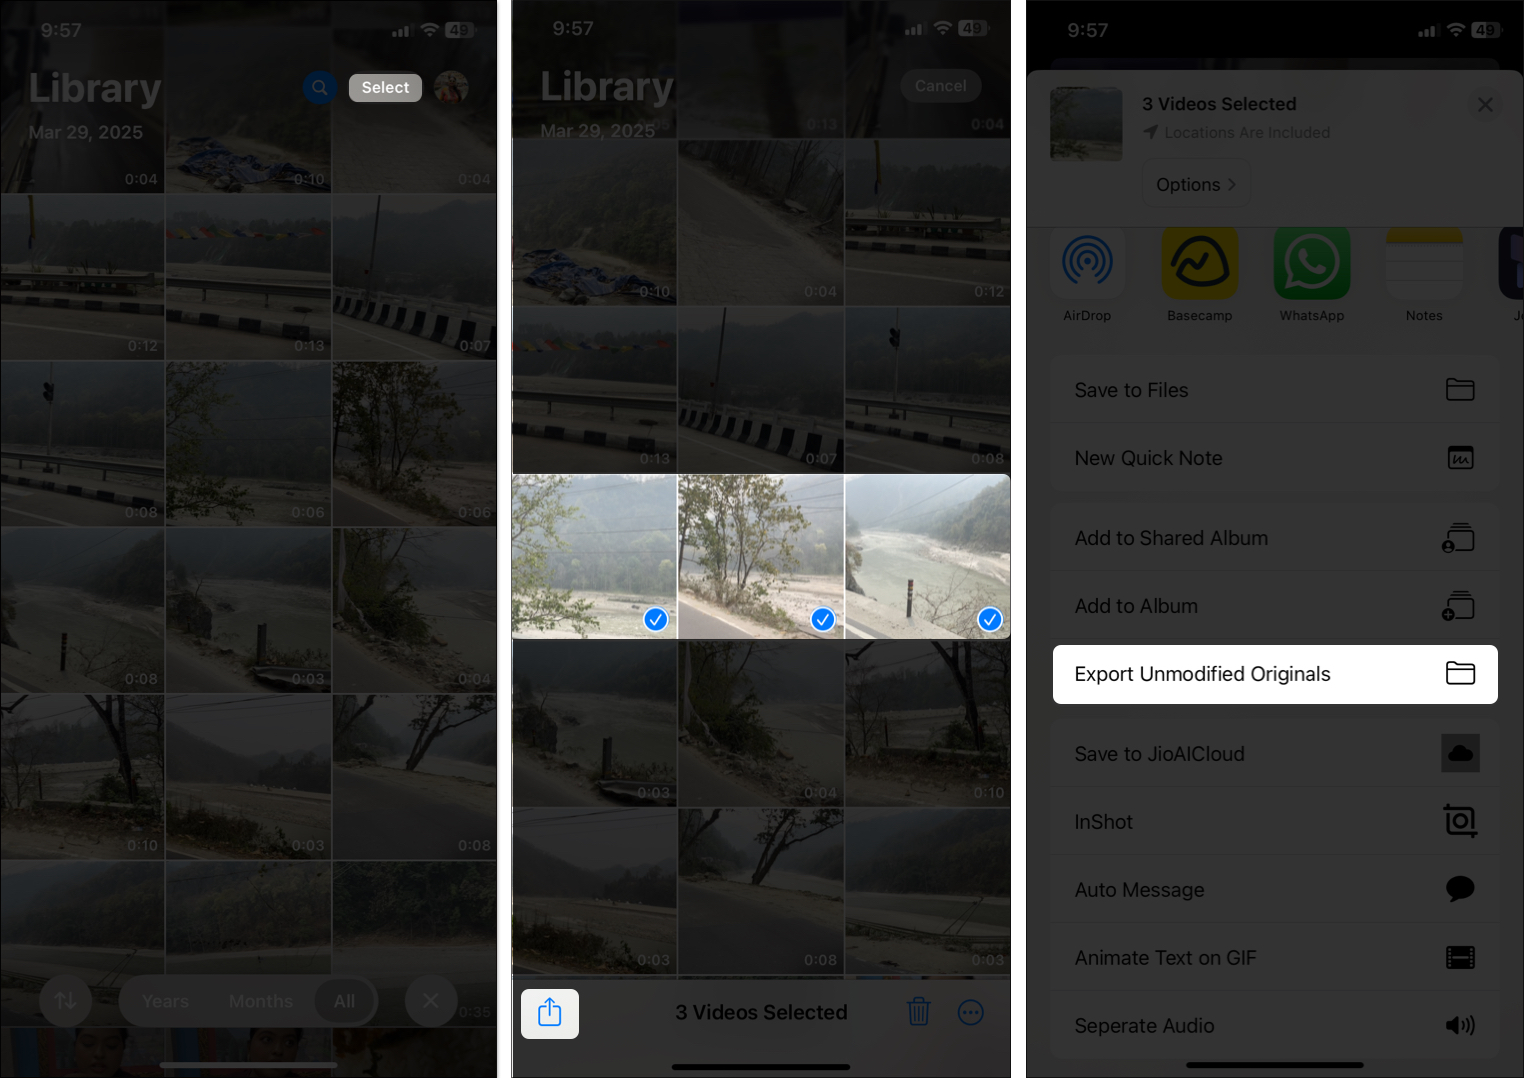
- Head to the Photos app, tap Select in the top-right corner, and choose the images or videos you want to move.
- Hit the share button in the bottom-left corner and select Export Unmodified Originals from the share sheet.
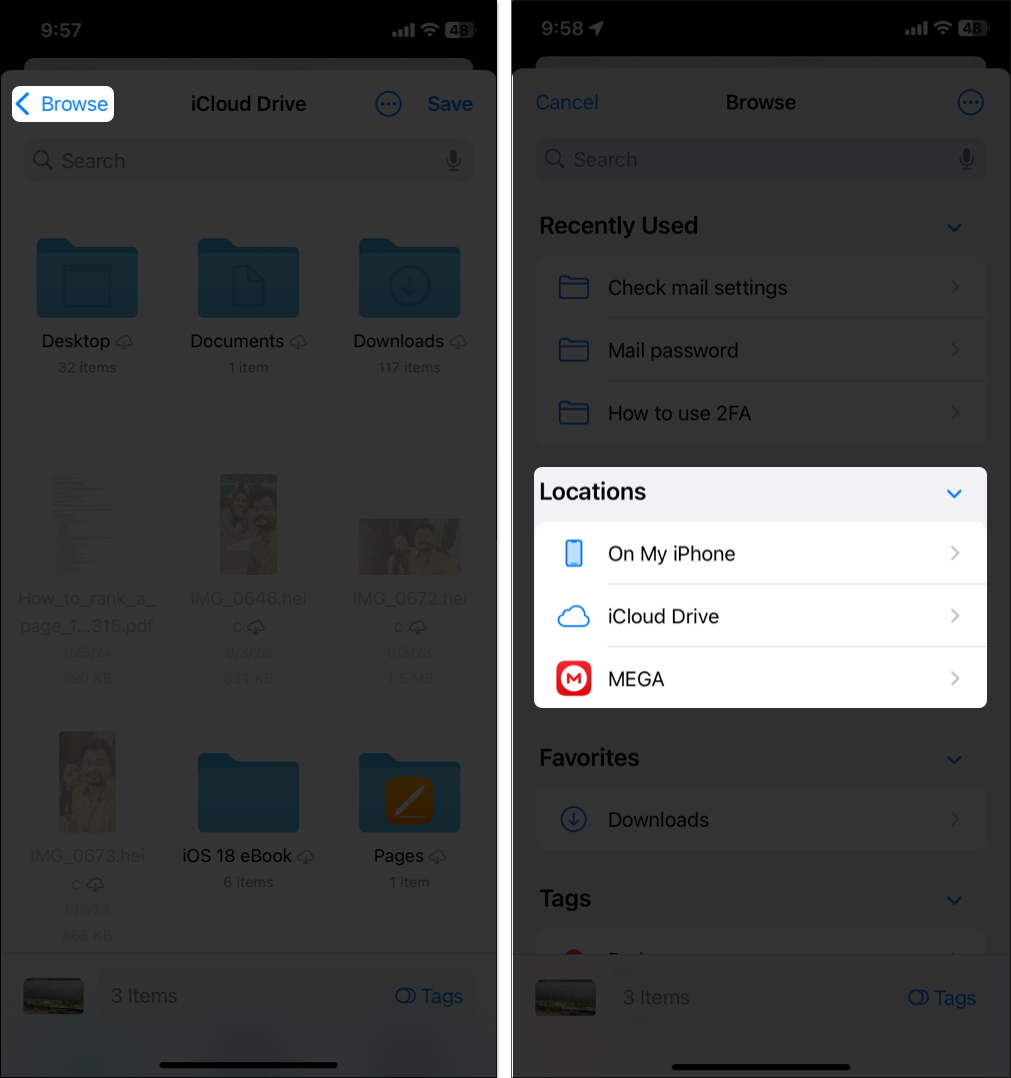
- Now, it will open the Files app. Tap Back or Browse in the upper-left corner, select your external drive name, and tap Save. If you don’t see the drive, disconnect it and plug it in again.
All your selected iPhone photos will be saved on your external drive. You can now head back to the Photos app and delete the photos to free up space on your iPhone. Be sure to double-check the external drive folder to see if it has all the images first.
I love this method when I’m on the go and want to offload pics quickly.
2. Transfer photos from iPhone to external drive using iCloud
Are your photos and videos saved on your iCloud? Don’t worry; you can export your iCloud photos to your external drive. If you have local storage space on your iPhone, you may download them by opening Settings, tapping your name at the top, and going into iCloud > Photos and selecting Download and Keep Originals. Once downloaded, transfer them to your external drive using the previous method.
On the other hand, if you’re running out of storage, use your Mac or PC to directly copy your entire iCloud photo library to an external drive. Here, I am showing the steps using my MacBook. Ensure you have a stable internet connection to download the media properly.
- Plug your external drive into the computer using the right adapter or hub.
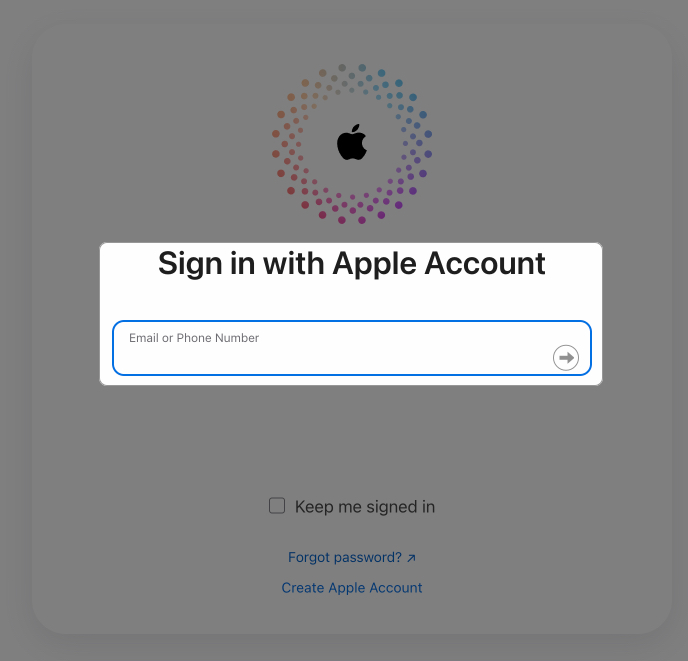
- Open a browser, visit iCloud website, click Sign In, and enter credentials of the same Apple Account you’re using on your iPhone.
- Click on the Photos tab, select the photos or videos you want to transfer (Command+A to select all), and click the download button at the top.
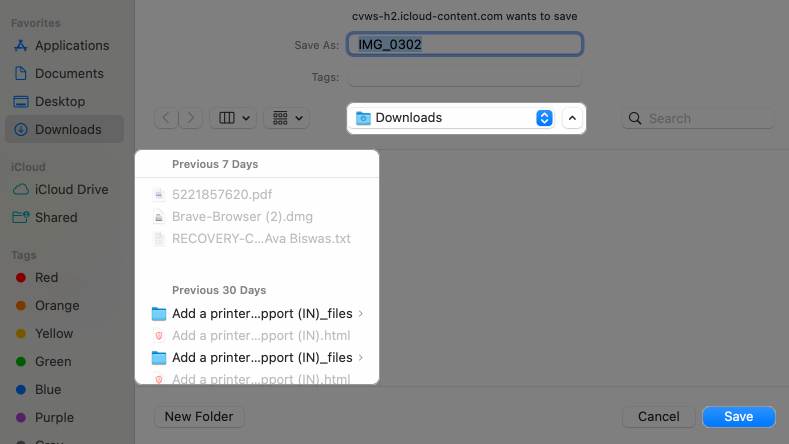
- Now, a dialog box will appear. Click the downward-pointing arrow next to the Where section, select your external drive, and click Save.
My iCloud is already full, and I can’t sync images anymore. Hence, I avoid this method.
3. Transfer photos from iPhone to external drive using Mac or Windows PC
You can also use your Mac or Windows PC to transfer photos from your iPhone to an external drive. Let’s see how.
macOS has a built-in tool called Image Capture that lets you export photos and videos from your iPhone. This method makes it super easy to quickly move iPhone photos and videos to an external drive.
- Plug your iPhone into your Mac with its cable and keep its screen on. Also, make sure your external drive is connected to your Mac.
- Go to Launchpad, search for Image Capture, and click on the app to launch it.
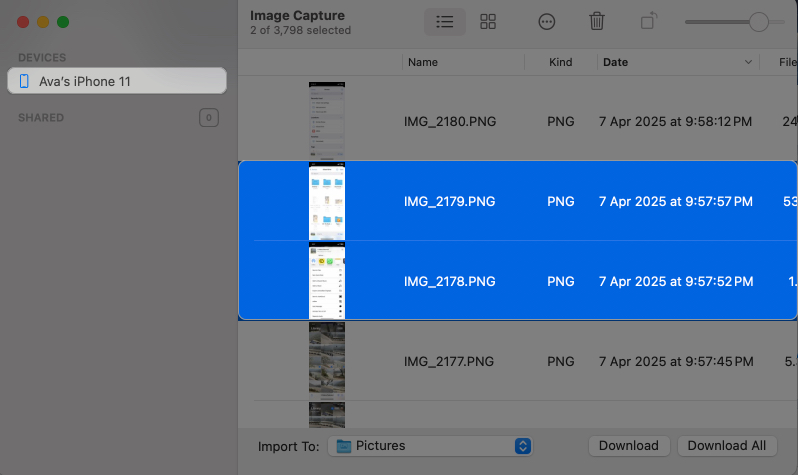
- You should see your iPhone name under the Devices section and all its media on the right side. If you don’t, try plugging in the device again.
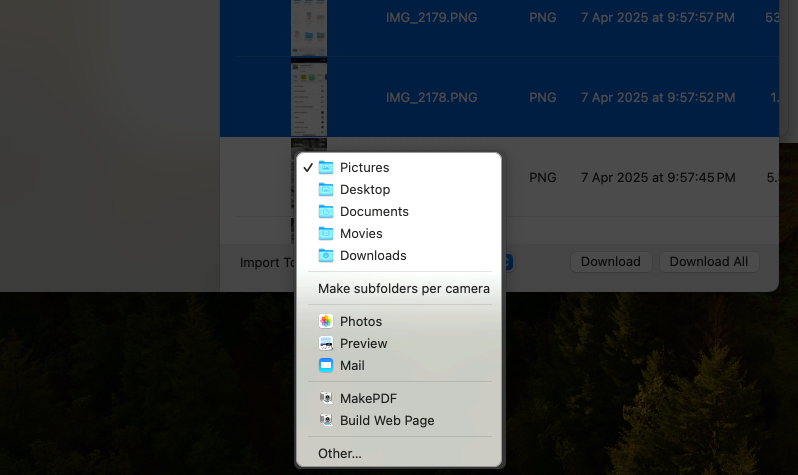
- Pick the photos you want, click the drop-down next to the Import To box, and select your external drive. If you don’t see it, select Others at the bottom of the drop-down, click the drive name in the left pane, and hit Choose.
- Finally, click the Download button to start downloading the photos to your connected drive.
Alternatively, if you’re on a Windows PC, you can use the Photos app that comes build-in on Windows to transfer photos to your external drive.
- Connect your iPhone and external drive via USB to your PC.
- When prompted, tap the Trust button that appears in a prompt on your iPhone to allow the computer to access all its files.
- Click the Start menu and look up and launch the Photos app.
- Click the Import button in the top-right corner and select From a Connected Device.
- Finally, select your external drive, and the transfer should begin.
What to do if your external drive isn’t showing up on your iPhone?
Sometimes your drive might not show up in the Files app on your iPhone. Don’t worry—it’s usually something simple. Here’s what to check:
- Check the connection: Unplug and replug the adapter, hub, or cable. Wiggle it a bit—sometimes it’s just a loose fit.
- Power issues: If your drive needs more than 4.5 watts of power, your iPhone can’t deliver it. Plug large storage drives (not a flash drive) into a powered USB hub first.
- Check the drive format: Your drive needs to be FAT32 or exFAT. If it’s NTFS, you’ll need to reformat it on a computer (back up its data first!).
- Update iOS: An old system might not play nice with new drives. On your iPhone, go to Settings > General > Update and install any pending updates.
I’ve hit this snag before. Usually, unplugging and replugging does the trick, and you’re back on track in no time.
Signing off
There you have it—your iPhone photos are now safe and sound on an external drive, and your local storage is free again. External drives are reliable, give you a lot of space, and don’t need the internet to access the files. So, next time you go on a vacation, don’t forget to carry one to avoid a storage crisis!
Other helpful posts:

