Key takeaways

- To shut down your Apple Vision Pro promptly, press and hold the top button and Digital Crown. As the Power Off slider appears, swipe it to the right. You can also power off your Apple Vision Pro by asking Siri.
- To restart, press and hold the top button until the Apple logo appears.
Are you disconnecting your Apple Vision Pro away from the power every time you want to turn it off? Let me save you the trouble and show you how to shut down and restart your Apple Vision Pro systematically.
Whether you are experiencing technical issues or simply need to perform a routine maintenance check, restarting will help you out. So, let’s learn all the necessary procedures to ensure a smooth shutdown and restart of your Apple Vision Pro.
How to shut down Apple Vision Pro
When your Apple Vision Pro is connected to the battery and turned on, it goes into sleep mode when you take it off. After that, whenever you wear it again, it automatically turns on. You don’t have to power off your Vision Pro every time it’s not in use.
However, if you’re specifically looking to turn off the Apple Vision Pro, it is a very simple process. You can carry out this idea in three different ways.
Method 1: Using button controls
- Press and hold the Digital Crown and top button together until the Power Off slider appears.
- Now, look at the Power Off slider and swipe it to the right by performing a pinch gesture.
Method 2: Via Settings
You may systematically shut down your Apple Vision Pro through the Settings menu.
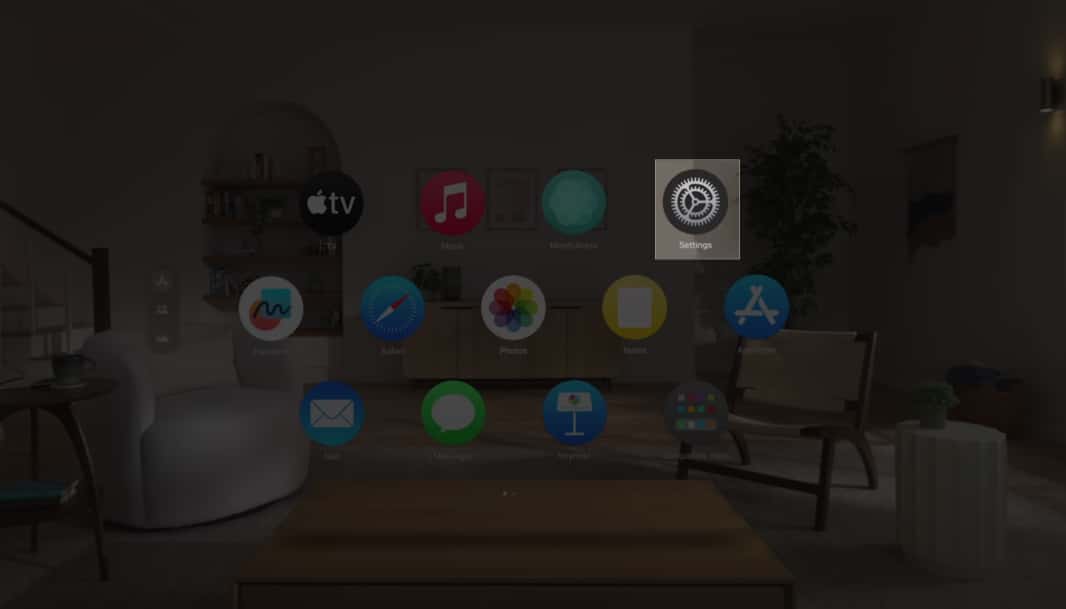
- Go to the Home view → Open Settings.
- Select General menu → Click Shut Down.
- Now look at the Power Off slider and drag it to the right doing a pinch gesture.
Method 3: Command Siri
The easiest way to perform a shutdown is to invoke Siri and ask it to power off your Apple Vision Pro. However, you must have Siri enabled.
If you have not already set up Siri on your Apple Vision Pro, open Home view and navigate to Settings → Click Siri & Search on the left pane → Toggle on Listen for “Hey Siri” or “Siri.”
I hope you have successfully turned off your Vision Pro. If none of the above-mentioned methods work, simply disconnect your Apple Vision Pro from the battery. It will eventually run out of juice and shut down after 24 hours of inactivity.
How to turn on Apple Vision Pro
Once you’ve switched off the Apple Vision Pro, here are the possible ways to get it back up again:
- Press and hold the top button on your Apple Vision Pro for a few seconds. As an Apple logo appears on the screen, let the buttons go. Your Vision Pro will turn on in a bit.
- If you end up disconnecting your Apple Vision Pro from the power, put it back to charge. Wait for a while until it has enough battery to respond. Your Vision Pro will turn on automatically.
How to force restart Apple Vision Pro
Unfortunately, if your Apple Vision Pro is not responding, the easiest way to rectify this issue is to perform a force restart.
- Keep holding the top button and Digital Crown until the screen goes black.
- Continue holding the buttons as the Force Quit Applications and Power Off slider appear on the screen.
- Once the Apple logo prompts your screen, take off your fingers.
As of the latest information available, Apple Vision Pro does not have a built-in feature to schedule automatic restarts.
The restart time may vary, but typically, it should take a minute or two for the Apple Vision Pro to fully restart and become operational.
Shut down Apple Vision like a Pro!
In conclusion, shutting down and restarting the Apple Vision Pro is a simple process that can be done in a few steps. While you’re at it, take some time to save the data of your currently active apps to avoid losing any important data.
Thank you for reading. If you have any doubts, do not hesitate to leave your thoughts in the comment section below.
Read more:


