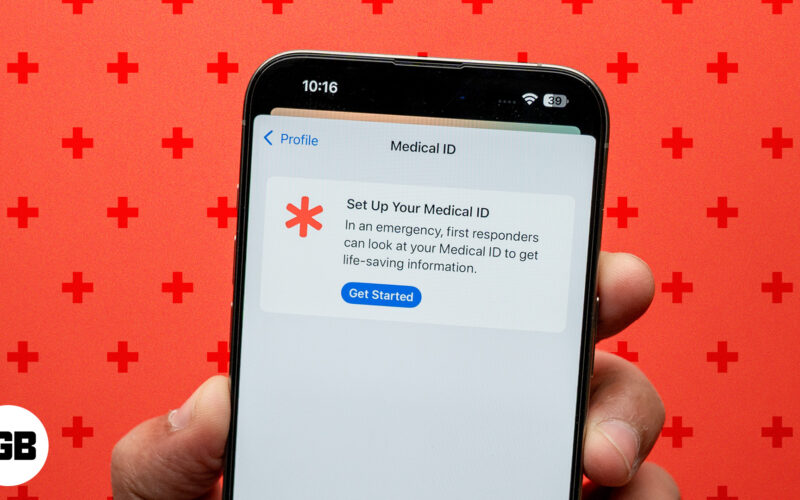
Setting up your Medical ID is among the first things you should do as soon as you get your hands on your first iPhone. Having your Medical ID on your iPhone and Apple Watch can be a lifesaver during emergencies. It helps the first responder or medical professional with your critical health details, such as allergies, medical conditions, emergency contacts, and more. The interesting part is that viewing your Medical ID does not require the first responder to unlock your iPhone.
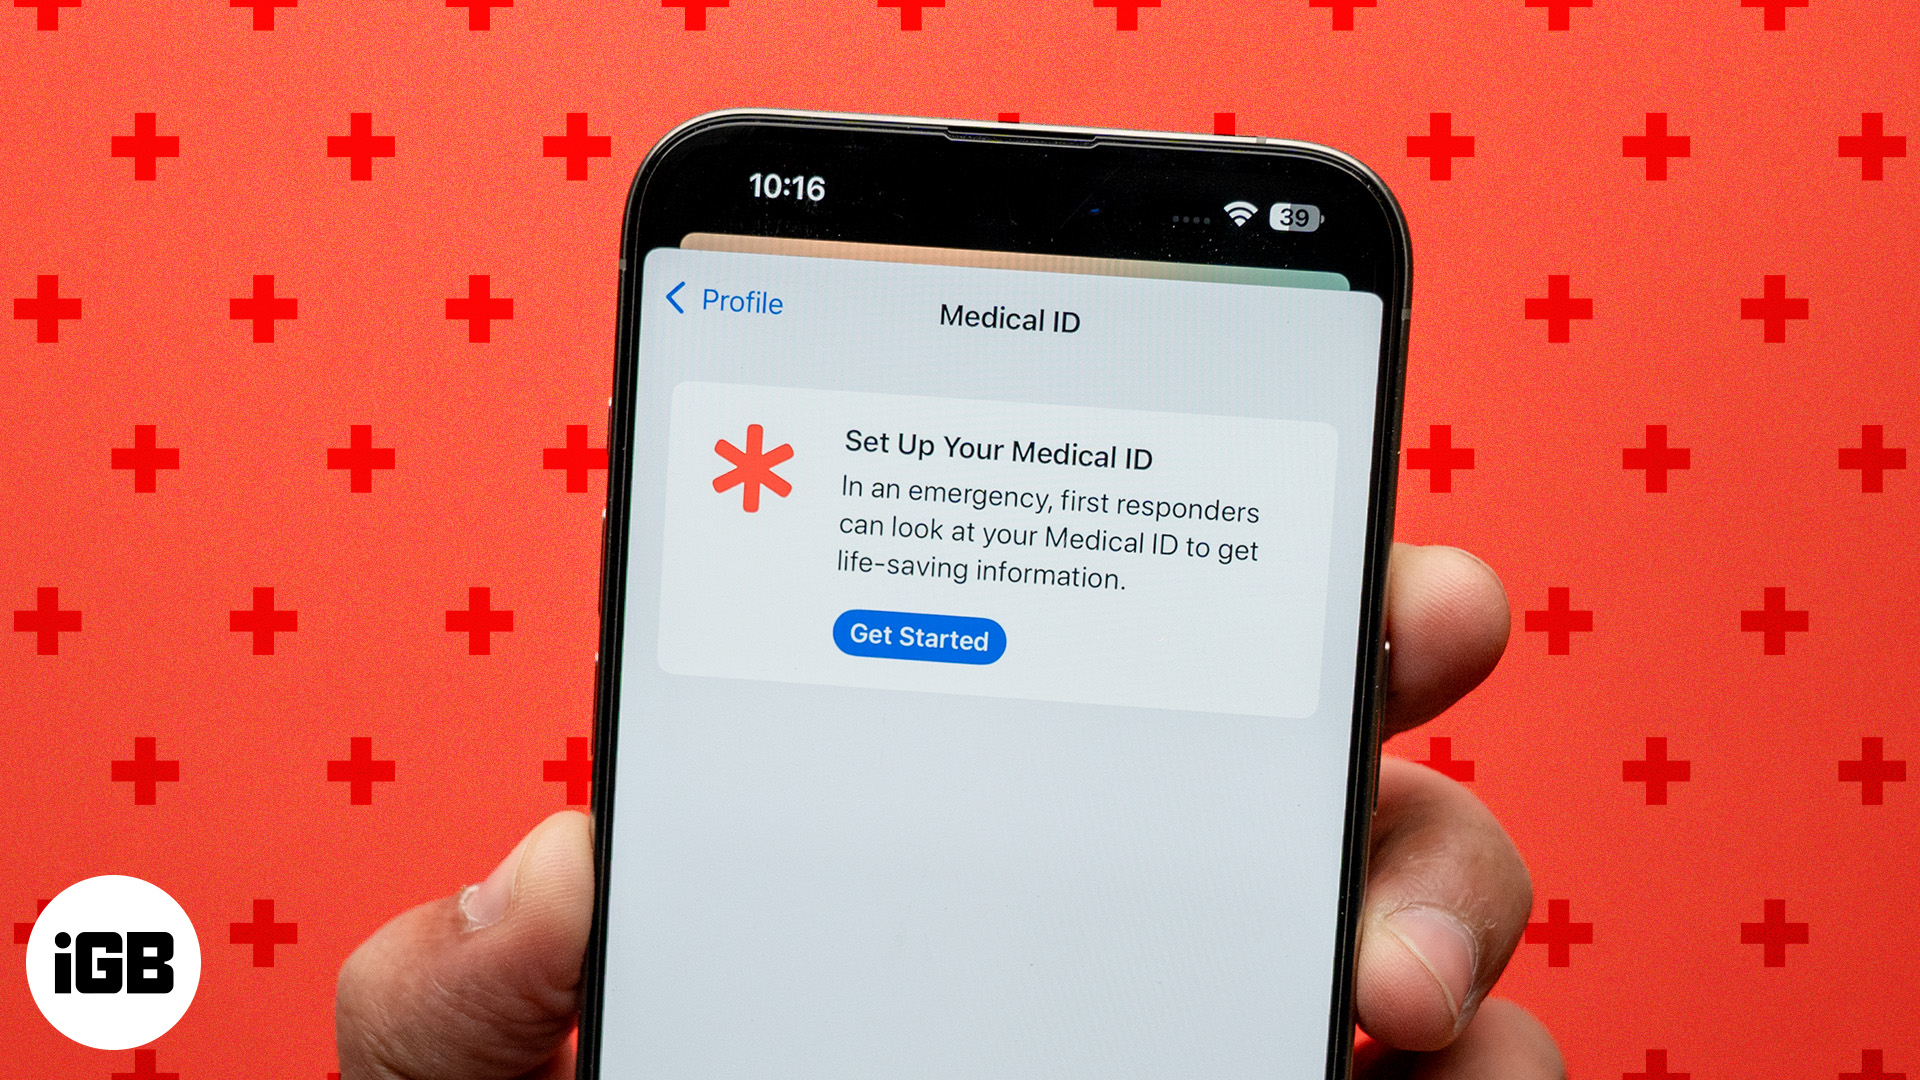
With that said, keep reading to learn how to set up Medical ID on your iPhone and Apple Watch.
What is the Apple Medical ID feature?
Found within the Health app on iPhone, the Medical ID contains your vital health information, such as allergies you have, medications you are going through, your current medical condition, height, weight, blood type, and more.
Once set up, the Medical ID can be accessed from your iPhone or Apple Watch power-off screen, which the first responder can then use during an emergency.
How to set up Medical ID in the health app on your iPhone
Setting up your Medical ID on an iPhone is pretty straightforward and requires little to no technical competence. Here’s how you can do this:
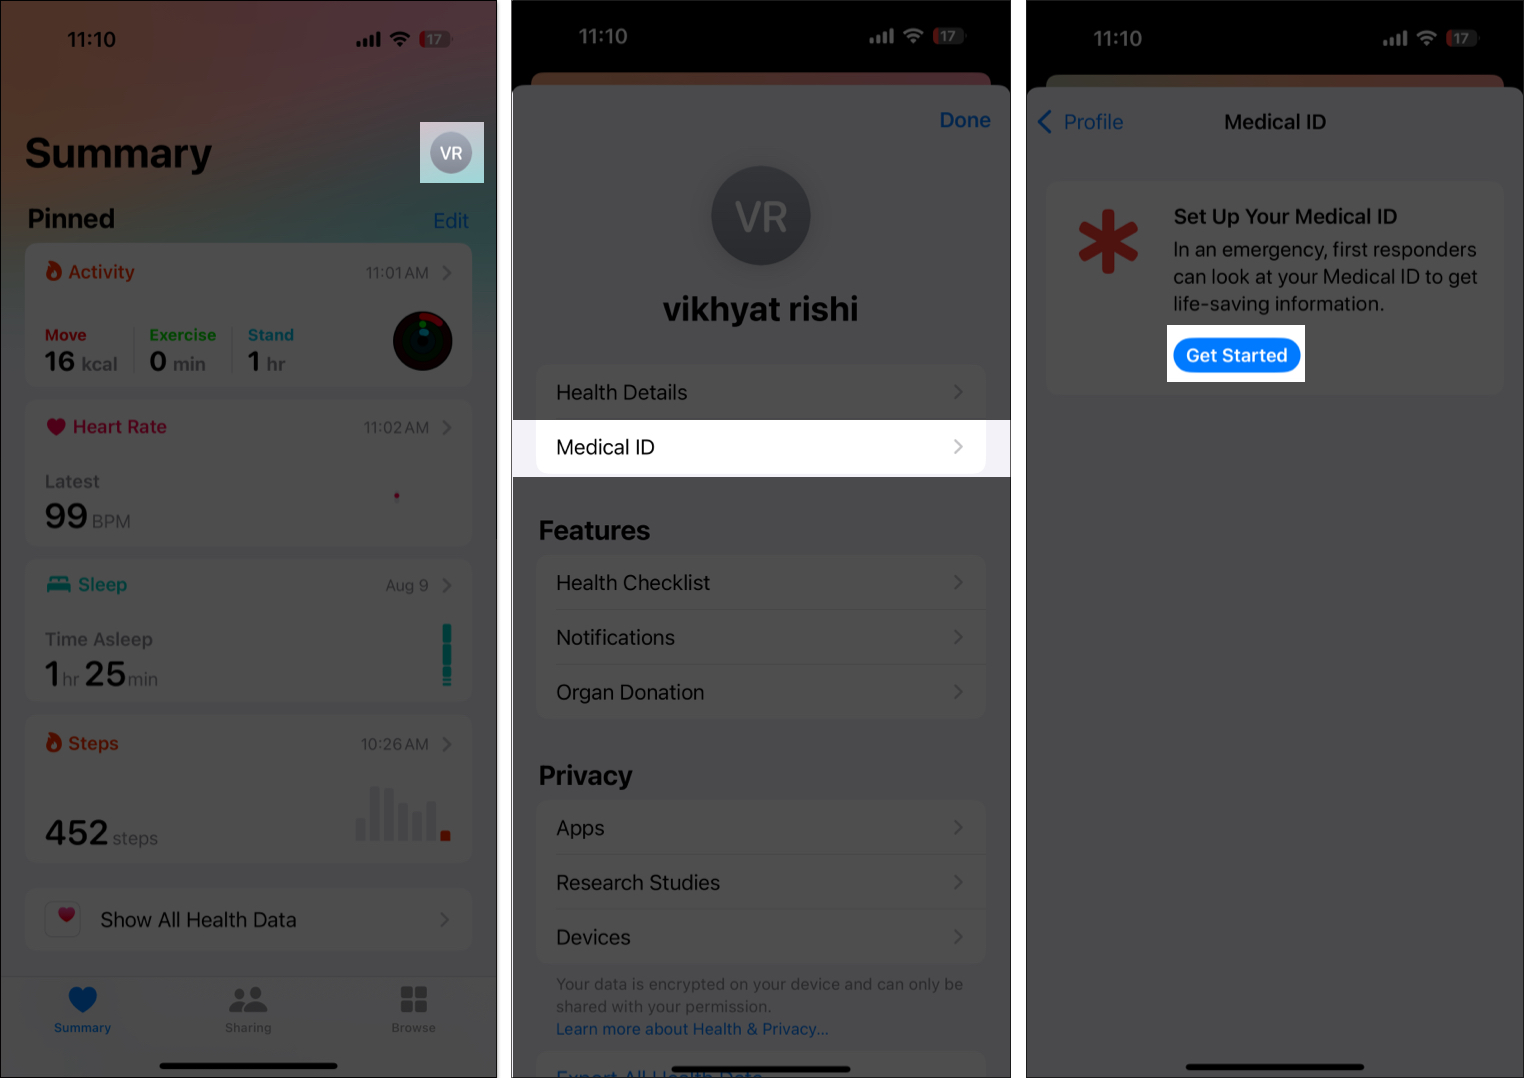
- Open the Health app on your iPhone and ensure you are on the Summary tab.
- Tap your Profile icon at the top right corner.
- Next, locate and tap on Medical ID, then tap the Get Started button on the subsequent screen.
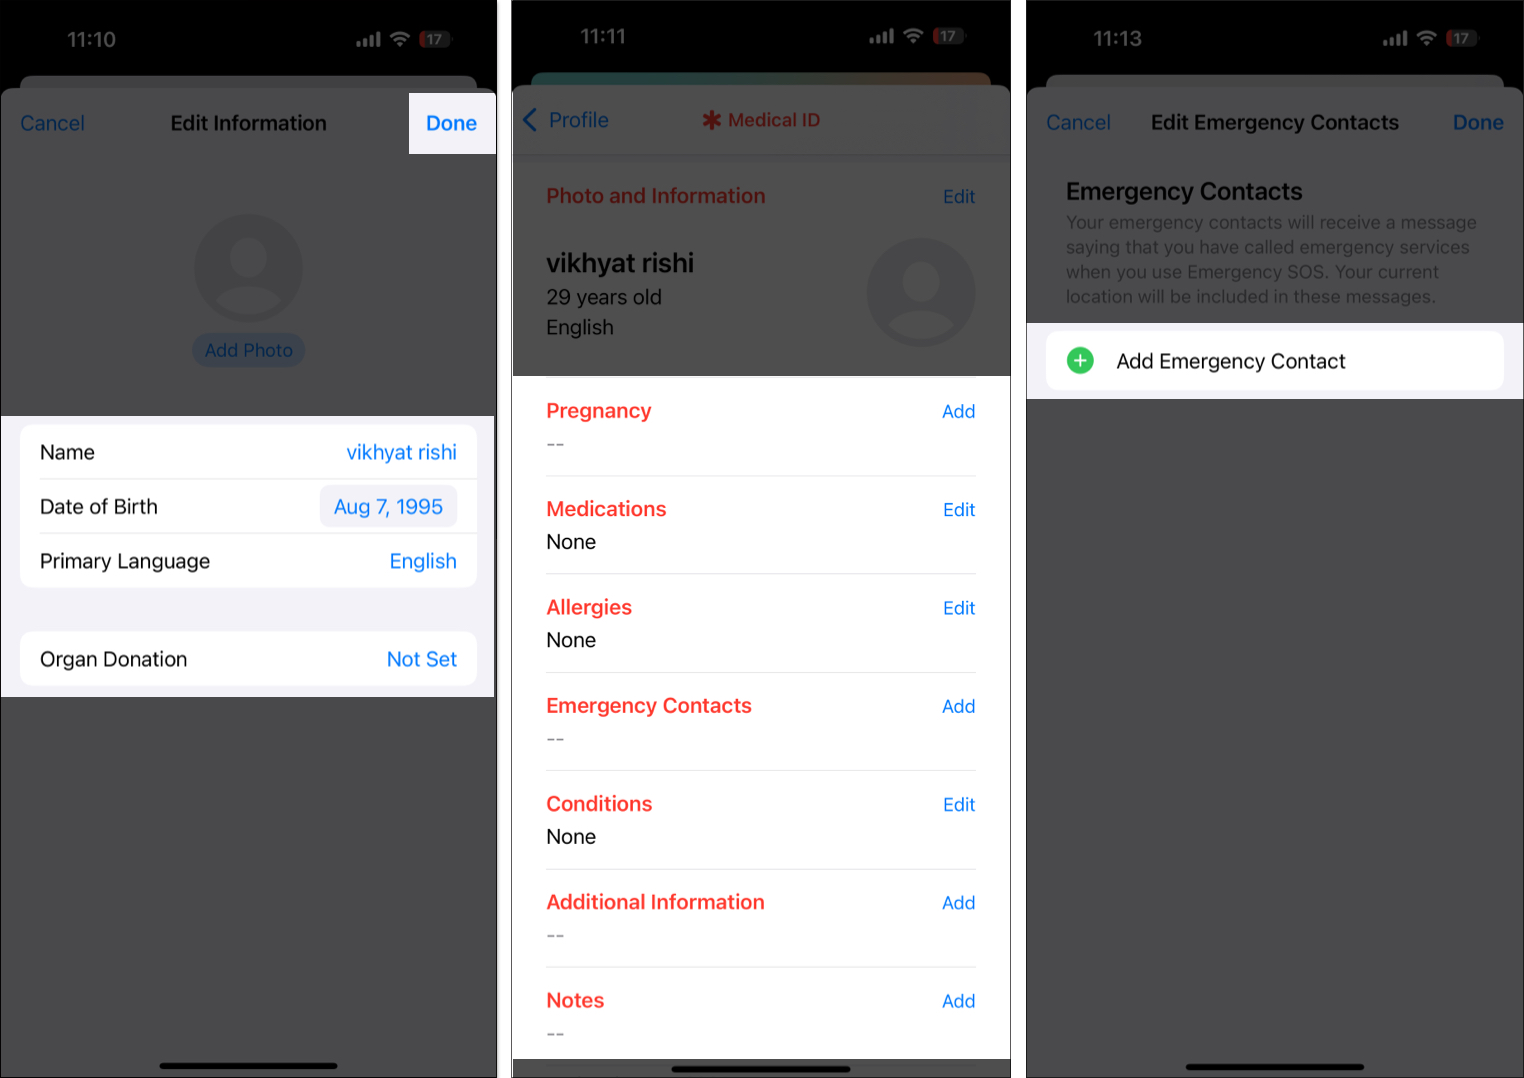
- Now, enter your key information, such as your name, date of birth, primary language, and organ donor status, then tap Done.
- Here, fill out key information, such as medications, medical conditions, pregnancy status, and allergies.
- Tap Add next to Emergency Contacts, then tap the Add Emergency Contact button on the subsequent menu and follow the on-screen instructions.
- Once you are done with all the information, toggle ON Show When Locked at the top so that the first responder won’t need to unlock your iPhone during an emergency.
Alternatively, you can also head to the Contacts app, select your Contact Card, scroll down and tap on Show Medical ID to set up Medical ID on your iPhone.
How to set up Medical ID on Apple Watch
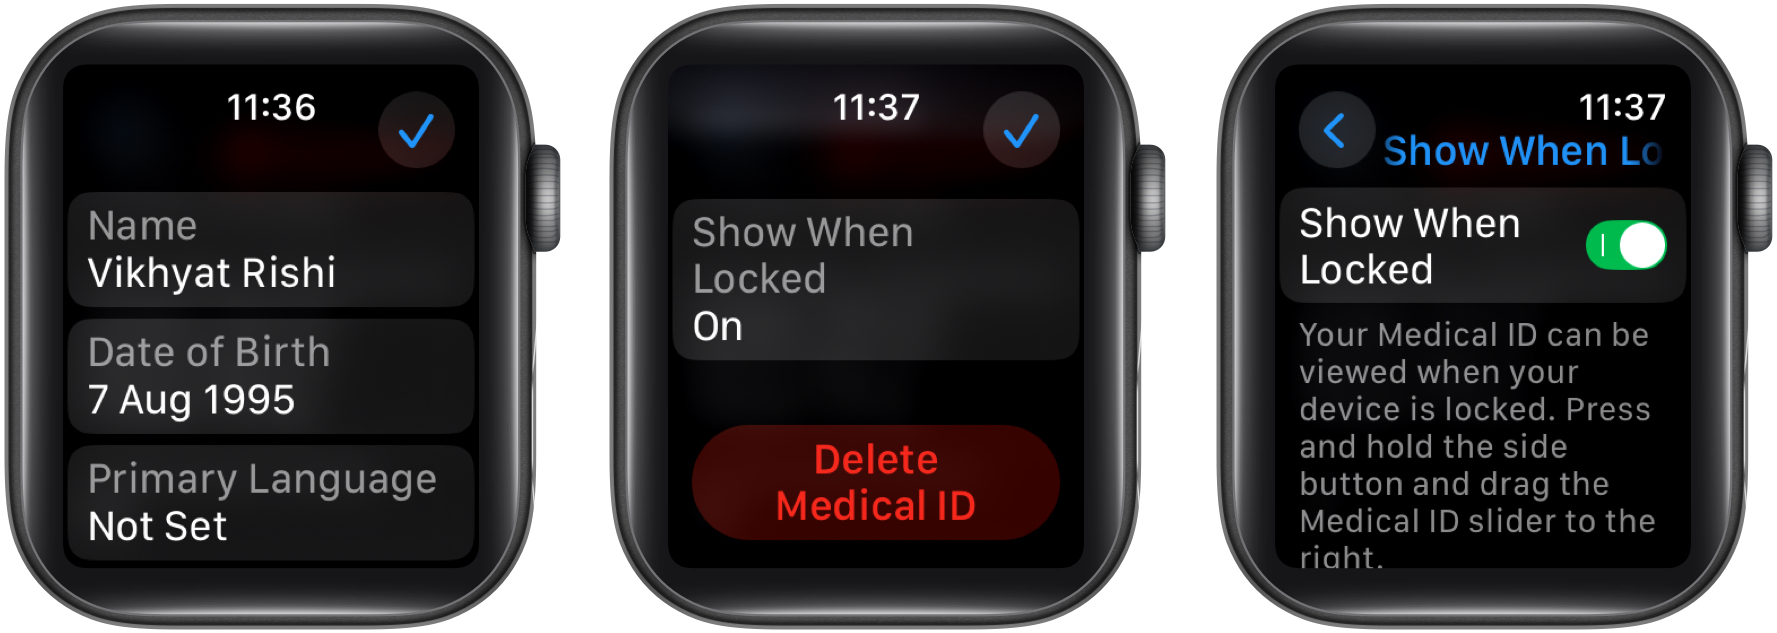
Although the Medical ID you created on your iPhone syncs automatically with your Apple Watch, you can directly set up the Medical ID on your Apple Watch in case you currently don’t have the paired iPhone. Here’s how:
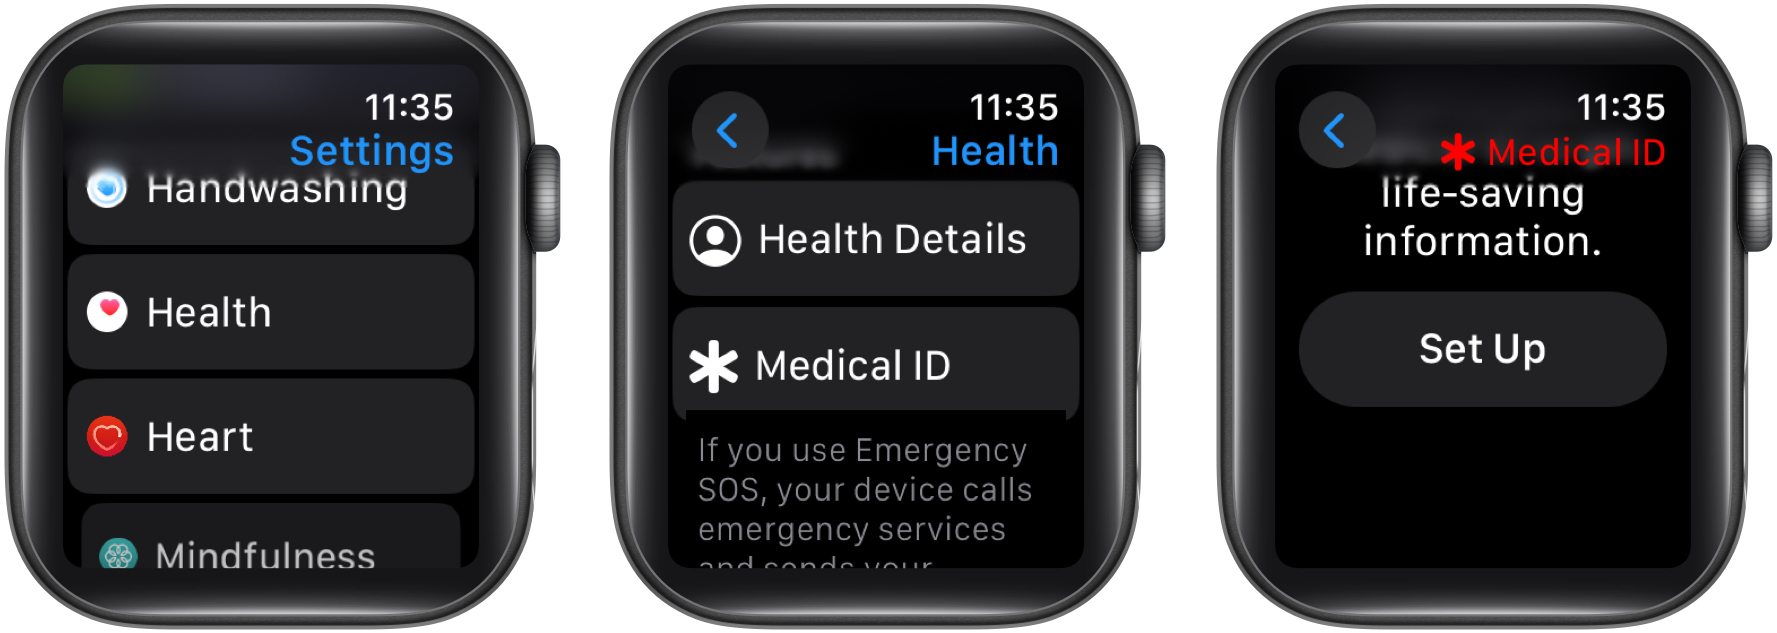
- Open the Settings app, scroll down and tap Health.
- Tap Medical ID under the Features section.
- Next, tap the Set Up button.
- Now, enter all the key information.
- Scroll down, tap Show When Locked, and ensure the Show When Locked toggle is ON.
- Finally, hit the Done button at the top right corner.
How to access Medical ID in an emergency
Now that you know how to set up a Medical ID on your iPhone and Apple Watch, it is time to learn how to access others’ Medical IDs on their Apple devices. This is particularly handy when you are the first responder to someone with an iPhone or Apple Watch in an emergency. Here’s how:
Access Medical ID on locked iPhone
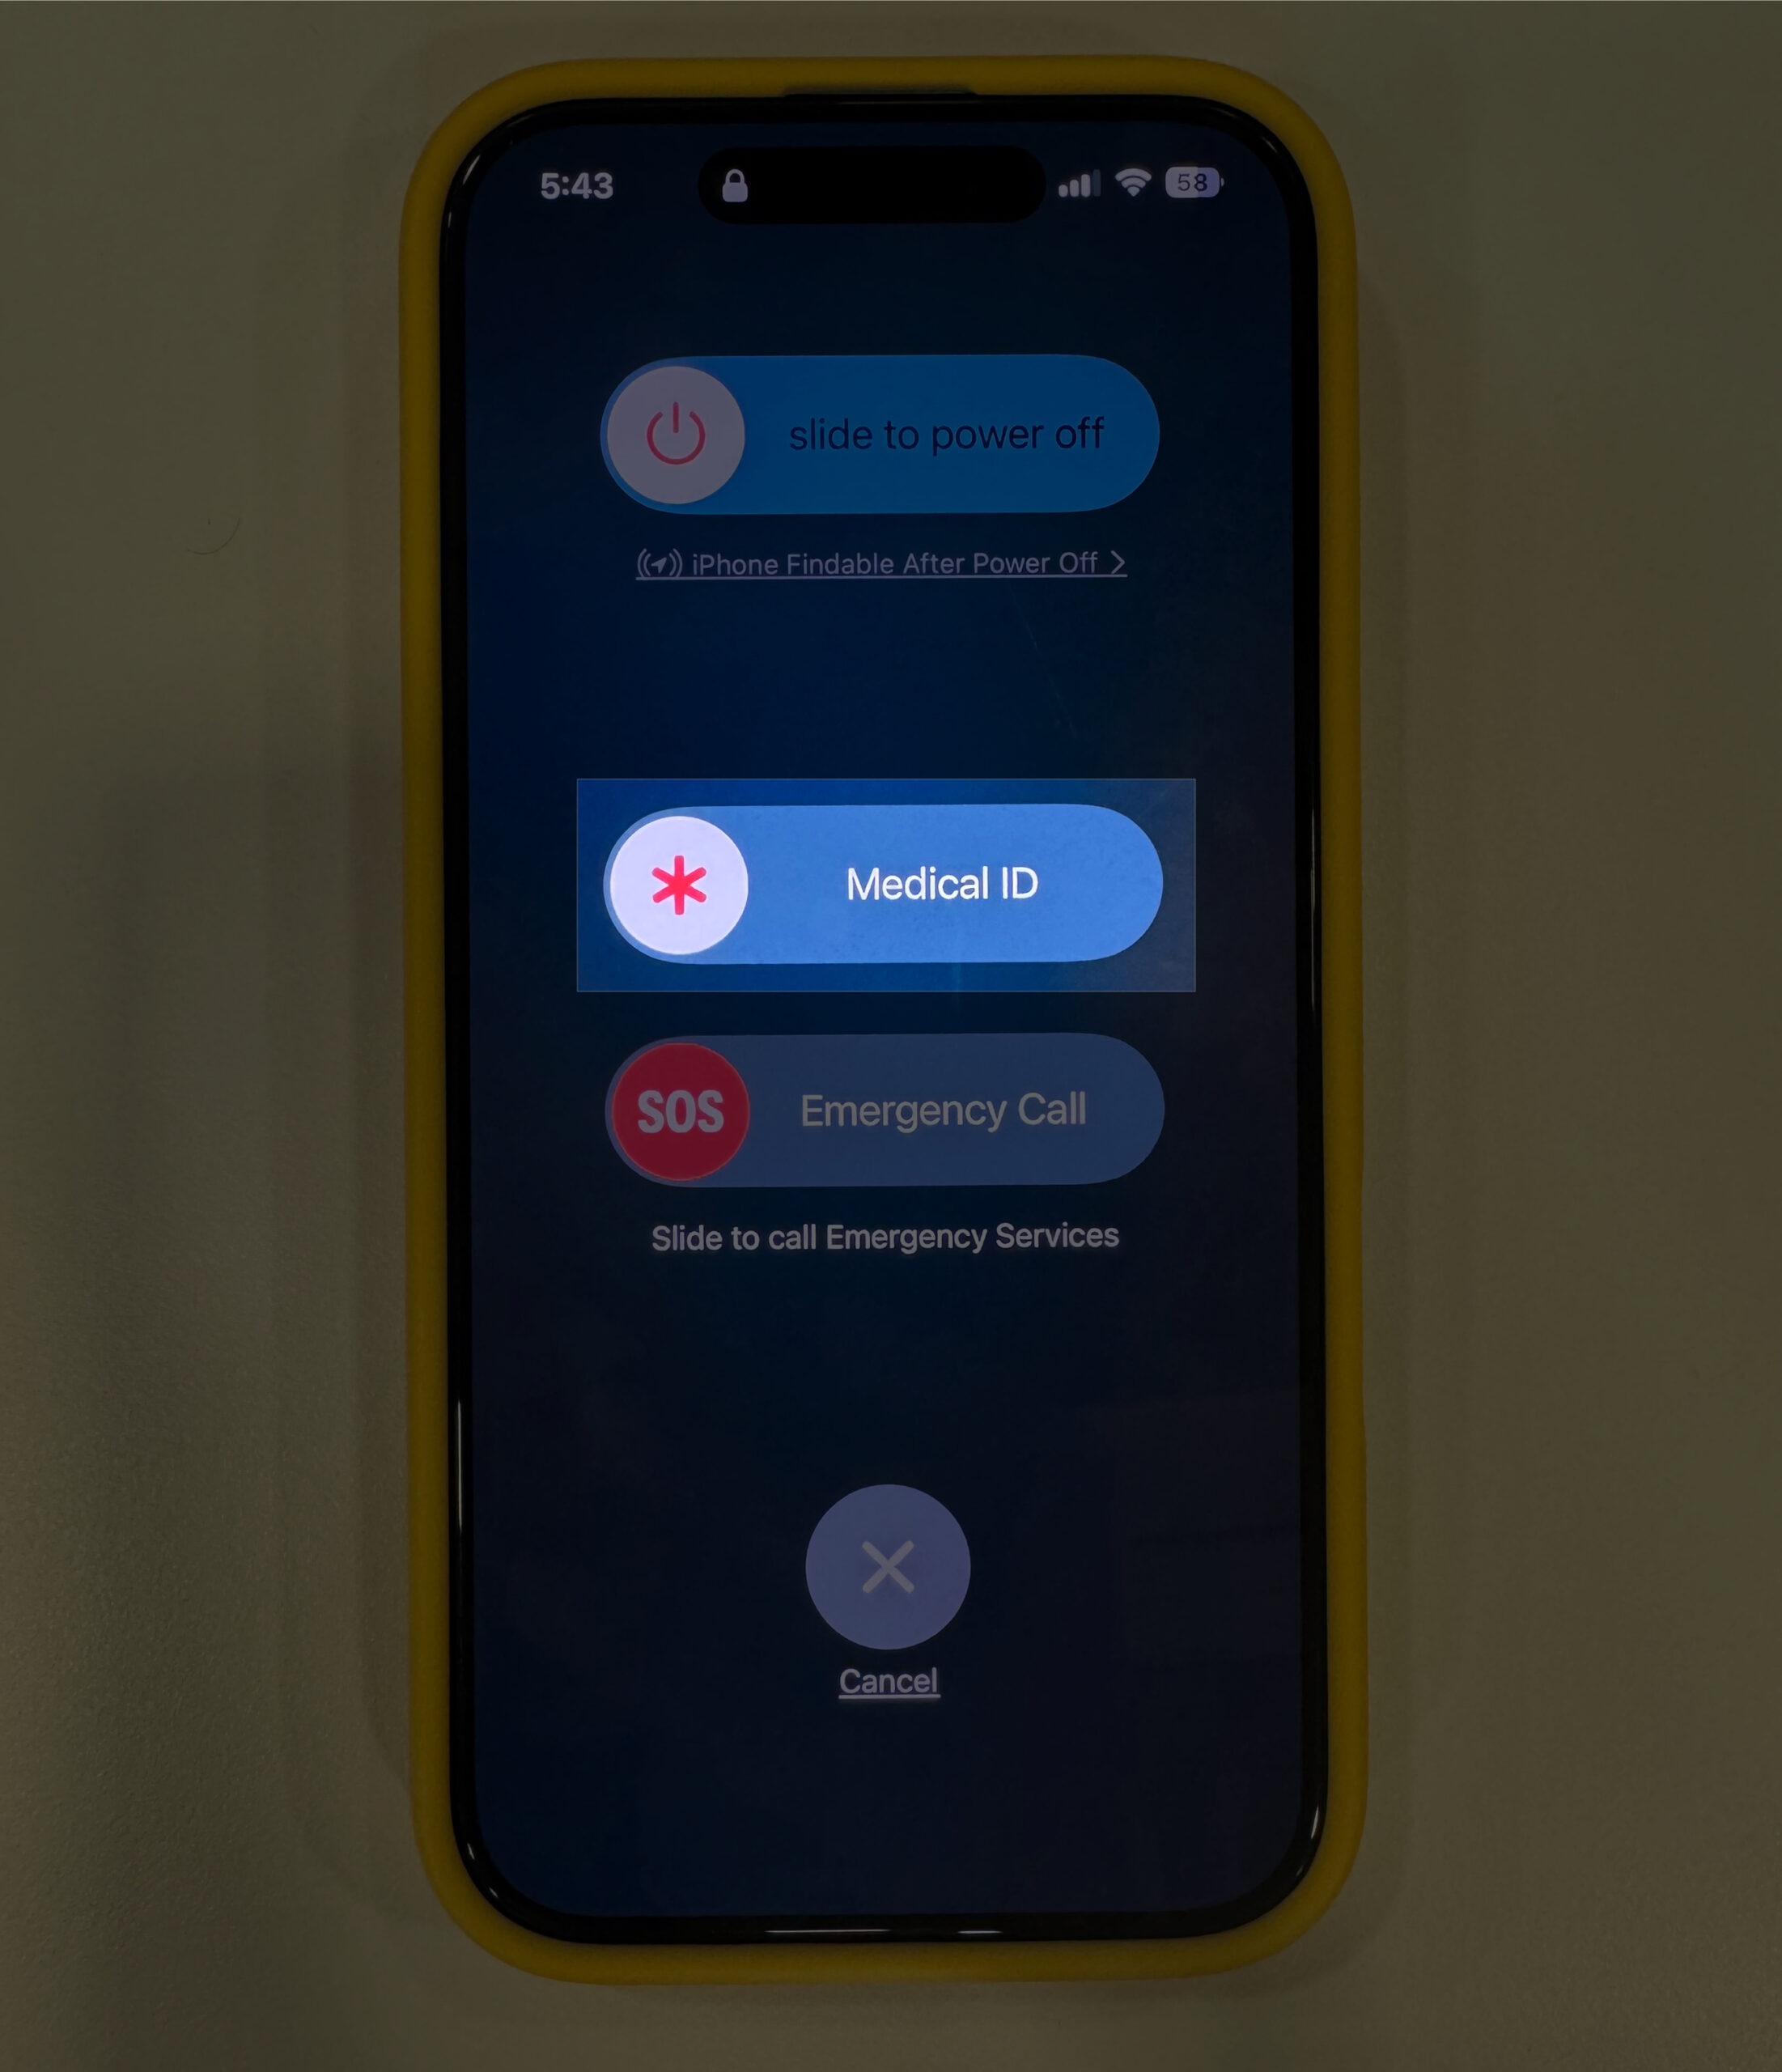
- Press and hold the Power and any of the Volume buttons simultaneously until the Power Slider appears.
- Here, swipe right on the Medical ID slider that appears below the Power Slider.
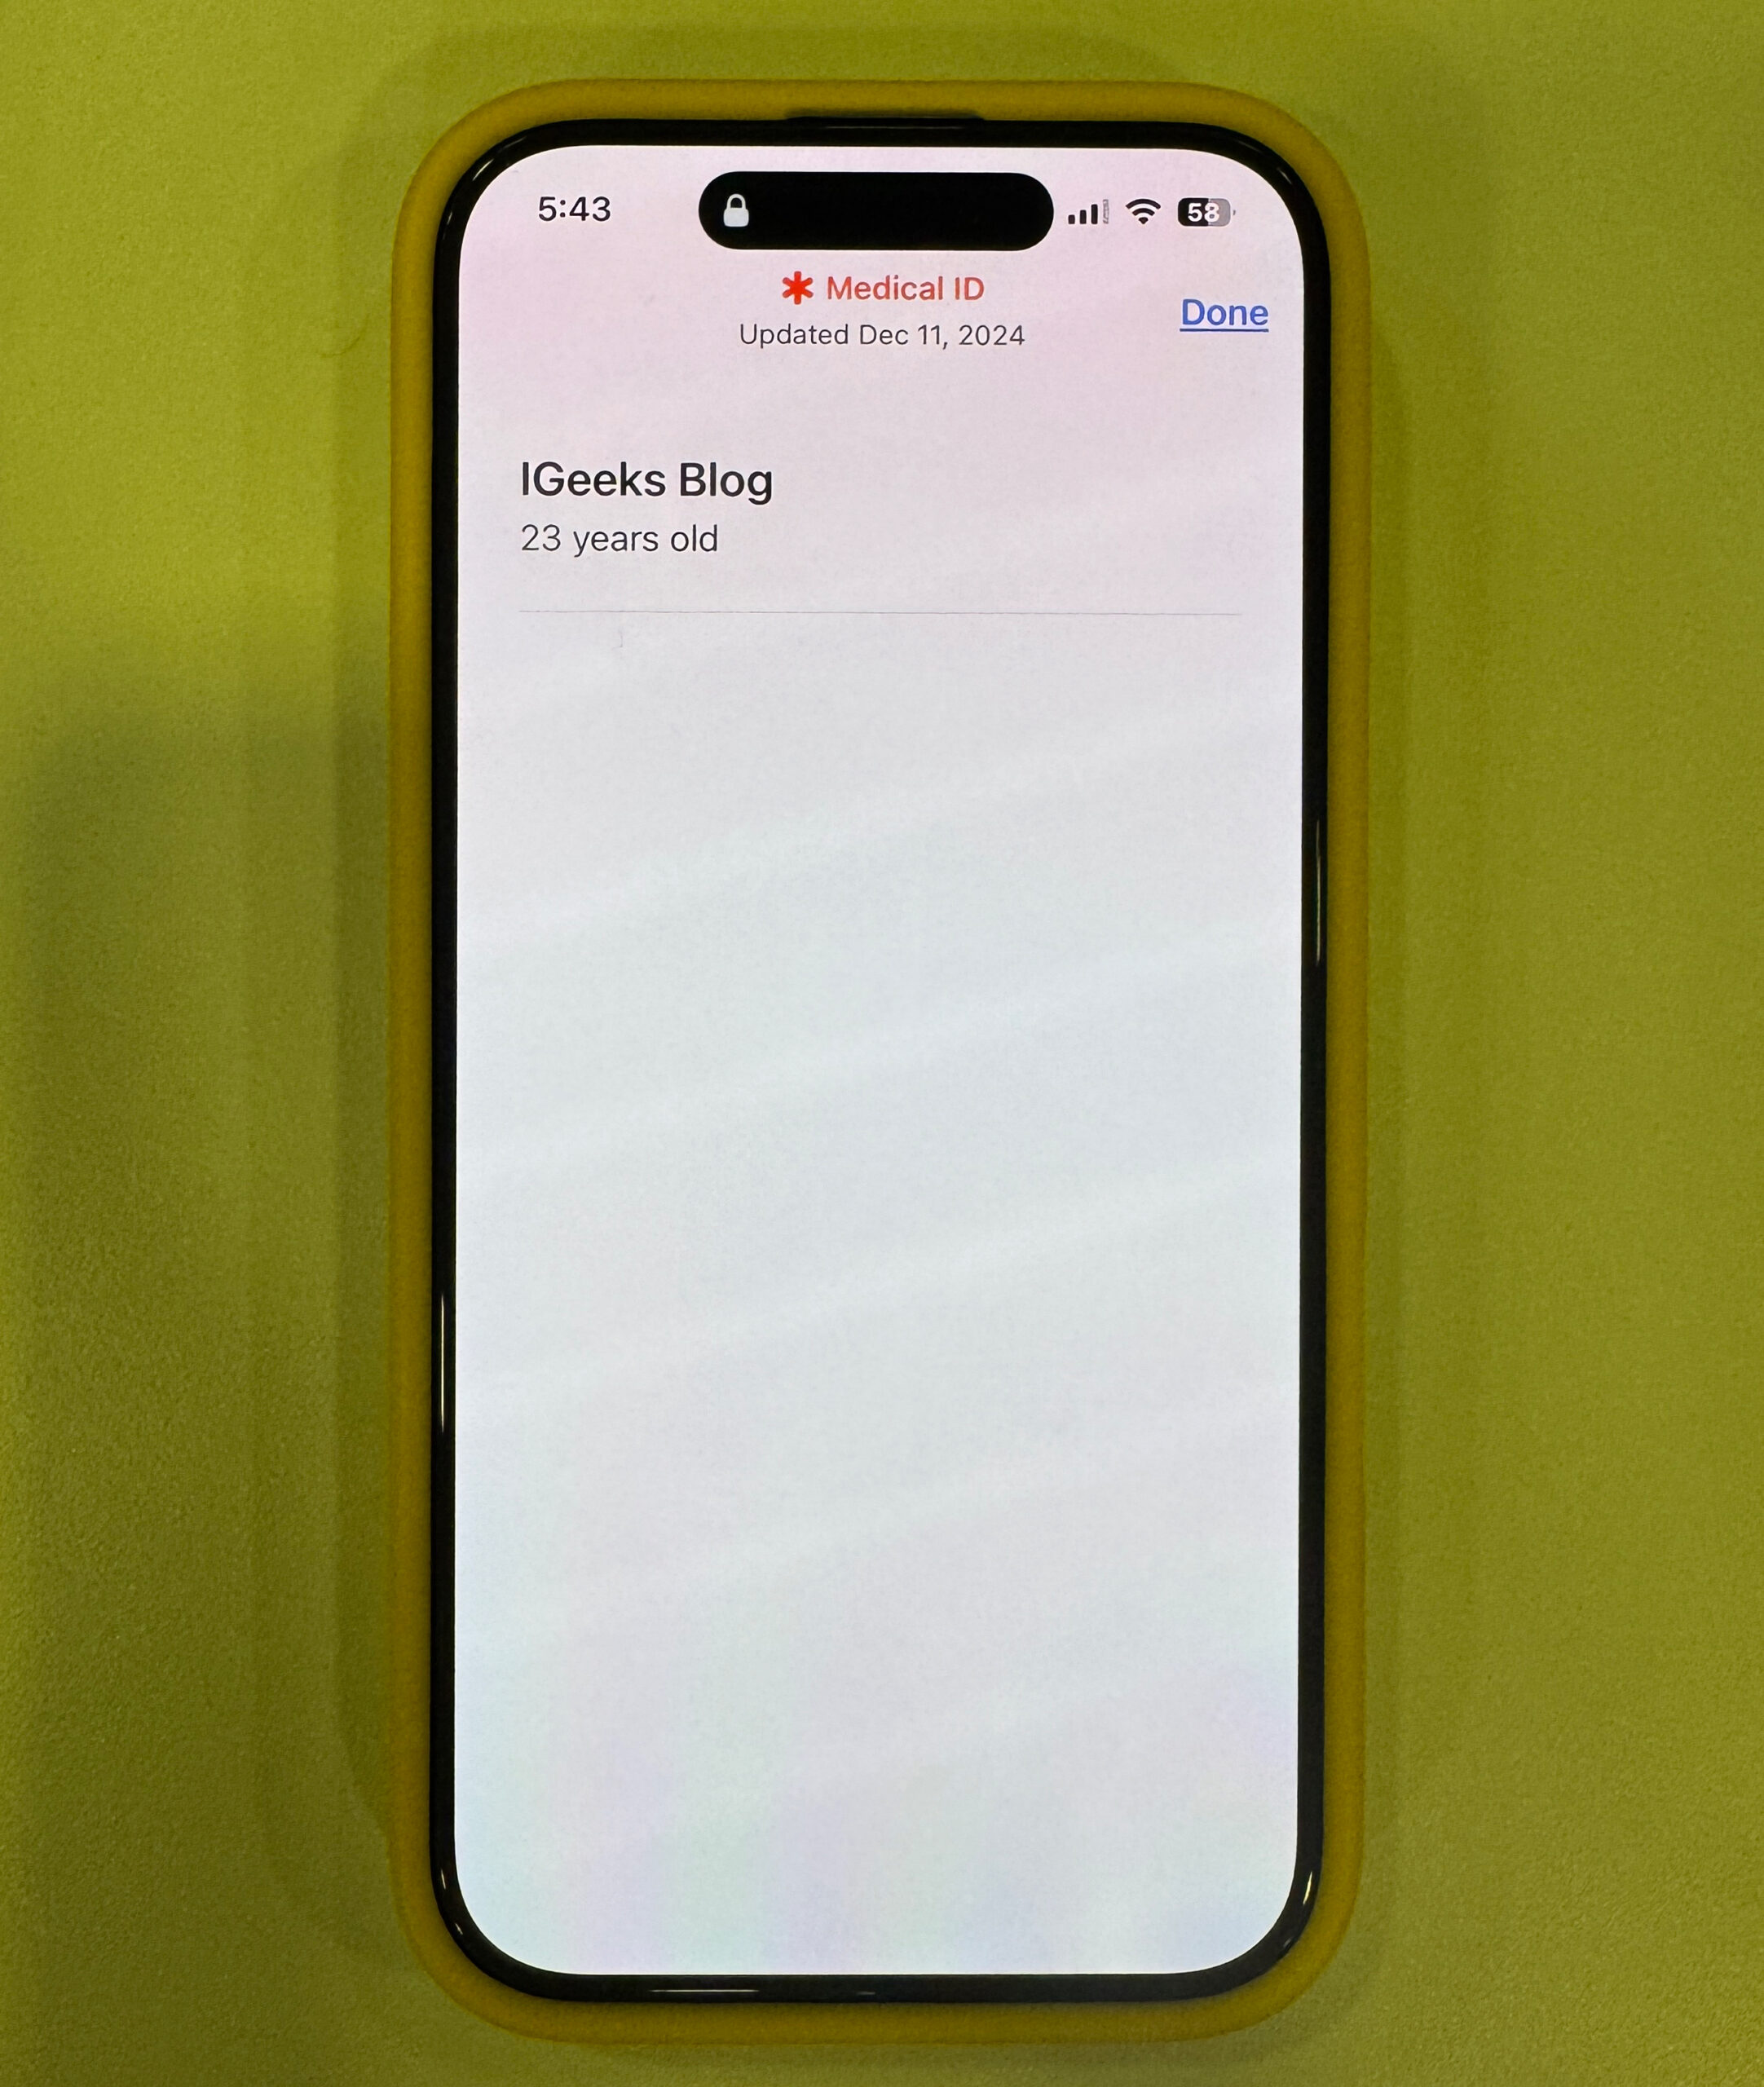
- Once done, the Medical ID will appear.
Access Medical ID on locked Apple Watch
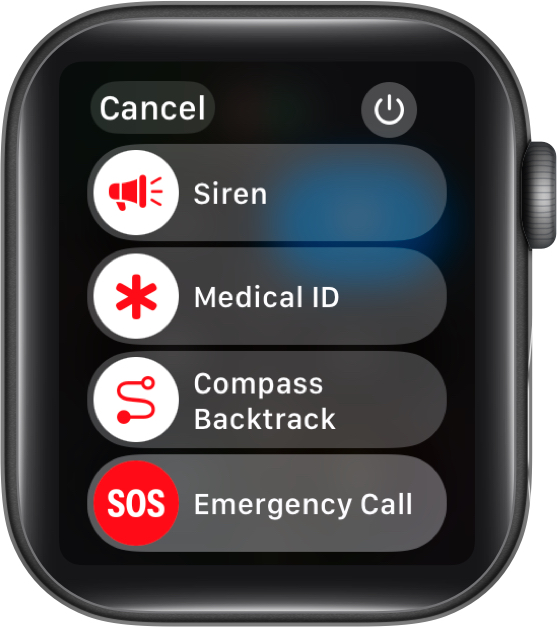
- Press and hold the Side button until the Medical ID slider appears.
- Swipe right on the Medical ID slider to access the Medical ID.
Tips for keeping Medical ID accurate and updated
As an emergency isn’t something you can predict, keeping your Medical ID accurate and updated ensures it remains useful. Here are a few you can follow:
- Review Regularly: Check your Medical ID every now and then to ensure your health details are up-to-date.
- Update After Medical Changes: Update your Medical ID after any major health events, such as surgeries, new diagnoses, or medication changes.
- Keep Emergency Contacts Current: Verify that your emergency contacts’ phone numbers are accurate and still relevant.
- Be Honest and Detailed: Always enter clear and accurate health details, especially about severe allergies or life-threatening conditions.
Benefits of using Medical ID
Having your Medical ID on your iPhone and Apple Watch can turn out to be your wisest decision during an emergency and offer various live-saving benefits:
- Quick Access to Critical Information: No one can know when an emergency will occur, and in such situations, each passing second is critical and should not be wasted. The Medical ID on your iPhone or Apple Watch can save critical time by allowing the first responder or Medical professional to access your vital health information.
- Emergency Contact Notifications: Every emergency contact you have in your Medical ID is instantly available, helping responders notify loved ones quickly in a crisis.
- Life-Saving in Emergencies: Accurate and updated medical details of your health conditions can assist healthcare providers in making better treatment decisions, potentially saving lives.
- Support for Medical Conditions: Your medical ID can be used to communicate on your behalf so the medical professional can ensure proper care if you have chronic conditions like diabetes, heart disease, or severe allergies when you’re unconscious or unable to communicate.
Signing off…
The Medical ID on your iPhone can act as the first line of defense by helping the first responder save valuable time, which is paramount during emergencies. So, it would be wise to take a few moments and set up your Medical ID, as it can make all the difference when every second is critical.
What are your thoughts on this life-saving feature? Do share them in the comments.
FAQs
Yes, you can have any number of emergency contacts you want. However, we advise you to add only those who have access to your home and family.
Any iPhone running on iOS 8 or later can have a Medical ID.
Your Medical ID will become available on your new iPhone if you sign in with the same Apple ID you had on your previous one.
Also read:

