Apple Pay Cash lets you send and receive money via SMS on your iPhone. You can use this money to pay for in-app services and buy items online via Apple pay. Or you can even use it to settle your local vendors if they accept Apple Pay Cash payments.
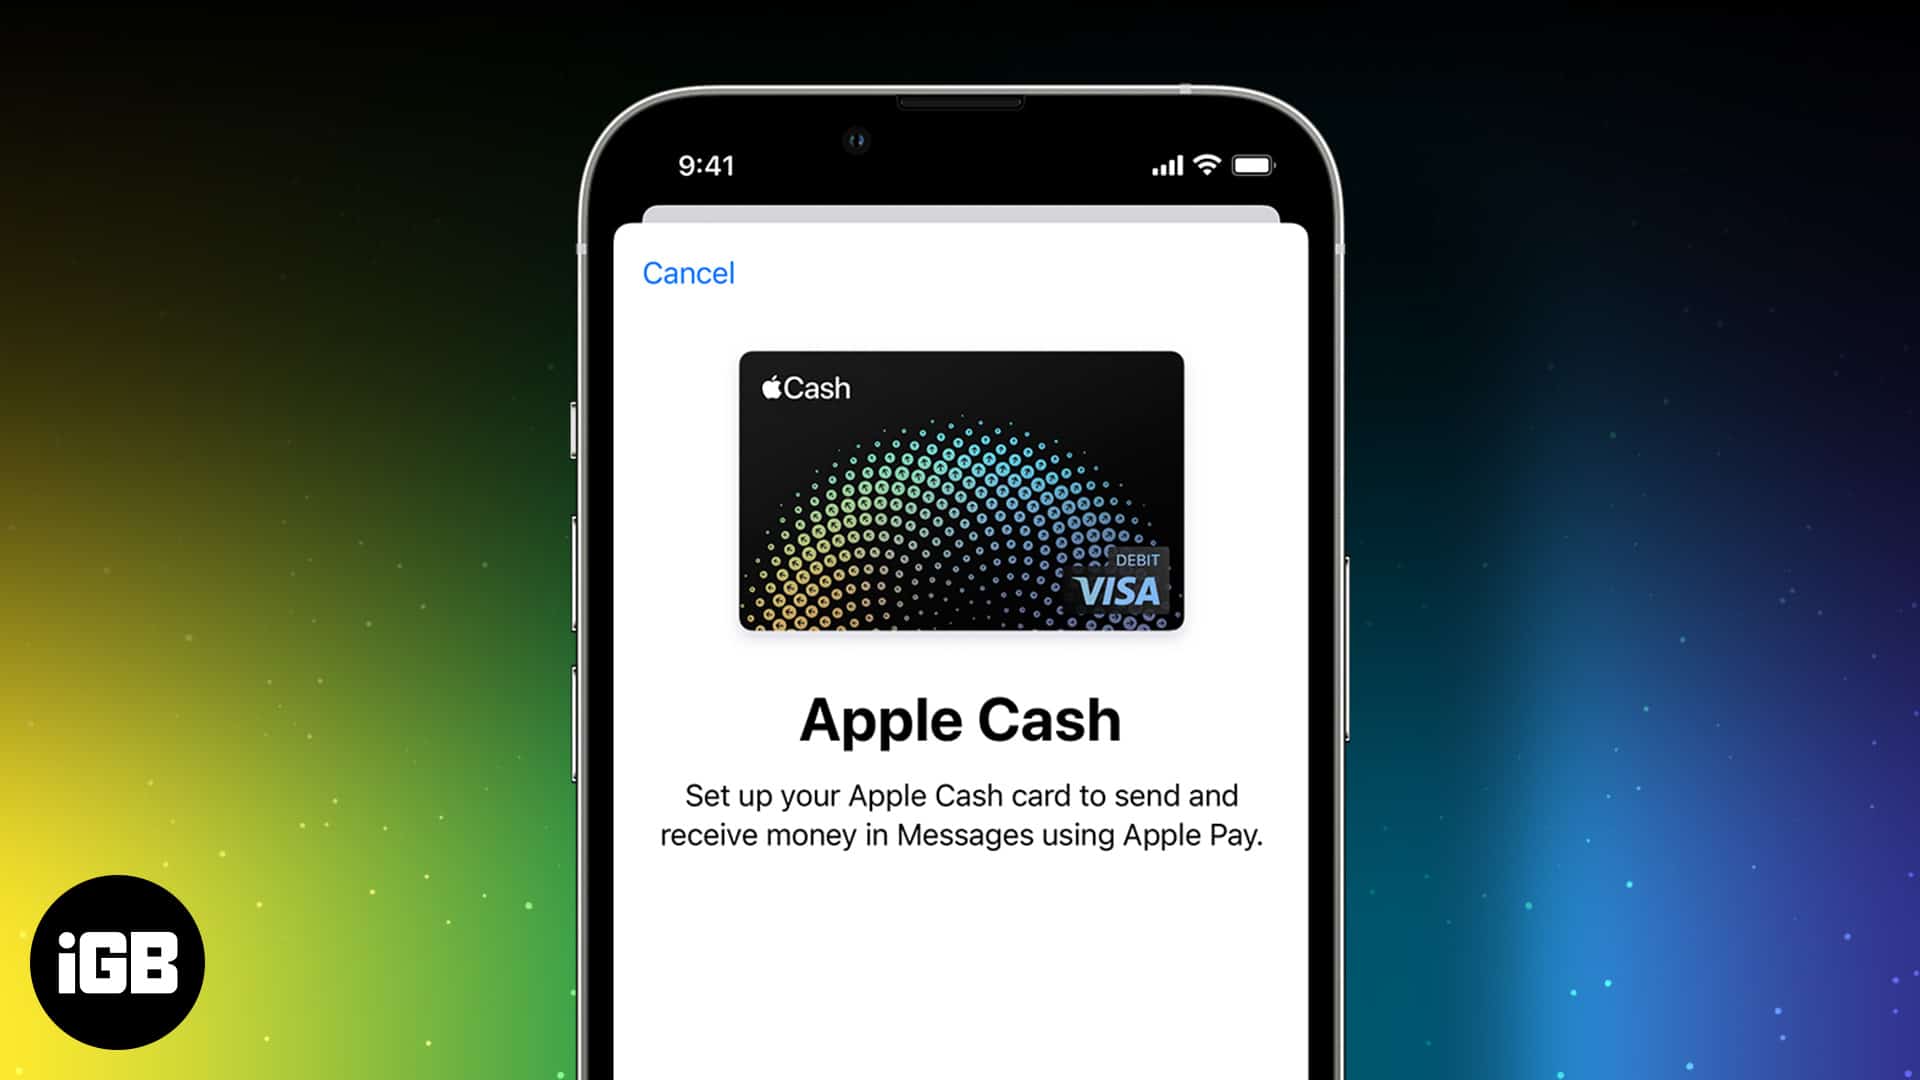
With this service, you and your friends or relatives have a lower chance of getting stranded since all you need is a couple of taps to wire money via SMS.
The service is currently only available in the US, though, as it’s an initiative of some US-based banks. So how can you leverage this service and set it up on your iPhone? Keep reading to find out.
What is Apple Cash and how does it work?
Apple Pay Cash is Apple’s virtual card—more like your debit card. The only difference is that you’re making contactless payments when using Apple Cash. Hence, once you set up the service on your iPhone, you might not pay for items directly with your debit card since the money is already in your Apple Cash wallet.
There are a couple of ways to recharge your Apple Cash balance. These include using your debit card, SMS cash wire, or direct wallet transfer. Additionally, you can manage your balance from your iPhone’s Wallets app or its settings. Once you set it up, you’ll see your Apple Cash balance on your Apple Pay Cash card.
You don’t need to install any app to use Apple Pay Cash on your iPhone. The option to set it up is on your iPhone by default, provided your device’s iOS version isn’t less than 11.2.
Apple Pay Cash requirements
Apple requires that you satisfy the following conditions before you can set up Pay Cash on your iPhone:
- You must not be less than 18 years old, and you must be resident in the US.
- Ensure that you sign in to your iCloud account with your Apple ID.
- You need to activate two-factor authentication for your Apple ID.
- Your device should satisfy the minimum iOS requirements; iOS 11.2 or later.
Also, your Watch must be running on WatchOS 4.2 or later if you’re using your Apple Watch. - Ensure that you add your debit card to the Wallets app. To do this:
- Open the Wallets app on your iPhone.
- Tap the add (+) icon at the top right.
- Next, follow the onscreen instructions to add your debit card to your Apple Wallet.
How to set up Apple Pay Cash
Setting up Apple Pay Cash on the iPhone is simple once you satisfy the conditions in the previous section:
- Open your Wallet app on your iPhone.
- Tap the Pay Cash widget.
- Next, tap Set Up Apple Pay Cash.
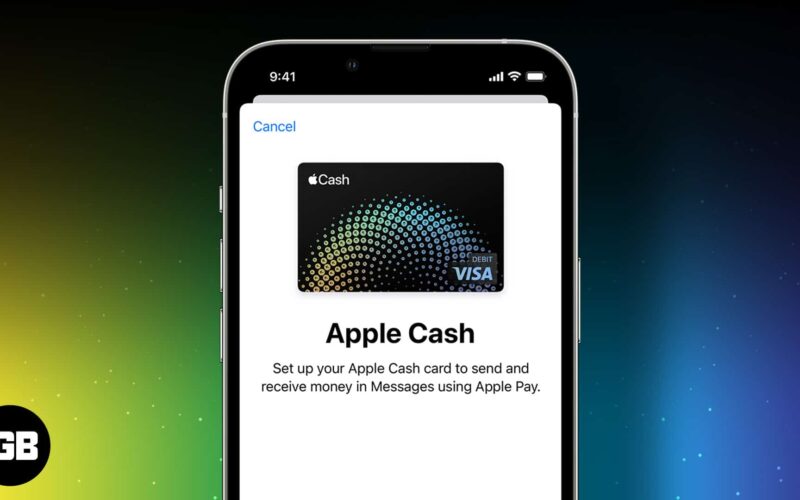
- Choose Continue. This process will generate your Apple Pay Cash card.
You will see a prompt to add a debit card to your Apple Pay Cash card. - Select Add Debit Card:
The cards you’ve added earlier will appear in the menu that follows. Otherwise, you’ll need to set up with a new debit card. - Select a card and tap Continue.
- Follow the on-screen prompts to verify your cards if asked.
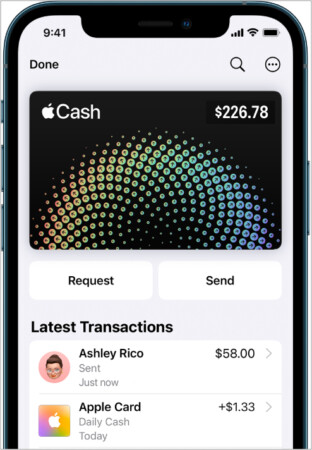
Once done, your Apple Pay Cash service is now paired successfully with your debit card.
However, you might also need to enable Apple Pay Cash via your iPhone Settings to be able to use it to send money and purchase items.
How to enable Apple Pay Cash on your iPhone
To enable Apple Pay Cash:
- Open your iPhone Settings.
- Go to Wallets & Apple Pay. You can type “Wallet & Apple Pay” in the search bar at the top if you can’t find it quickly.
- Toggle-on Apple Pay Cash.
Skip this section if the Apple Pay Cash toggle is on already.
Add money to your Apple Cash
It’s now time to add money to your Apple Cash Card. You can do this from the Settings or directly from the Wallet app.
To add money to your Apple Pay Cash via the Wallet app:
- Open the Wallet app on the iPhone.
- Choose the Apple Pay Cash card widget.
- Tap the More icon (the three vertical dots) at the top-right.
- Next, select Add Money and type the amount you want to send.
- Tap Add. Then follow the on-screen instructions to complete the process.
To use the iPhone Settings instead:
- Head over to your iPhone Settings → Wallet & Apple Pay.
- You’ll see a list of cards you’ve added to your Wallet. Tap Apple Pay Cash.
- Next, select Info below the Apple Cash balance at the top.
- Tap Add Money.
- Type the amount you want. Then select Add at the top-right.
- Follow the on-screen prompt to authenticate your debit card.
- You should now see your new balance on your Apple Cash Card.
How to send money via Apple Cash
There are two primary ways to send money to someone via Apple Pay Cash. You can do this via the Message app or directly from the Wallet app. See the details below.
Send money in the Messages app
The Message app is, by far, the easiest way to send money to someone via Apple Cash, provided that they’ve also set it up on their iPhone.
To achieve this:
- Open the Message app on your iPhone.
- Tap the App Store icon and then hit the Cash icon.
- Type in the amount you want to send in the message box.
- Select Pay.
- Then hit the Send icon and authenticate your payment with Face ID or passcode.
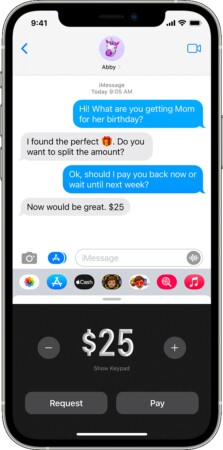
The recipient will now need to accept or decline the payment. Once they confirm it, they should now have the money in their Apple Cash Card.
Note: You can only cancel a payment you’ve made to someone if they’ve not accepted the cash yet. Once confirmed, there’s no way you can revert it unless you contact the recipient.
Respond to a request for money
Someone can also request money via Apple Pay Cash. You can choose to respond by declining or accepting this request. When someone asks for a payment, it lands in your messages as an SMS. Simply ignore or delete the message to decline the request. Otherwise, here’s how to accept and send the requested amount:
- Once you open the request, tap Pay. You can also change the amount requested. It’s all up to you.
- Authenticate your Apple Pay Cash card with your Face ID or passcode, and that’s it.
Send money in the Wallet app
You can also send money to another person via the Wallet app:
- Open the Wallet app on your iPhone.
- Tap the Apple Pay Cash Card widget.
- Select Send. Then choose the recipient.
- Type the amount you want to send.
- Select Send with Messages. Hit the send icon in the SMS box to send the specified amount.
- Next, authenticate the payment with your Face ID or passcode to finalize the payment.
Ask Siri
You can also ask Siri to send money to a selected person on your contact list if you’ve already enabled Siri. To use Siri, you can say something like, “Hey Siri, send $45 to Nidhi with Apple Pay Cash.” You’ll now see a prompt to send the specified amount to the recipient you mentioned. Tap Send and authenticate with the appropriate method.
How to request payment on iPhone
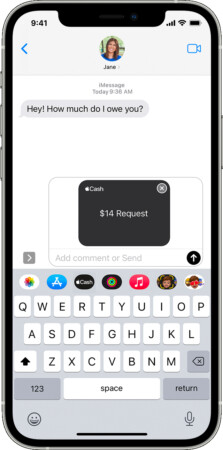
You can also request payment via Apple Pay Cash. As you did while sending money, you can do this via the SMS app or from your Wallet. I’ll show you the how-to below.
Using the Messages app
To request money via your Apple Pay Cash using the Message app:
- Open the Message app and start a new conversation with the payer.
- Tap the App Store icon and then the Cash icon.
- Type the amount you want to request.
- Next, select Request and hit the send icon.
Via the Wallet app
To use the Wallet app instead:
- Head over to the Wallet app on iPhone.
- Tap the Apple Pay Cash card widget.
- Select Request and choose the payer from your contacts.
- Hit Next and enter an amount.
- Now, tap Request with Messages.
- Tap the send icon to request your payment.
Transfer money to your bank account from Apple Pay Cash
One of the best features of Apple Pay Cash is that it lets you send the money in your card to your bank account without hassle. This means the money in your Apple Pay Cash card isn’t only limited to online transactions, but you can cash it out if you want. You can look at this article on sending money to the bank via Apple Pay Cash to have a glimpse.
How to automatically accept payments
According to Apple, when you receive money via Apple Pay Cash, you have until seven days to accept the payment manually if you’ve not set up automatic acceptance. However, you can choose to accept subsequent payments automatically instead.
To do this:
- Head into the Wallet app on your iPhone.
- Tap the Apple Pay Cash card widget.
- Hit the More icon (the three vertical dots) at the top-right.
- Under the ACCEPTING PAYMENTS section, select Automatically Accept Payments.
Of course, you can also choose Manually Accept Payments to use the manual method instead.
How to manage your Apple Pay Cash Account on iPhone
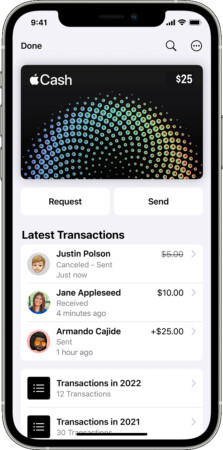
The best way to manage your Apple Cash is via the Wallet app on your iPhone. You can track your previous transactions, view your balance, make transfers, and requests money from here.
When you open the Wallet app: tap the Apple Pay Cash card widget. Next, you’ll see your balance and other options, including adding money and transferring it to your bank account.
Can you use Apple Pay Cash on Amazon?
As of writing, there’s no way to use Apple Pay Cash directly on Amazon. However, Amazon supports Apple Card. So the best workaround is to add your Apple Card as the payment option and use your Apple Pay Cash to fund your Apple Card whenever you want to pay for an item or service on Amazon.
Apple Cash vs. Apple Pay: What’s the difference?
People often use Apple Pay and Apple Cash synonymously, but they’re not the same. Apple Pay is a payment service that enables you to transact online using a contactless method. Invariably, it serves as a middle party between your debit card and online vendors. Hence, vendors don’t need to contact your debit card directly while paying online.
While Apple Cash is a cash management service, you can use it to pay on any Apple device via the Apple Pay service. Therefore, you can think of Apple Pay Cash as your official Apple debit card or bank and Apple Pay as the payment gateway-a service like Interswitch.
That’s all there is!
Apple Pay Cash is one of the best ways to manage your funds and make contactless payments across your Apple devices. Many parents even use the service to fund their children’s iPhones if they get stranded, need to purchase an app or buy items online.
Got any questions or comments? Let me know in the comments section below.
Read more:


From the initial concept to the final launch, this landing page design service offers a comprehensive solution that covers all aspects of the design process, ensuring your page is optimized for both search engines and users
Your brand’s story will be told through captivating visuals and engaging content, thanks to the talented team at this landing page design service, ensuring your message resonates with your audience and drives action
Social proof elements like testimonials, reviews, and case studies build trust and showcase the experiences of other satisfied customers.