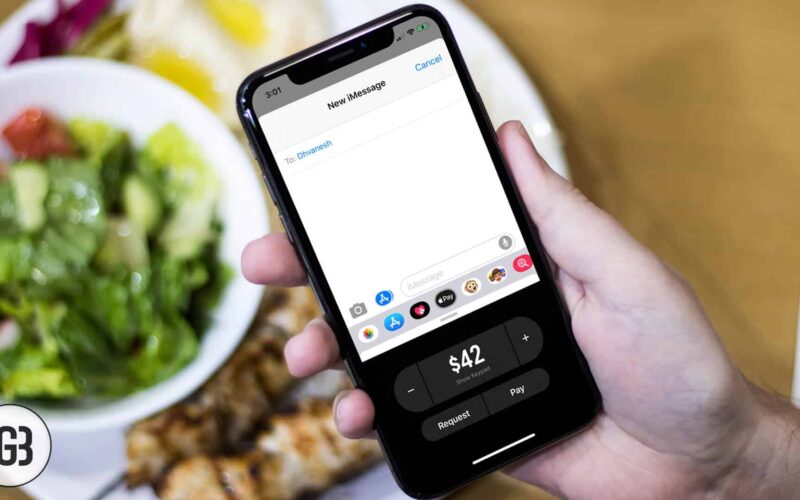
One of the most talked-about features that have been recently introduced in the stock messaging app for iOS is “Peer-to-Peer” money transfer (P2P). It lets you send or receive Apple Pay Cash using iMessage on your iPhone and Apple Watch. As of now, you can send up to $3,000 via iMessage. Read on…
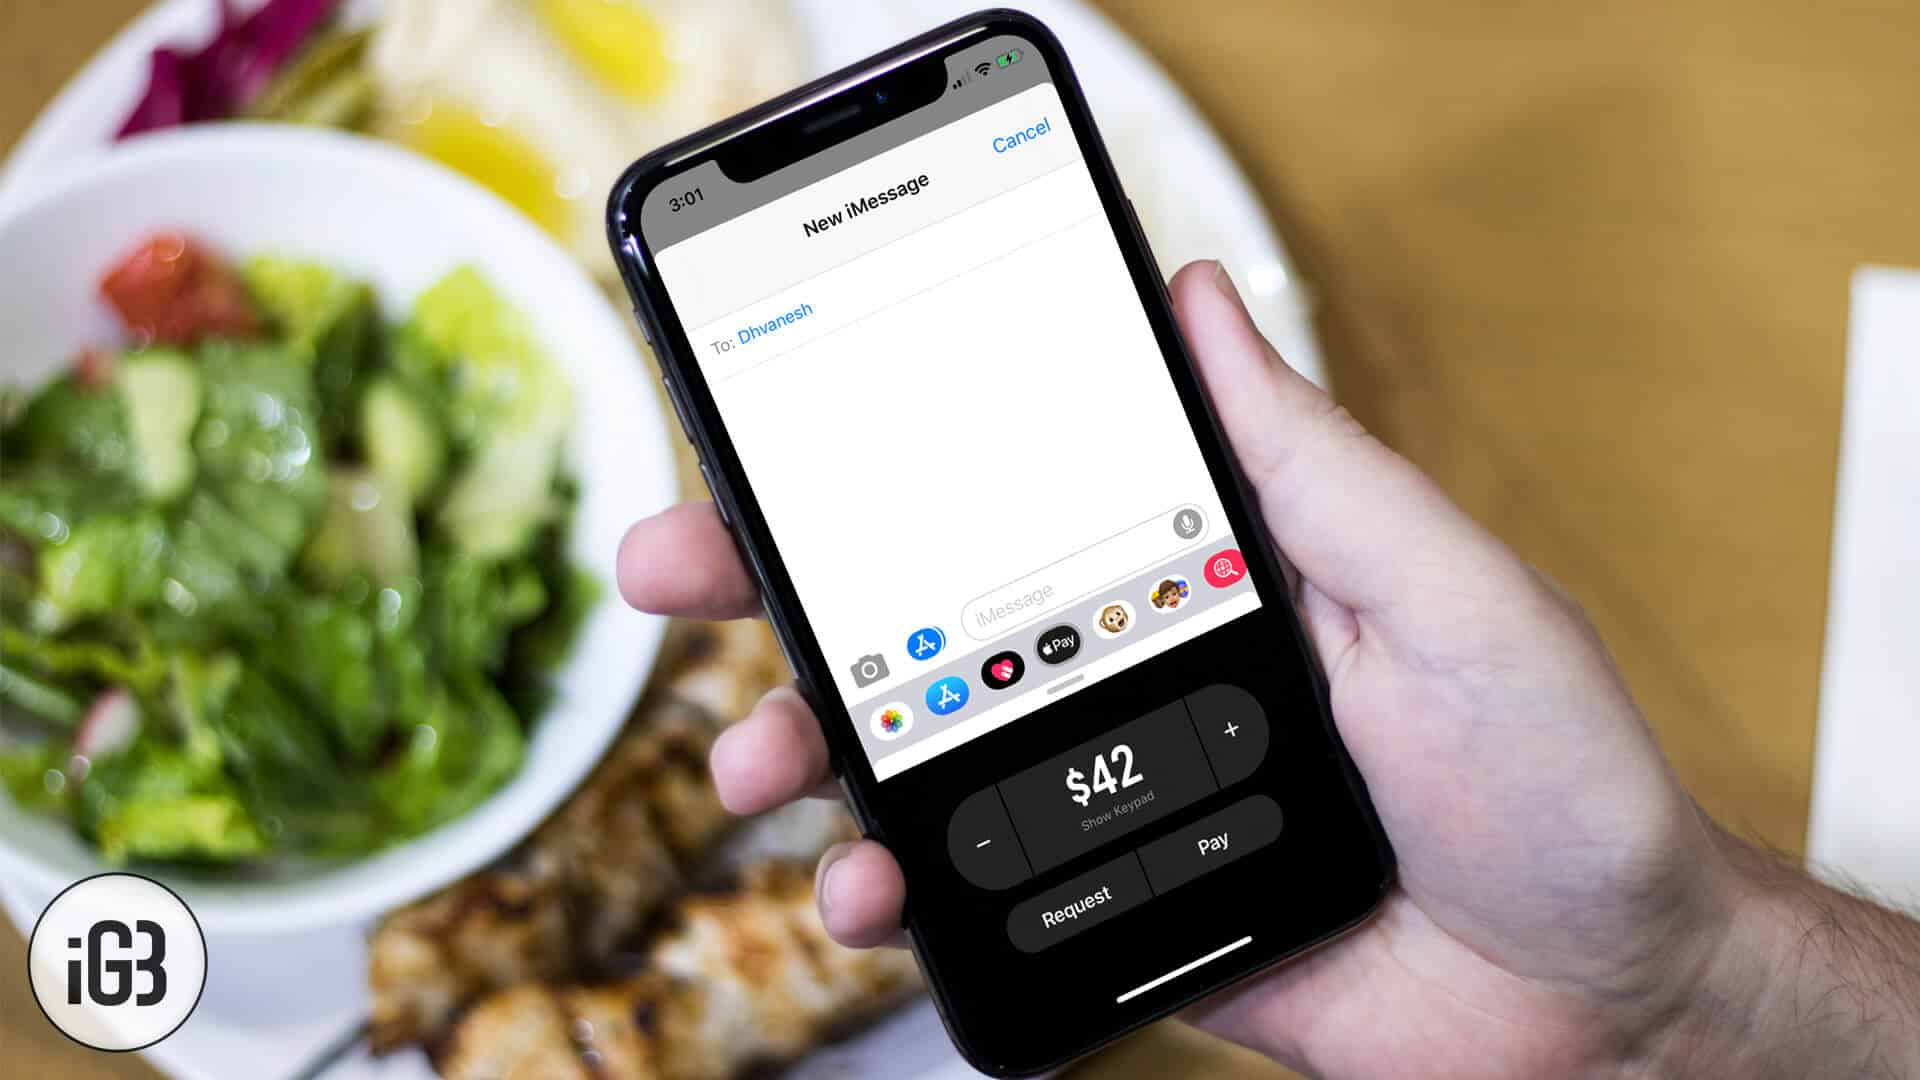
Currently, P2P feature and Apple Pay cash are available only in the USA. Head into this straightforward guide to send/receive Apple Pay cash via iMessage on your iPhone and iPad.
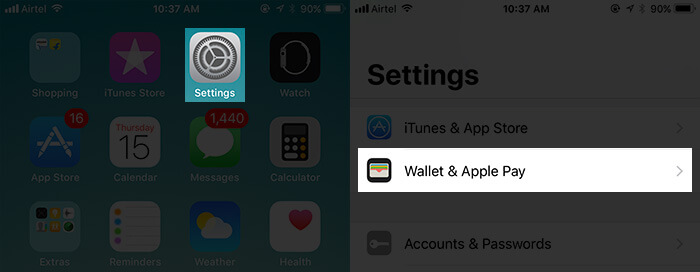
Note: First and foremost, you need to set up Apple Pay Cash on your device. To do so, head over to Settings → Tap on Wallet & Apple Pay → then follow the instructions to set it up. We have made a complete guide about how to use Apple Pay Cash; jump over here to get more information about the P2P money transfer.
Step #1. Open Settings → Tap on Wallet & Apple Pay.
Step #2. Tap on Add Credit or Debit Card.
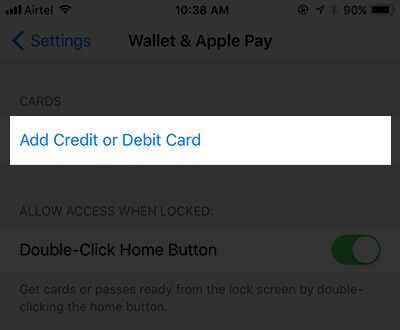
Step #3. Follow the instruction to set it up.
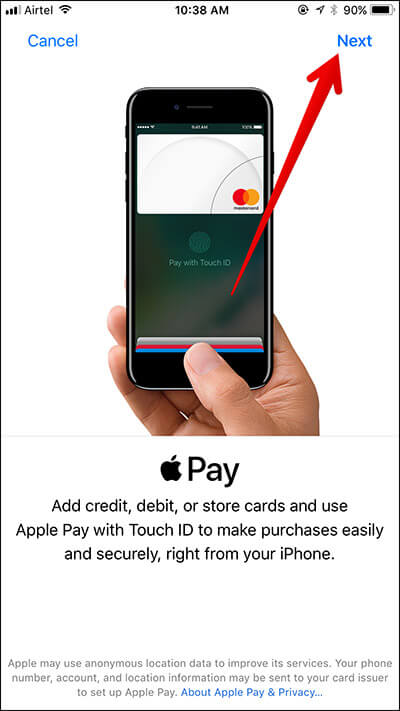
Make sure to enable Apple Pay Cash (Toggle switch available after a few minutes once, your card to get verified.)
How to Send and Receive Apple Pay Cash via iMessage
You Need to Know:
- If you use Apple Pay cash with a debit card, you won’t have to pay anything for the transaction fee
- If you use the credit card, you will have to pay a standard 3% fee for the amount
- Currently, Apple Pay Cash is available in the USA only
- Make sure you have enabled 2-factor authentication for your Apple ID.
- Additionally, you have to get your credit or debit card registered in your Apple Wallet. You need to have iPhone 6 or newer running iOS 11.2 or later. Apple Watch requires watchOS 4.2 or later
- Besides, make sure you have already set up Apple Pay Cash on your device. Haven’t done it as yet? Jump over here to get it done quickly.
Step #1. Launch Messages and open the conversation.
Step #2. Now, you have to tap on the App Store icon.
Step #3. In the iMessage App Drawer, tap on Apple Pay icon.
Step #4. Next, you need to tap on the dollar sign and enter the amount.
Then, choose the relevant option based on whether you wish to send or receive money.
Step #5. You should see a preview in the text box. Tap on the Send button.
Step #6. Finally, you will have to authenticate with your Face ID or Touch ID if you are sending money.
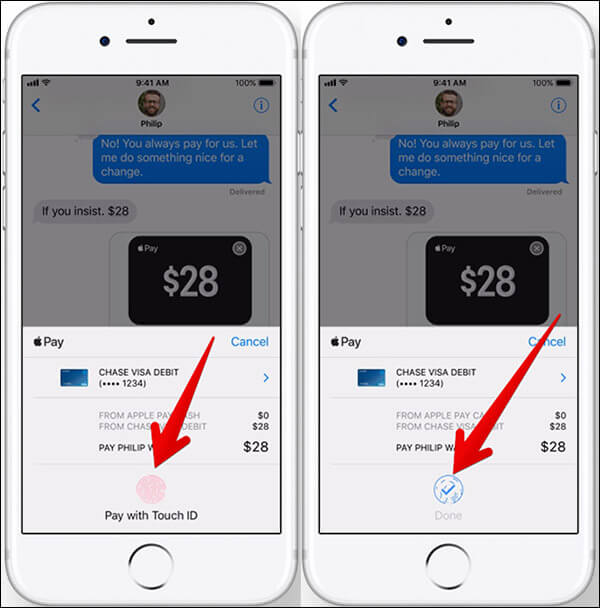
Image Credit: Apple.com
That’s pretty simple! You can also use Apple’s intelligent personal assistant to quickly send money. Read on to know that…
How to Make Apple Pay Cash Payments with Siri
Making Apple Pay Cash payments with Siri is super easy. To do so, simply invoke Siri on your device and then say, “Send $10 to Jack.”
Now, your iOS device might ask you to select a payment service if you are using PayPal another money-transfer system.
Next, use the intelligent personal assistant to compose a message the requested amount. Then, send the money. You will have to authenticate using your Face ID or Touch ID.
Other Simple Ways to Use Apple Pay Cash payments
You will be able to use Apple Pay Cash payment from the Contacts app, Phone app, and even Spotlight.
Simply use one these quick ways to access a person’s contact details and then check out the new dollar-sign-in-a-circle Apple Pay symbol. Tap on the button and then go ahead with the usual process of sending money.
How to Add Money to Apple Pay Cash
Adding money to Apple Pay Cash is a breeze.
Step #1. Open Settings app on your device.
Step #2. Tap on Wallet & Apple Pay and tap on Apple Pay Cash.
Step #3. Now, tap on Add Money.
Step #4. Next, you need to select the amount and tap on the Add button.
Finally, authenticate using your Face ID or Touch ID.
That’s all, folks!
Your turn
I wish Apple Pay Cash is available all over the world as soon as possible. It’s made peer-to-peer money transfer more convenient and fast. What’s your take on P2P feature? Share your thought in the comments.
You would want to have a look at these posts as well:
- Enable Type to Siri on iPhone
- How to use Type to Siri on iPhone, iPad and Mac

