Mac has one of the most reliable and efficient network configurations. On top of that, macOS adds security layers like Private Relay to enhance the network’s security. However, if you use a VPN or any application that adjusts the network settings on your Mac, things might not go the way you want. In such cases, resetting network settings on Mac becomes inevitable. Here’s a guide to the same.
- How to reset network settings on macOS Sonoma and Ventura
- What happens after you reset network settings on Mac?
- When should you reset network settings on your Mac?
- Alternatives to resetting network settings on Mac
How to reset network settings on macOS Sonoma and Ventura
With the release of macOS Ventura, Apple redesigned the System Settings, leading to obvious confusion among users. Resetting network settings on Mac isn’t as easy as resetting network settings on iPhone and iPad. Currently, there are two ways to reset network settings in macOS: Using Finder and Terminal.
Method 1: Reset network settings in macOS with Finder
macOS saves network settings preferences in the form of PLIST files, and deleting these files will force you to recreate them automatically, resetting the network settings eventually. Follow these steps to reset network settings on Mac using Finder:
- Open Finder on your Mac from the Dock or Spotlight.
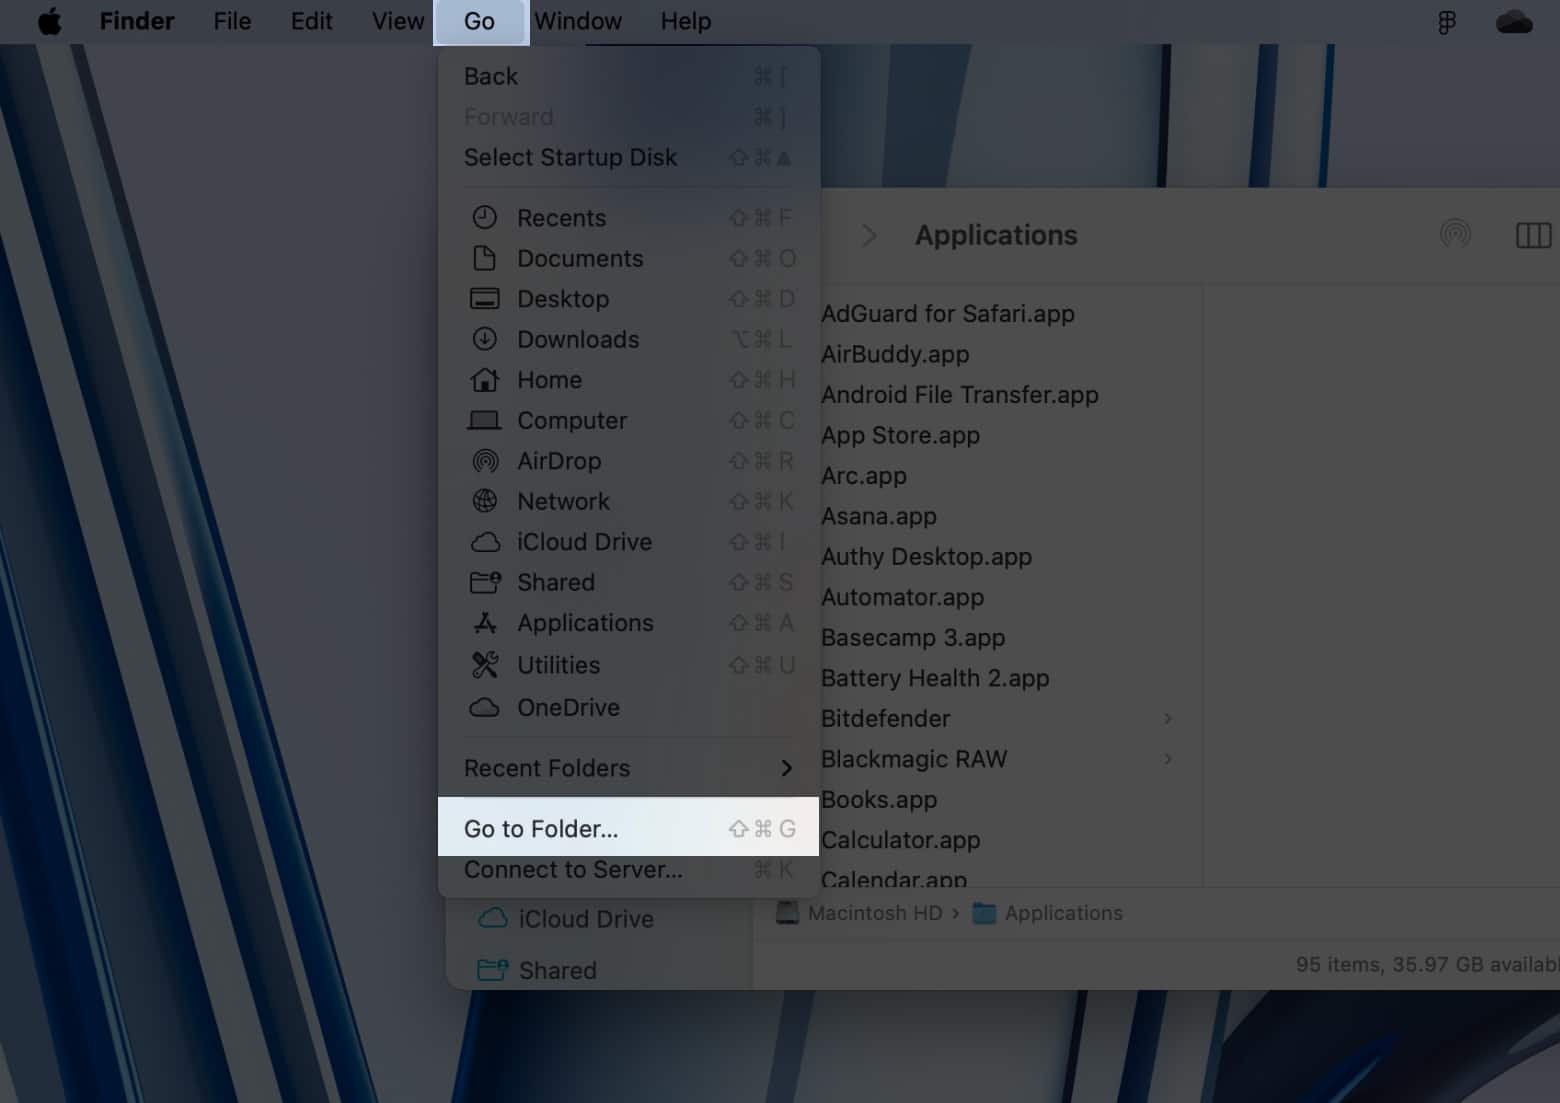
- With the Finder window opened, click File in the menu bar.
- Select the Go to Folder option or press the Command (⌘) + Shift (⇧) + G shortcut on your keyboard.
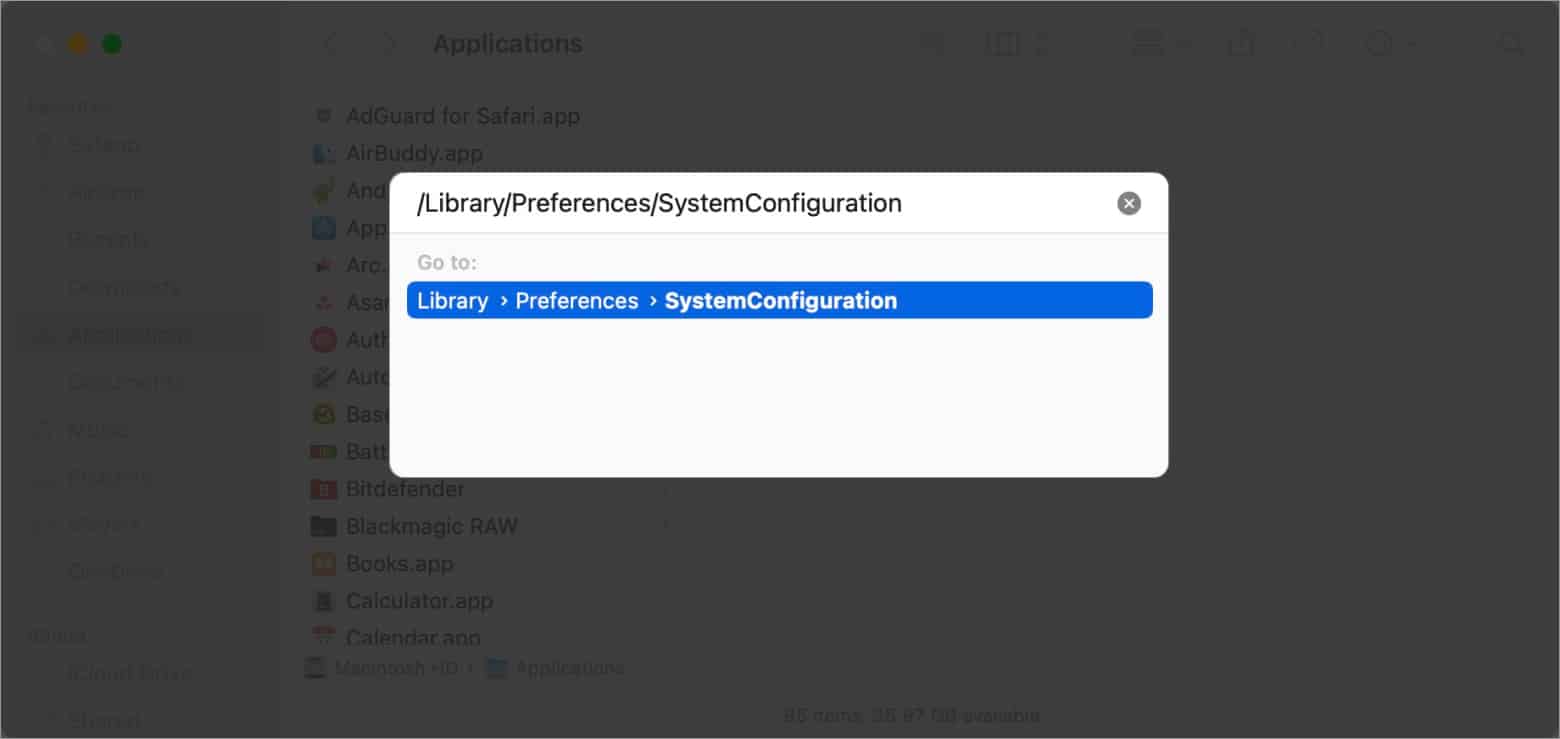
- Paste the following location in the Go to Folder box:
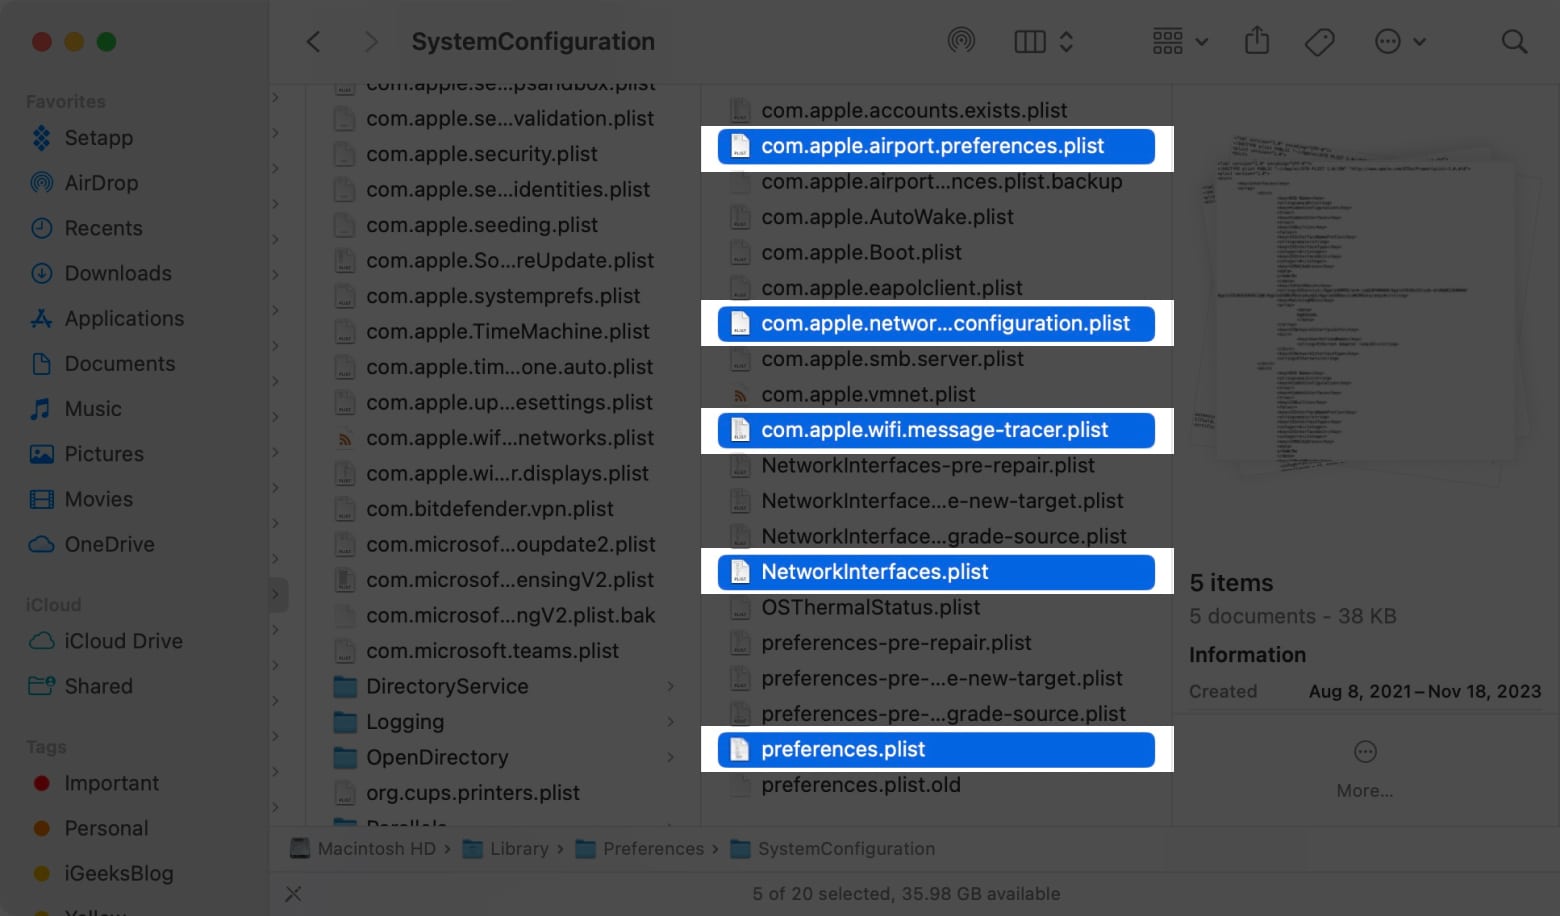
/Library/Preferences/SystemConfiguration - Locate, copy, and delete the following files from the SystemConfiguration folder:
- com.apple.airport.preferences.plist
- com.apple.network.eapolclient.configuration.plist or com.apple.network.identification.plist
- com.apple. Wi-Fi.message-tracer.plist
- NetworkInterfaces.plist
- preferences.plist
- Paste the copied files to an alternative folder on the desktop or any other location as a backup if things go south.
- Open Trash from the Dock → Select the Empty Trash option.
- Restart your Mac to reset network preferences and settings.
Method 2: Reset network settings on Mac using Terminal
Another way to reset network settings on Mac is using the Terminal. If you haven’t used Terminal before, you should avoid this method.
- Open Terminal on your Mac from the Launchpad or Spotlight.
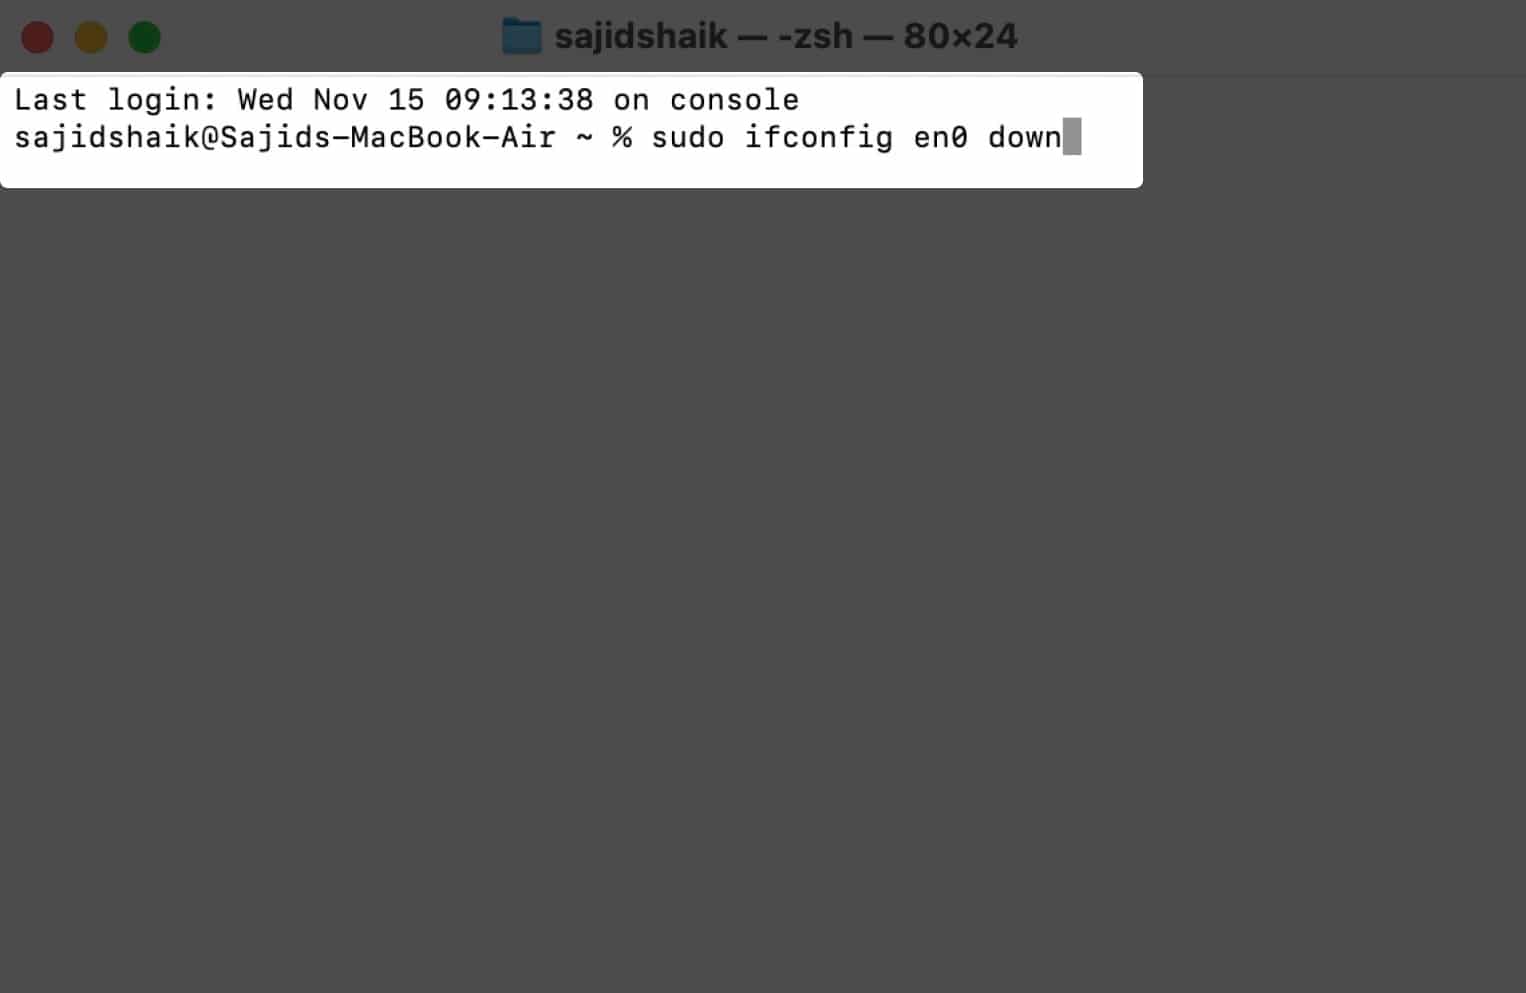
- Enter the following command and press Return to turn off Wi-Fi :
sudo ifconfig en0 down - Enter the following command to enable Wi-Fi again:
sudo ifconfig en0 up
If the command to re-enable Wi-Fi doesn’t work, you can use the following command:ifconfig -a
What happens after you reset network settings on Mac?
Resetting network settings on your Mac is one of the best ways to fix many network-based issues.
- Whether it’s a problem with your VPN, Wi-Fi, or Bluetooth, resetting network settings is an excellent troubleshooting method
- However, resetting network settings doesn’t affect any other settings of your Mac, applications’ preferences, photos, videos, and other files on your device.
- Moreover, you won’t need to take a backup of your Mac before performing these steps.
When should you reset network settings on your Mac?
While resetting network settings is a good way to fix network-related problems, I don’t recommend doing it regularly.
You should go for network settings reset on your Mac only after basic troubleshooting methods such as disabling and enabling Wi-Fi/Bluetooth, changing DNS, turning off VPN, etc., don’t work for you.
Alternatives to resetting network settings on Mac
Provided resetting network settings is beneficial, you can try these alternative troubleshooting methods if resetting network settings doesn’t fix your issue:
Method 1: Reconnect to your Wi-Fi network
You can try turning Wi-Fi on and off on your Mac, which forces your Mac to reconnect to the previously connected Wi-Fi network.
Although it’s not a full-proof working fix, it works sometimes. Follow these instructions to disable and re-enable Wi-Fi on your Mac running macOS Sonoma or Ventura:
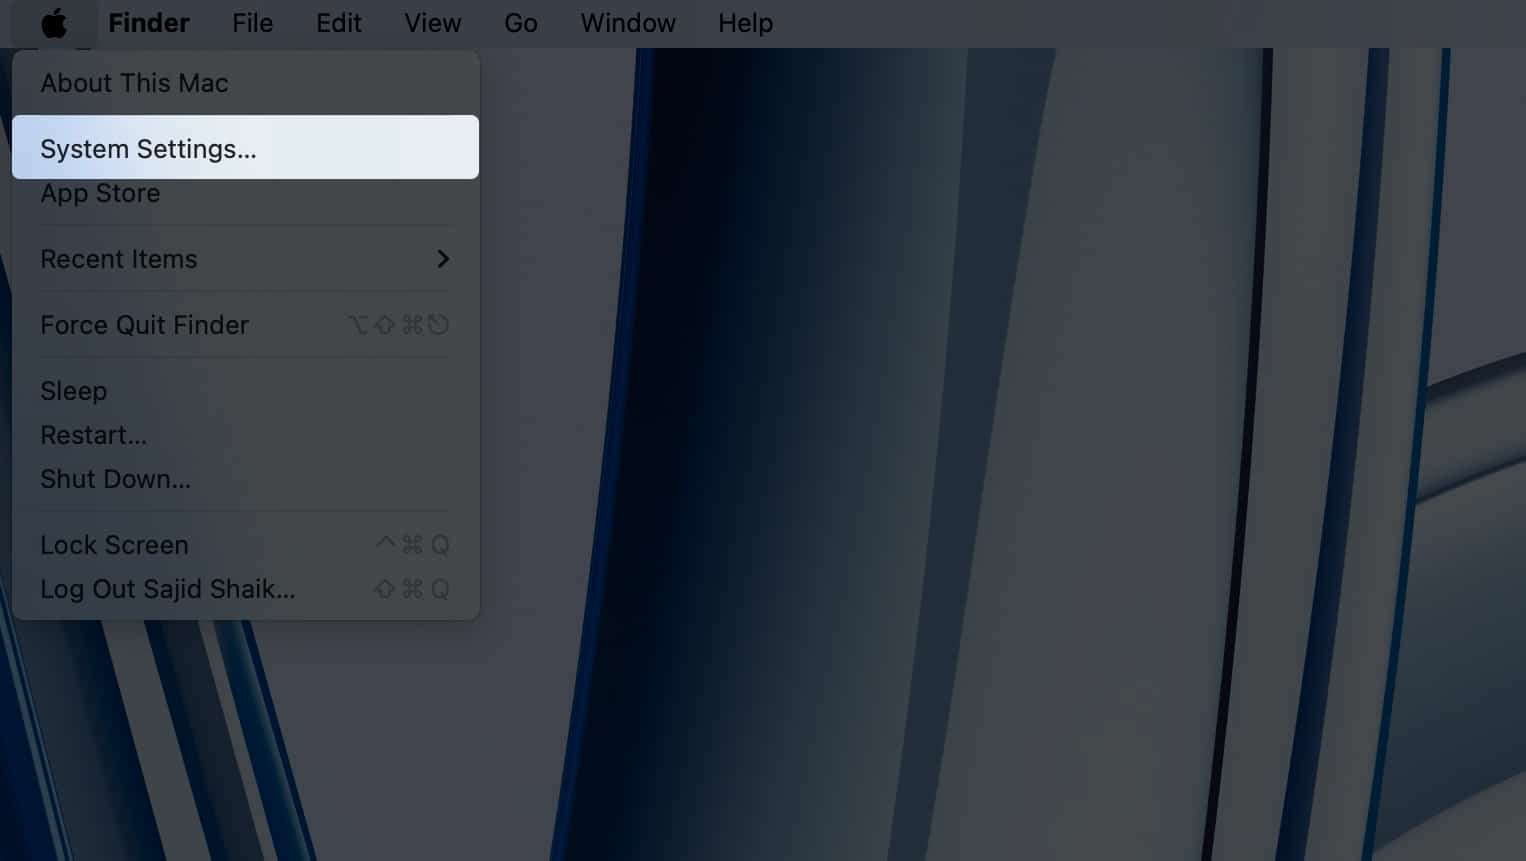
- Open System Settings on your Mac from the Apple menu () located at the top-left corner of your display.
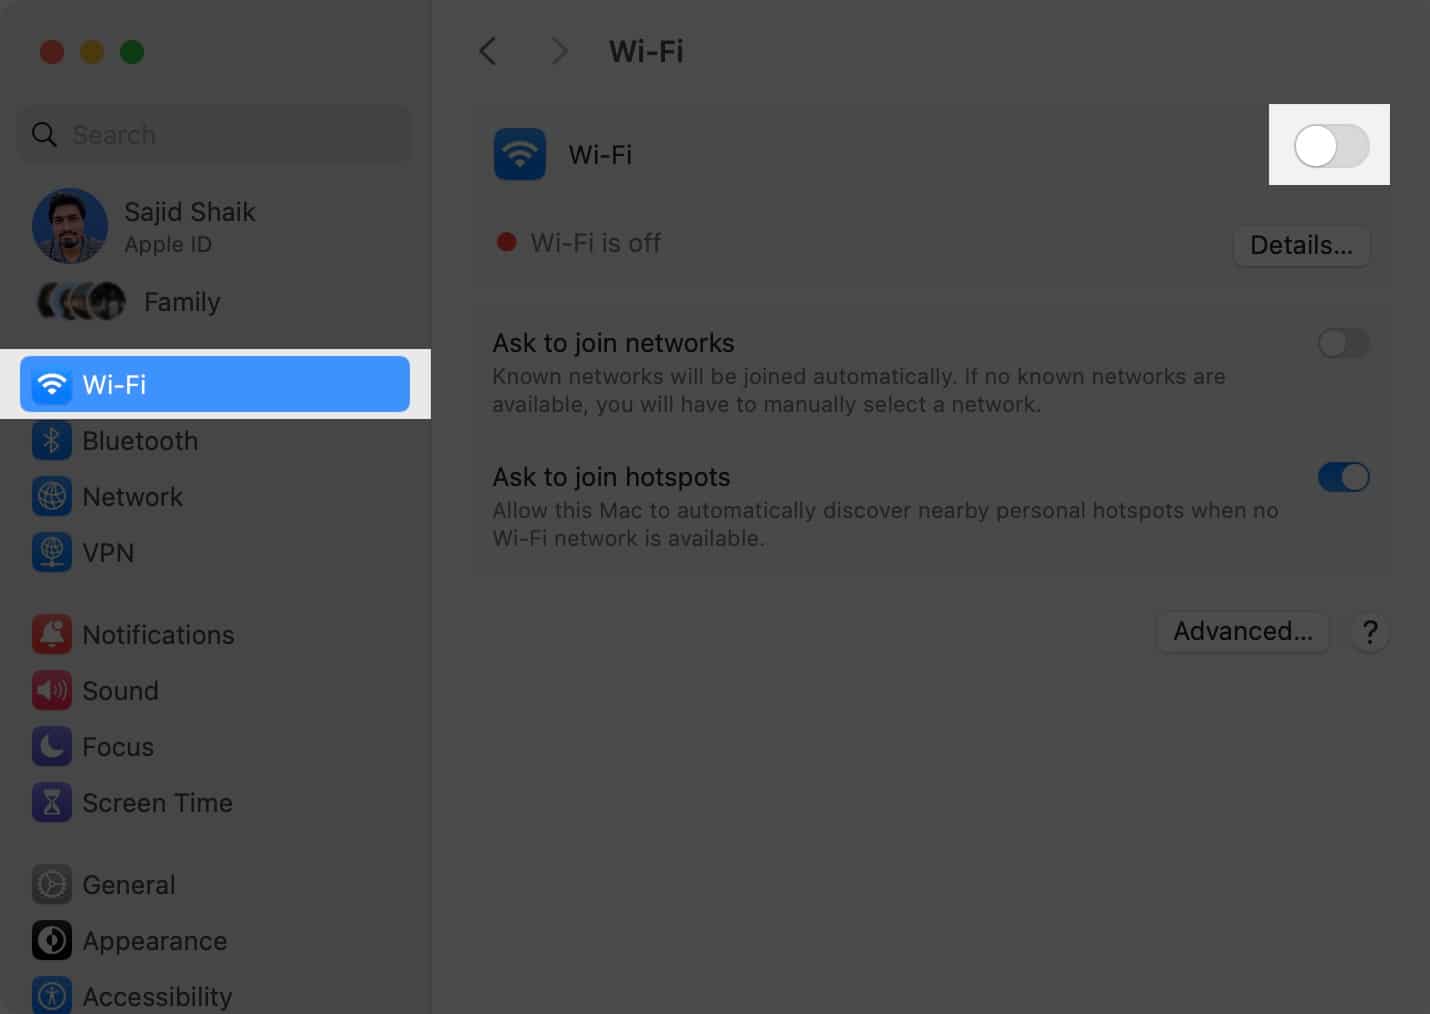
- Select Wi-Fi on the left pane.
- Turn off the toggle next to Wi-Fi and wait 10-15 seconds.
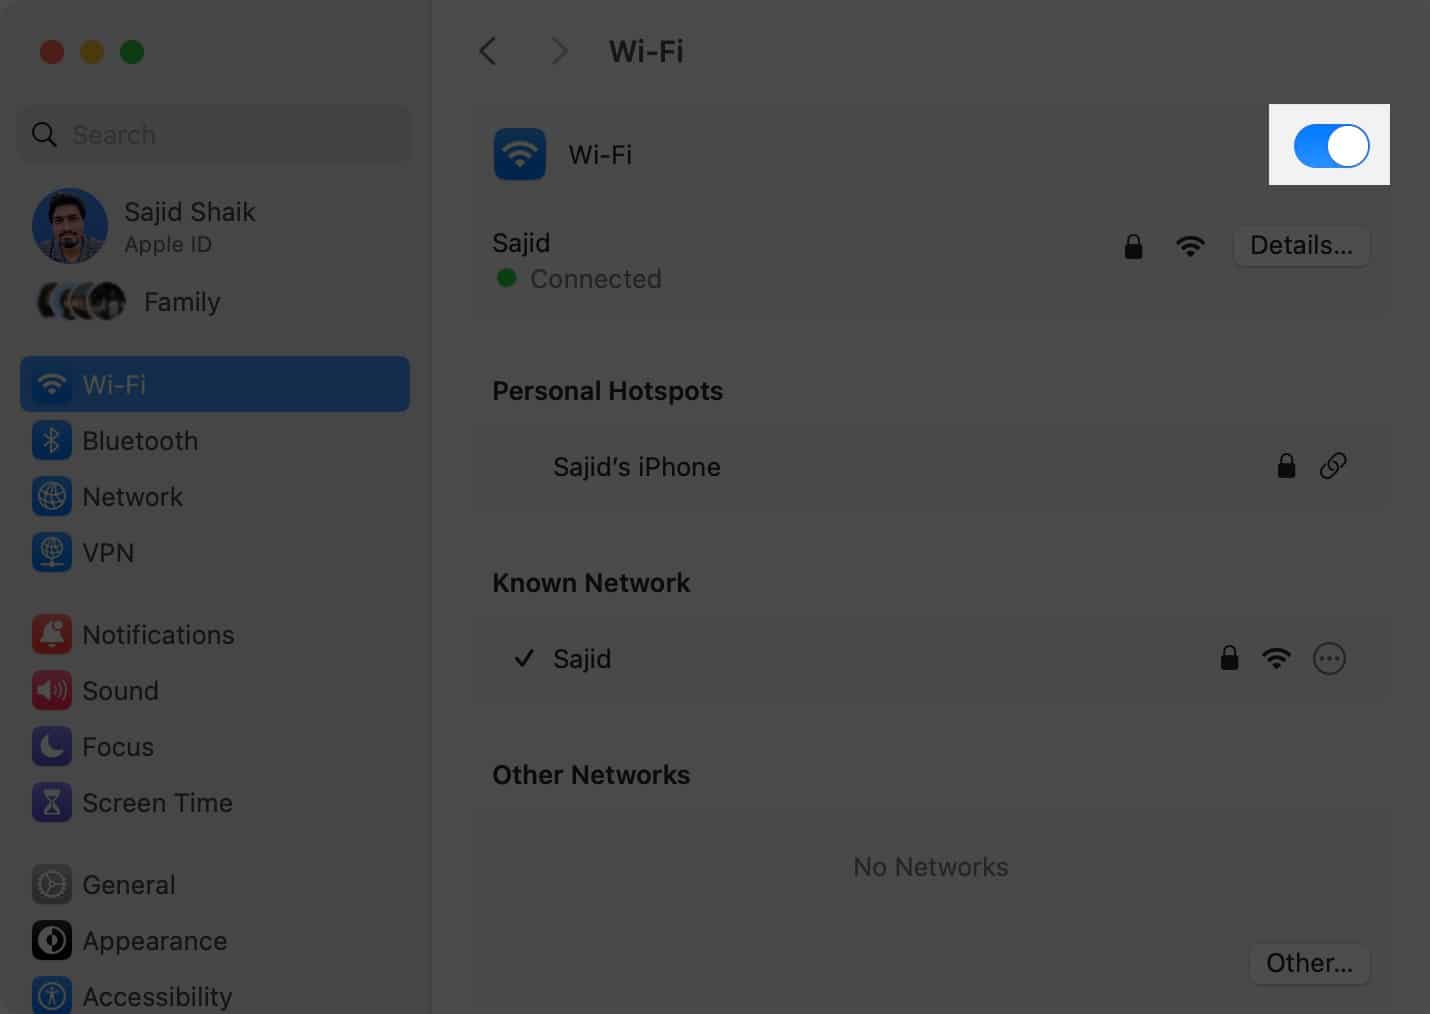
- Enable the Wi-Fi toggle again.
This method also works for iPhones and iPads when there’s a problem with Wi-Fi on iPhones or iPads.
Method 2: Restart your Mac
One of the most common troubleshooting methods to fix many issues related to Apple products is restarting your device, which also applies to Macs.
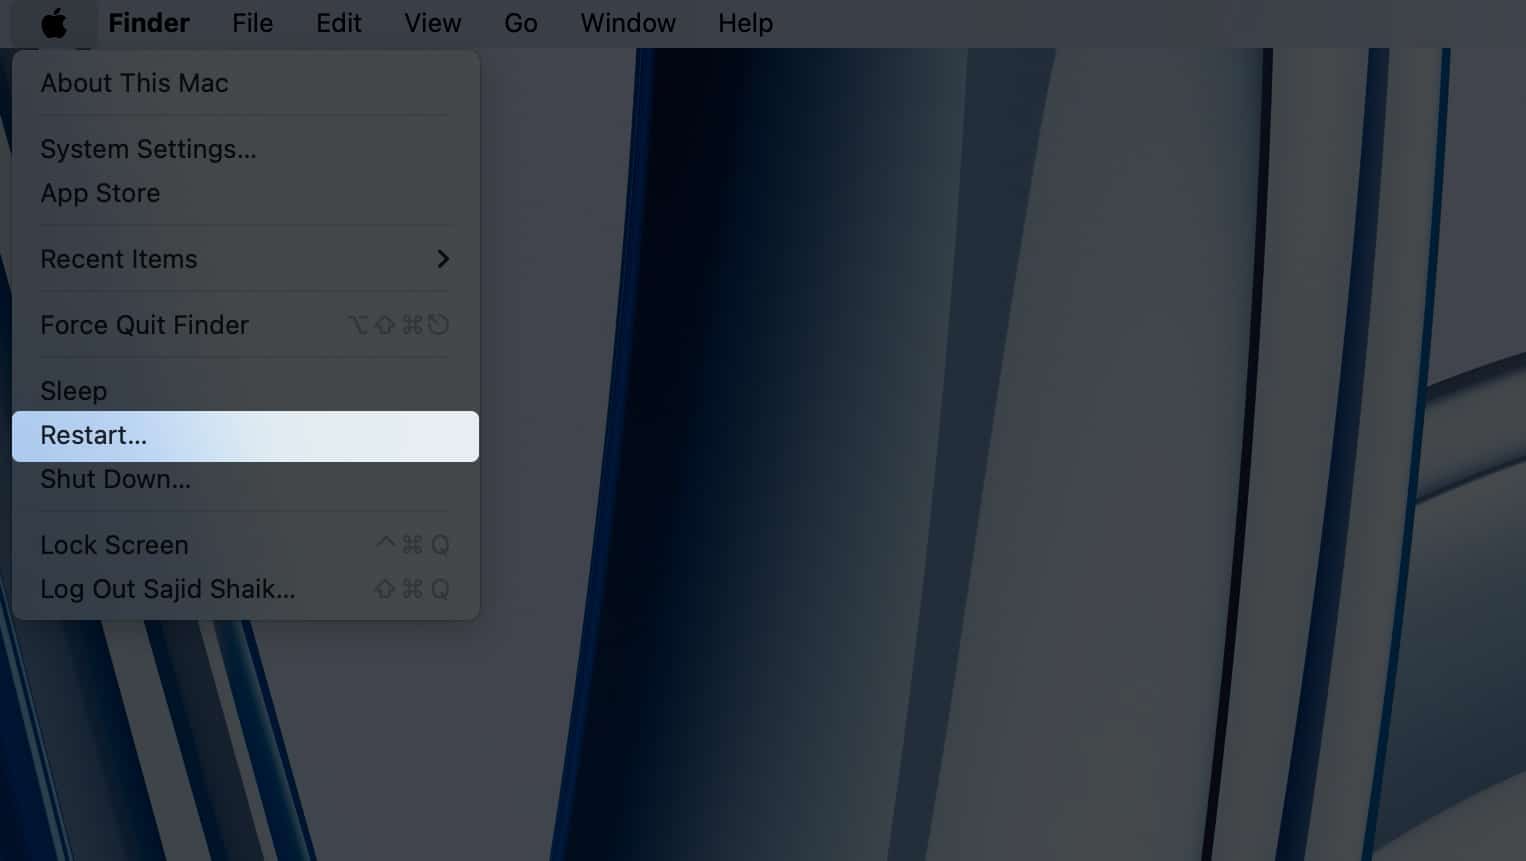
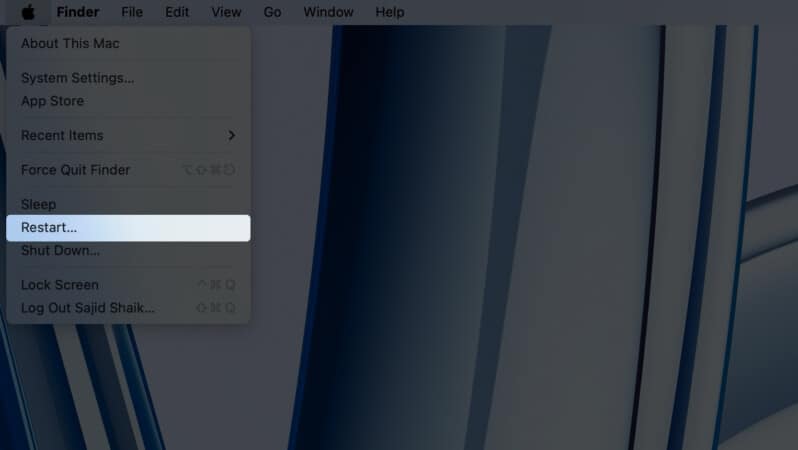
To restart your Mac, select Restart from the Apple menu () on the top-left corner of your screen. Try connecting to your Wi-Fi after your Mac restarts, and it should work.
Reset Network Settings to fix network issues on your Mac!
Resetting network settings on your Mac or MacBook is a great way to fix many problems related to Wi-Fi, Bluetooth, and VPN. I hope you learned how to reset your Mac/MacBook’s network settings through this guide.
However, if you’re still facing issues with the network on your Mac, it’s best to take it to the nearest Apple Support or an authorized service center. If you have any other suggestions or queries related to this guide, leave them in the comments below.
Read more:

