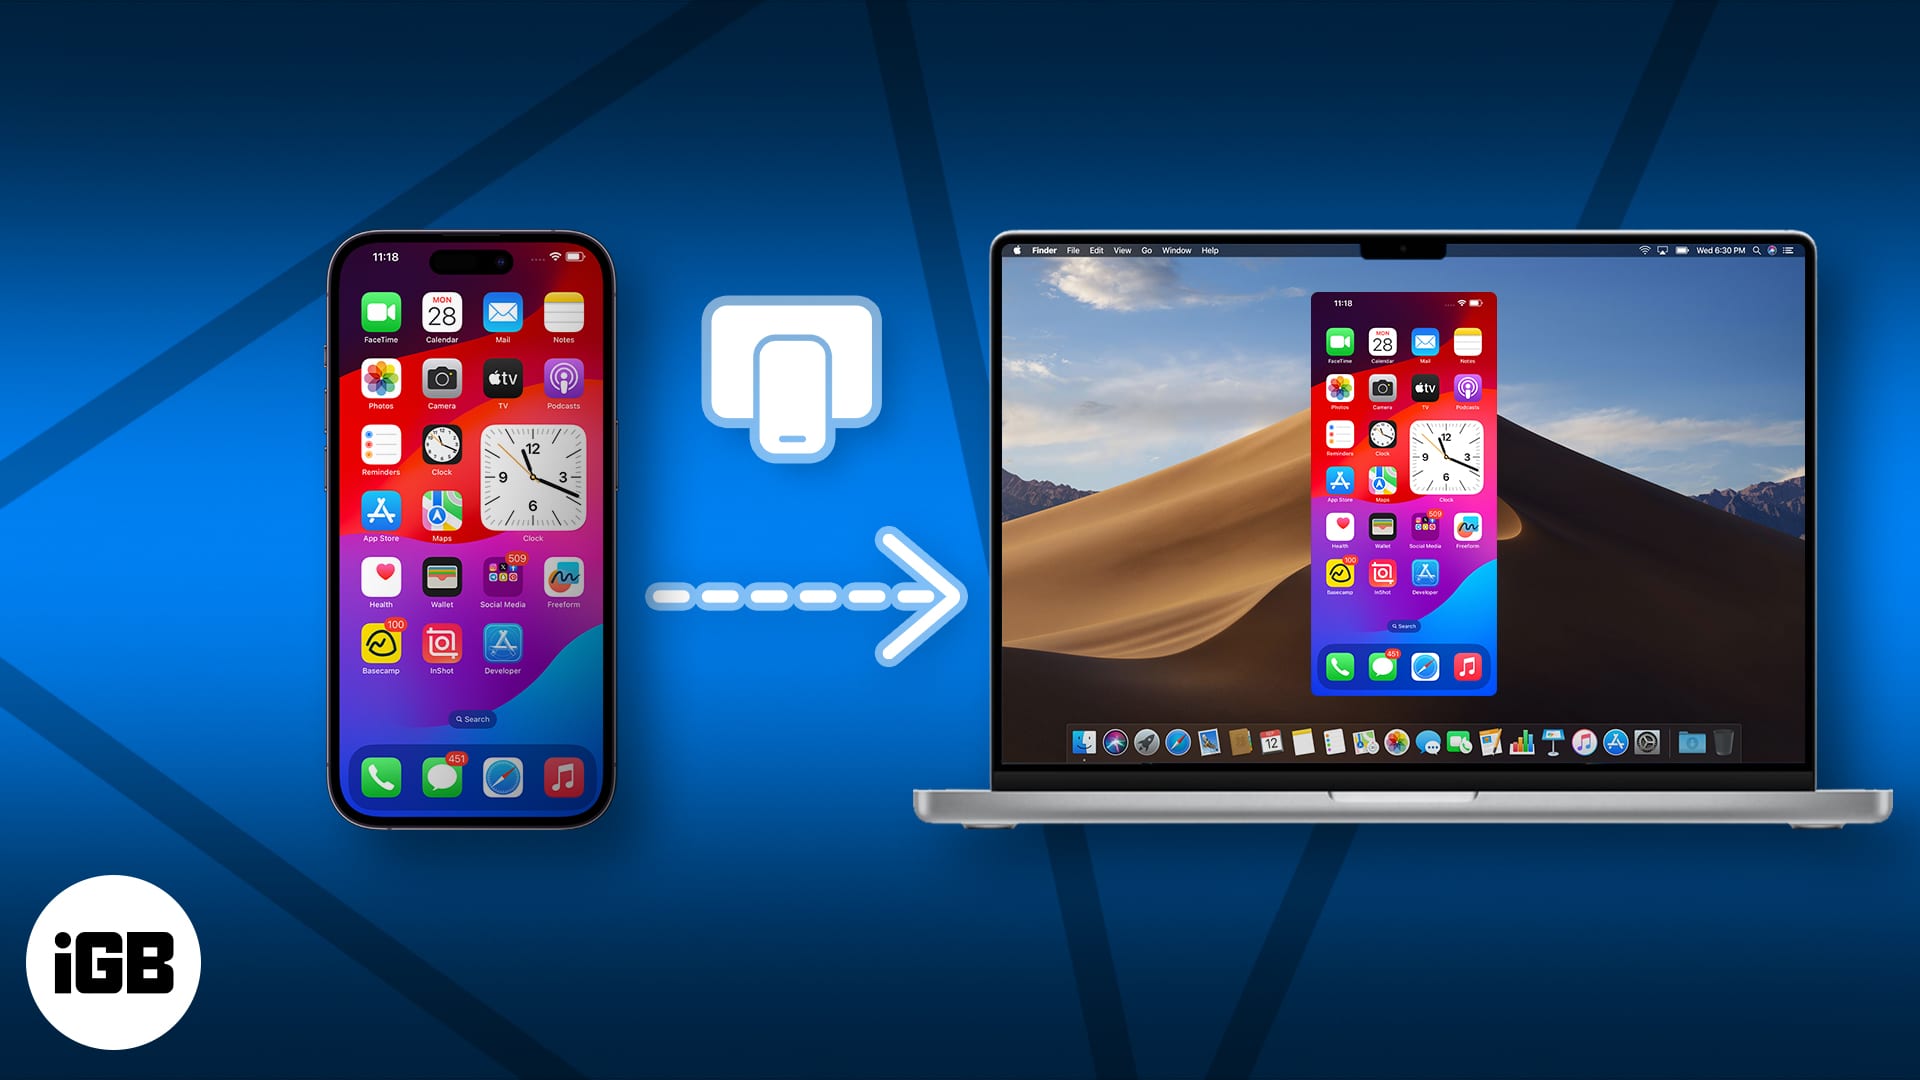
Want to enjoy your iPhone content on your laptop? Whether collaborating on a presentation or showing off your gaming conquests, the screen mirroring feature lets you cast your iPhone or iPad’s screen to your computer. In this guide, I’ll show you how to mirror your iPhone or iPad to a Mac or PC.
If your device is running iOS 18 and macOS Sequoia, you can use the official iPhone Mirroring app to mirror your iPhone screen to a Mac. If you are still on iOS 17 or using Windows, you can use the methods mentioned in this article.
How to mirror an iPhone or iPad screen to a Mac
There are two quick and easy ways to cast or mirror your iPhone or iPad’s screen to your Mac’s display. Here’s how both of these methods work:
Method 1: Mirror your iPhone screen with AirPlay
One of the easiest ways to share or mirror your iPhone or iPad’s display wirelessly to a Mac is via AirPlay.
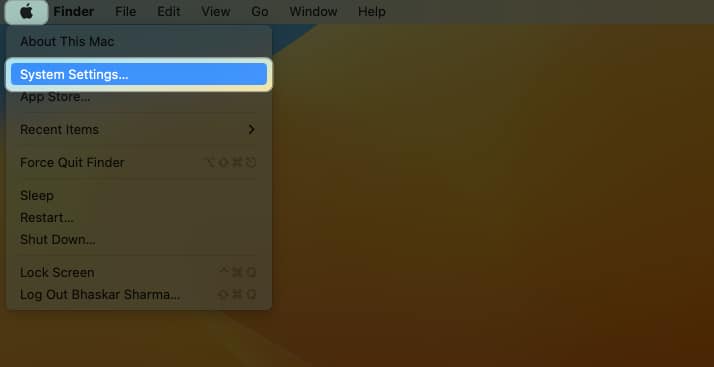
- Click the Apple logo on the menu bar → System Settings.
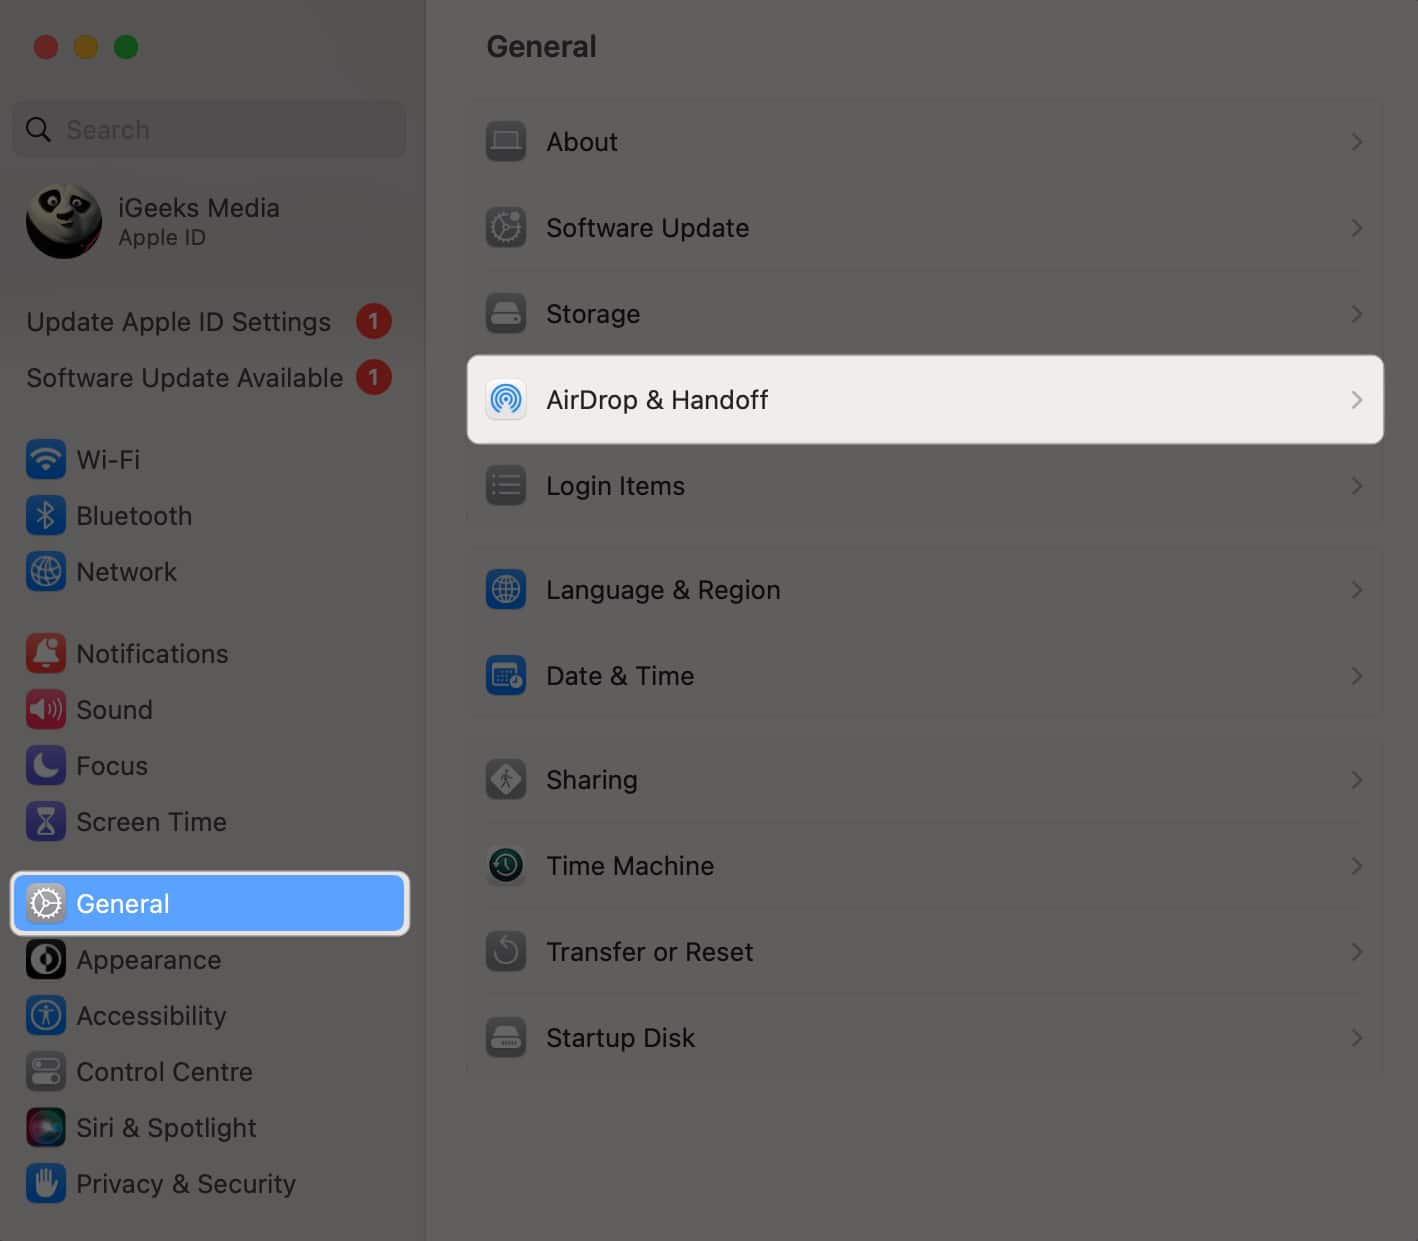
- Select General → Airdrop & Handoff.
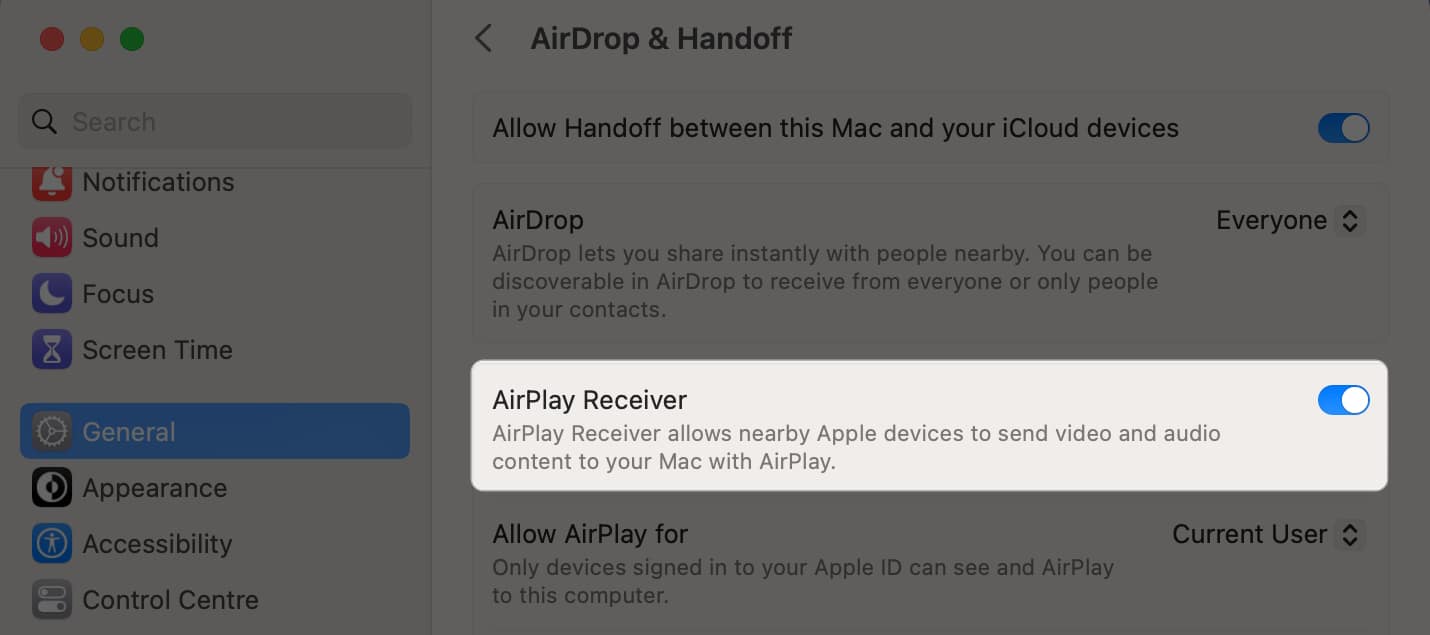
- Toggle on AirPlay Receiver.
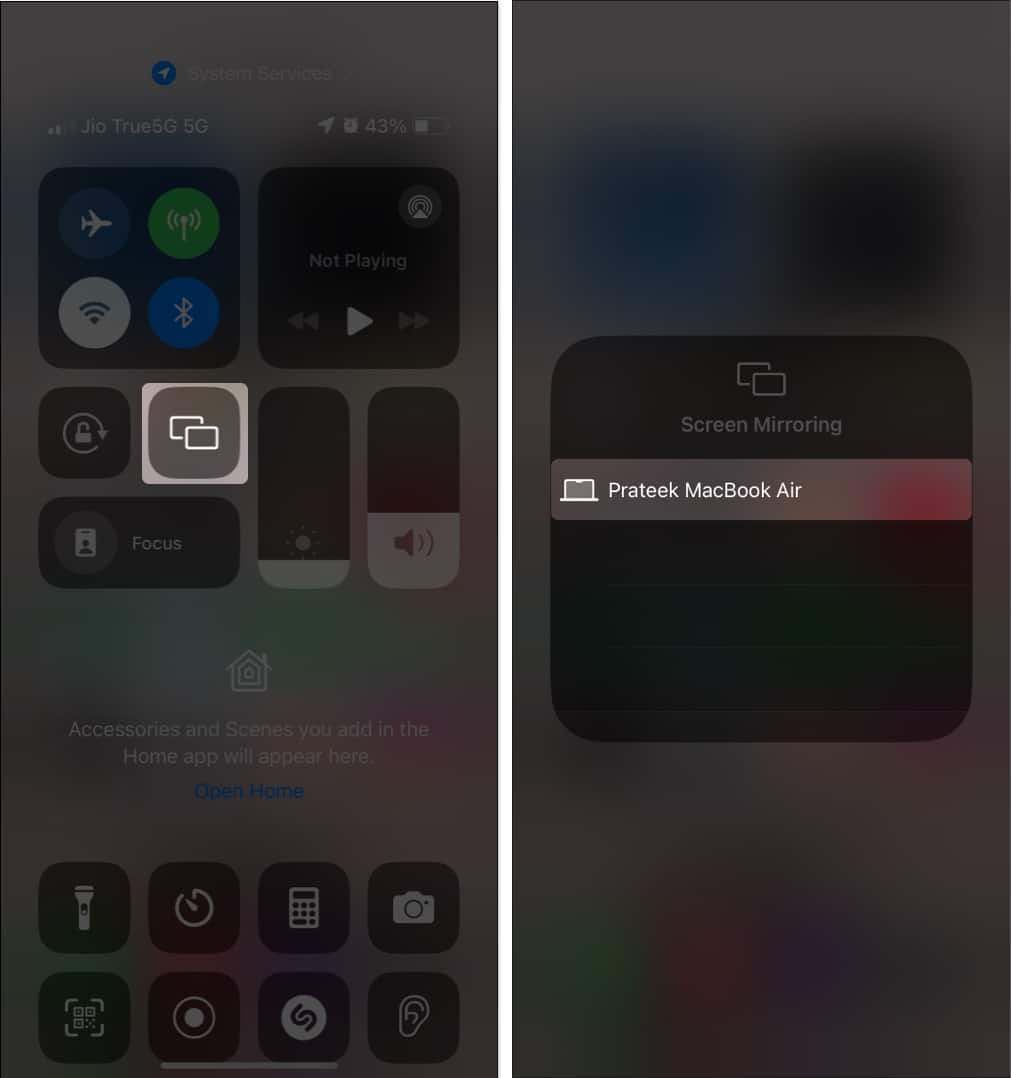
- Open the Control Center on your iPhone or iPad.
- Then, tap the Screen Mirroring button.
- Select your Mac from the list of available devices.
This will automatically start the mirroring session on your Mac.
Note: Your iPhone/iPad and Mac should be connected to the same Wi-Fi network. Otherwise, AirPlay won’t work for you.
While mirroring your screen, all the activities on your iPhone or iPad’s display will automatically appear on your Mac. To end the AirPlay session, just toggle off AirPlay Receiver on Mac and tap Stop Mirroring on your iPhone or iPad.
Method 2: Mirror your iPhone screen with QuickTimes Player
If you don’t have a strong Wi-Fi connection, you can mirror or share your iPhone or iPad’s screen via a USB cable and the QuickTime Player on your Mac. Here’s how this works:
- Connect your iPhone or iPad to your Mac using a USB cable.
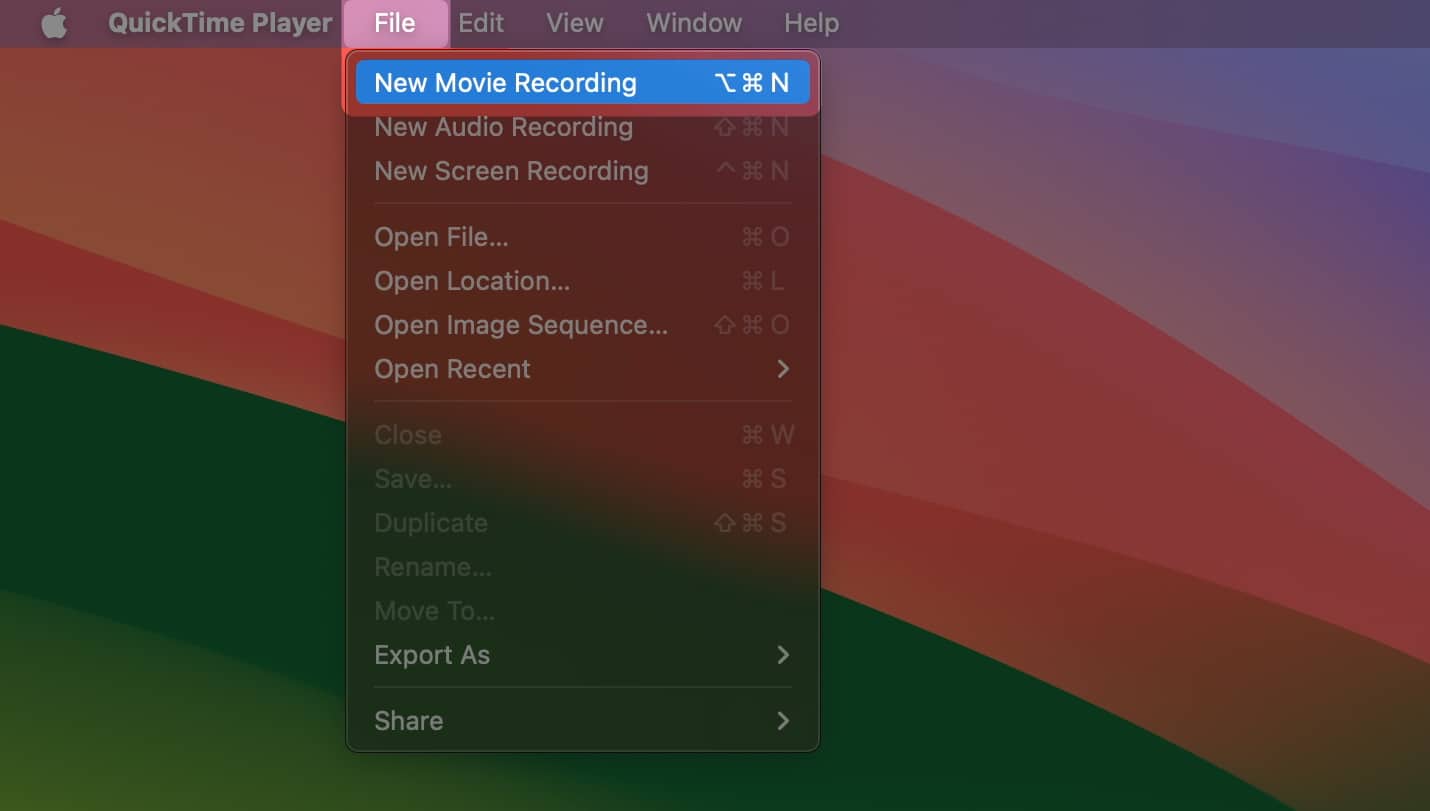
- Open the QuickTime Player on your Mac.
- Click File on the menu bar → Select New Screen Recording.
- Then, click the downward arrow next to the record button.
- Select your iPhone or iPad from the list of devices to start mirroring.
Pro tip: You can also click the record button to create a screen recording of your iPhone or iPad’s screen directly on your Mac.
How to mirror iPhone or iPad screen to Windows PC
Apple devices such as iPhones and iPads are known to not play nicely with Windows PCs and cannot start screen mirroring sessions natively. Fortunately, many paid apps like AirPlayReceiver (available as a free trial) can be used to mirror your iPhone or iPad’s screen to a PC.
If you would like to mirror your iPhone or iPad to a PC, follow these steps:
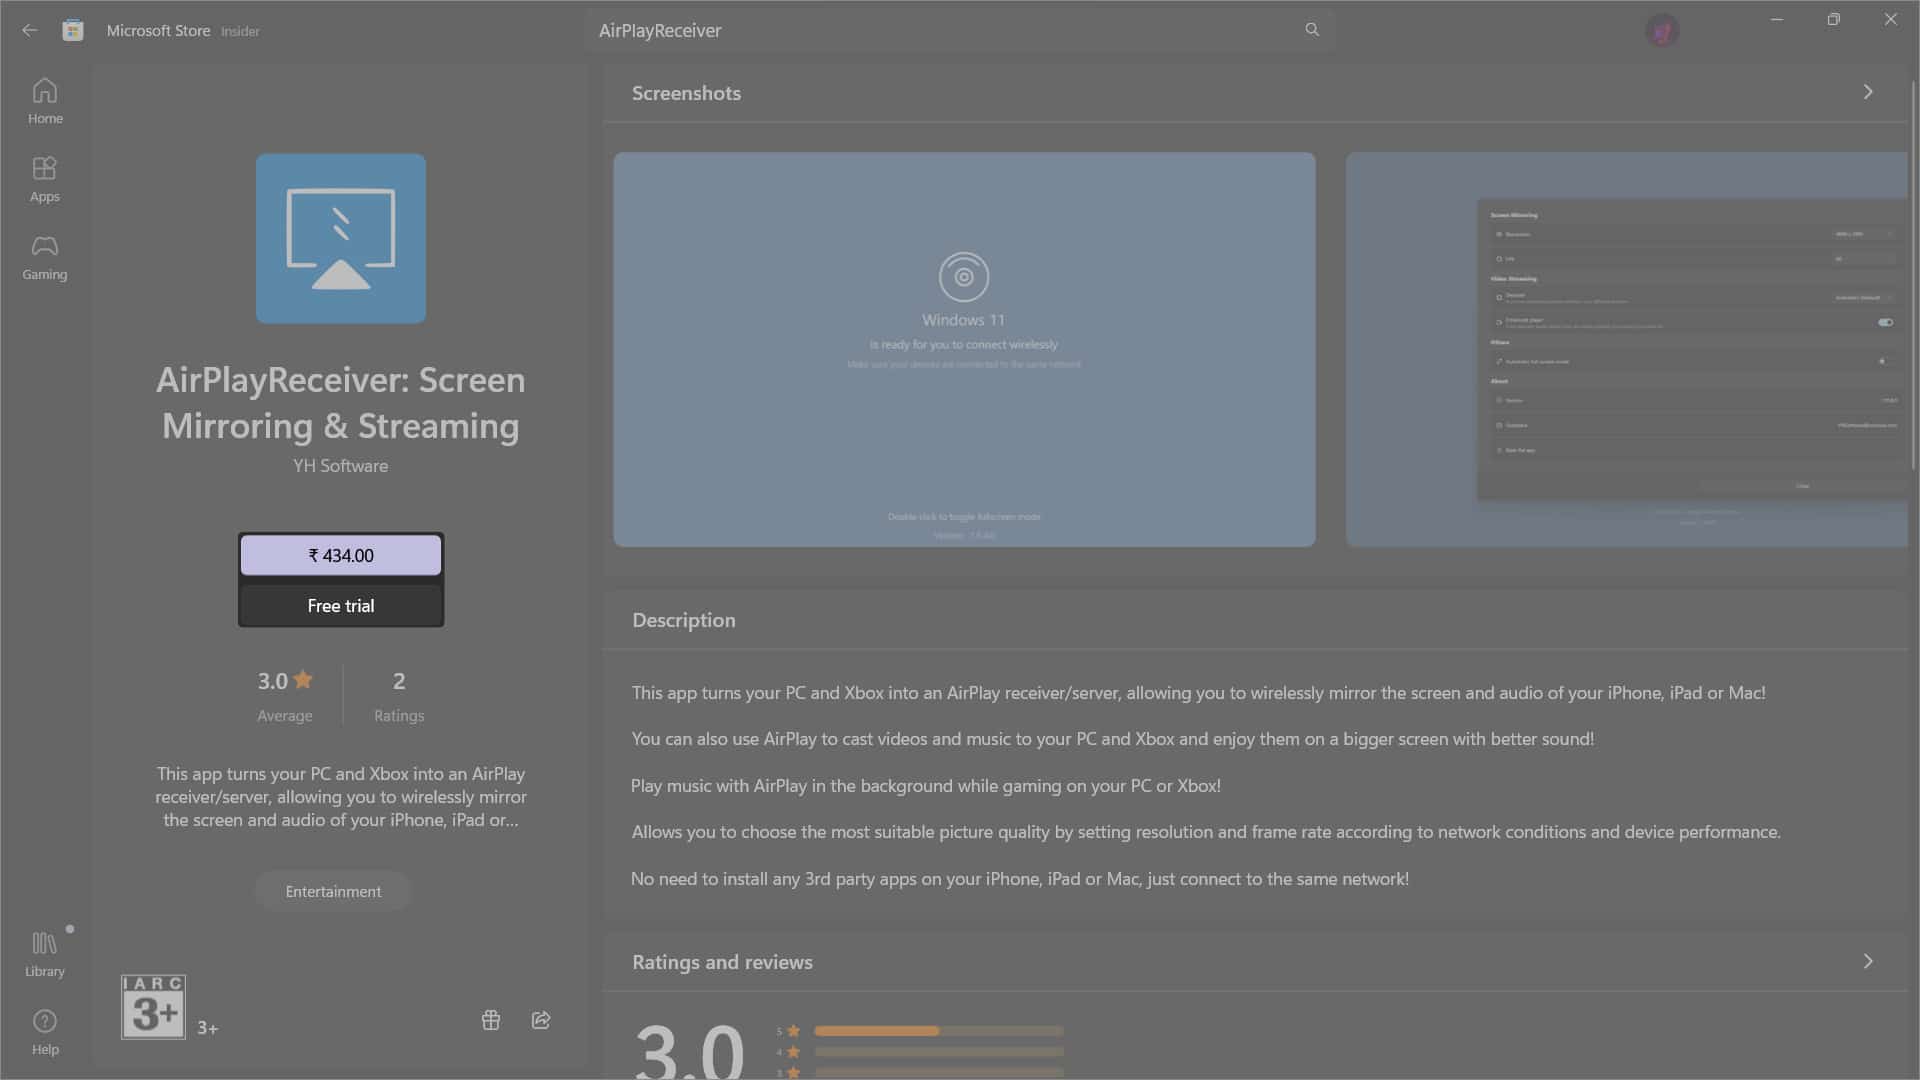
- Visit the AirPlayReceiver app’s official Microsoft Store page.
- Click Purchase or Free Trial to get the app.
- Launch the AirPlayReceiver app on your PC.
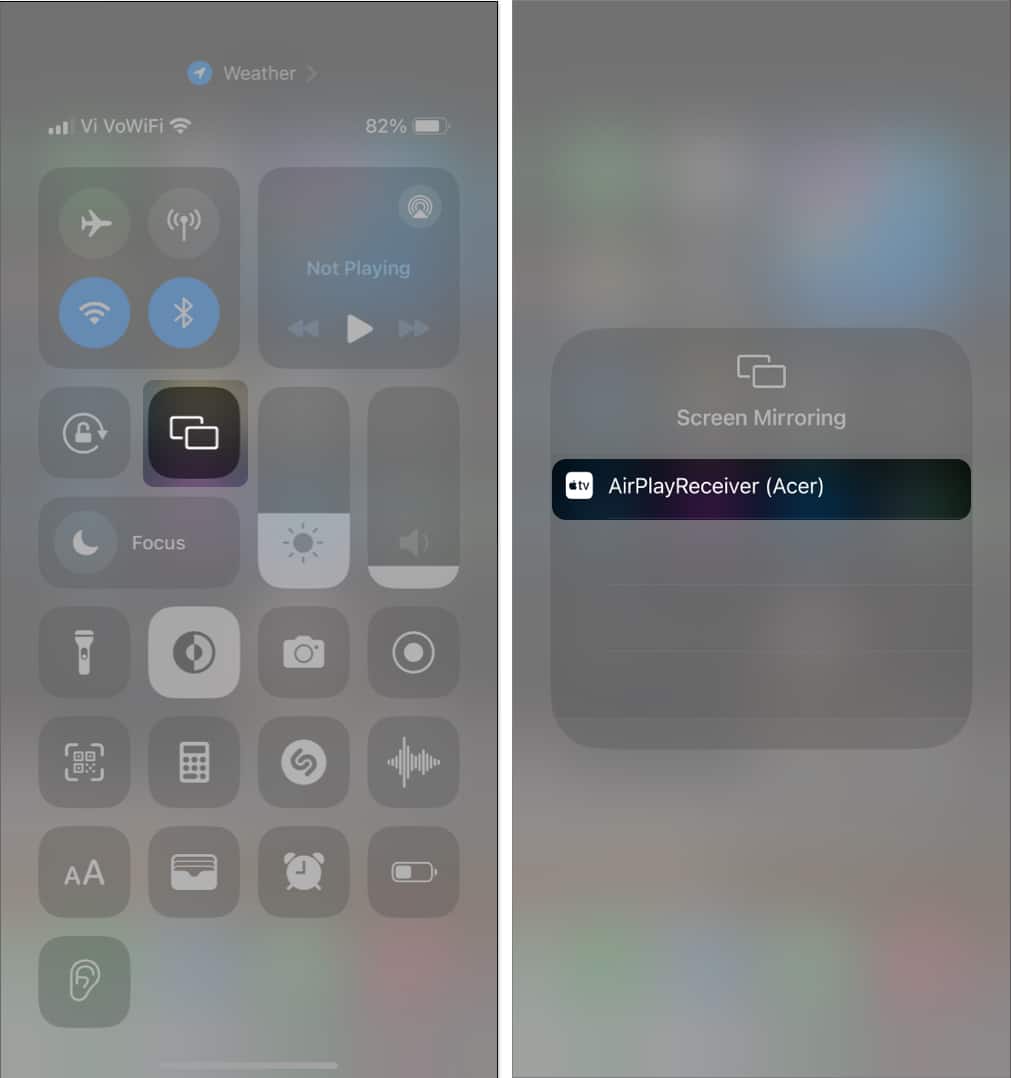
- Open Control Center on your iPhone or iPad.
- Then, tap the square Screen Mirroring button.
- Select AirPlayReceiver from the list of available devices.
This will automatically start the mirroring session on your Mac.
Voila! The screen will start mirroring from your iOS device to the computer.
To stop the screen from displaying on your computer, bring down Control Center → tap on screen mirroring button → Stop Mirroring.
Screen mirroring your iPhone or iPad made easy!
Whether you’re a Windows or a macOS user, you can quickly mirror your iPhone or iPad to Mac or Windows PC with the methods detailed in this guide.
However, if you have any queries or suggestions, please drop them in the comments section.
Also read:


