The latest models of MacBook Pro and Air feature a notch at the top, highlighting the front camera. However, while functional, the design isn’t everyone’s favorite. If you, too, find the MacBook notch obstructive or just want a distraction-free, cleaner display view, there are multiple ways to hide it. In this guide, I will show you how to make the notch disappear on your MacBook.
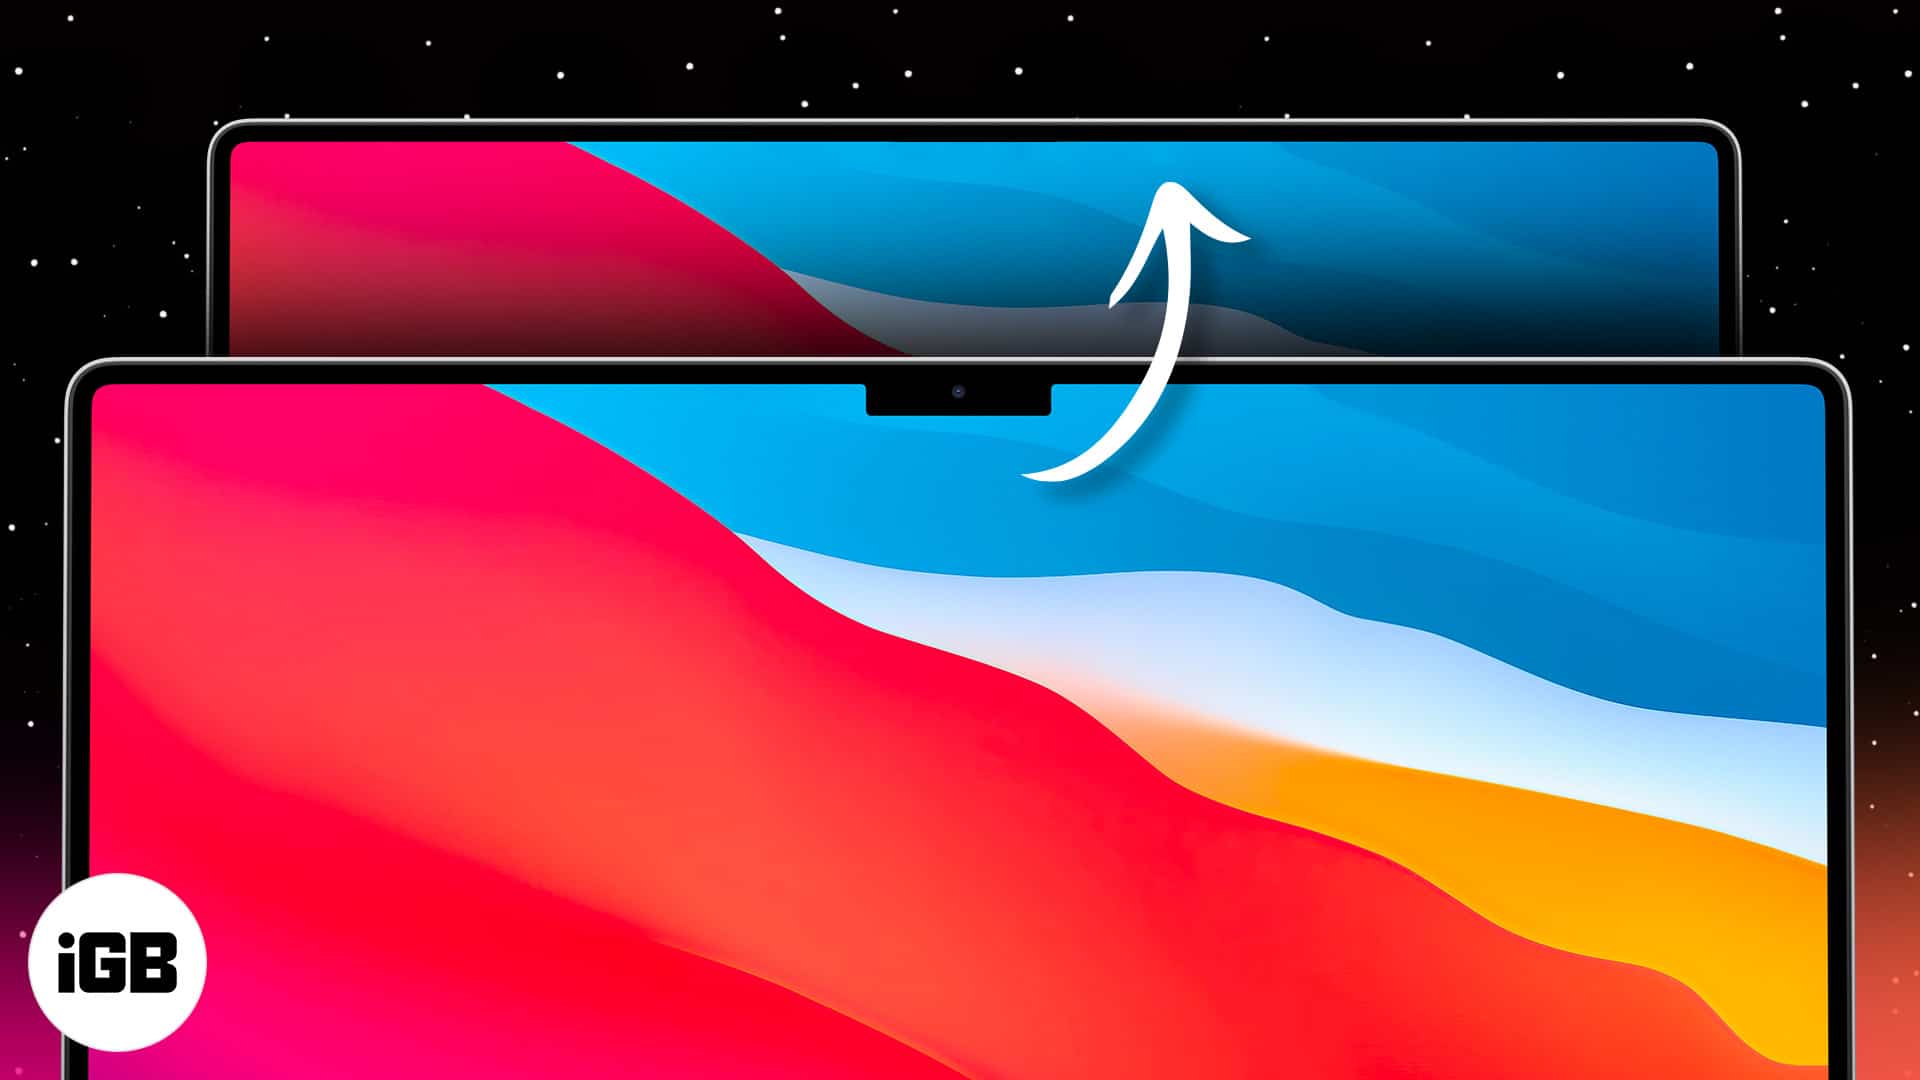
How to hide the notch on MacBook Pro
There are multiple ways to hide the notch from your MacBook Pro. Let me show you!
1. Go fullscreen mode
The quickest and simplest way to hide the notch is to open the app in fullscreen. This setting automatically turns the menu bar black, hiding all its contents, including the notch. Since most native and third-party apps support fullscreen mode, it is pretty universal as well.
To enable fullscreen mode on any app, click the green round (fullscreen) button at the top left of the window. You can also use a keyboard shortcut to engage the fullscreen mode: press Control + Command + F.
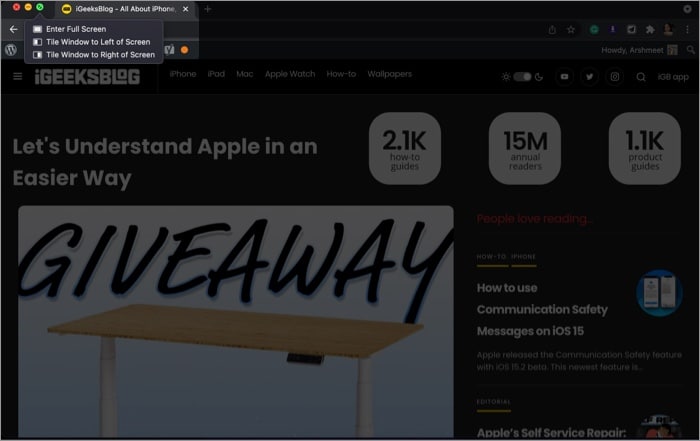
If you need to access something from the menu bar, hover the cursor over the area. The menu items will reappear, and you can select the one you need. When you are ready to exit the fullscreen mode, click the green or red button or press Control + Command + F.
Special tip: The notch also magically vanishes when you invoke split view in Mac. So, multitask your way into notch-less-ness.
2. Scale app menu bars
While hiding the menu bar works for most apps, it fails for apps that extensively use items from the menu bar. In some scenarios, the camera notch conceals menu options, which can be quite disturbing.
Luckily, Apple has realized the issue and incorporated a neat feature that automatically scales the app’s menu bar area to fit under the notch area.
- Launch the Application folder.
- Right-click the app you want.
- Select Get Info from the contextual menu.
- Under the General section, check the box next to Scale to fit below the built-in camera.
Close this window and restart the app; it will auto-adjust according to the notch area. Notably, this doesn’t apply across the system; you’ll have to enable the settings individually for each app.
3. Use third-party apps
A great thing with trouble in Apple’s paradise is that there can be an app for it. And luckily, for all the notch-haters, there are indeed some great apps.
I. TopNotch
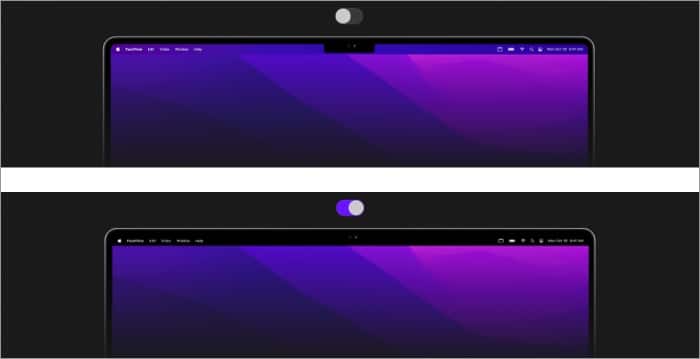
A simple app that promises to make the MacBook Pro notch disappear like a ninja. It boasts a toggle that turns the menu bar black when enabled and efficiently hides the notch.
It can modify both static and dynamic macOS wallpapers and keep the notch under wraps for as long as you want. Additionally, it supports multiple displays and allows you to add rounded corners to your wallpapers to match the rounded corners of the MacBook Pro.
Price: Free
II. Forehead
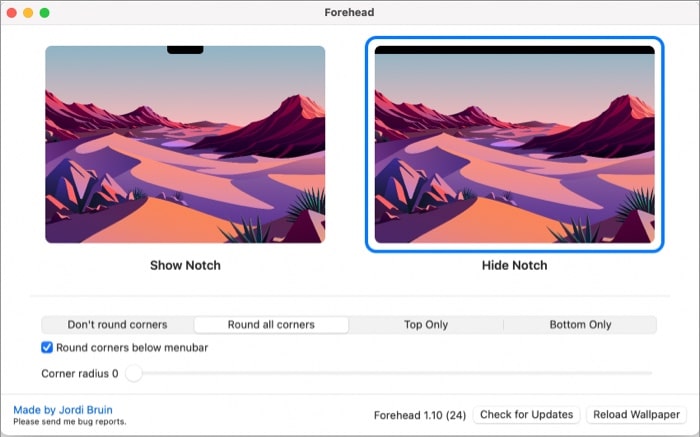
Indie developer Jordi Bruin loves the new notch. However, he knows not many will accept the change as easily. So, he converted it into an earning opportunity and developed Forehead. The app modifies your current wallpaper to add a black backing, which hides the notch.
Interestingly, it takes the concept of the rounded edge to another level with up to 100 corner radius, an option to start rounding corners below the bar or round just the top or bottom corners.
Though it doesn’t support dynamic wallpapers yet, the developer might release that in later updates.
Price: Free
III. De-Notch-ifier
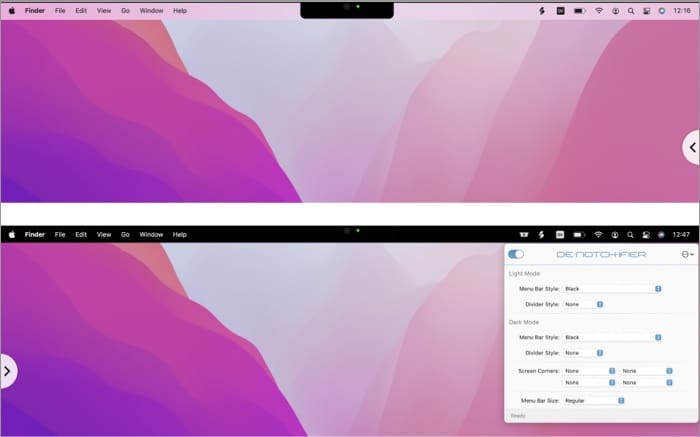
While you are at it, why shouldn’t you have more fun with the menu bar? De-Notch-ifier can easily de-notch your MacBook Pro with one tap. It could also help bring more colors to the menu bar, 50 shades of red, orange, green, or grey.
What’s more? You can even set different menu bar colors for Light and Dark modes and decide how rounded you want the corners. Plus, you get a 14-day trial, so you can test it to your heart’s content before putting down that dollar.
Price: $9.95
Bye, Bye notch
In all honesty, I think we all should give the notch a chance. After all, the iPhone 13 still has a notch (albeit smaller than before). So, we can safely assume the MacBook Pro notch is here to stay, and we better start embracing it.
The good thing is, we can hide it whenever we want!
For more amazing Mac hacks, check out the listings below.

