Planning to ditch your iCloud email address as your primary one, but can’t because it’s used for all your important communications, such as bank statements, shopping bills, travel plans, or personal business? While you can update your email for every important service, the process can be tedious, as the list might be long.
This is why forwarding your iCloud emails to another email account is an excellent solution for centralizing your communications. With that said, read on to learn how.
How to automatically forward all iCloud emails to another email
Setting up automatic forwarding on your iCloud emails is pretty straightforward, but sadly, you can’t do so on the Mail app on iPhone, iPad, or Mac. Let me show you how it’s done:
- Go to iCloud.com and sign in using your Apple Account.
- Now, scroll down and click on the Mail app icon to access iCloud Mail.

- Here, click the Settings icon at the top of the Mailbox list.

- Then select Settings in the drop-down menu.

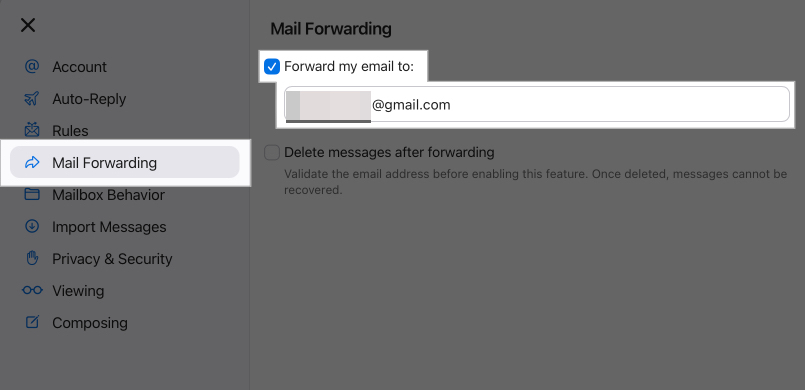
- Next, select Mail Forwarding in the settings menu and click the “Forward my email to” checkbox, then enter the email address to which you want to forward all your iCloud emails.


Forward specific iCloud emails
Not all emails are as important as others; the most important ones can get lost in the massive pile of forwarded emails. To fix this issue, you can set up rules to filter all incoming emails forwarded to another email. Here’s how:
- On iCloud.com, click on the Mail app icon to access iCloud Mail.
- Here, click the Settings icon, then select the Settings option in the drop-down menu.
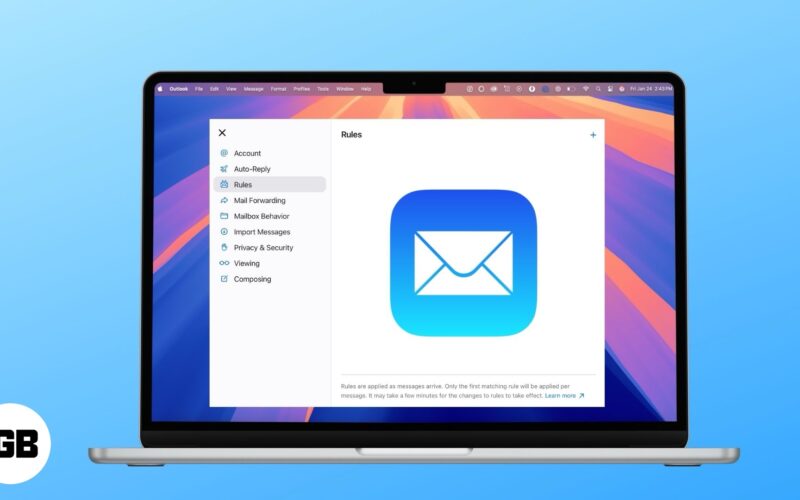
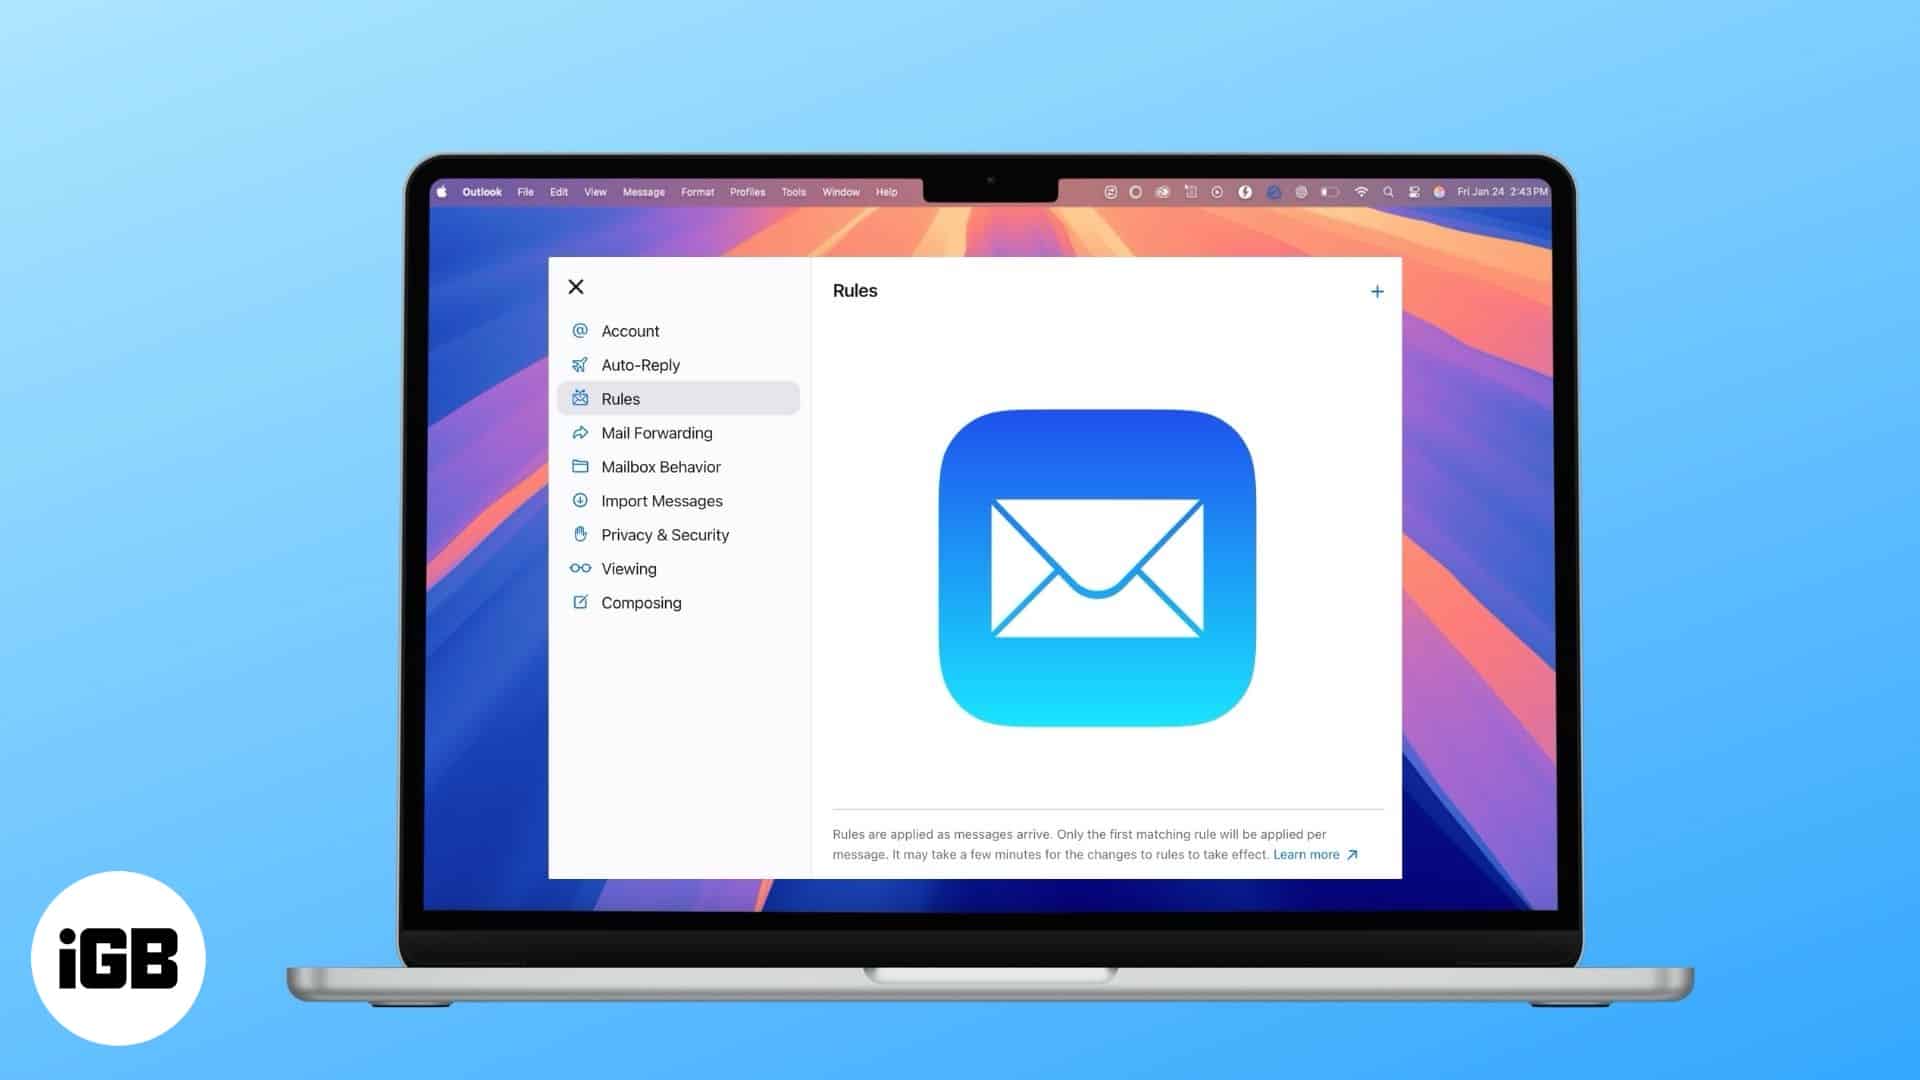
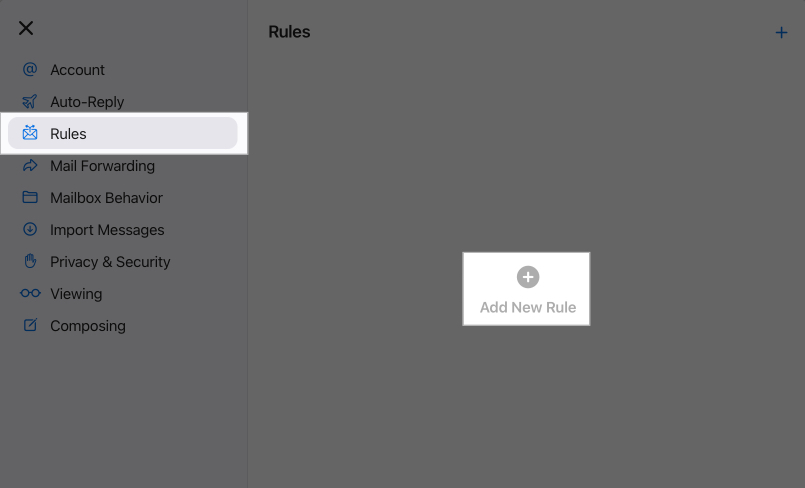
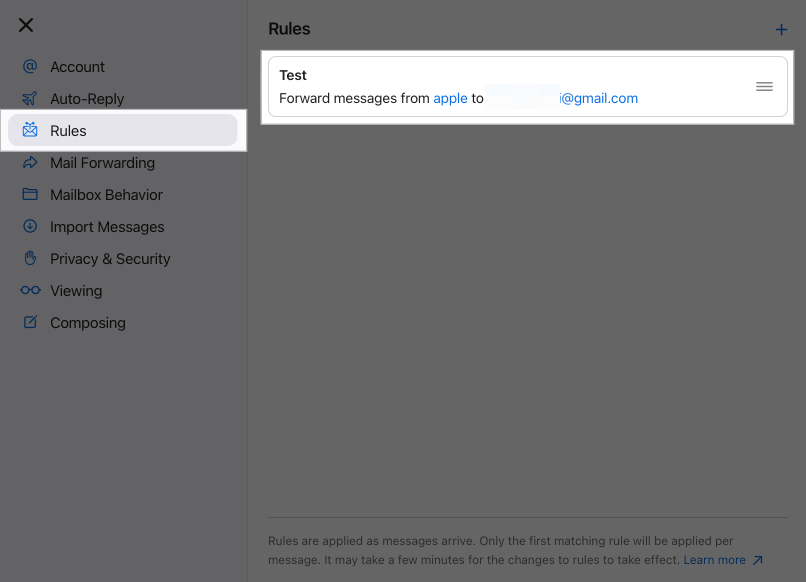
- Next, select Rules in the settings menu.
- Now, click on + Add a Rule.

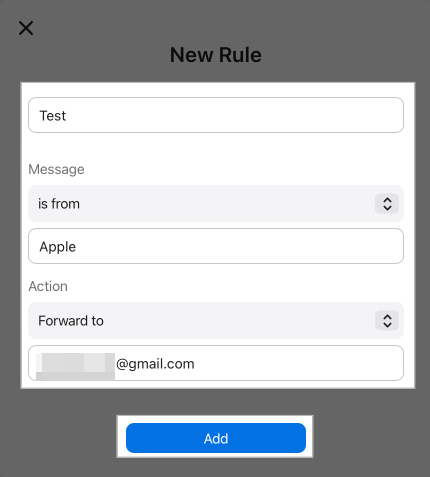
- Here do the following:
- Give your new rule a name.
- Use the pop-up menu and text field under Message to specify what kind of emails you want to filter.
- Use the pop-up menu and text field under Action to specify what action you want your rule to take.
- Click Add.

Change or delete email filtering rules
While Apple allows you to create up to 500 rules, you don’t need to create a new one every time a new condition enters your mind. You can update a previously created rule instead. Also, you can easily delete a previously added rule if it is no longer required.
Here’s how you can do this:
- Go to iCloud.com → Mail → Settings → Rules.
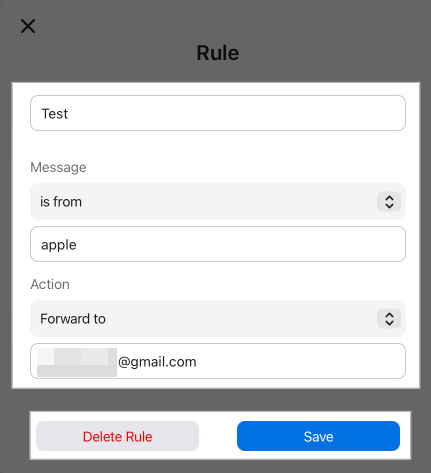
- Here, select the Rule you want to delete.

- Next, update the rule filters and name and click Save.
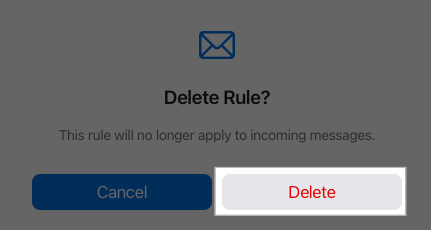
- Otherwise, click Delete Rule.

- Finally, click Delete to confirm.

How to stop iCloud email forwarding
You can easily stop forwarding email if you no longer need it. Follow these steps to do so:
- Click on the Mail app icon on iCloud.com.
- Click the Settings icon, then select the Settings option in the drop-down menu.
- Click on Mail Forwarding, then deselect “Forward my email to.”
Signing off…
This is how you can set automatic mail forwarding on your iCloud emails, which can help you save time and streamline your email management. Moreover, the ability to add filters or stop email forwarding at any time gives you more control and flexibility over how you want to handle your emails.
We hope this guide answers all your queries. However, if you still have some, feel free to reach out to us via comments.
Also read:
