If you use the Messages app on your Mac to communicate with your friends and family, you’ll end up accumulating multiple conversation threads over time. While some of these may be useful, and you may find value in holding on to them for longer, there will be a few you wouldn’t need anymore. Deleting such messages is a wise move. Keep reading, and we’ll show you all the ways to delete messages on a Mac.
Table of Contents
Why delete text messages on Mac?
Deleting messages on your Mac can help in multiple ways, and you may have your own reasons to do so. However, if you haven’t given it a thought, below are some common reasons why you may want to consider deleting messages on your Mac.
- Free up storage space: While text messages don’t eat up much space, the attachments you receive with them do. The message attachments can pile up with time and consume a large chunk of storage on your MacBook without you even knowing it. Deleting messages and unnecessary attachments on your Mac can free up valuable storage space.
- Privacy concerns: There could be many conversations you don’t want others with access to your device to know about. While you always have your iPhone secured, the same can’t be said about your Mac. Thus, it’s a good habit to regularly remove any sensitive or private conversations you have in the Messages app on your Mac.
- Declutter the inbox: With time, the number of message threads can pile up, making it difficult to locate the important ones. By deleting unnecessary message threads on your Mac, you can declutter the inbox to make it easier to keep up with conversations that actually matter.
Before you delete messages on Mac
If iCloud sync for Messages is enabled, any change you make to the messages on your Mac will also reflect on your other Apple devices signed in with the same Apple Account. While this holds no importance if you’re deleting unnecessary messages, things can get messy when you want to delete a message on your Mac but want it to be accessible on your iPhone.
To stay clear of this, you can disable iCloud for Messages on your Mac. However, once you do so, you won’t be able to access any message available on your iPhone from your Mac.
If you decide to continue, here’s what you need to do:
- Open the Messages app on your Mac.
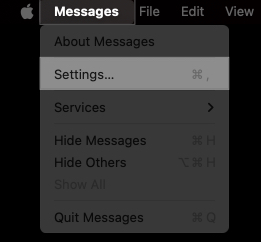
- Click on Messages in the menu bar and select Settings in the drop-down menu.
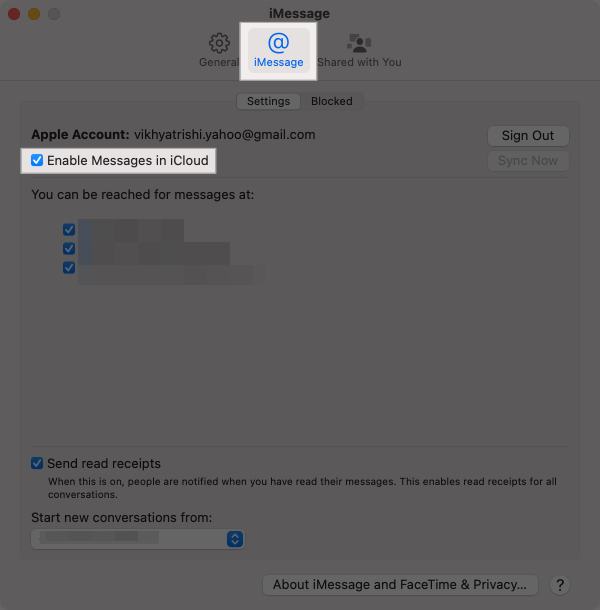
- Go to the iMessage tab and uncheck Enable Messages in iCloud.
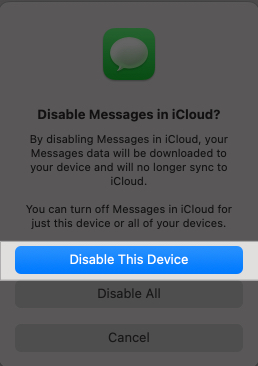
- Click the Disable This Device button on the confirmation prompt that appears to disable iCloud sync for Messages.
How to delete an individual message on Mac
Similar to how you delete messages on your iPhone, you can delete individual messages within a message thread on your Mac with just a few clicks. Here’s how:
- Launch Messages and select the conversation with the message you want to delete from the left sidebar.
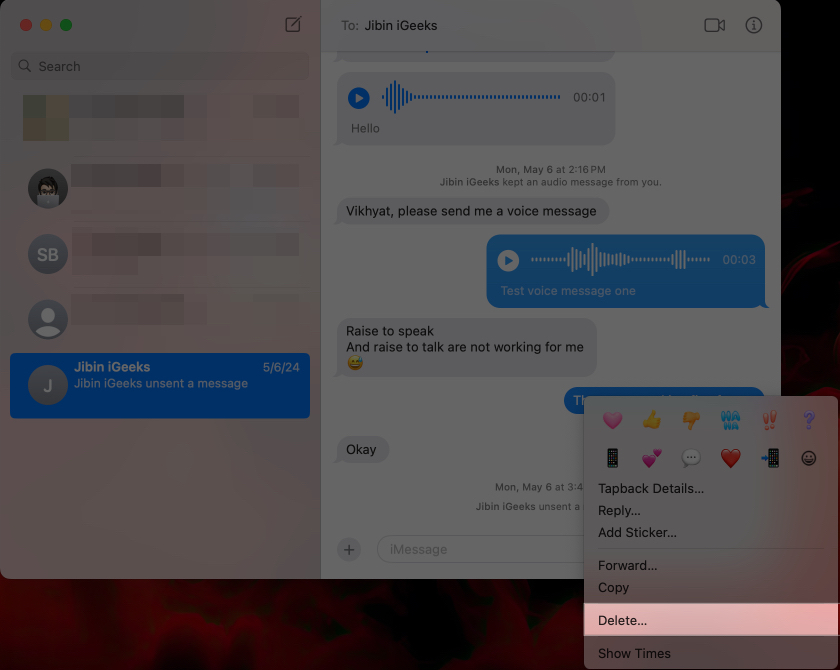
- Right-click on the message you want to delete on the right and choose the Delete option in the context menu.
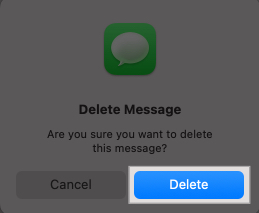
- Click Delete again to confirm deleting the selected message.
How to delete an entire conversation on Mac
If none of the messages in a conversation are useful, you can clear the entire conversation with that contact, as shown below:
- Open Messages and locate the conversation you want to delete.
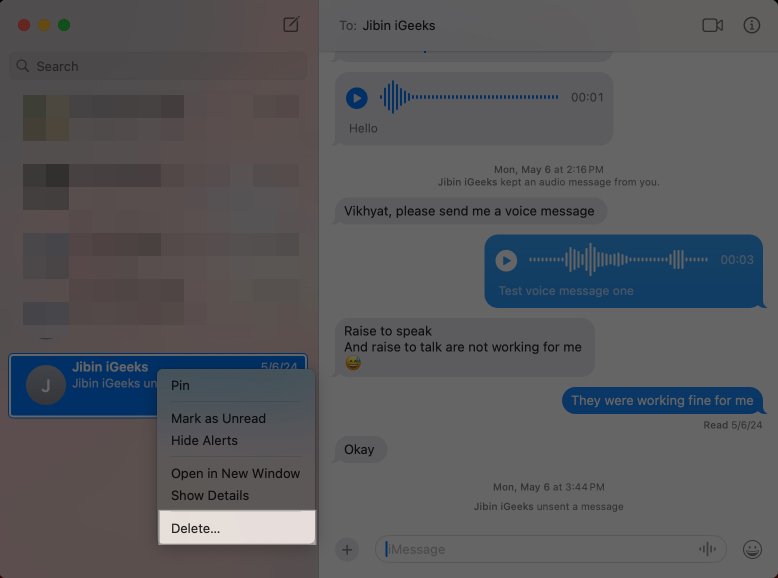
- Here, right-click on the conversation thread and choose Delete in the pop-up menu.
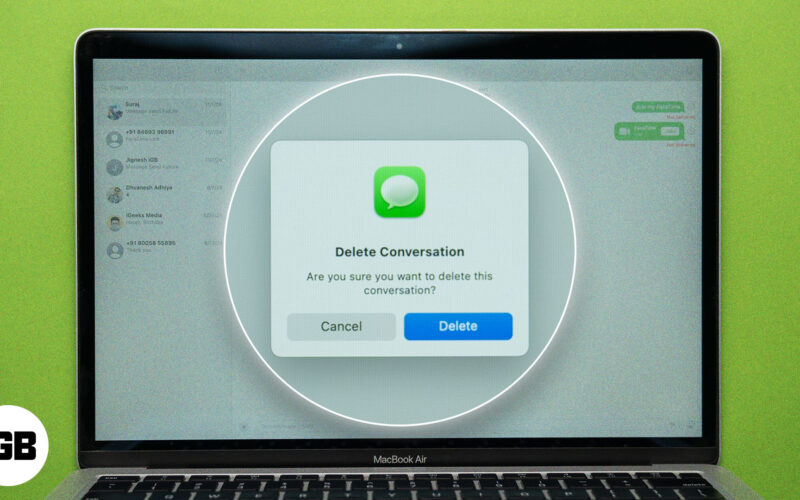
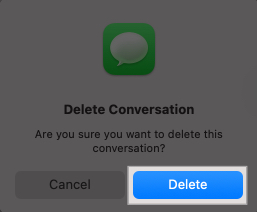
- Click the Delete button that appears on the confirmation prompt.
Alternatively, select the conversation, make a two-finger left swipe on your MacBook’s trackpad, and click the Delete button.
How to delete multiple conversations on Mac
When you’re cleaning up spam messages, you can save extra clicks by deleting multiple conversations in one go. Here’s what you need to do:
- Open the Messages app.
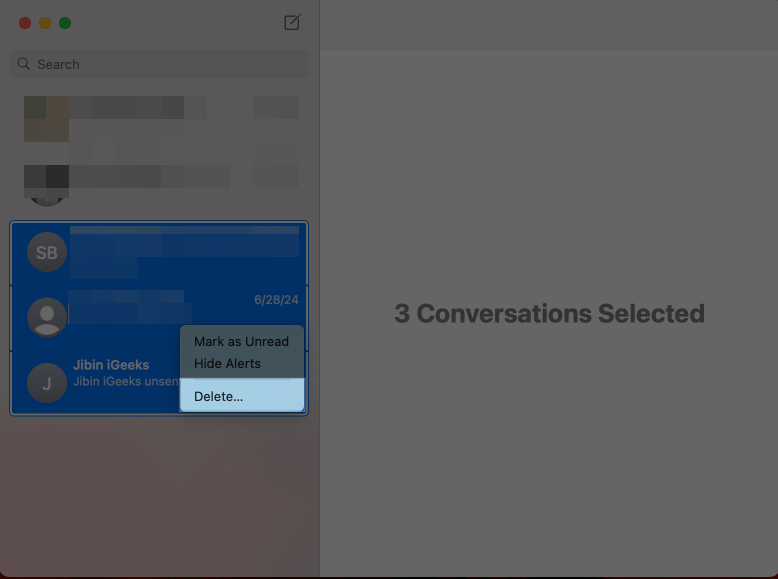
- Press and hold the Command key and select all the message conversations you want to delete.
- Once you’ve selected the messages, release the Command key, right-click on the selection, and choose the Delete option in the menu.
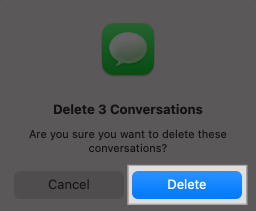
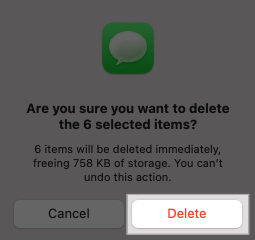
- Click the Delete button to confirm your decision.
How to delete attachments from Messages on Mac
While deleting an entire message conversation removes the text messages from your Mac, any attachment you received in the conversation still remains on your Mac. Thus, deleting the messages thread alone won’t free you much storage; you must delete the attachments you no longer need separately.
Here’s how to do it:
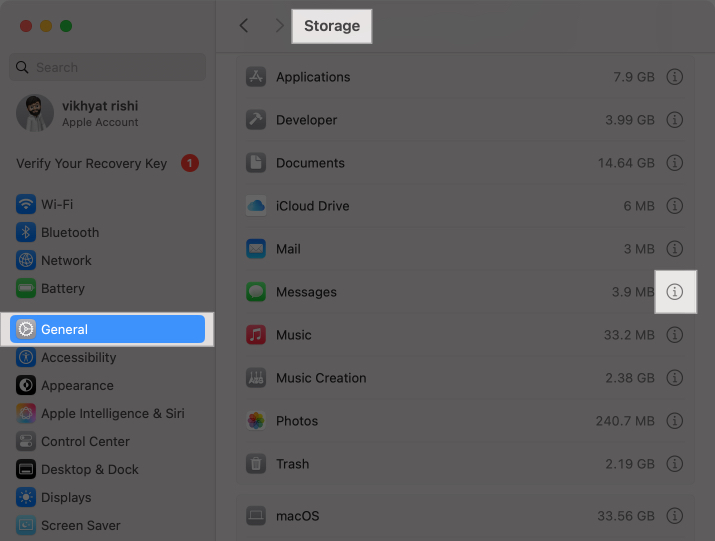
- Open the Settings app and go to General.
- Select Storage in the left sidebar.
- Now, click the i button next to the Messages app.
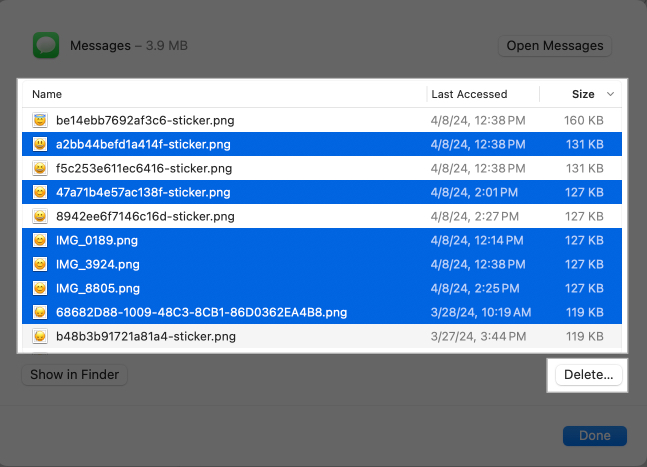
- Select the message attachments you want to delete, then click the Delete button in the bottom-right corner.
- Finally, click on Delete to confirm your deletion.
Bonus tip: Enable automatic message deletion on Mac
Nothing is more boring than manually deleting messages on a Mac to free up storage regularly. So, just like your iPhone, Apple allows you to let your Mac automatically delete your messages after a certain time interval of their arrival. Here’s how to enable it:
- Open the Messages app.
- Click on Messages in the menu bar and select Settings in the drop-down menu.
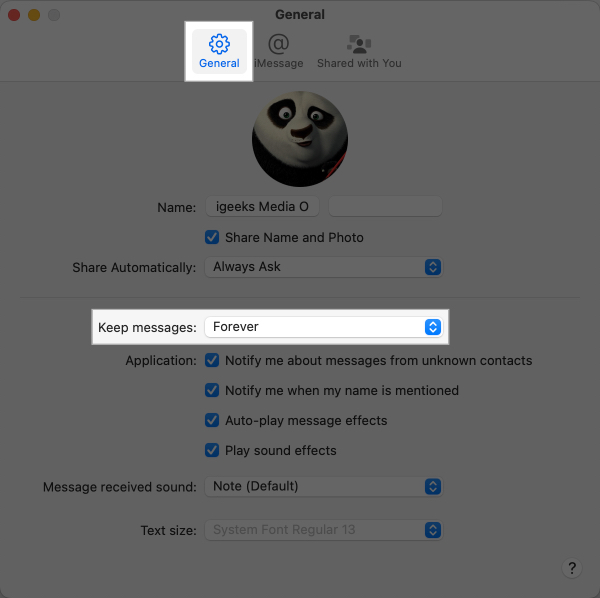
- Now, ensure you’re on the General tab, then click the drop-down button for Keep Messages and select one your preferred time interval.
Now, every time a message conversation goes past the selected time interval, your Mac will automatically delete it.
Signing off…
You should’ve managed to delete messages on your Mac using your preferred method above. Remember that you get 30 days to recover any message you think you deleted by mistake or still need. Once the 30 days pass, the message or conversation is gone forever unless you have a backup.
Feel free to reach out to us via comments if you need further help.
FAQs
While earlier you could delete messages and conversations using the Command+Delete keyboard shortcut, it doesn’t work anymore.
With Messages open, click View in the menu bar and select Recently Deleted. Select the conversation you want to restore and click Restore.
Any message or conversation you delete in the Messages app on your Mac is moved to the Recently Deleted section and stays there for the next 30 days. You can head to the said folder to recover the deleted conversation or message within 30 days of deleting it.
Deleting the messages alone won’t free up much storage on your Mac; you must delete the attachments separately via System Settings or Finder.
If you can’t delete messages on your Mac the regular way, you can use the Terminal app to force delete messages. Simply open the Terminal, enter the command: rm –r ~/Library/Messages/chat: and hit Return.
Learn more:

