Creating a slideshow on your Mac is a great way to showcase your photos, videos, and ideas in a playful, visually engaging manner. While you can use many third-party programs, most are paid, so why use paid software when macOS offers the same functionality for free? Yes, there are multiple ways to create stunning slideshows on your Mac without downloading additional programs. Keep reading to learn about these methods.

How to create a slideshow on Mac using built-in apps
Photos and Keynote are two native apps that allow you to create aesthetically pleasing, professional-quality slideshows with just a few clicks. Let’s look at how to use them.
1. Creating a slideshow on Mac using Photos
If you want a basic slideshow of the photos in your library with music and transition, the Photos app can do the job. Here’s what the process looks like:
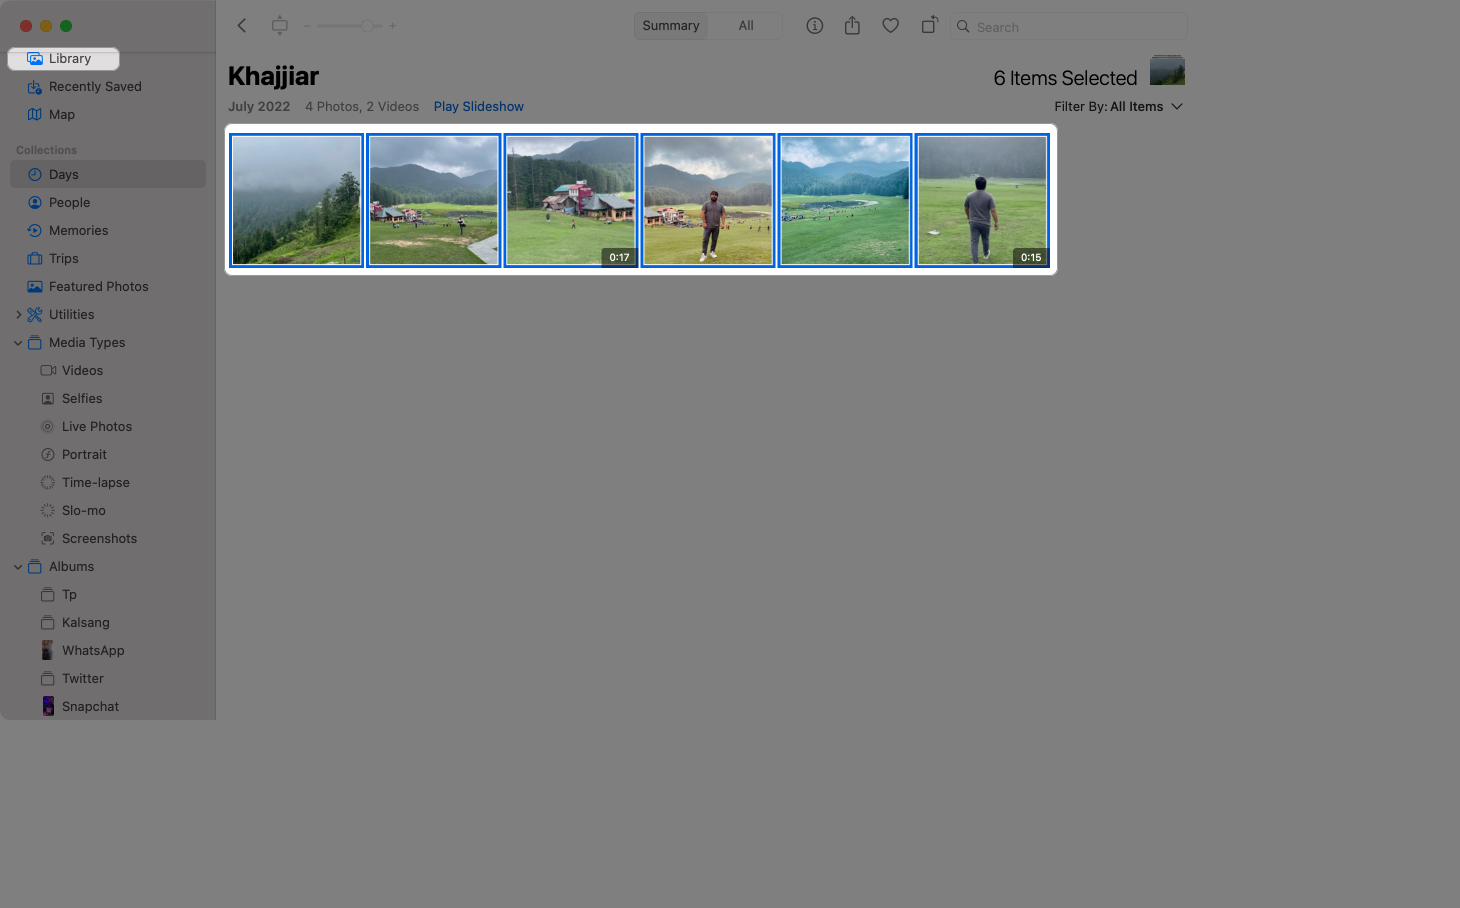
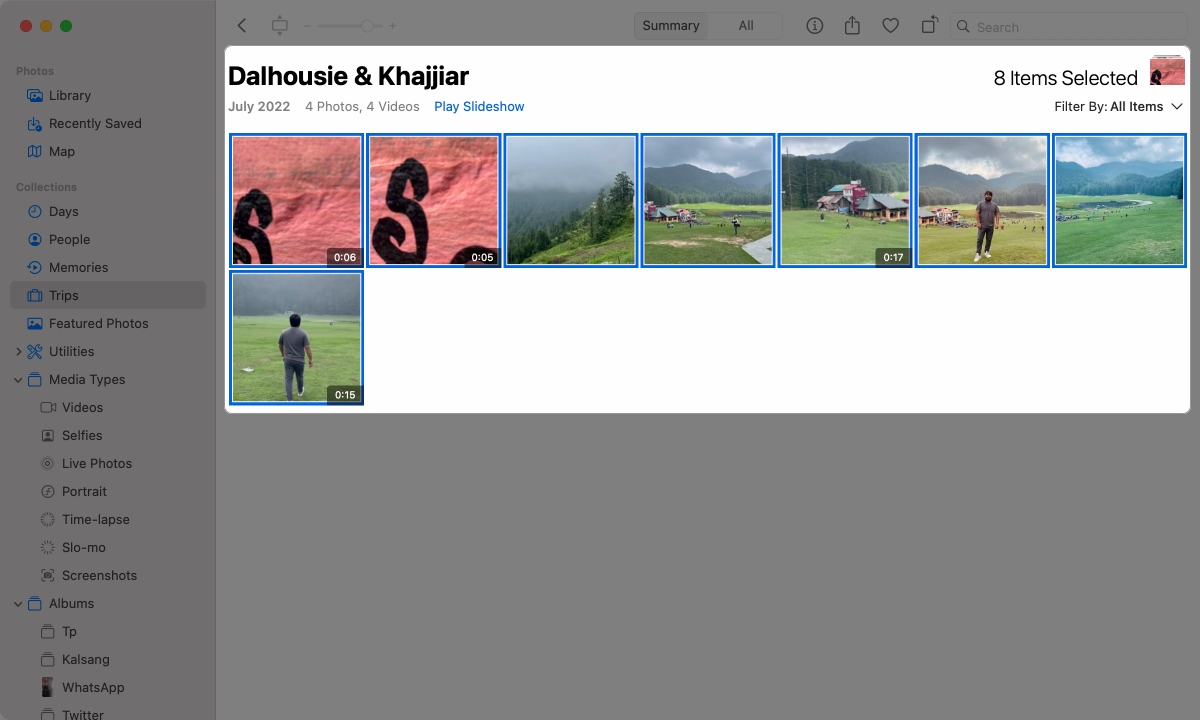
- Open the Photos app and head to the Library or any other folder with the photos you want to use in your slideshow.
- Here, select the photos and videos you want to include in the slideshow.
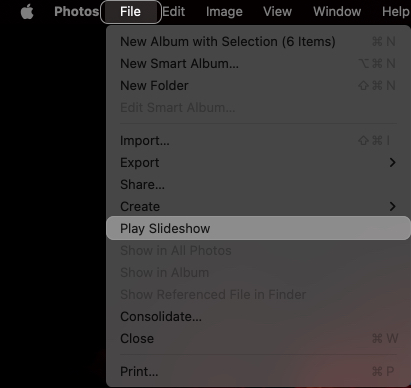
- Now, click on File in the menu bar and select Play Slideshow in the menu.
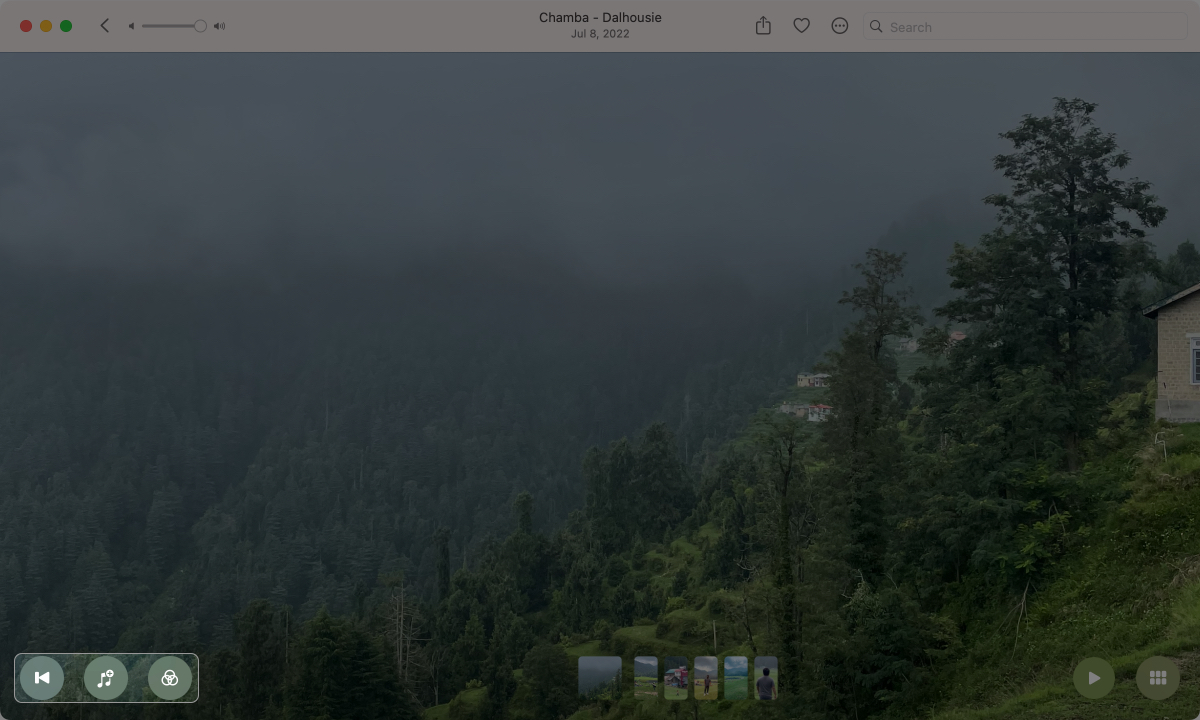
- The slideshow of the selected photos and videos will start playing. From here, you can change the music, add a filter, and rearrange the order of the clips using the appropriate buttons in the lower-left corner.
Quick slideshows are automatically saved to Memories in the Photos app.
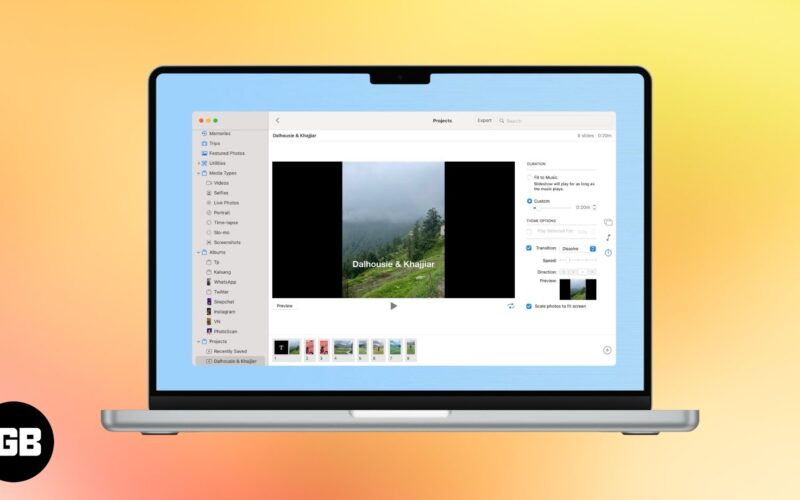
This is the quickest way to create a slideshow on a Mac. However, this method doesn’t offer many customization options. Thankfully, the Photos app also offers another way to create slideshows that too with many customization options. However, creating such slideshows in the Photos app is a bit different. Let’s see how:
- In the Photos app, select the photos and videos you want in your slideshow.
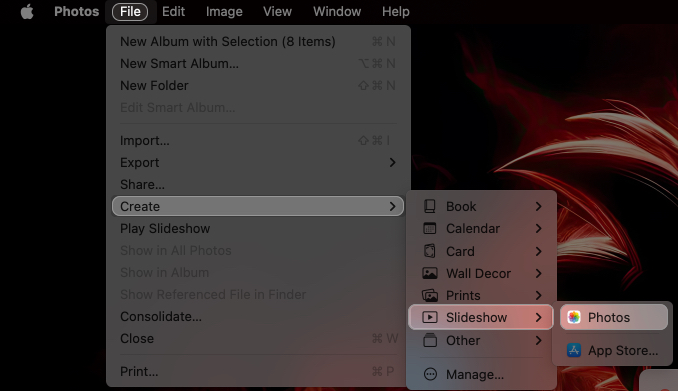
- Click on File > Create > Slideshow > Photos.
- Give your slideshow a name and click the OK button.
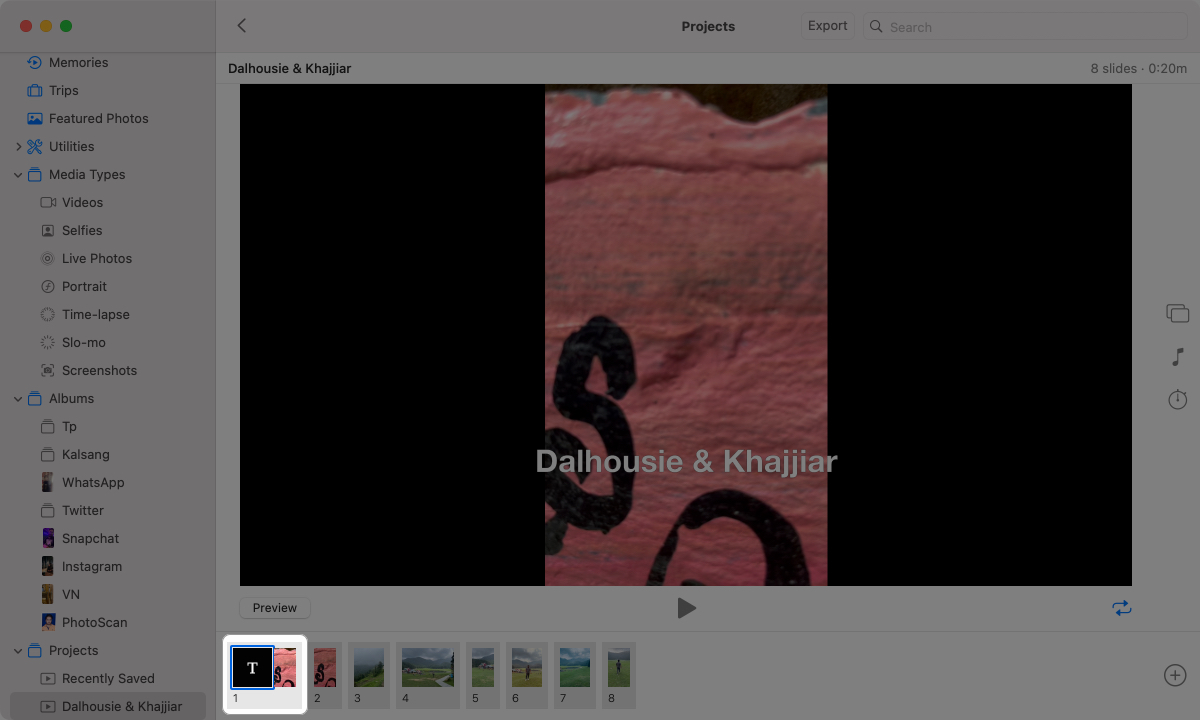
- The Photos app will start creating a slideshow for you. Once ready, drag and drop the photo thumbnails at the bottom in the order you want them to appear in your slideshow.
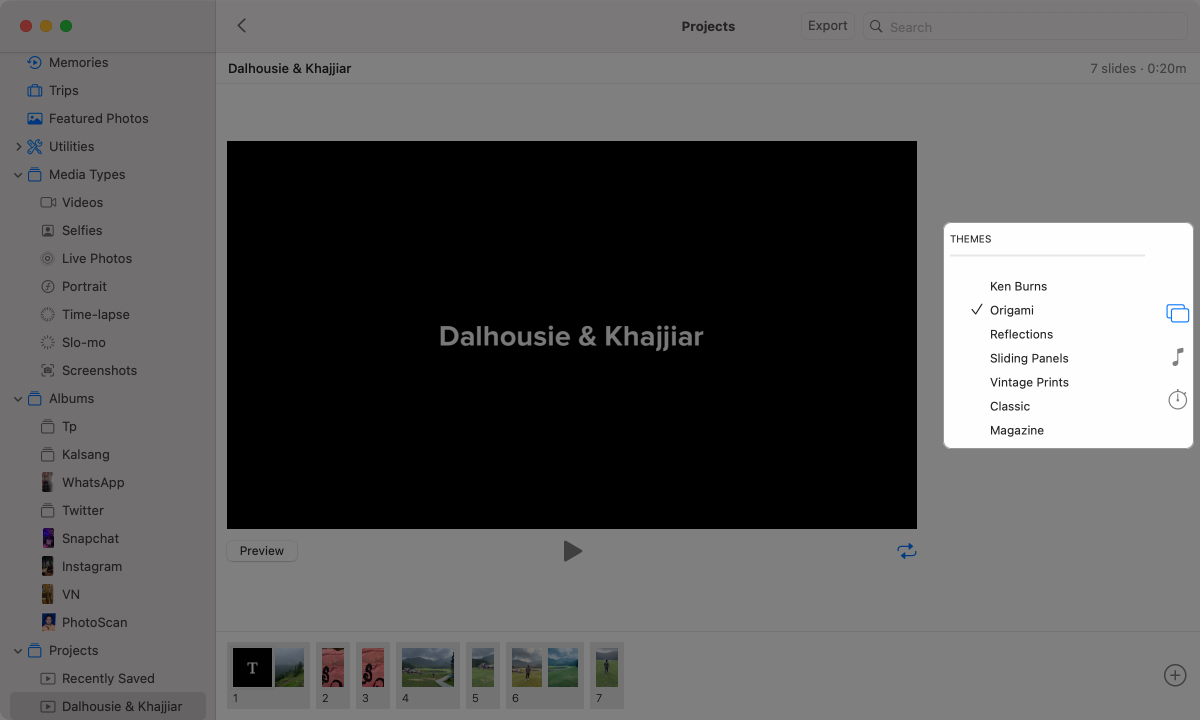
- To add a theme to your slideshow, click the two overlapping rectangles icon and select one of the available options.
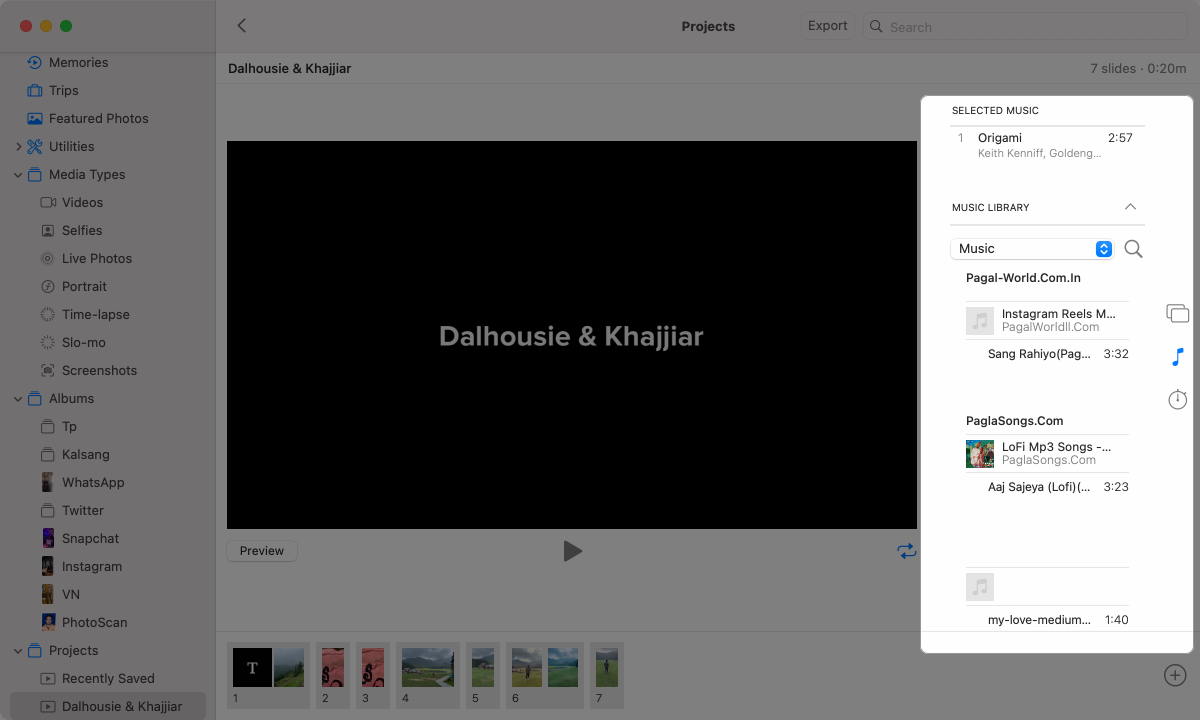
- To change music, click the music icon in the right, then click the downward arrow next to Music Library to view and select a different music track.
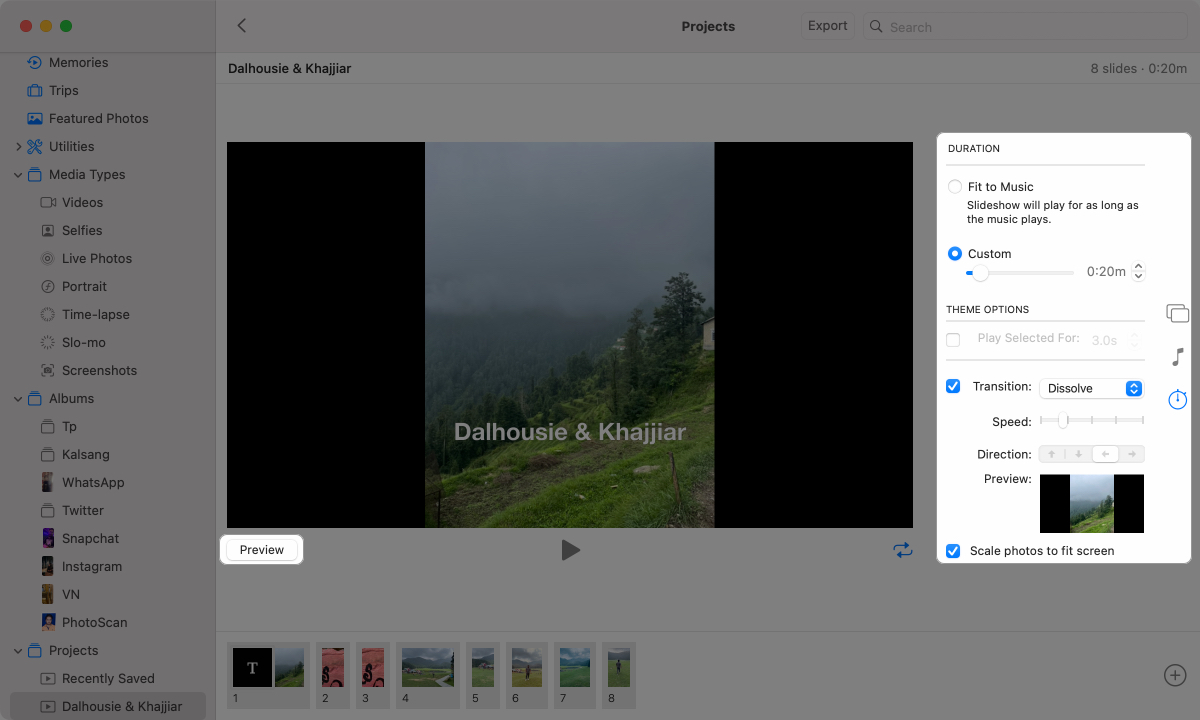
- To set the duration of each clip, click the timer icon and do the following:
- Select Fit to Music if you want the slideshow’s duration to match the selected music’s length.
- Drag the Custom slider to set a specific duration for the slideshow.
- Depending on whether the selected theme supports transitions, you can enable it by clicking the Transition checkbox and selecting one of the available options.
- Select the Scale Photos to Fit Screen checkbox if you want each slide to fit the screen.
- Now, click the Preview or play button to see how the slideshow appears.
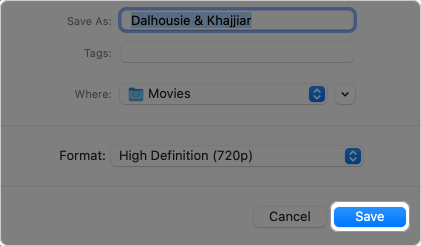
- Click the Share button to save and export the created slideshow.
You don’t need to manually save the slideshow; it is automatically saved in the Photos app and appears under Projects. However, you can’t share it from there.
2. Creating a slideshow on Mac using Keynote
Creating a slideshow via the Photos app might be the quickest way, but the slideshow you get is nowhere near the professional quality slideshows you can present in a meeting. So, if you need a professional-looking slideshow, the Keynote app is the best native option. It offers advanced customization, themes, animations, and text options, all for free, which you otherwise get with paid third-party options. This makes Keynote ideal for business presentations, educational lectures, or marketing pitches.
Here’s how to create a professional slideshow in the Keynote app on a Mac:
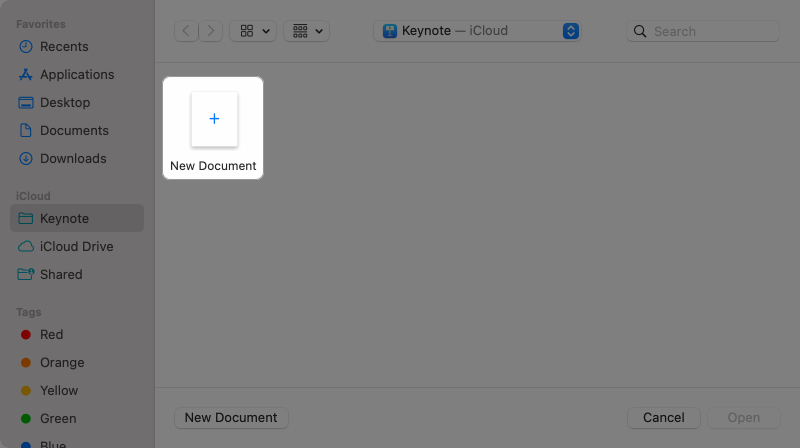
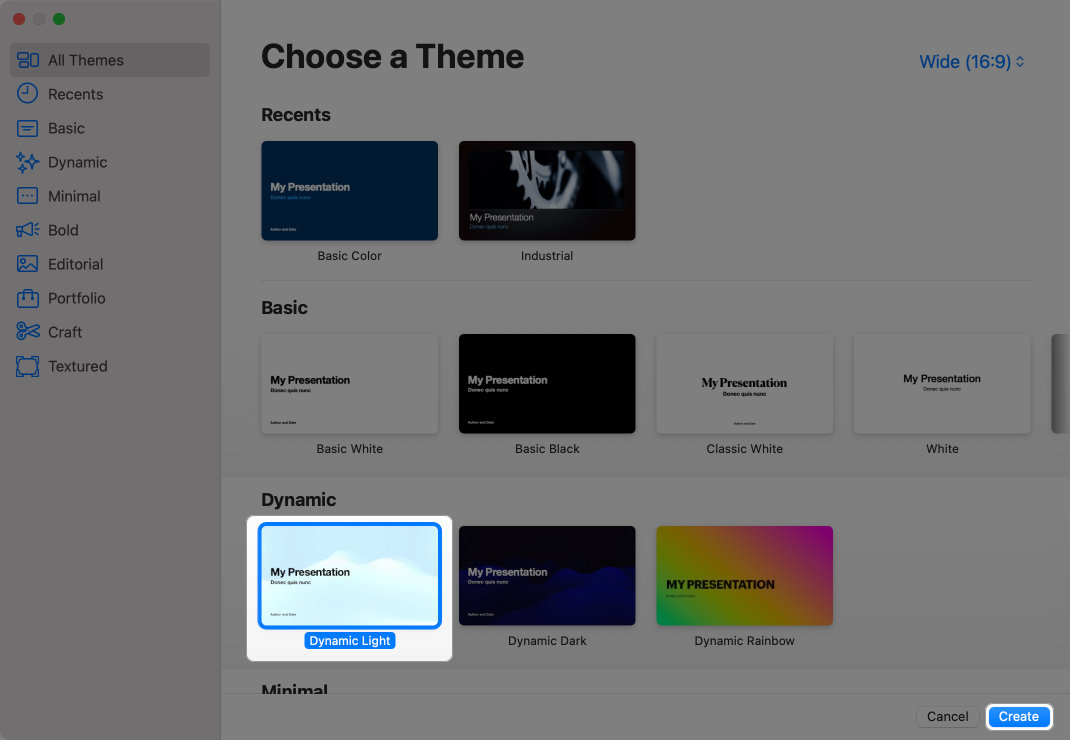
- Launch the Keynote app and click on New Document.
- Select the desired theme and click the Create button to continue.
Once done, you can do a bunch of things. Let’s take a look.
Add slides and media
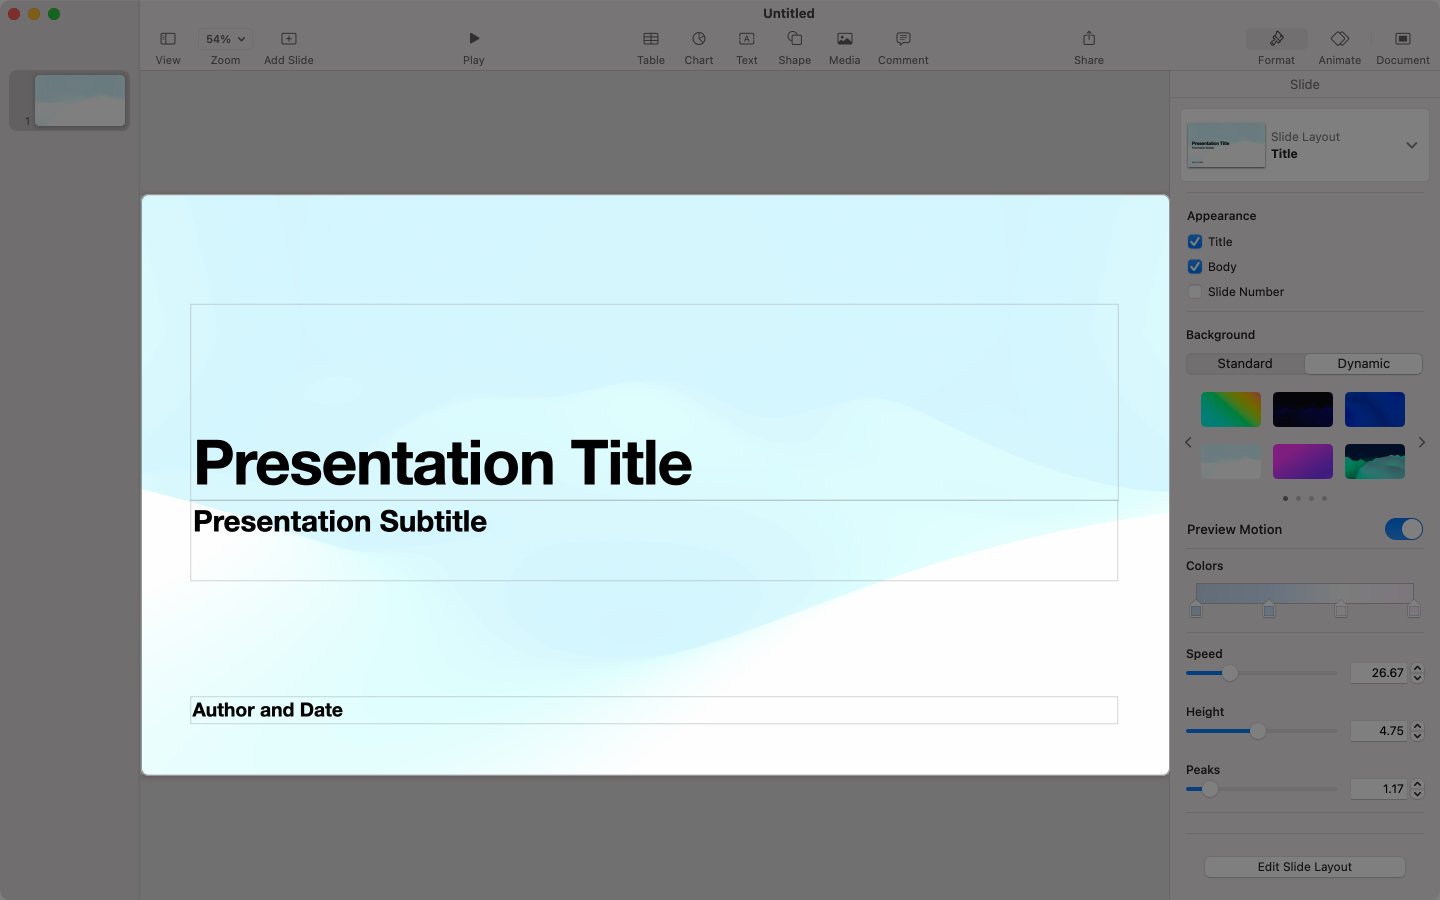
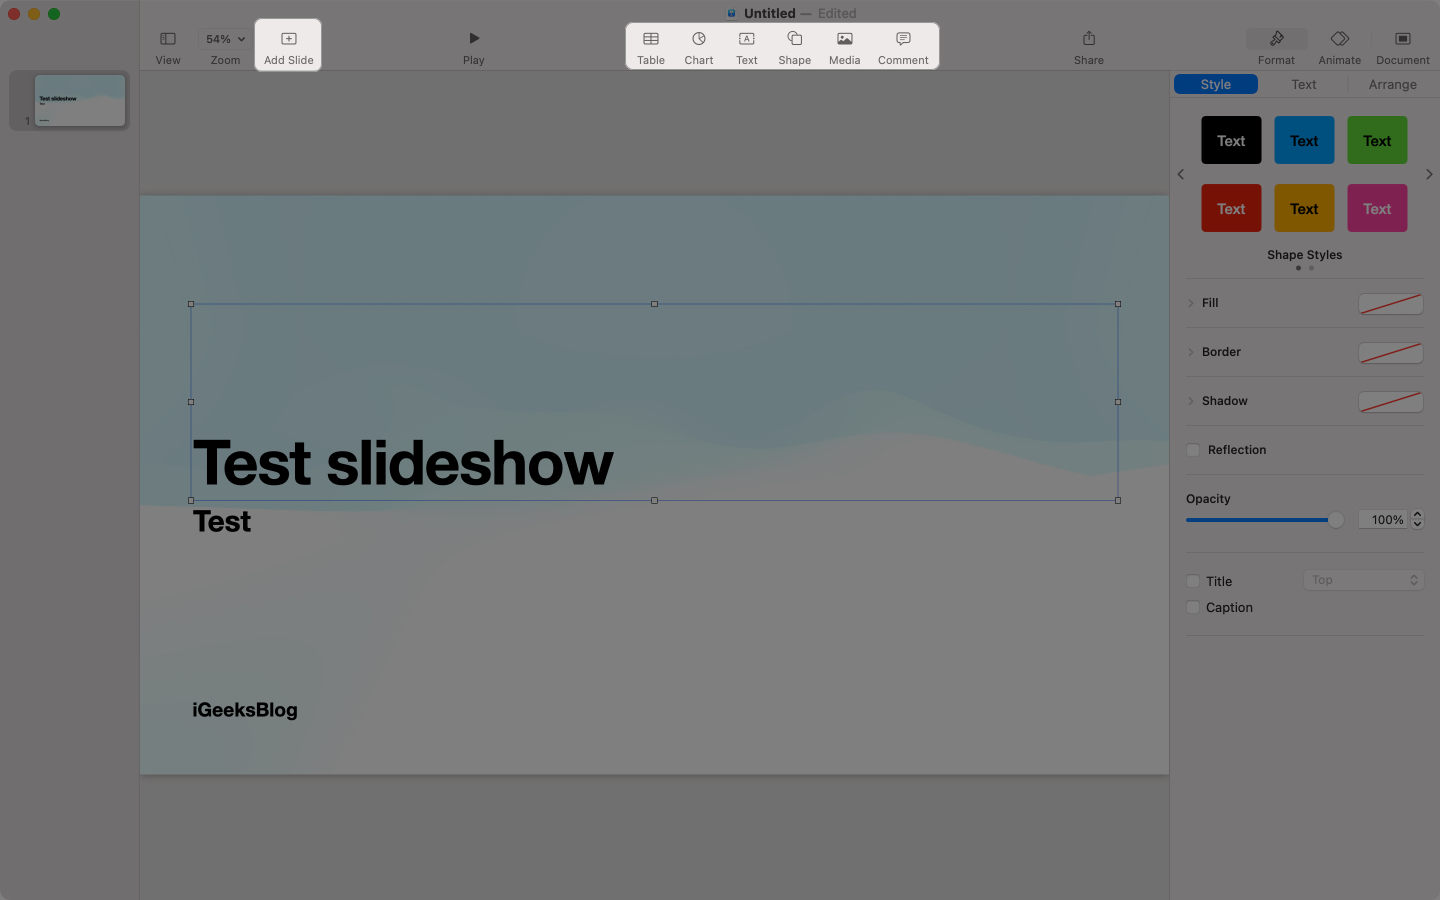
- Enter the presentation title, subtitle, name, and date. You can choose from multiple text, colors, borders, and more options.
- Next, click the Add Slide button at the top right and select the type of new slide you want to add to your slideshow.
- Now, use the dedicated buttons at the top center to add photos, videos, text, and shapes to your presentation. Alternatively, you can drag and drop photos, videos, and text into the slides.
Apply animations and transitions
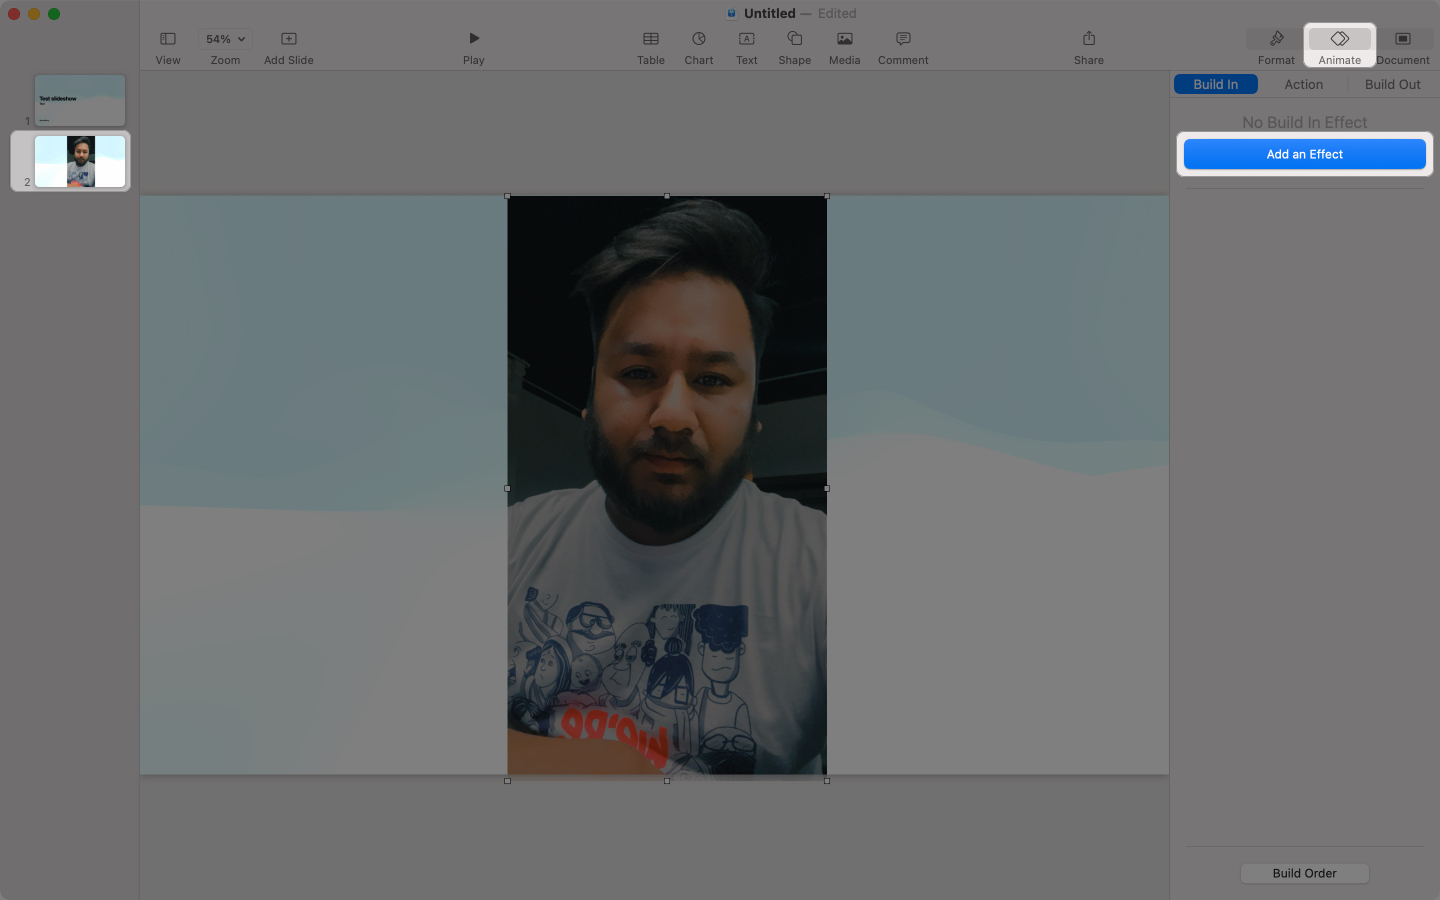
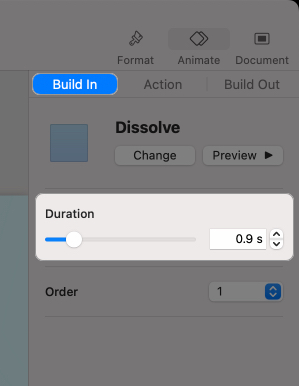
- Select an element on the slide and click the Animate button in the top-right corner.
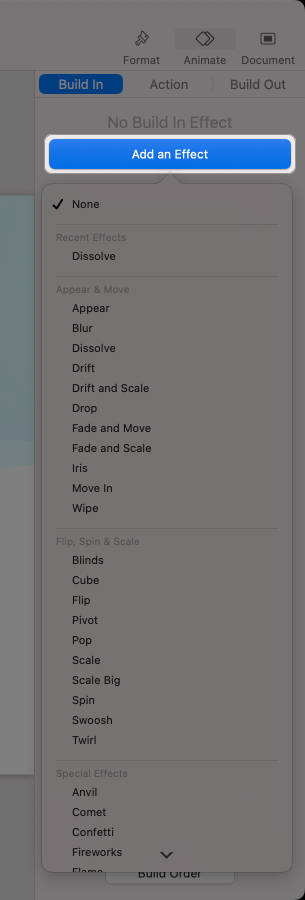
- Click the Add an Effect button, then choose the desired effect from the drop-down list.
- Select the duration of the animation.
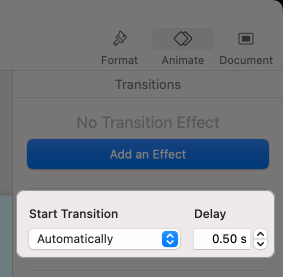
- Once done, select the whole slide and choose whether you want the transition between the slides to be Automatic or On Click.
- If set to Automatically, set the transition Delay timing.
- Perform the same steps for all the slides in your presentation.
Choose slideshow settings and add audio
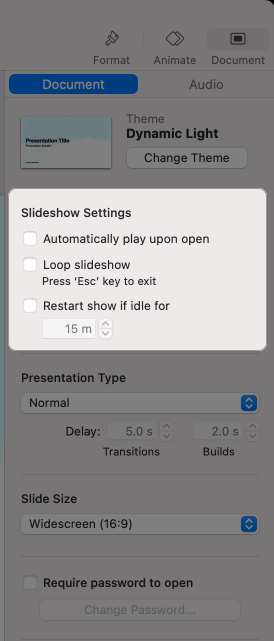
- Click the Document tab in the upper-right corner.
- Here, make changes to the slideshow settings as desired.
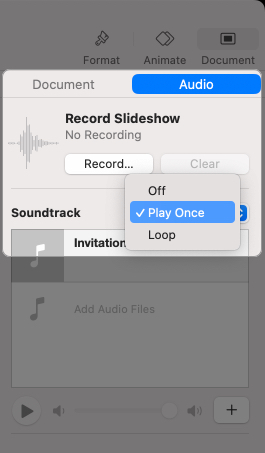
- Next, click on Audio.
- Now, click the Record button to record and add your own audio or the Add Audio button to add an existing soundtrack.
- Set whether you want the soundtrack to Play Once or on a Loop.
Play, export, or save the slideshow
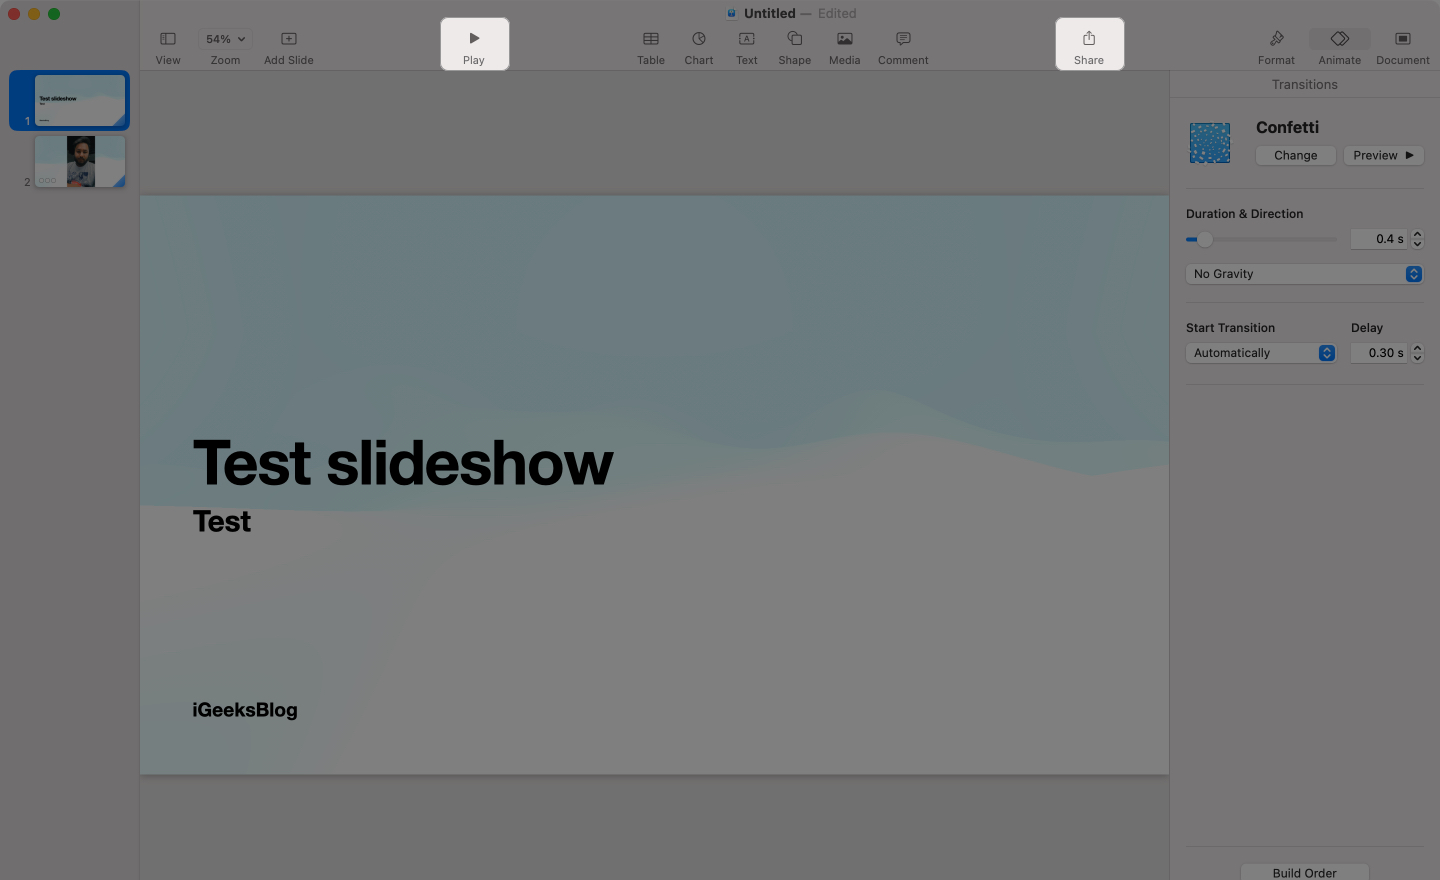
- Click the Play button to view how your presentation turns out to be.
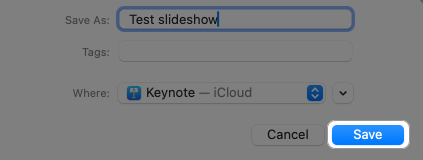
- Once satisfied, click the Share button to save and export the presentation.
3. Creating a slideshow on Mac using Preview
If all you want is a slideshow to quickly browse through images and don’t want it to be saved on your Mac, Preview is the best option. I mostly use this method for viewing PDFs or multiple images in sequence without additional customization.
Here’s how you can do this:
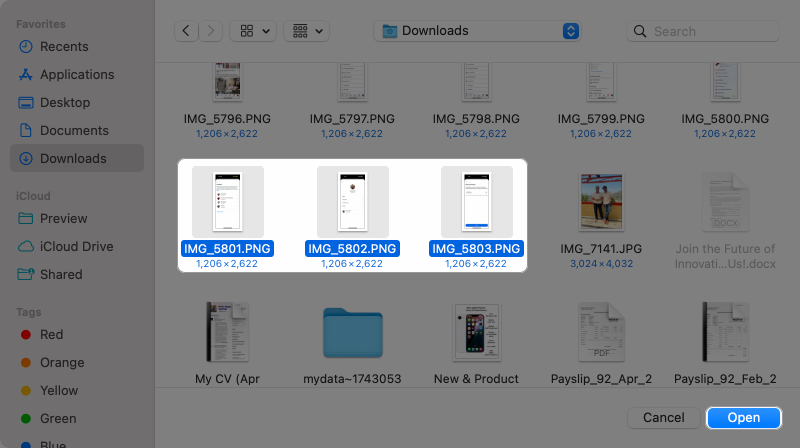
- Open Finder and select the images you want to view in a slideshow format.
- Now, double-click any of the selected images to open all the selected images in the Preview window. Alternatively, you can click the Open button.
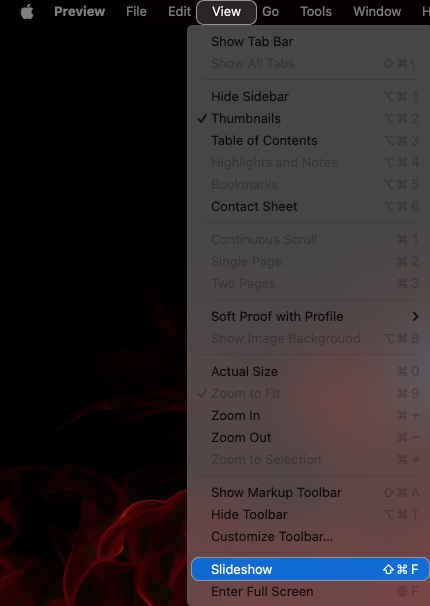
- Next, click View in the menu bar and select Slideshow.
Tips for creating engaging slideshows on your Mac
Creating an engaging slideshow requires thoughtful design and presentation techniques. Here are some key tips:
- Keep it simple: Avoid cluttering slides with excessive text or images.
- Use high-quality images: Ensure all visuals are sharp and relevant to your topic.
- Maintain consistency: Stick to a unified theme, color scheme, and font style.
- Incorporate smooth transitions: Subtle animations and transitions enhance the flow without distraction.
- Add background music (if appropriate): Music can set the tone and enhance engagement, but it should not overpower the content.
- Use bullet points for clarity: Concise points help the audience grasp information quickly.
Best third-party apps for creating slideshows on Mac
While the Keynote app does the job pretty well, you can opt for third-party apps like Movavi Slideshow Maker, FotoMagico, Filmora, and more if you need even more customization options. However, unlike Keynote or Photos apps, third-party apps require paying a one-time or recurring subscription fee.
Summing up…
Choosing the right app to create a slideshow on a Mac depends on your needs. Personally, I prefer using Keynote when a polished, professional slideshow with animations and smooth transitions is the requirement. It fulfills my need for more creative control and works well for personal and work-related presentations. However, the Photos app is the easiest and fastest method if I’m just creating a quick photo slideshow for family or friends. For a simple preview of images, Preview does the job, though it lacks the customization of the other two options.
Feel free to reach out to us if you still have any doubts.
FAQs
To export a slideshow created in the Keynote app as a video, Click on File → Export → Movie.
Simply click the Share button in either the Photos or Keynote app to share the slideshow with others.
To delete a slideshow created in the Keynote app, open the Keynote app → Drag and drop the slideshow file in the Trash.
You may also like to read:

