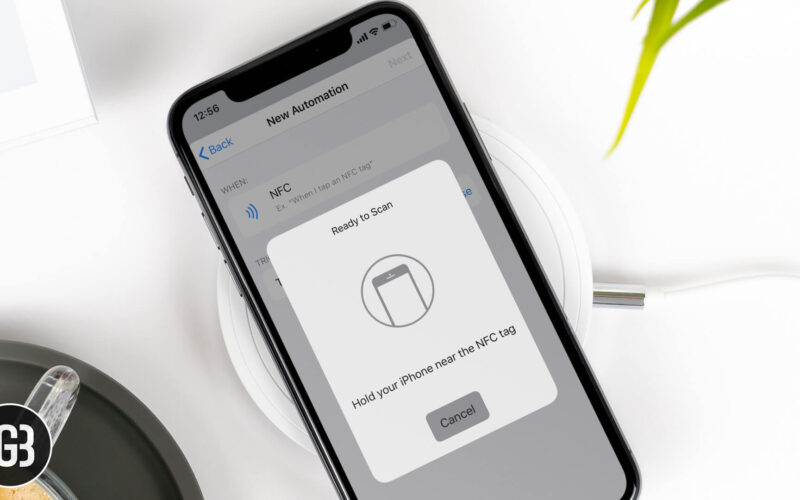
Near Field Communication or NFC is a set of communication protocols that wirelessly transfers data and interacts between two NFC-enabled devices, with just a tap. Many might confuse it with Bluetooth, but both the technologies are different. The considerable difference between the two is that Bluetooth only helps transfer data wirelessly, while NFC can interact via Bluetooth. By interaction, I mean to say is that you can control your HomeKit devices with NFC tag on iPhone.
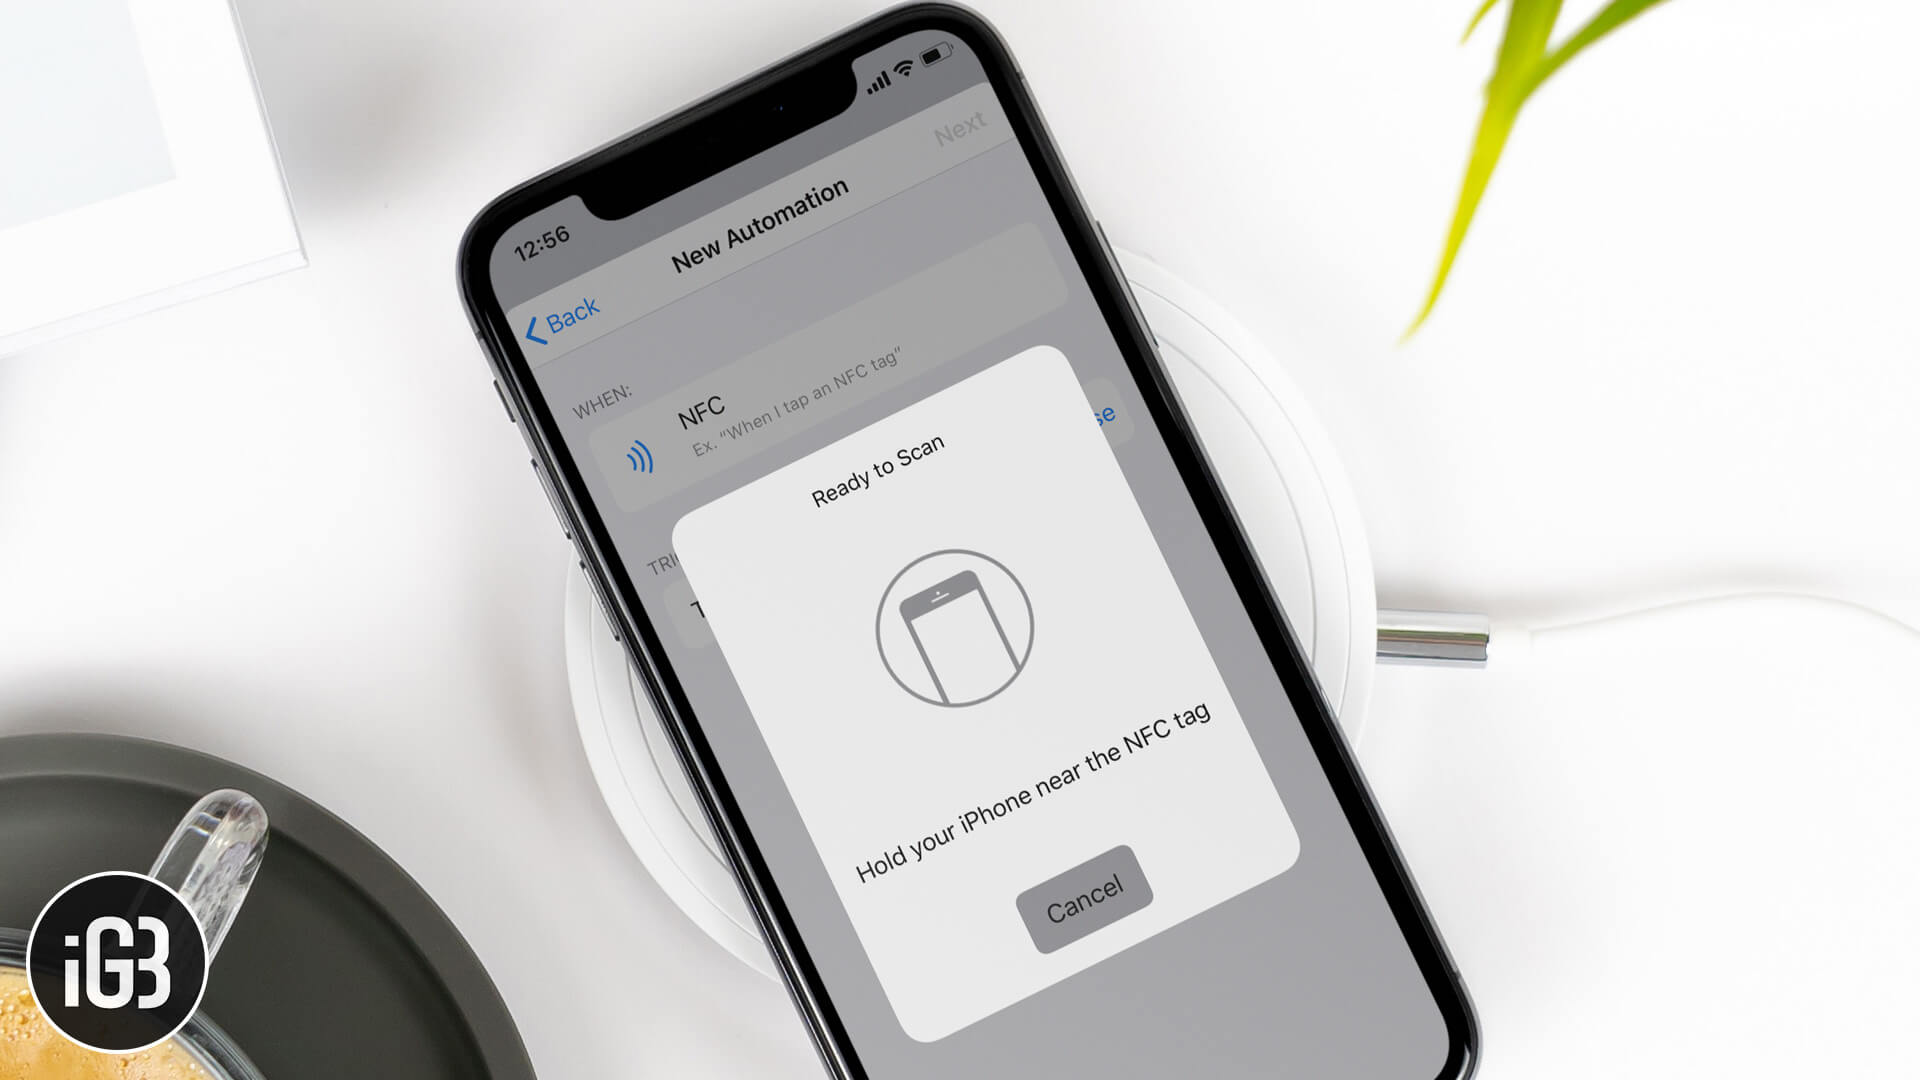
Confused? Let me elaborate. If your home is equipped with HomeKit devices, you can efficiently operate all of them with your iPhone in just a single tap. By pasting the NFC tags on your lamps or lights or anything, you can control the devices with a tap. So, you can turn the lights on or off with a tapping of your iPhone. You can also change the mood lighting and much more with these devices. The reason why I said iOS 13 or iOS 14 running iPhones because the new update comes with a bunch of shortcuts to implement such actions. So, let’s see how it works!
How to Use NFC to Control your Home with iPhone
What you need: A few NFC tags, HomeKit compatible device like a lamp, and an iOS 14 running iPhone.
Step #1. Stick the NFC tag on the HomeKit appliances you wish to control.
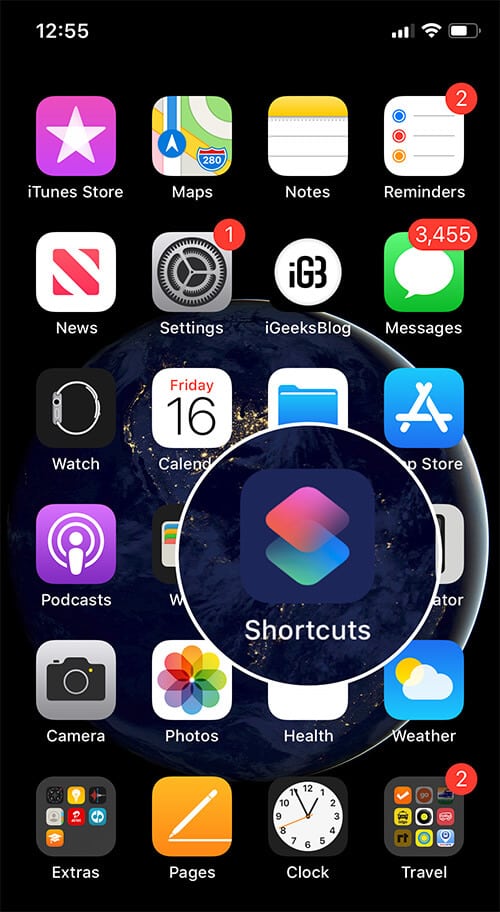
Step #2. Launch the Shortcuts app on your iPhone to create a command/trigger.
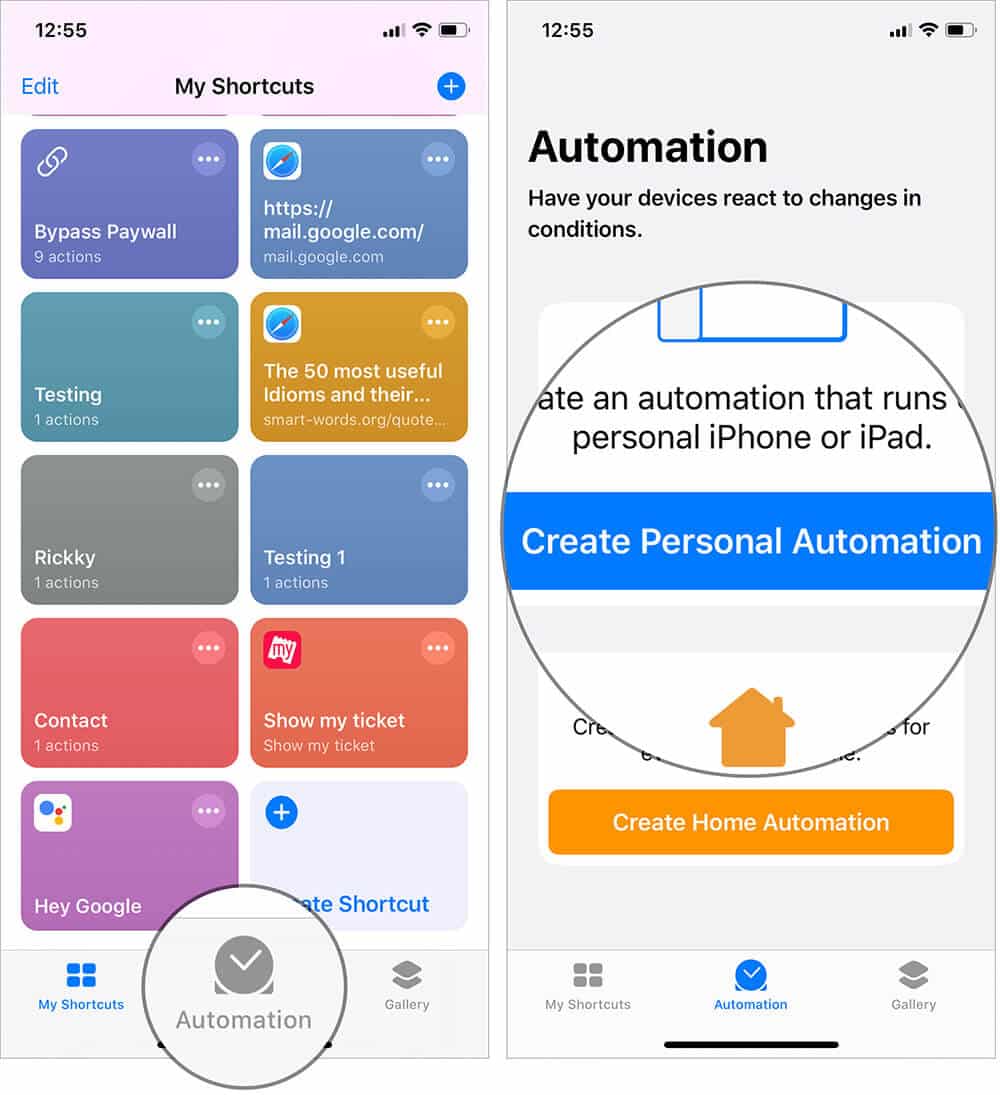
Step #3. Tap on the Automation (Middle icon on the bottom), then tap the Create Personal Automation.
Step #4. Scroll Down and tap on NFC setting from the pop-up menu and select choose next to Tap an NFC Tag to scan the NFC Tag.
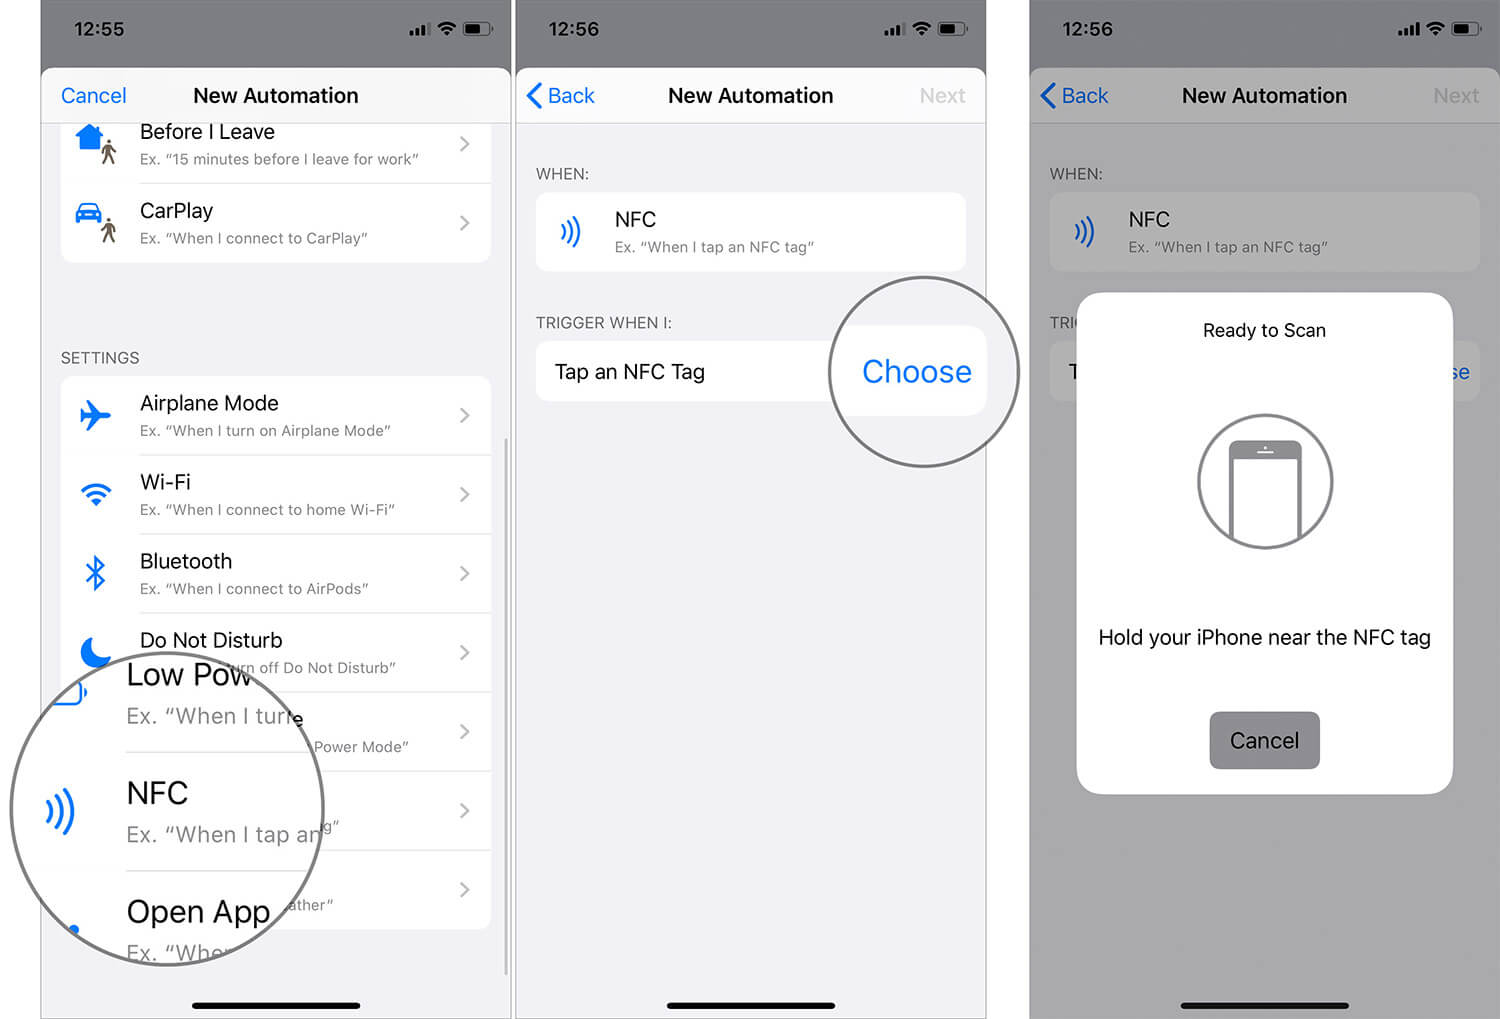
Step #5. Once you have scanned a tag, give it a name and tap on the Next button.
Step #6. Select ‘Add an action’ option from the screen that shows up and search for the action you want to trigger with that tag. For, e.g., Turn Off the lights.
And the trigger will be created for that particular tag. So whenever you tapping on that NFC tag with your iPhone, the lights will turn off.
For this tutorial, I have selected a primary and straightforward trigger, but you could be as creative with it as you want. You can use it turn on your security alarms while you go to bed or go out of the house, or you can use it to control the temperature of your AC at certain time intervals.
Signing Off…
I hope that this tutorial will give you an idea about using NFC tags to access your smart home appliances. If you have some very creative trigger ideas to use these NFC tags, then please let us know in the comments below.
Some posts you may like:

