Knowing the internet speed is important as it lets you approximately figure out how much time it will take to download a file or an app. In this guide, I will tell you how to see your internet download and upload speed on Mac. We will start with the easiest method. After that, I will also show you some additional ways to know information about the network you are connected to.

Sometimes knowing Wi-Fi speed on Mac is also handy as it tells you that the wireless network is working or not. For example, in the first method below, if you are downloading something and the speed shows 0Kbps for long, you instantly come to know that something is not working correctly.
How to Check Download and Upload Speed of Internet or Wi-Fi on Mac
Quick Access:
- How to Continuously See Internet/Wi-Fi Speed with Bandwidth+
- Check Download and Upload Speed on Mac Using Activity Monitor
- How to Know Link Speed on your Mac
- Check Wi-Fi Information from Menu Bar on Mac
- How to Know Wi-Fi Transmit Rate Using System Report
How to Continuously See Internet/Wi-Fi Speed with Bandwidth+
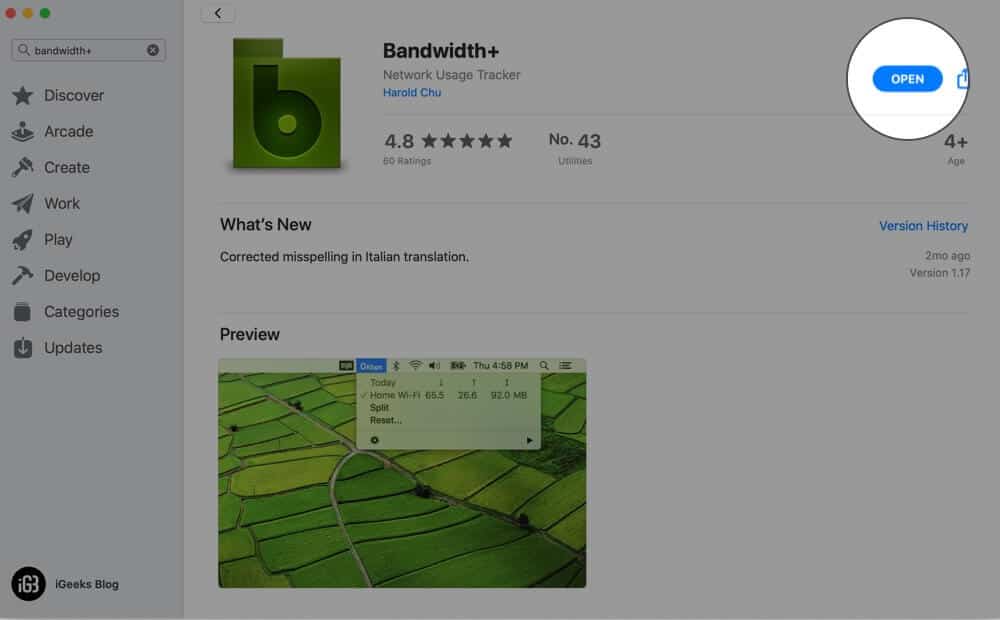
Step #1. Launch App Store on your Mac and download Bandwidth+. It is a free app.
Step #2. Open the app. By default, it shows the total amount of data uploaded and downloaded.
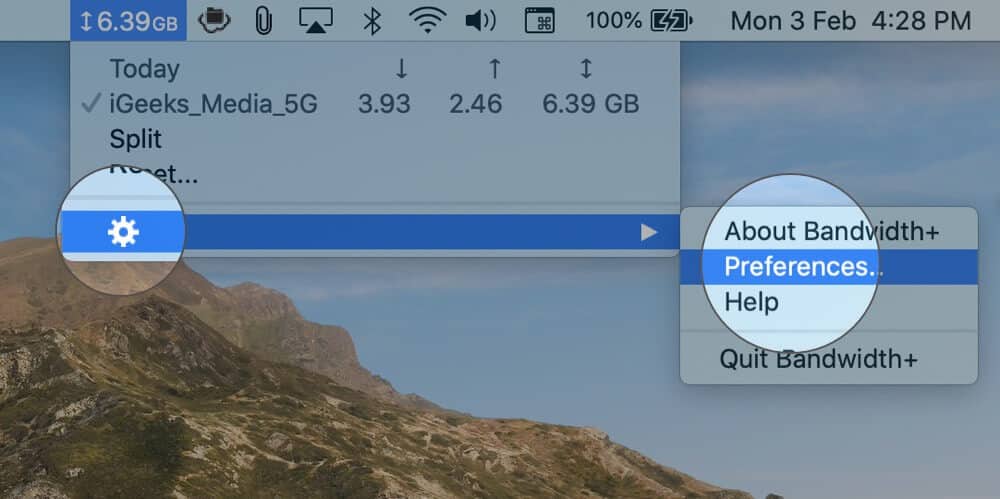
Step #3. From the top menu bar, click on the app. Now take your pointer on the Settings icon and select Preferences…
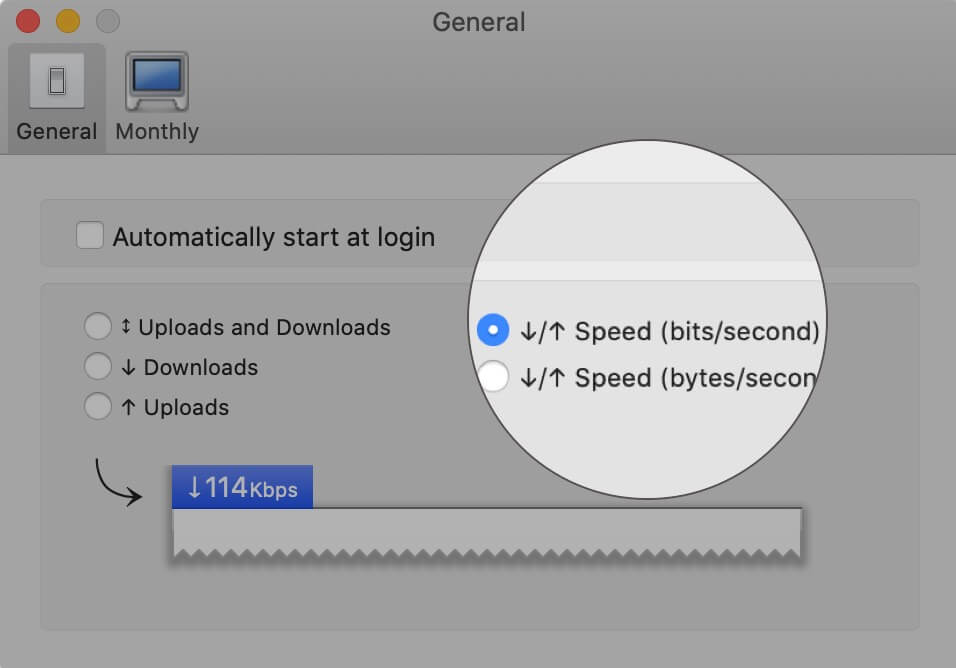
Step #4. Here select Speed (bits/second).
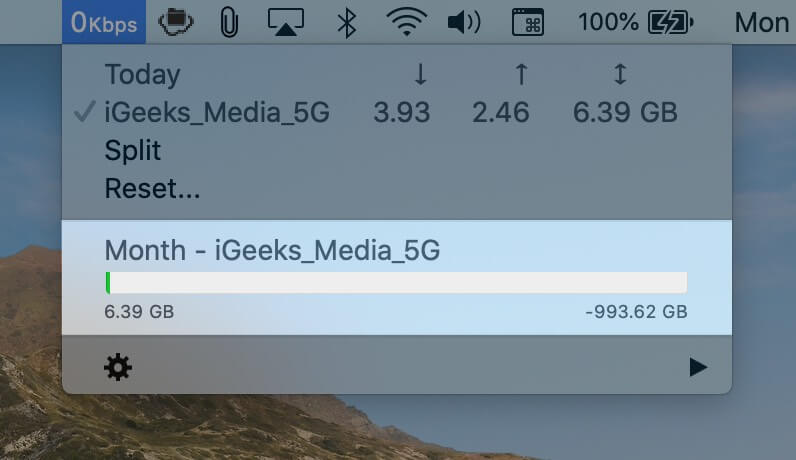
Step #5. Open a browser and visit a site or do anything on your Mac that requires data to be downloaded or uploaded. You will see your internet speed in the menu bar. Download speed will have a downward-facing arrow and upload speed will have an upward-facing arrow shown before Kbps.
That’s it!
The app will show speeds for any Wi-Fi you are connected to, or Mobile Hotspot, Ethernet, iPhone USB, etc.
Bandwidth+ also has an additional feature that lets you set a monthly quota for a network. It is handy if you are on a limited plan.
There are additional ways to see the speed of your Wi-Fi or Ethernet connection. Now, before you read, I should let you know that the above method is the one I prefer. But there is no harm in knowing more than one way to do a thing. Right. Let us begin.
How to Check Download and Upload Speed on Mac Using Activity Monitor
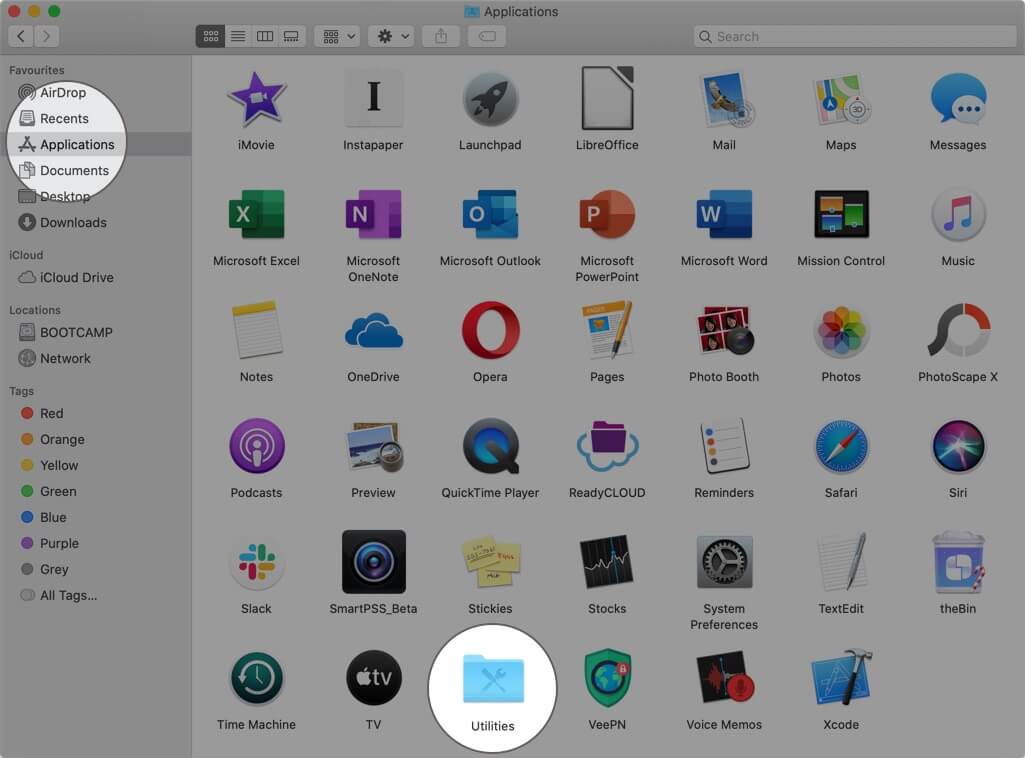
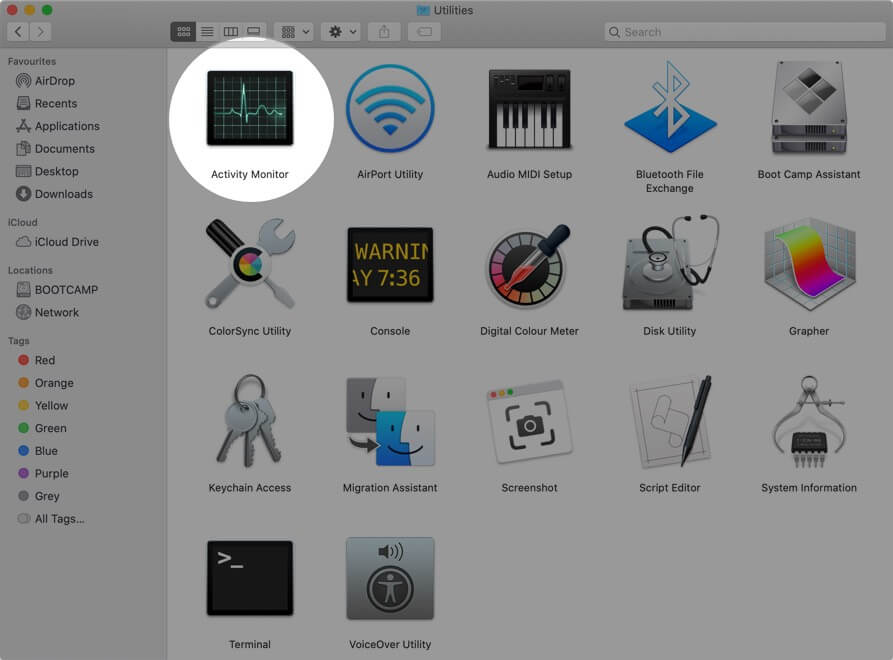
Step #1. Launch Activity Monitor from Applications. You will find it under Utilities or Other folder. You may also launch Spotlight Search by pressing Command(⌘) + Space Bar and type ‘Activity Monitor.’
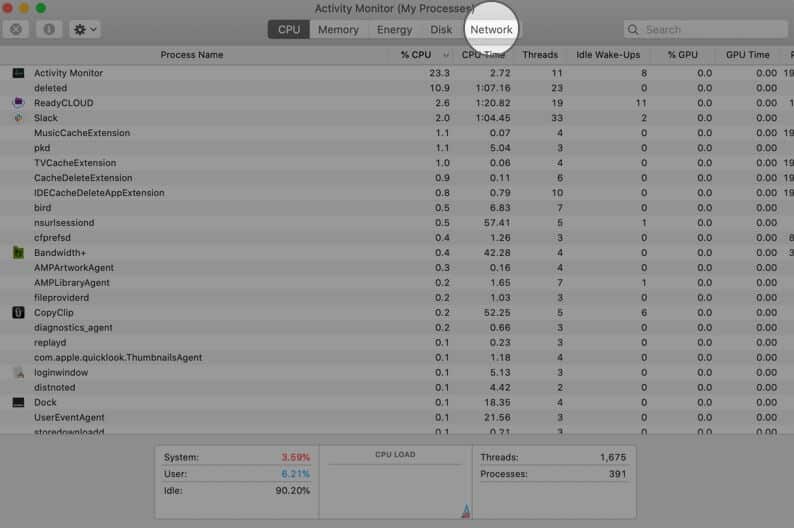
Step #2. Click on Network.
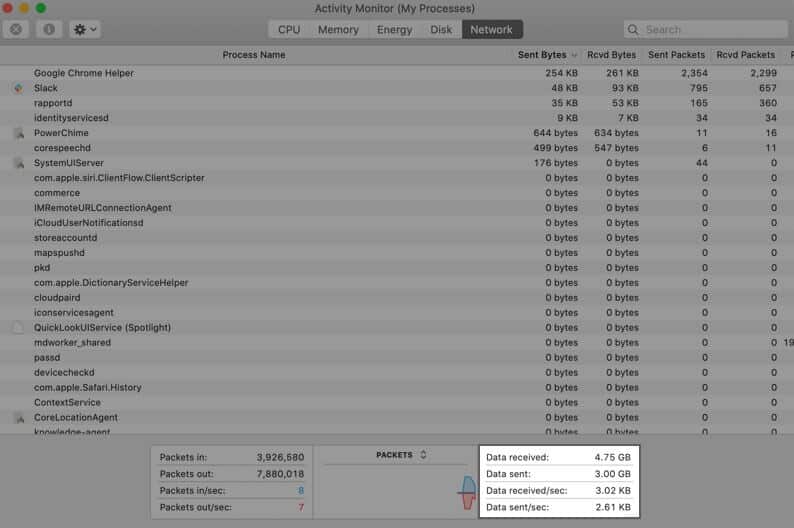
Step #3. At the bottom right, you will see Data received/sec, which is your download speed. Below it, you have Data sent/sec, which is your upload speed.
How to Know Link Speed on your Mac
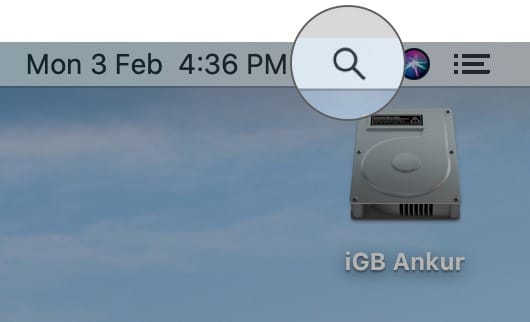
Step #1. Open Spotlight Search. To do this, click on the search icon from the top right of menu bar or press together Command(⌘) + Space Bar.

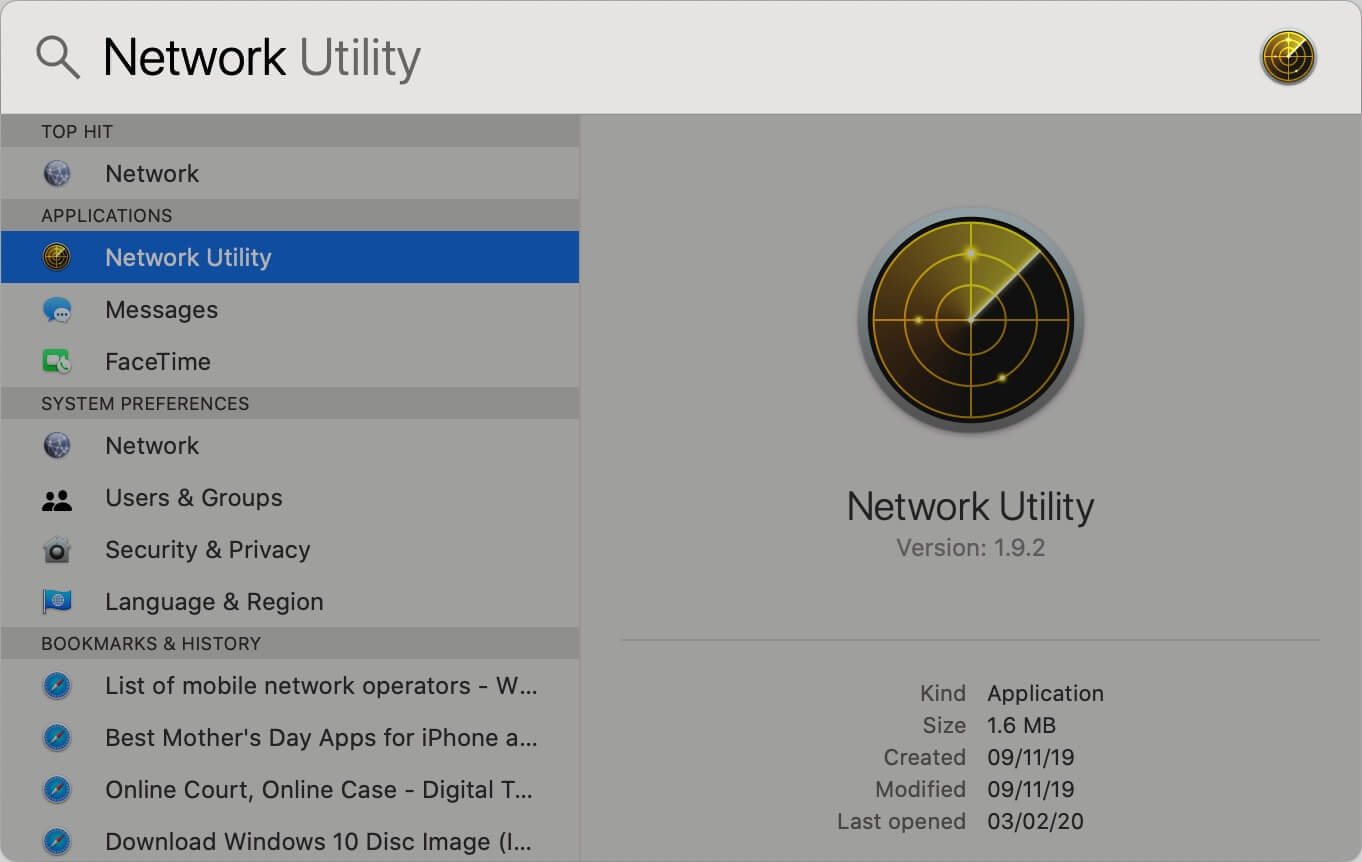
Step #2. Type Network Utility and launch the app.
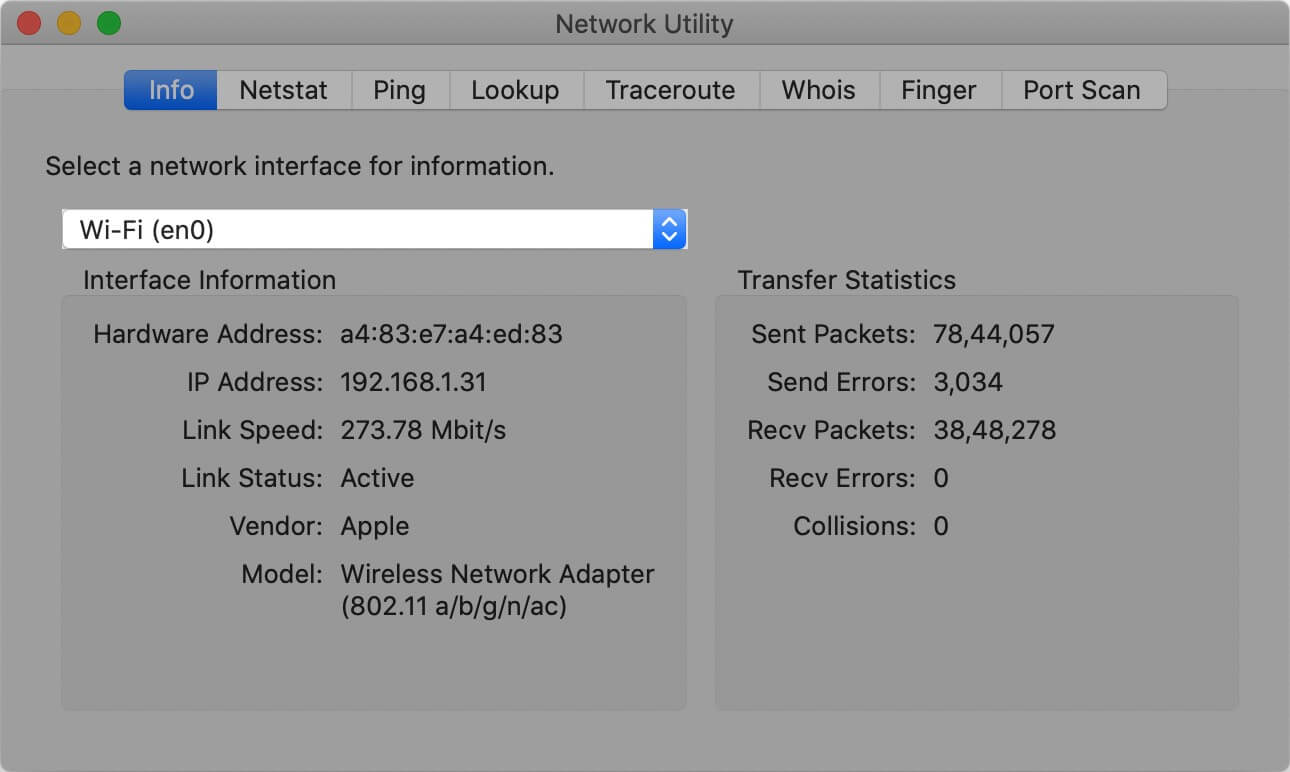
Step #3. Ensure that under Select a network interface for information, Wi-Fi or whatever you are using like Ethernet, Thunderbolt, FireWire, iPhone USB, etc. is selected.
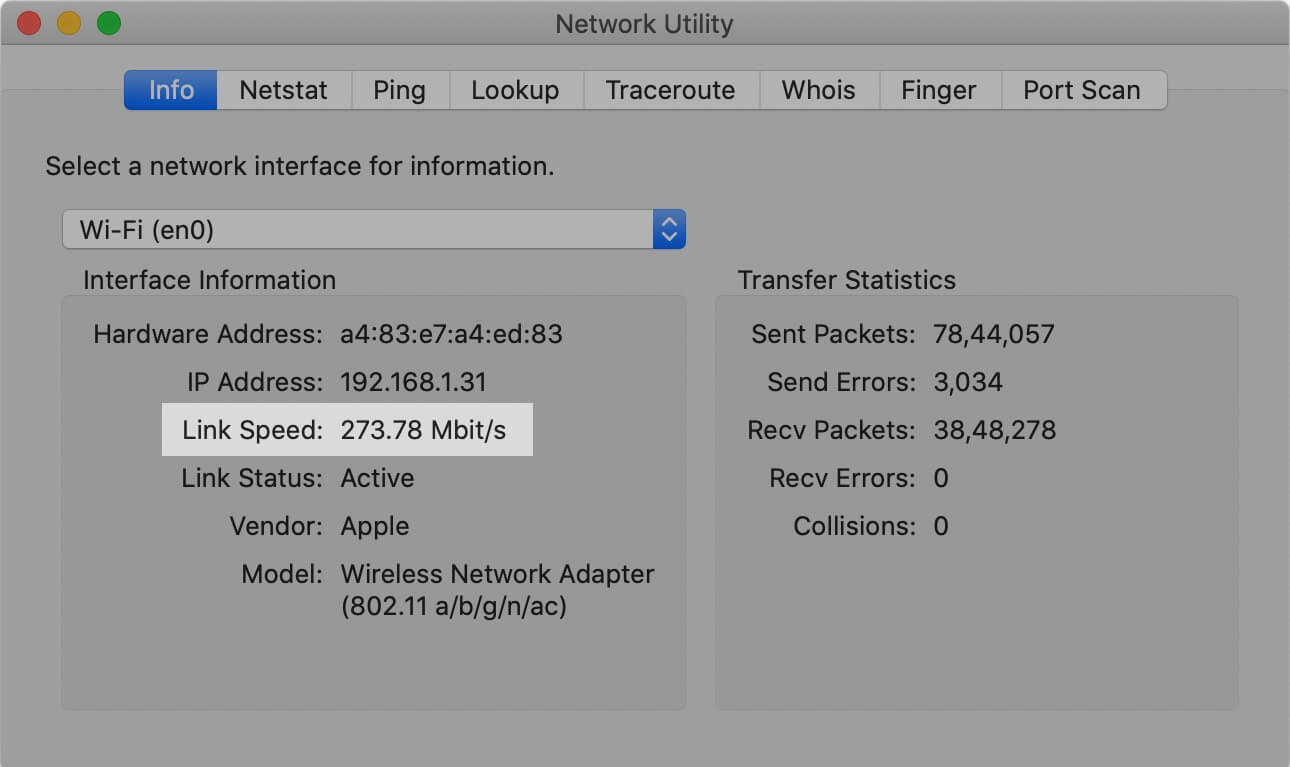
Step #4. The Link Speed is shown below it.
Check Wi-Fi Information from Menu Bar on Mac
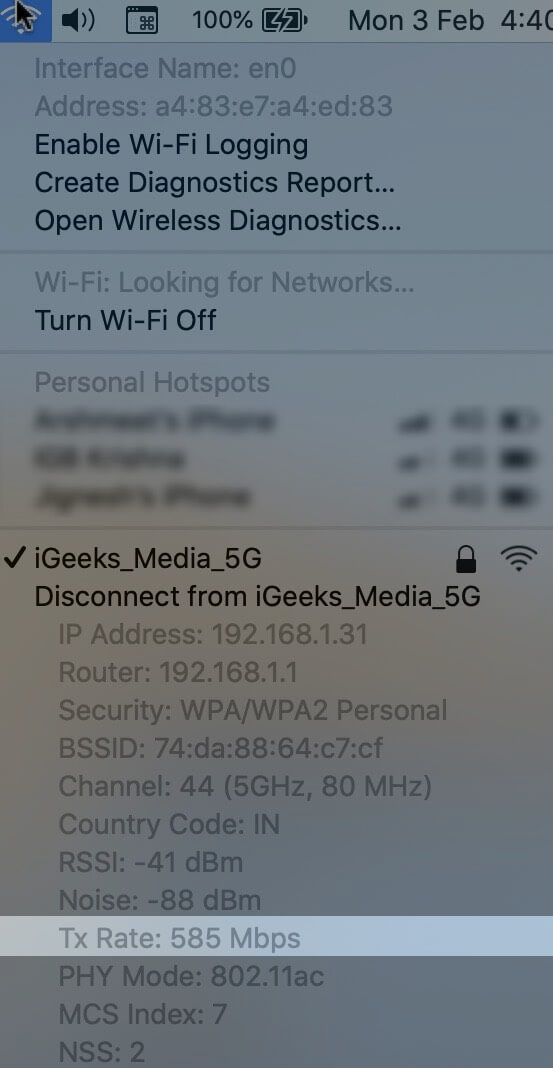
Step #1. First, press and hold the Option (and alt) key and click on the Wi-Fi icon from the menu bar.
Step #2. You will see several essential information. Tx Rate you see there is your transmission speed.
How to Know Wi-Fi Transmit Rate Using System Report
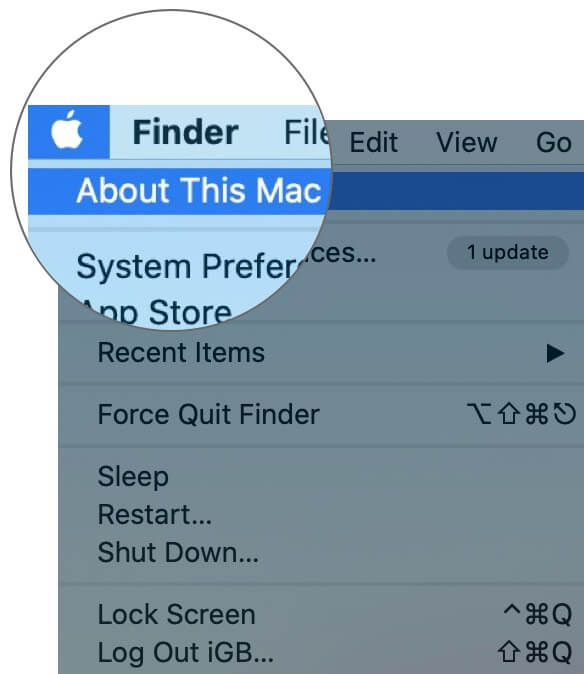
Step #1. Click on the Apple Logo() from top left and then click About This Mac.
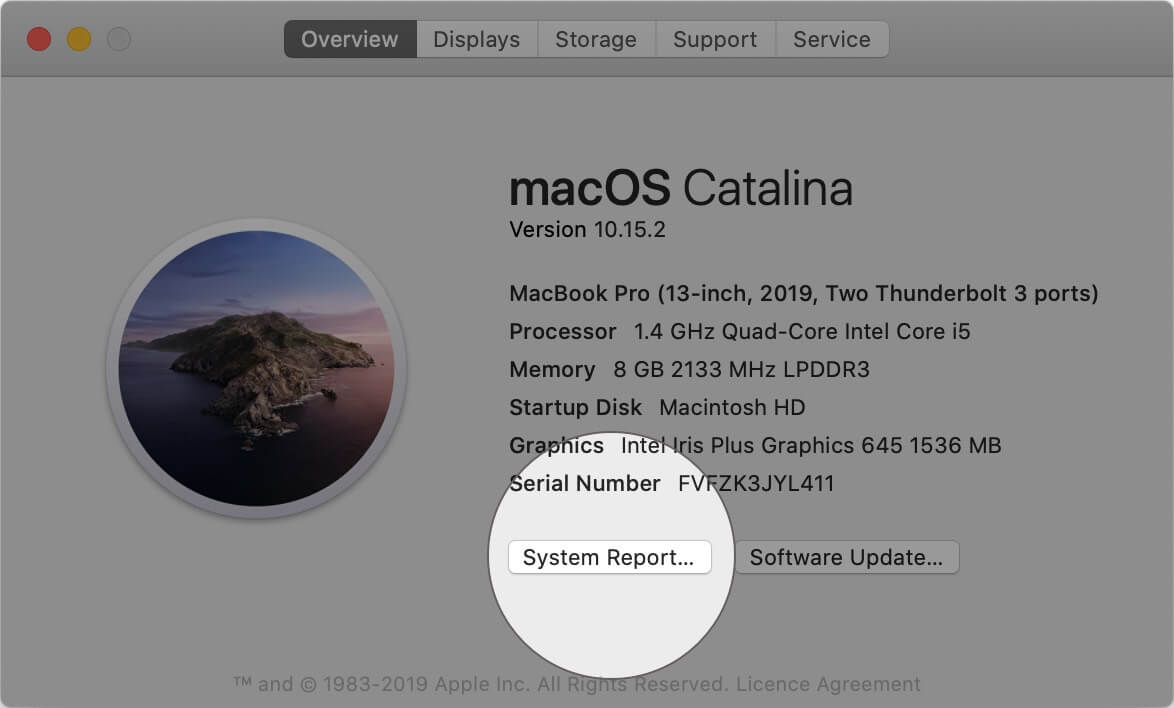
Step #2. Here click on System Report…
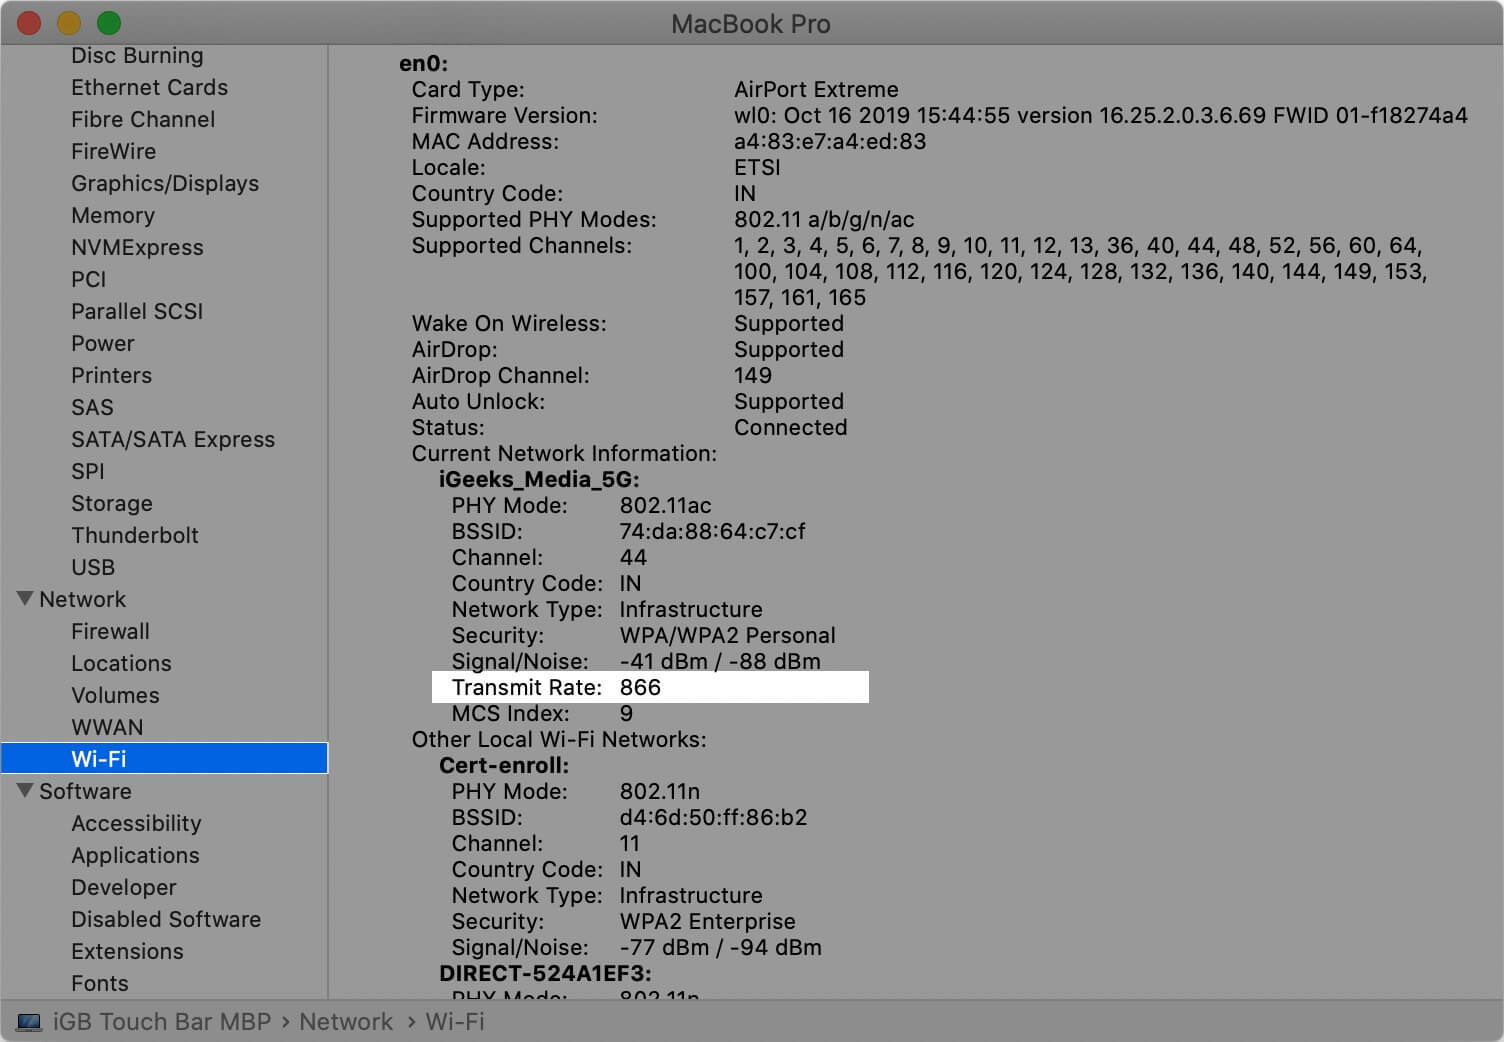
Step #3. Under Network, you will see Wi-Fi. Click on it. There are a plethora of options here. One of them is the Transmit Rate of your Wi-Fi.
Signing off…
So these were some of the ways to know your internet speed on Mac. Now you might feel that the first method is the easiest and the best. I agree with you.
Do you know of any other method besides this? I am familiar with a technique involving Terminal, but I did not mention it here as it is not very convenient. If you have some other trick to see Wi-Fi speeds on Mac, share that with us in the comment section below.
You may like to take a look at…


