The Calendar app on Apple devices has several beneficial features like sharing the calendar with other users, creating and editing events, sending or replying to invitations, and much more. My favorite feature among them all is the ability to color code calendars.
If you’re a fan of organizing everything and are looking for a way to do the same in the Calendar app, you’ve come to the right place. This guide will take you through all the steps to change Calendar colors on iPhone, iPad, or Mac.
- How does color coding Calendar events help?
- How to change color of Calendar on iPhone or iPad
- How to change color of Calendar on Mac
How does color coding Calendar events help?
There are several published papers on how color helps increase memory and attention. A quick search on the internet will tell you the same. And talking from personal experience, it is accurate and helps enhance memory performance.
Even with the subject of attention and memory kept aside, if you assign a color to every single repeating event in your calendar, it will stand out from the rest and help identify it early when searching for it.
For example, if you’ve color-coded every event and are looking for family and friends’ birthdays in December, a quick glance at the calendar and the event you’re looking for will stand. Why? Because you remember the color assigned to it and can identify it more easily.
For all you marvel fans out there, think of it like the supernatural abilities of Daredevil.
How to change color of Calendar on iPhone or iPad
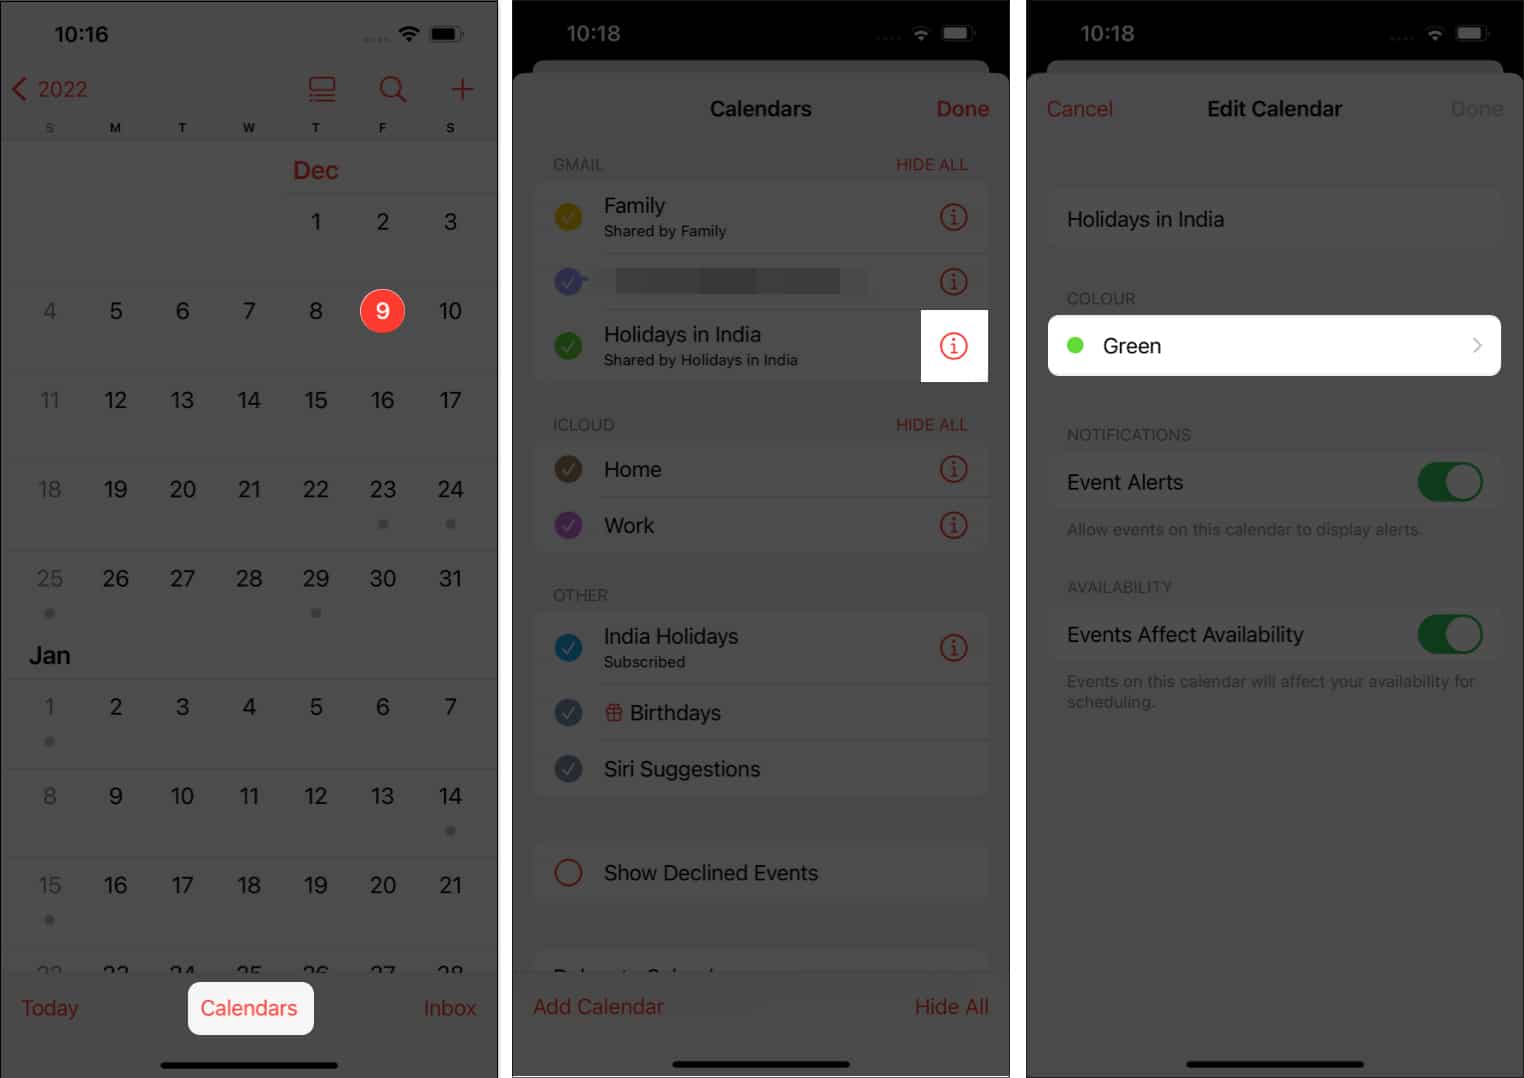
- Open Calendar app on your iPhone or iPad.
- Tap the “Calendars” option at the bottom of the screen.
- Select the ‘i‘ (information icon) next to the calendar you want to change the color for.
- Tap the Color option.
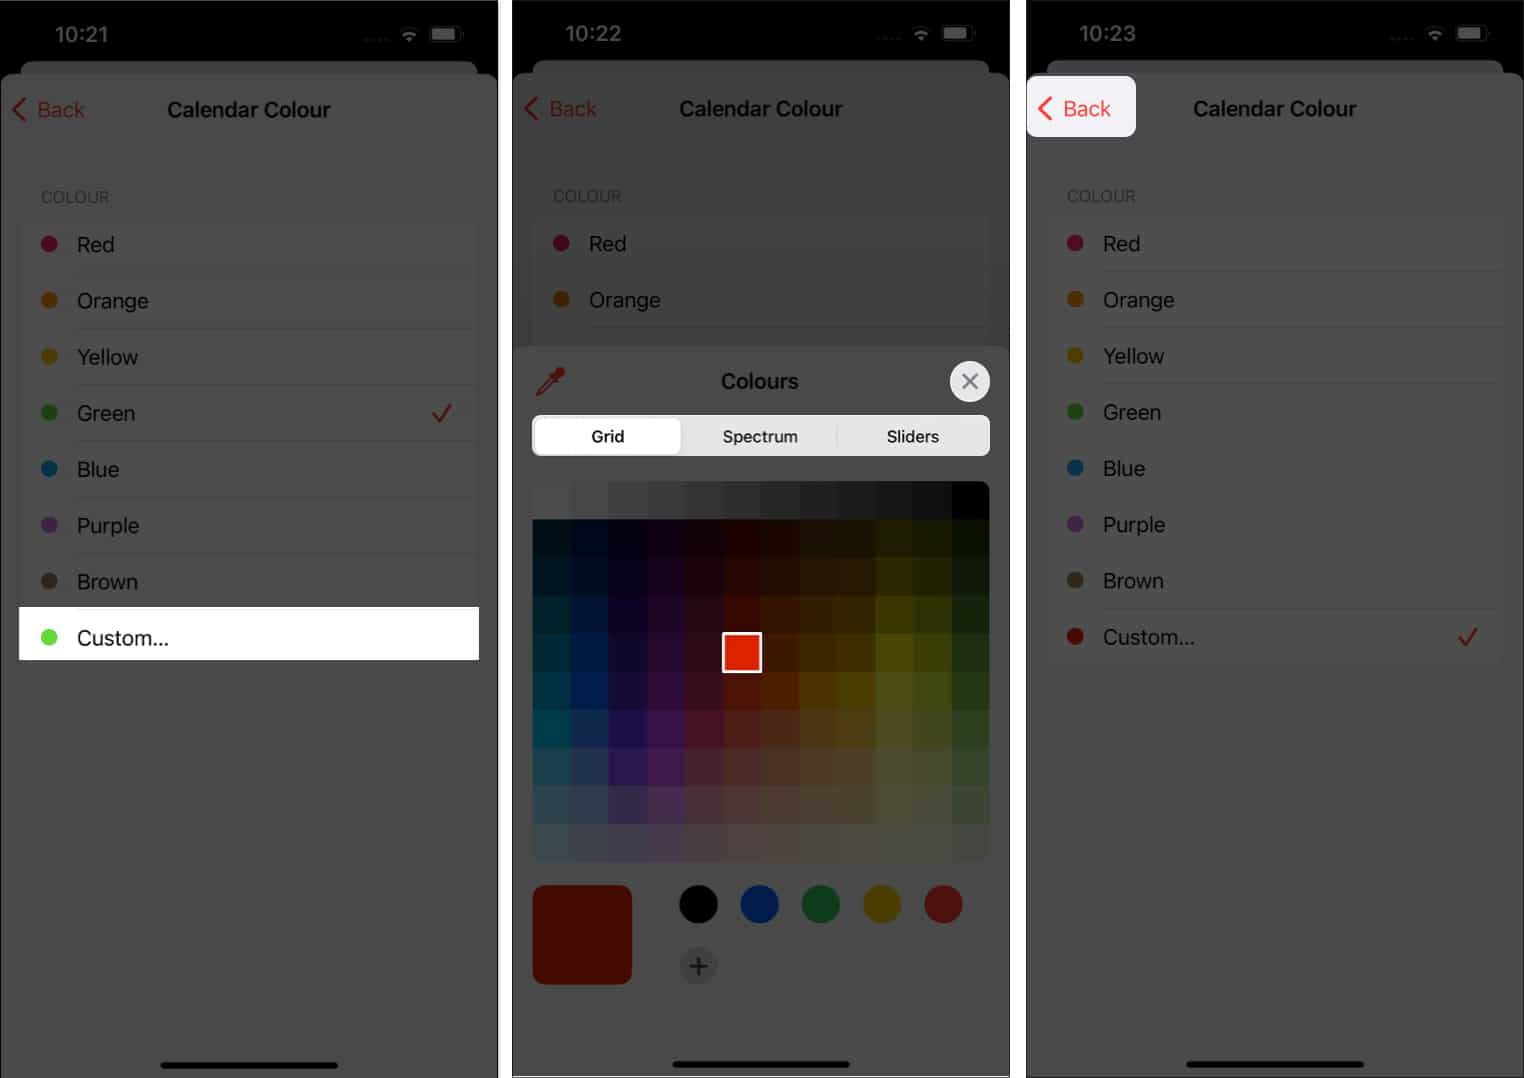
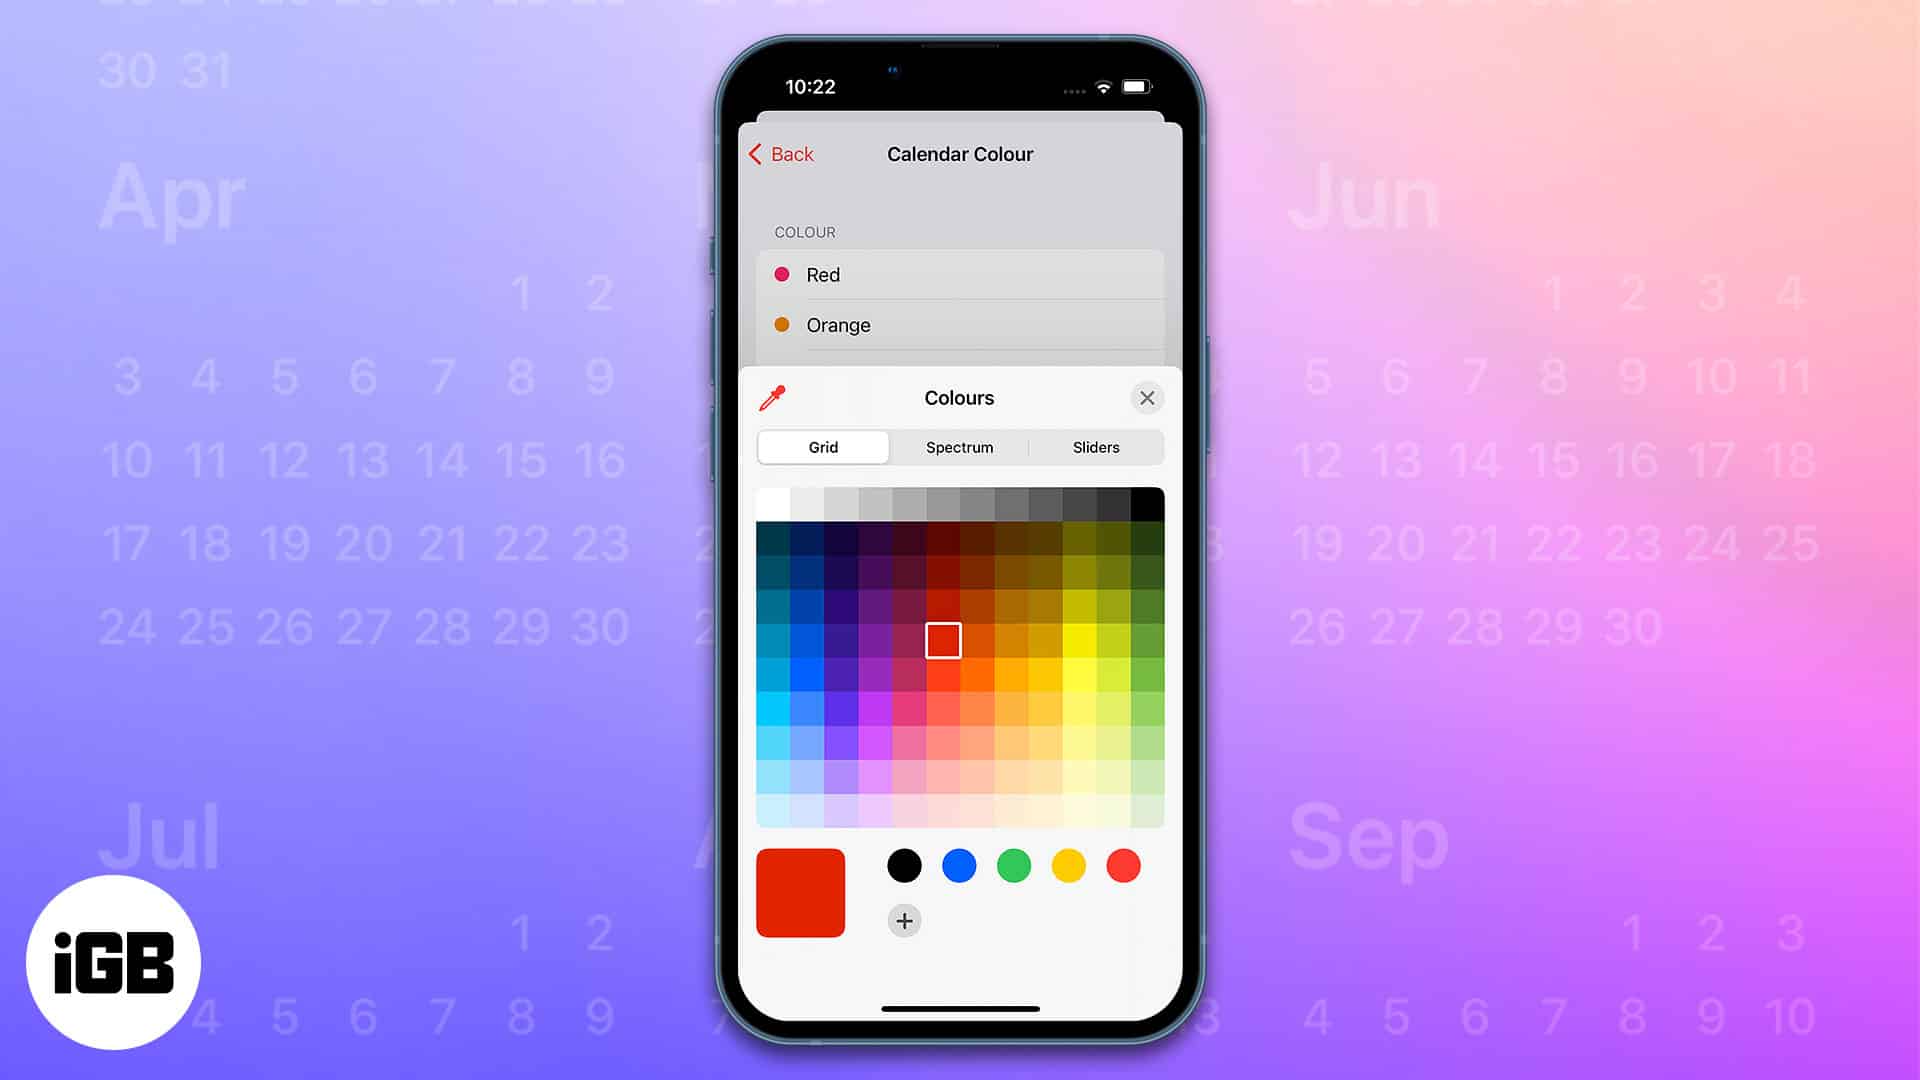
- You can now select from the list of already available colors or tap Custom… to pick a color of your choice.
- If you decide to go down the latter path, choose a custom color from the Grid, Spectrum, or Slider.
- Once done, tap x at the top right and then tap Back at the top left corner.
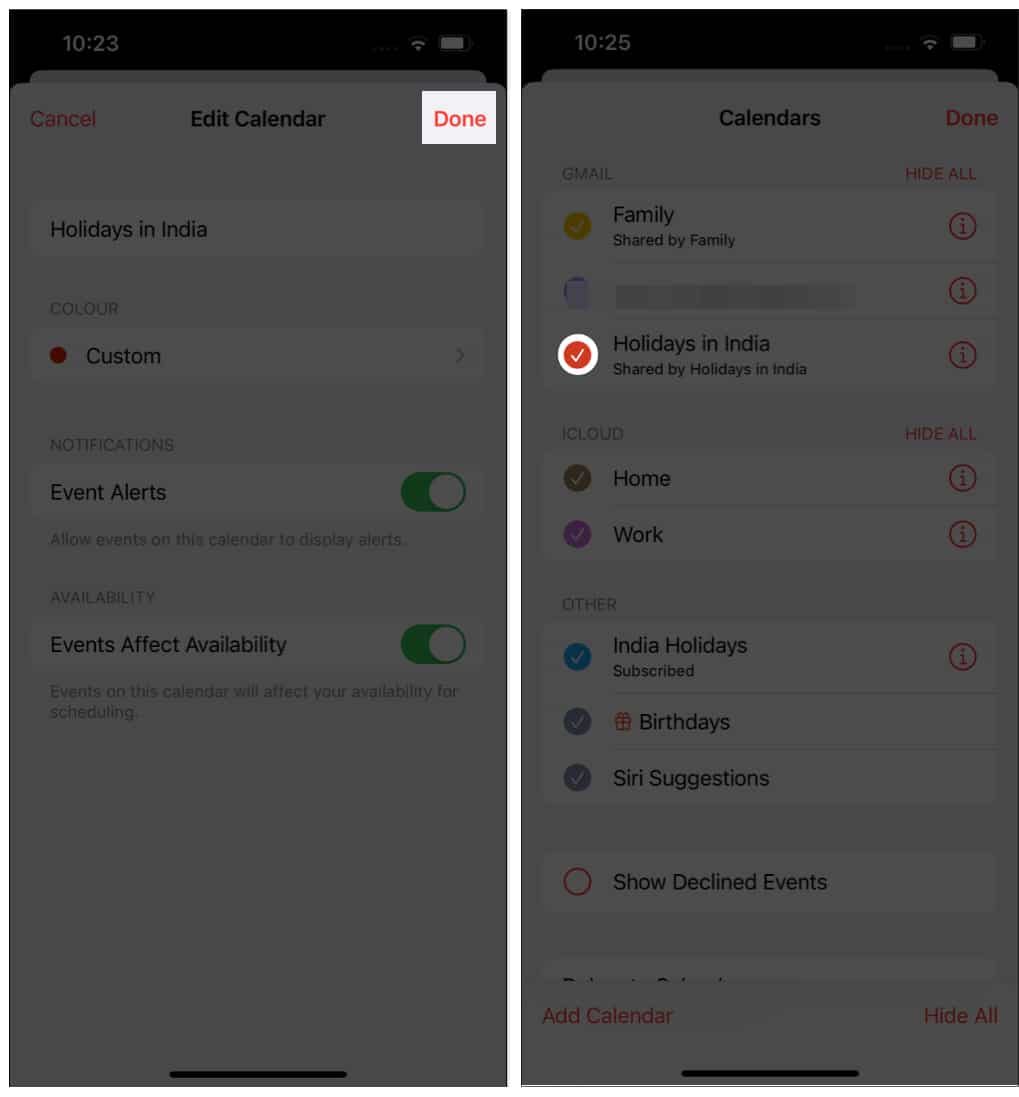
- Now, tap Done at the top right corner.
You have successfully changed the color of that particular calendar. You can follow the same process to color code all your calendars and get organized better.
How to change color of calendar on Mac
The process of color coding events on Mac is very similar to the iPhone and iPad. However, because the user interface is different, we have the steps below to guide you through the process.
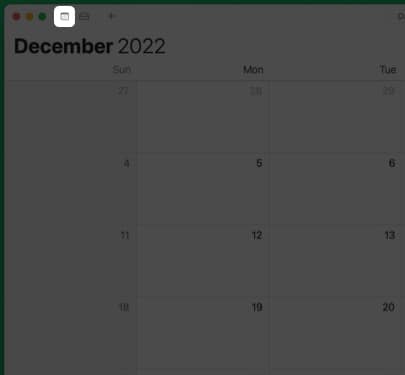
- Open the Calendar App on your Mac device.
- Click on the Calendar icon at the top left corner. A list of all the calendars will appear.
- Double Tap/Right-click on the Calendar/Event you want to customize.
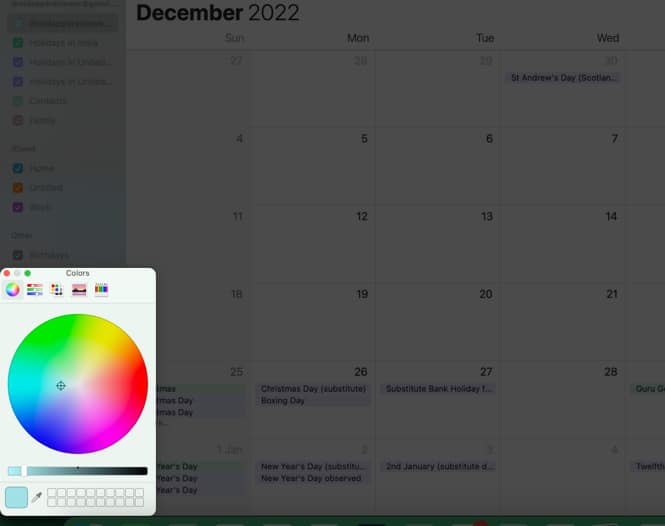
- Select from the list of available colors or click Custom Color… option.
- If you pick the Custom Color… option, select a color of your choice, and the calendar will instantly apply that color to the selected event.
And done, you’ve customized the calendar color on Mac. Follow the same steps to color-code all your calendars. Once you’re done doing that, ensure to check out our guide on the best macOS Ventura features to get the most out of your Mac.
Manage events better than before
Color coding your calendars will undoubtedly have a positive effect on your tasks. You now have more information available at a glance, and it’s easier to identify too. If you have any other doubts, let us know in the comments below.
Read more:

