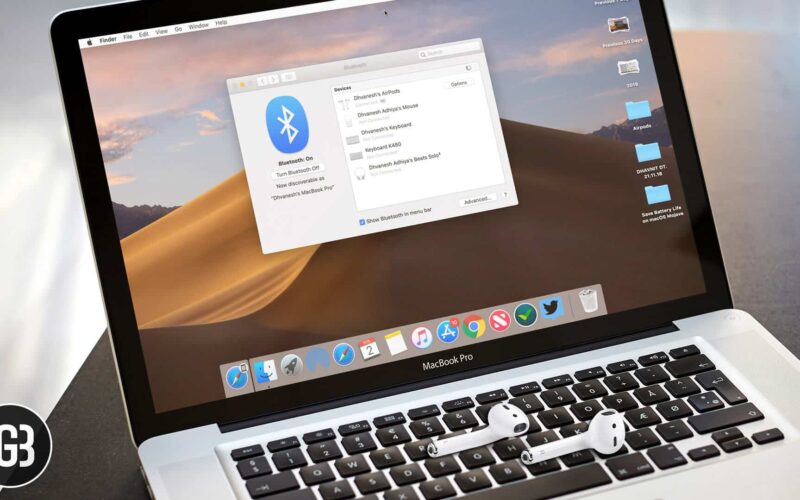
If you have connected AirPods to your Mac and often use the earphones to enjoy music while working, chances are you might already have felt the need to configure them right from your computer.
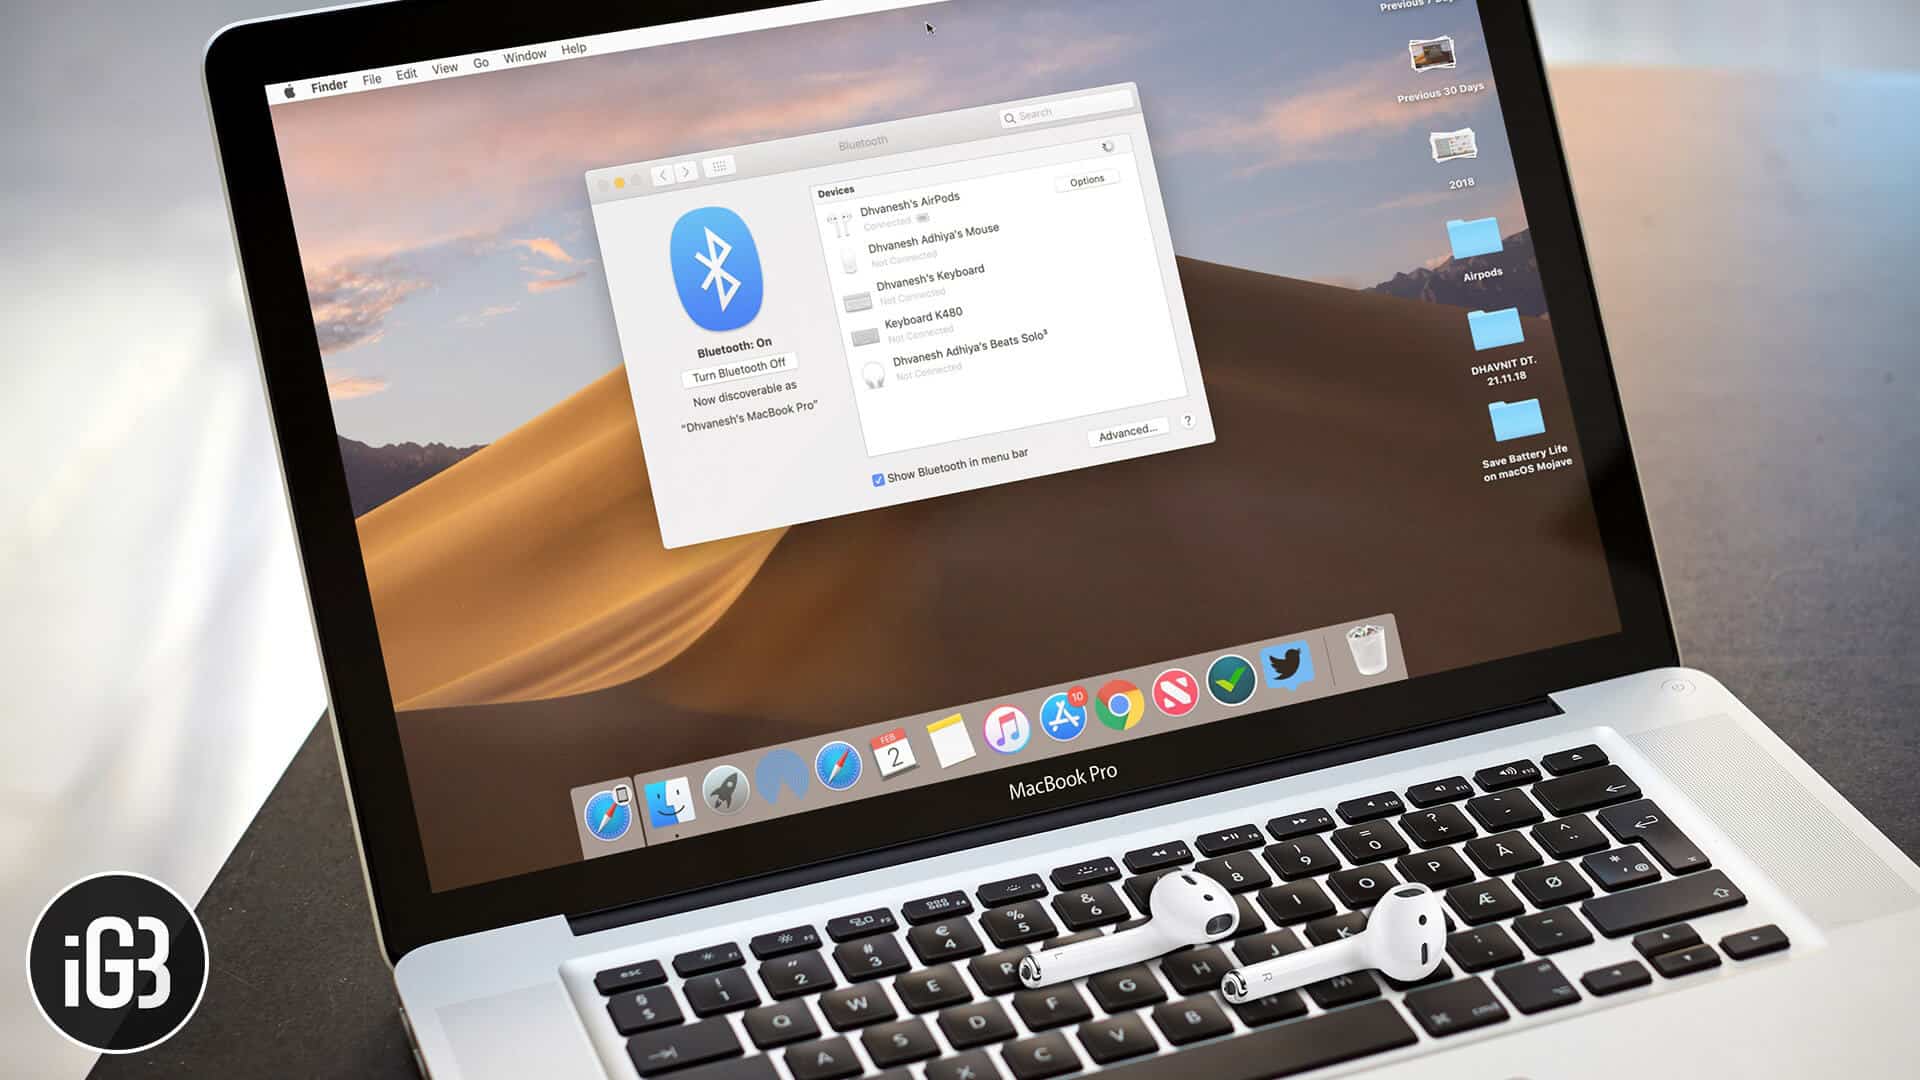
What if I told you that customizing AirPods settings on mac is not just possible but also quite simple like on iPhone? Apple has ensured you can take control of your earphones effortlessly from your computer.
So, you can rename your AirPods and also tweak the double-tap shortcut. Moreover, there is also a way to fine-tune the auto switching functionality. Follow along to ideally change AirPods settings from your macOS device!
How to Customize AirPods Settings on Mac
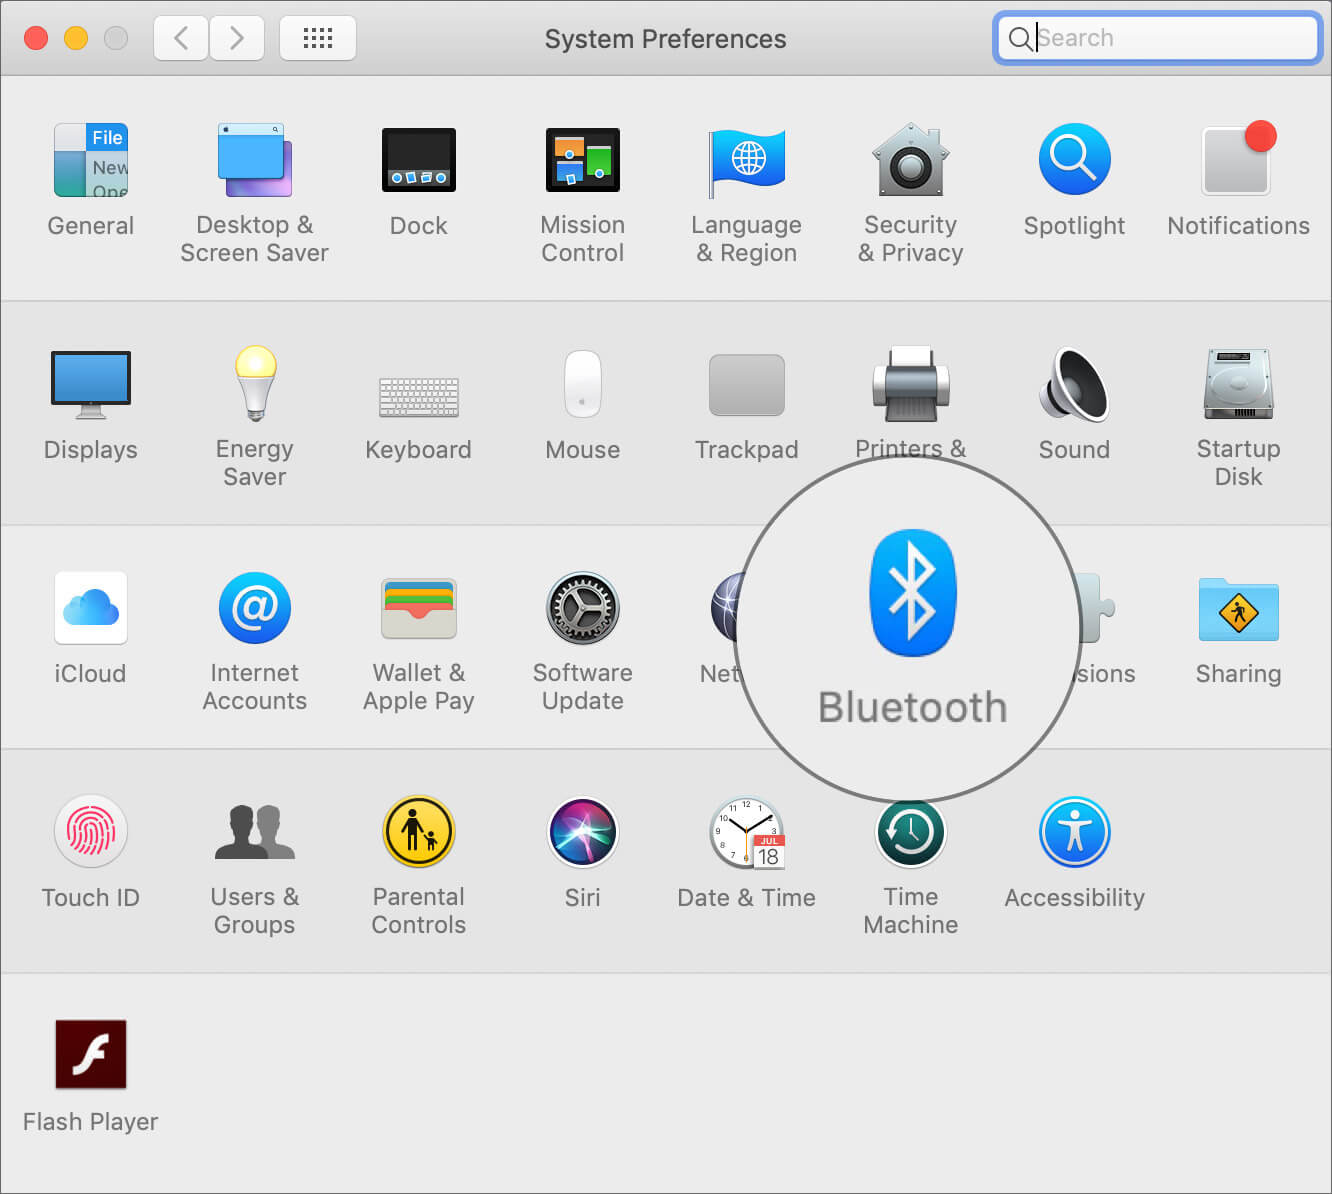
Step #1. First off, ensure that the earphones are connected to your Mac. Launch System Preferences and click Bluetooth.
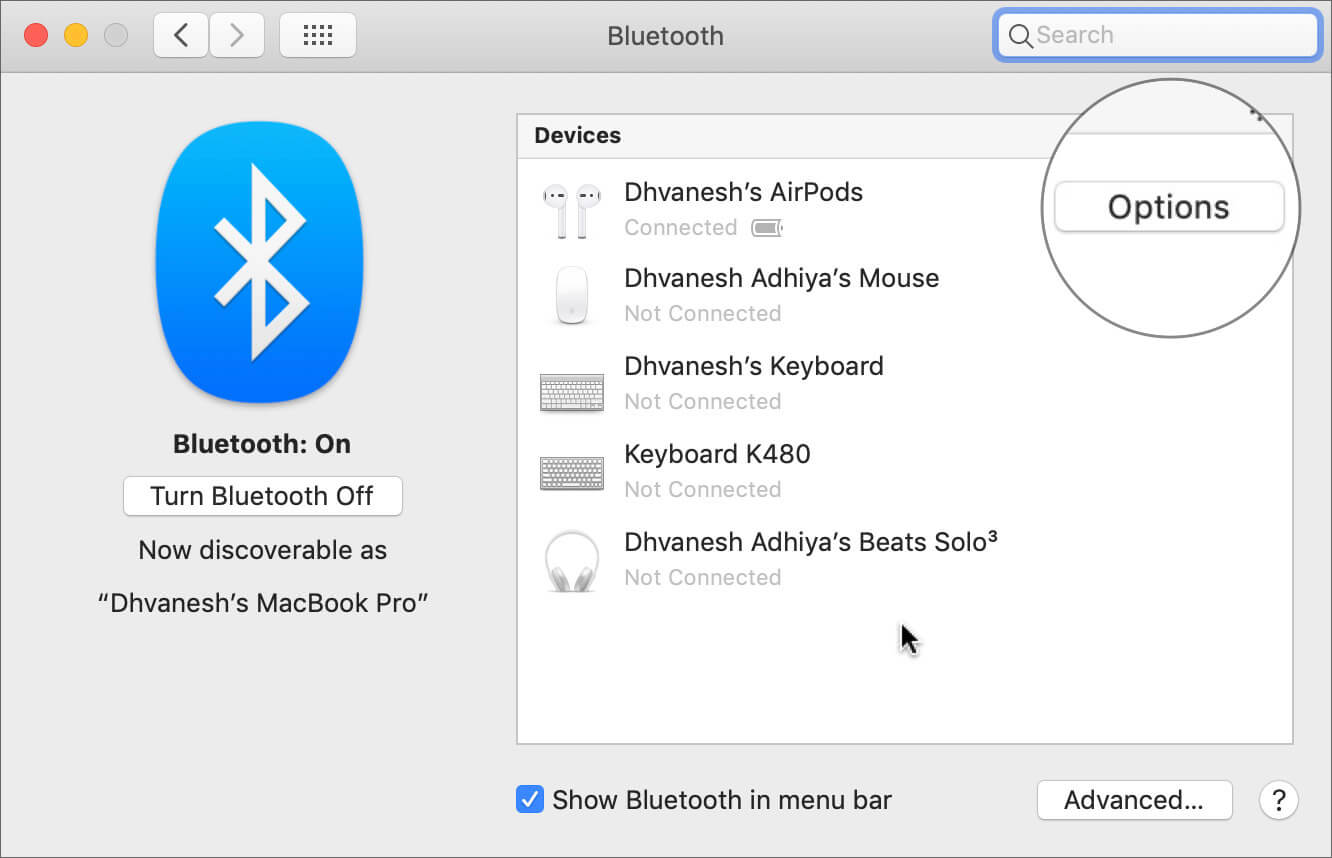
Step #2. Click on Options. Next, tweak the settings as per your needs.
Configure AirPods Double-Tap Shortcut
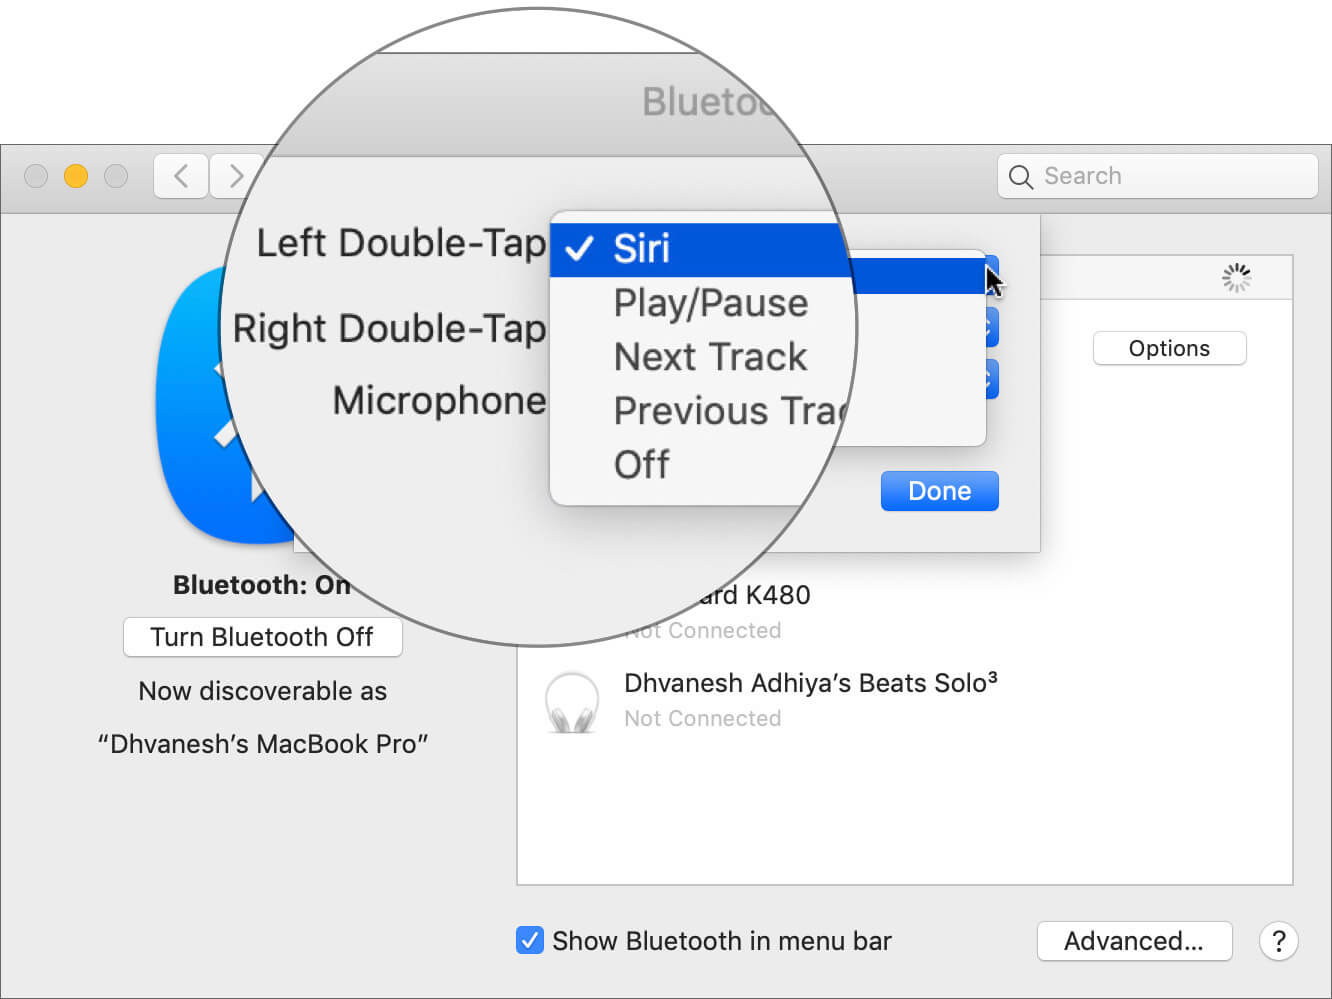
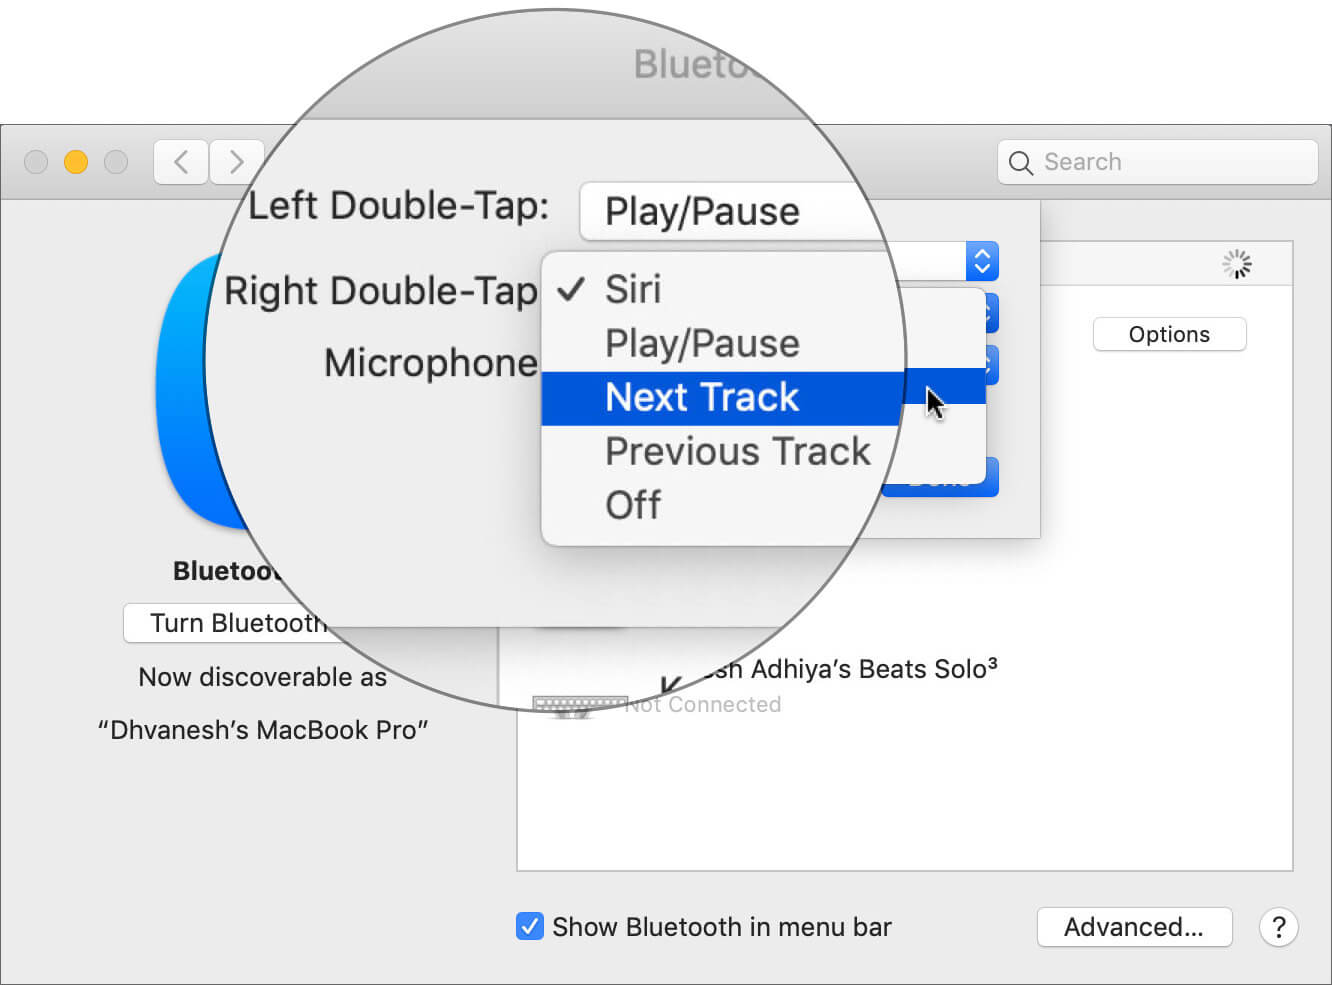
Depending on your need, you can fine-tune the double-tap shortcut of the earphones. One of the smartest ways to tweak this functionality is to configure one to activate Siri and set the other to jump over to the previous track or even play/pause. But you can choose to tweak the shortcut your own way to suit your specific taste.
To do so, click on the Left/Right Double-Tap drop-down button and choose the preferred option.
Choose Which AirPod to Use Microphone
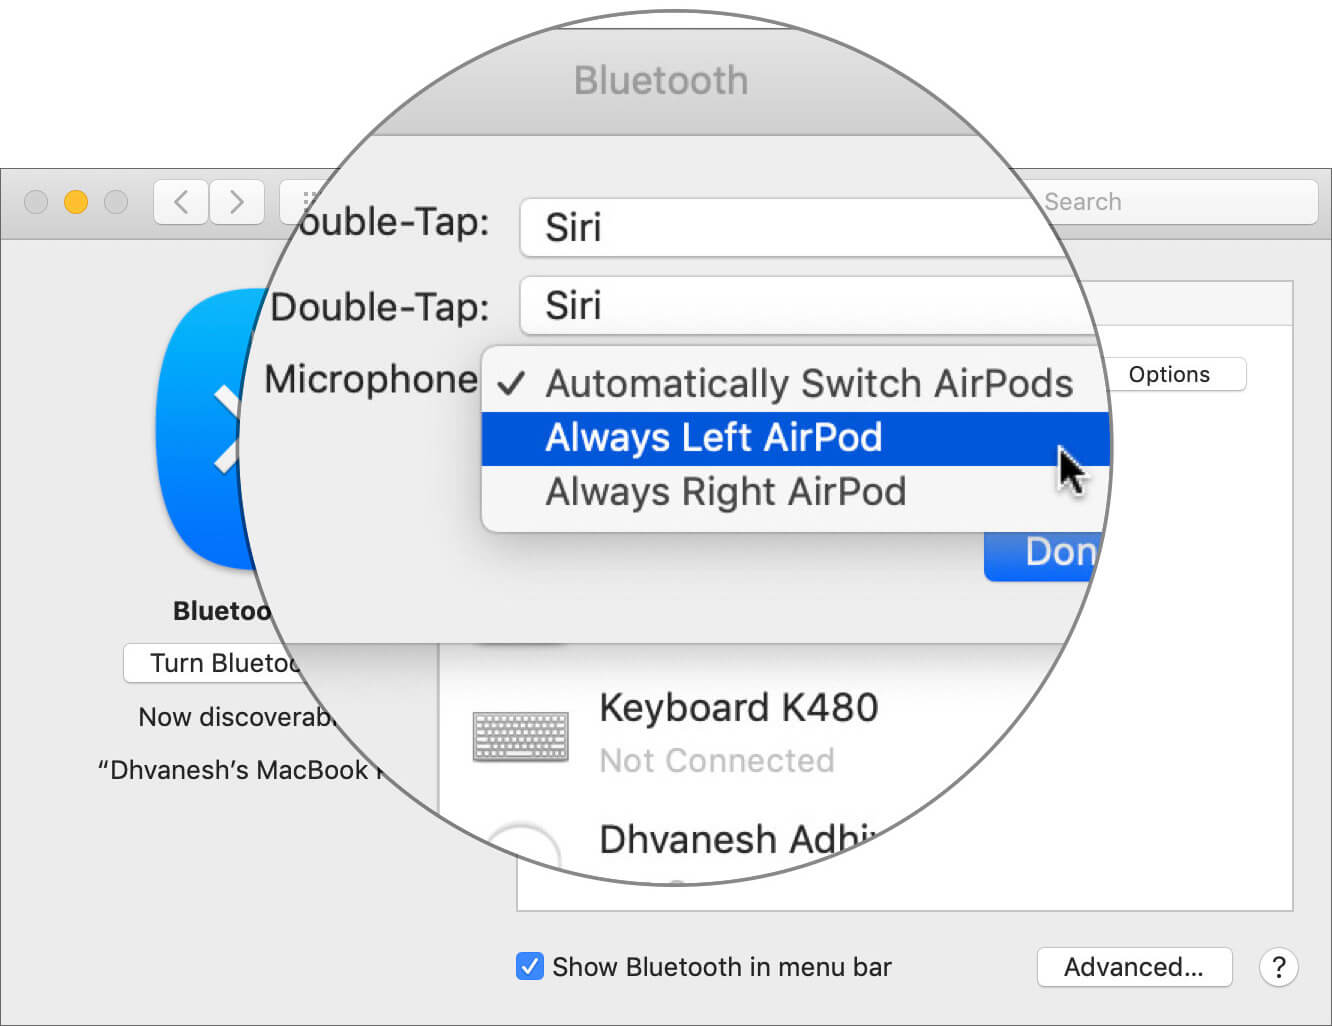
Each AirPods come with the built-in microphone, and they automatically switch the mic to boost the hands-free calling. However, you have the option to restrict left or right earphone to use the mic.
To do so, click on Automatically Switch AirPods drop-down button and choose the desired option.
Disable Automatic Ear Detection
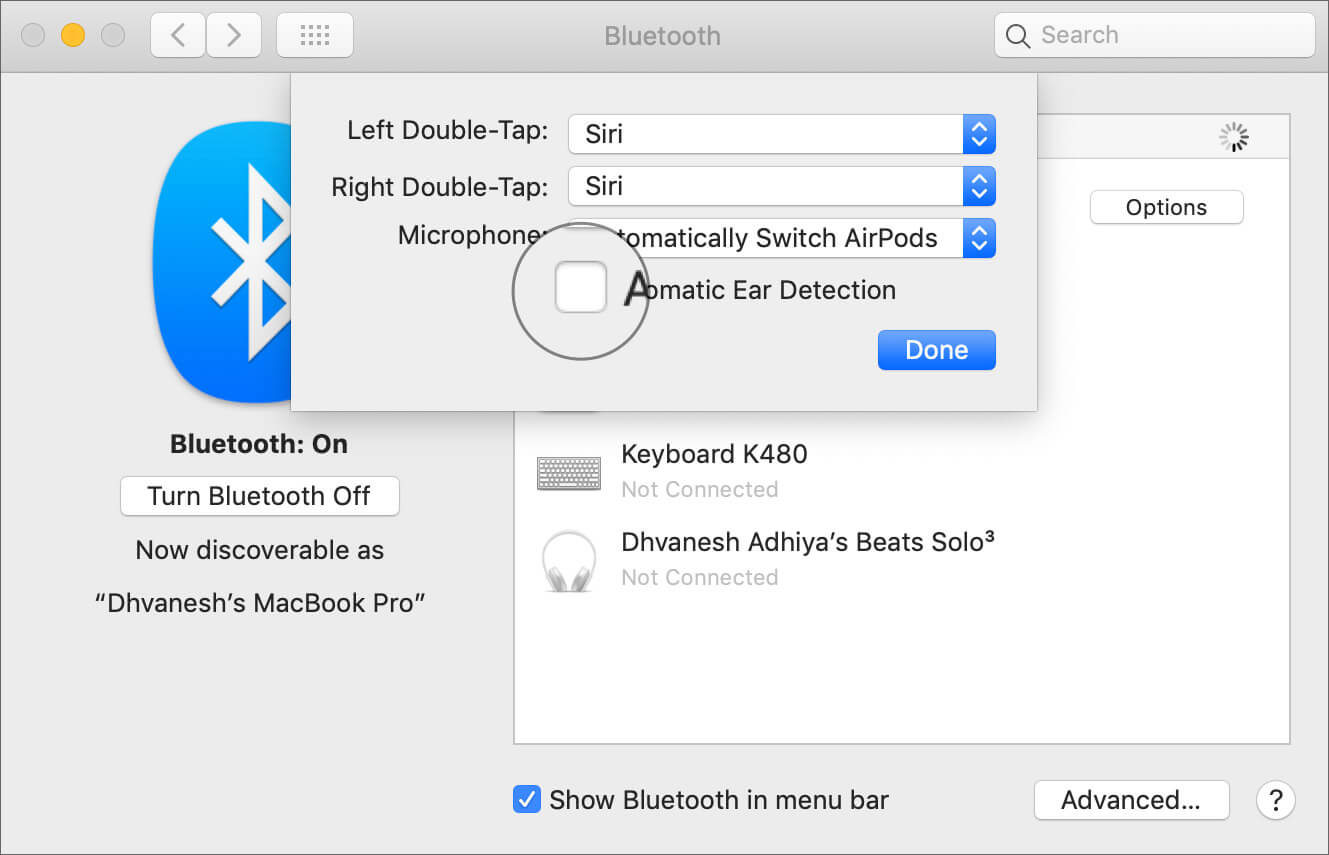
With the advanced optical sensors, the Bluetooth earphones automatically turn on when you wear them in the ears. If you would rather want to have manual control over this functionality for any personal reason, there is an option to turn it off. Simply uncheck the box for Automatic Ear Detection.
How to Rename AirPods On Mac
By default, AirPods pick up your device name when you pair them. But you have the freedom to tweak the name as and when you want.
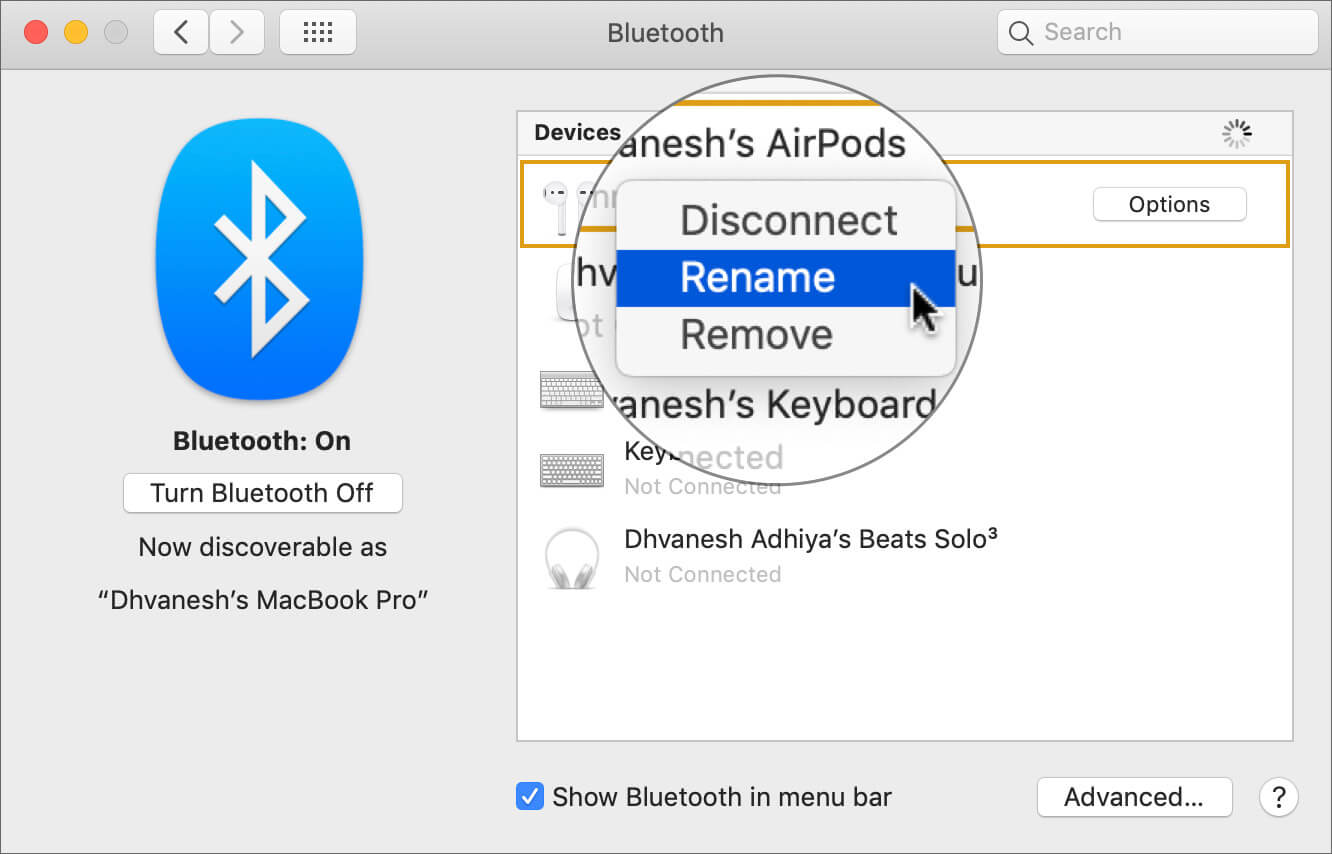
Step #1. Open System Preferences on your Mac. → Click on Bluetooth. Be sure the earphones are connected. Right click on the AirPods name and choose Rename.
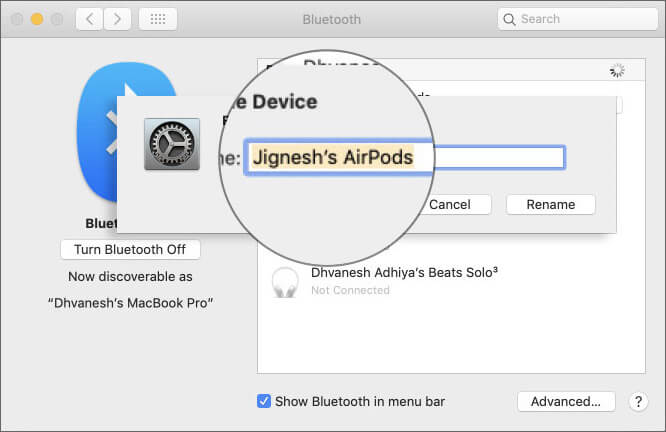
Step #2. Next, enter a name and hit Rename.
More AirPods Tips and Tricks?
These are just the tip of the iceberg. Literally. We’ve assembled 15 coolest tricks to get the most out of Apple’s Bluetooth earphones. Head over to this post to explore them.
There you go!
Signing Off…
Time to make the most of these little but handy tricks to use the earphones like a pro! But before going for a long music drive, be sure to share your thoughts about Apple’s earphones and what are the features you want to see in the AirPods 2.
You’d want to have a look at the following articles:

