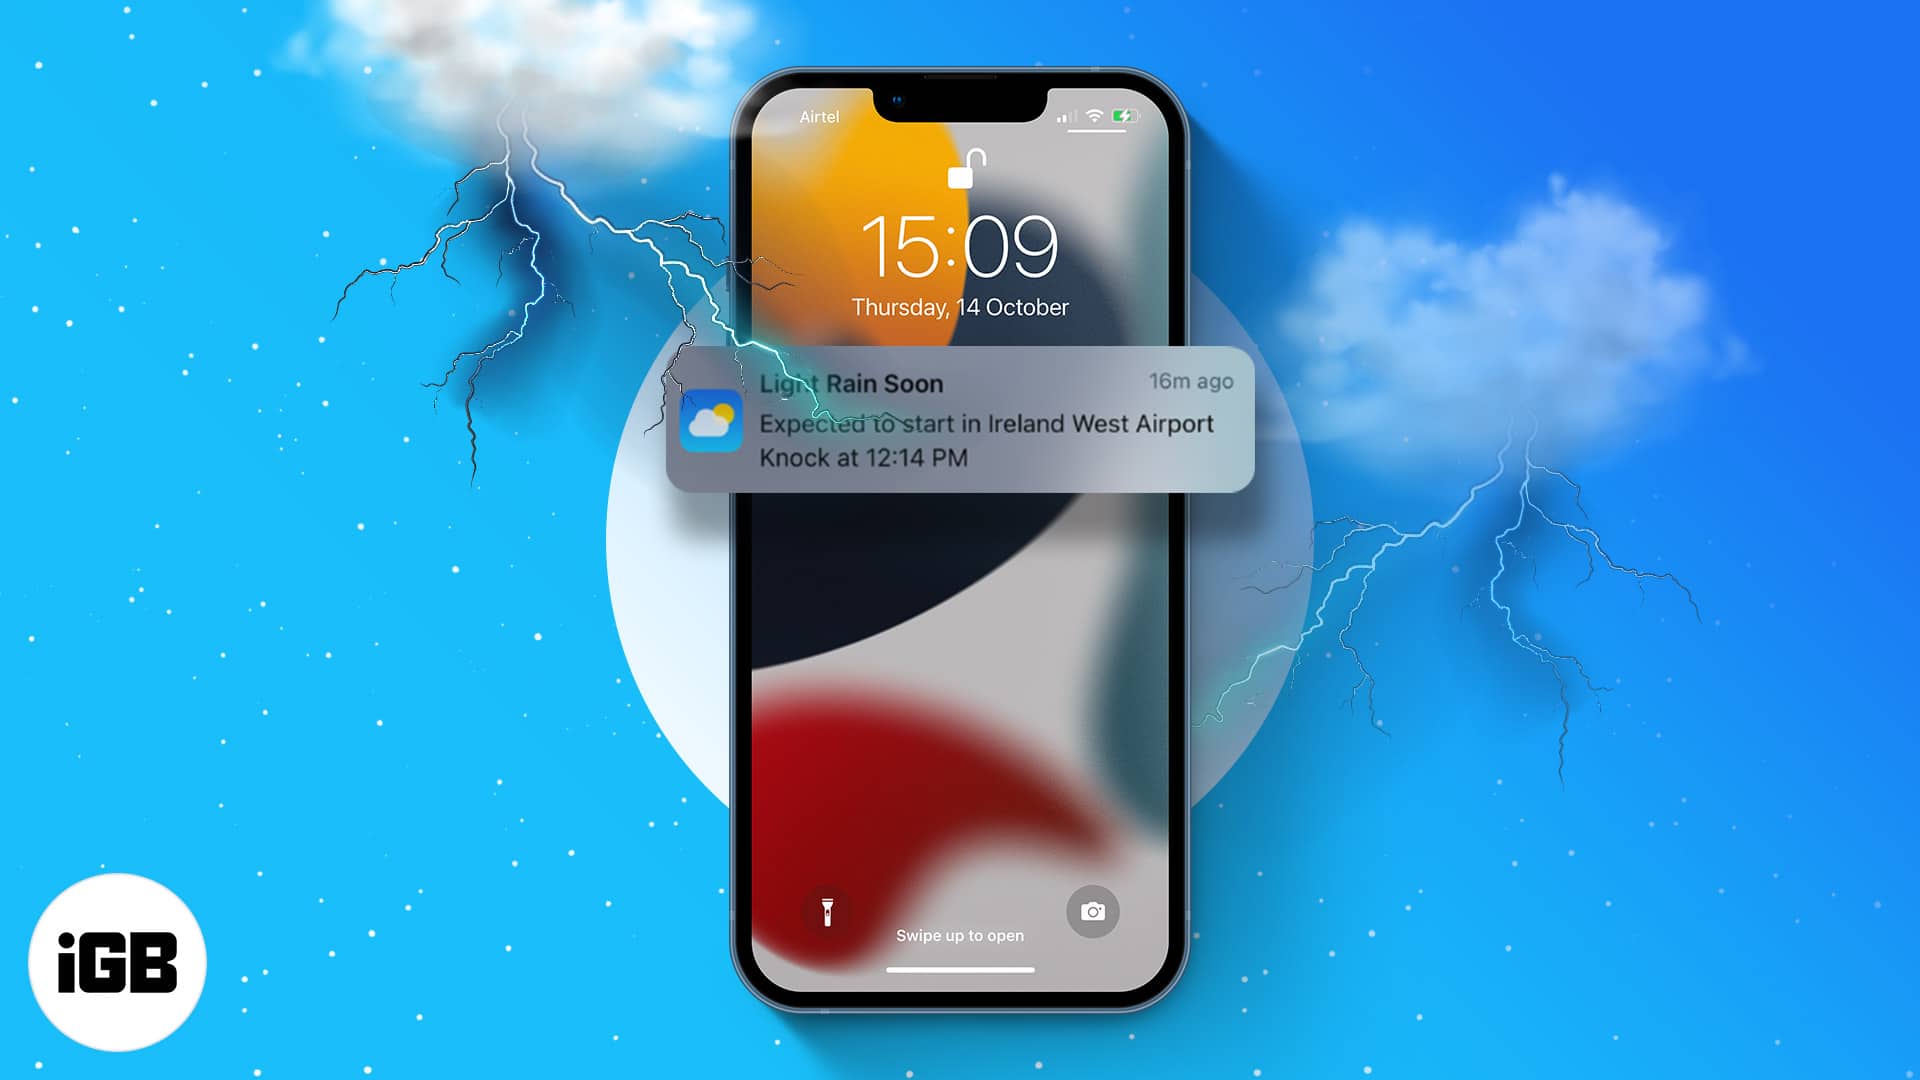
Over the years, the iPhone Weather app has been gradually improving. You can now activate emergency weather notifications and precipitation reports for your area and locations you’ve listed in the Weather app. So, without further ado, let’s look into how to get emergency weather alerts on your iPhone and iPad.
- What are severe weather alerts?
- How to turn on weather alerts for your location on iPhone or iPad
- Enable weather notifications for other locations
What are severe weather alerts?
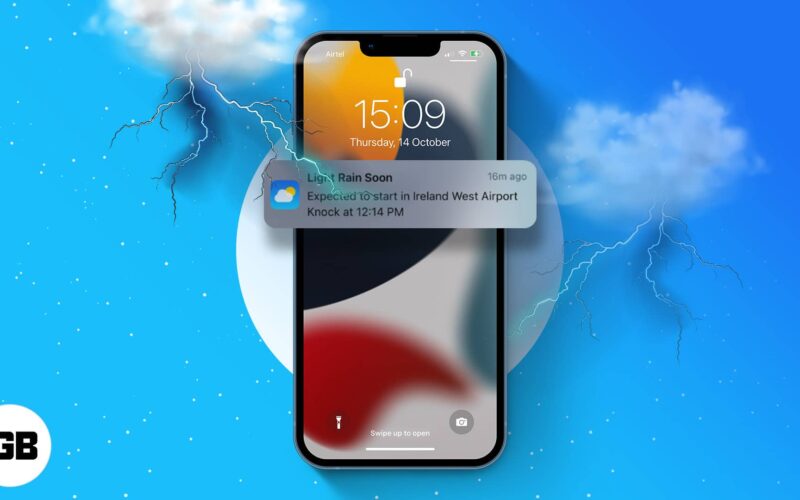
As the name suggests, the Weather app on iPhone and iPad will notify you if a severe, emergency, or bad weather alert is issued near you. This includes real-time notifications for precipitation, rain storms, tornados, hurricanes, flash floods, heat waves, and more.
However, the feature is not available in all countries and regions. As of writing, it was available for:
- United States
- Canada
- Mexico
- Australia
- India
- Japan
- China
- Brazil
- Thailand
- Most countries and regions in Europe
Remember, you can turn on these alerts for your current and favored locations.
How to turn on weather alerts for your location on iPhone or iPad
To turn on severe weather alerts in the Weather app, you must follow a two-step process. You must first allow the app to access your location and then toggle on notifications.
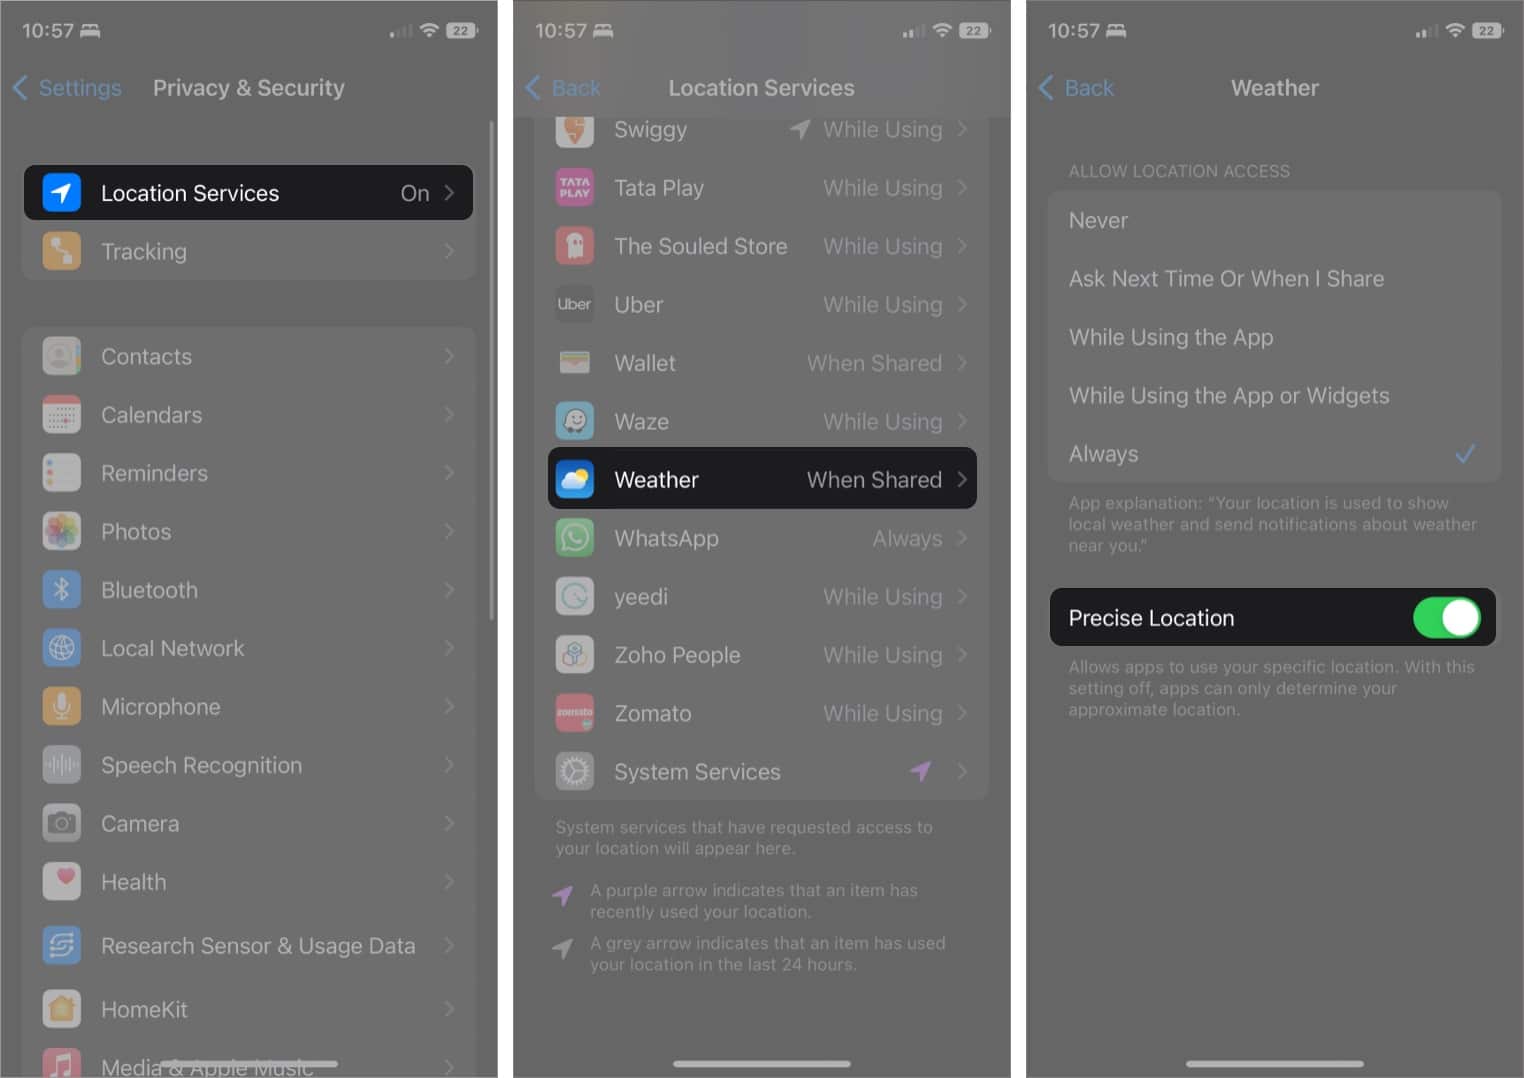
1. Enable location access
- Open Settings → Go to Privacy & Security.
- Tap Location Services → toggle on Location Services if not already.
- Locate and select Weather from the list.
- Tap Always.
Ensure that you enable Precise Location for the Weather app to access your exact location.
2. Enable notifications in Weather app
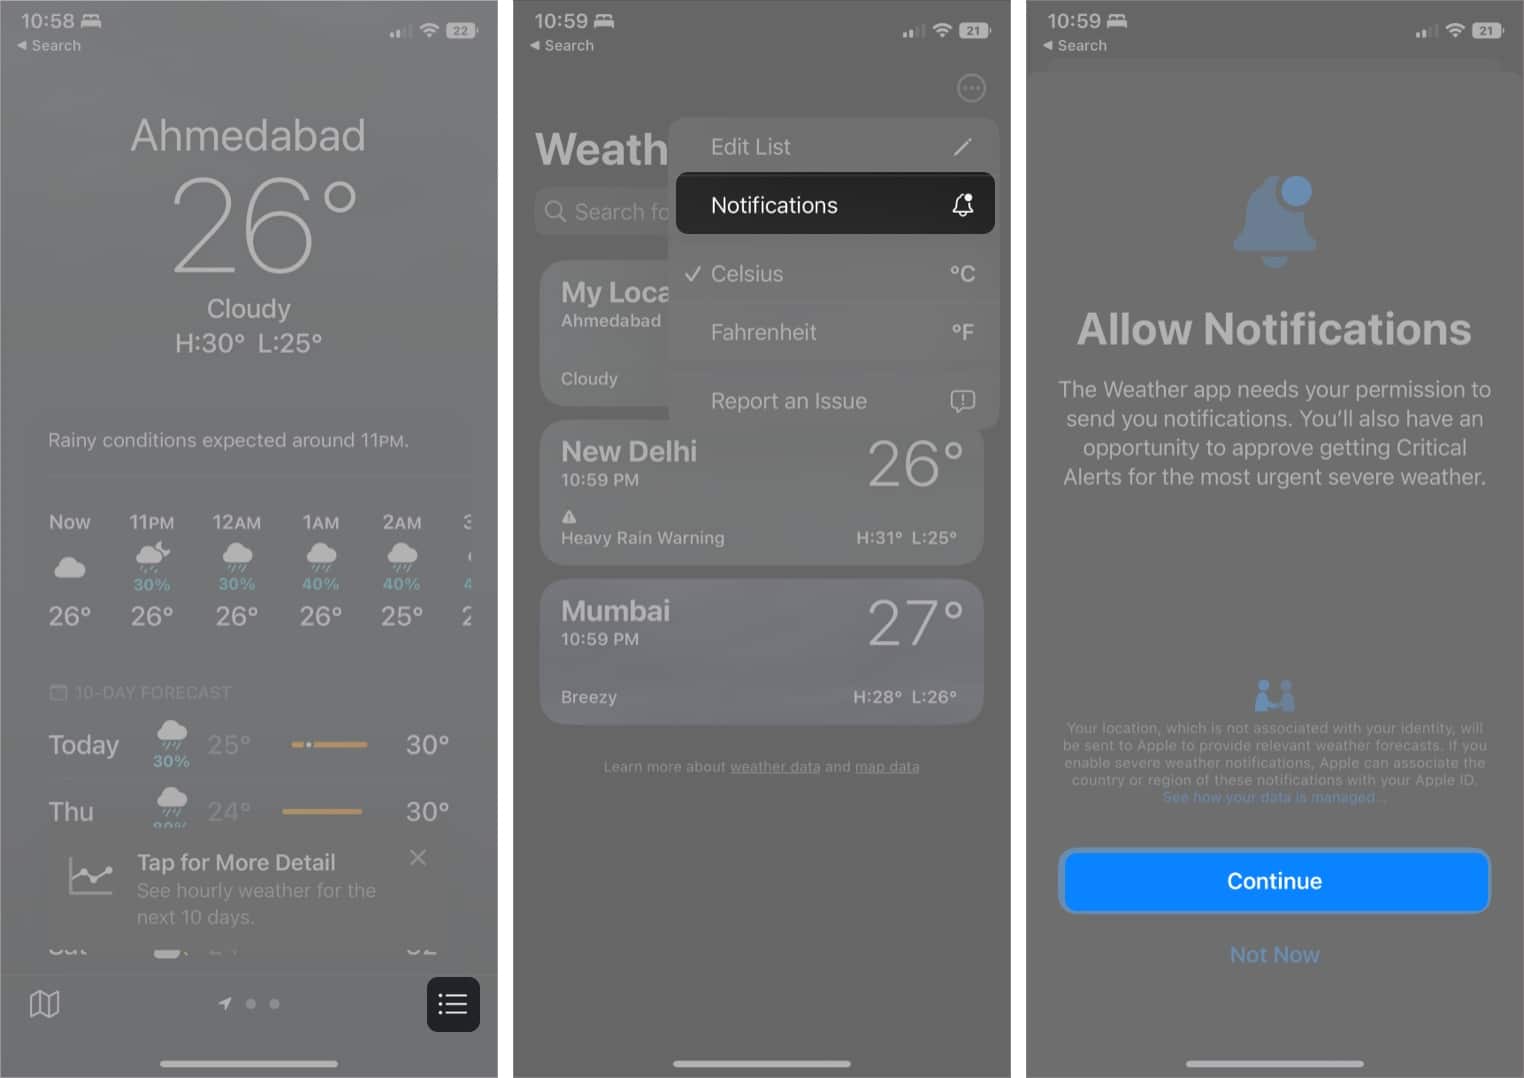
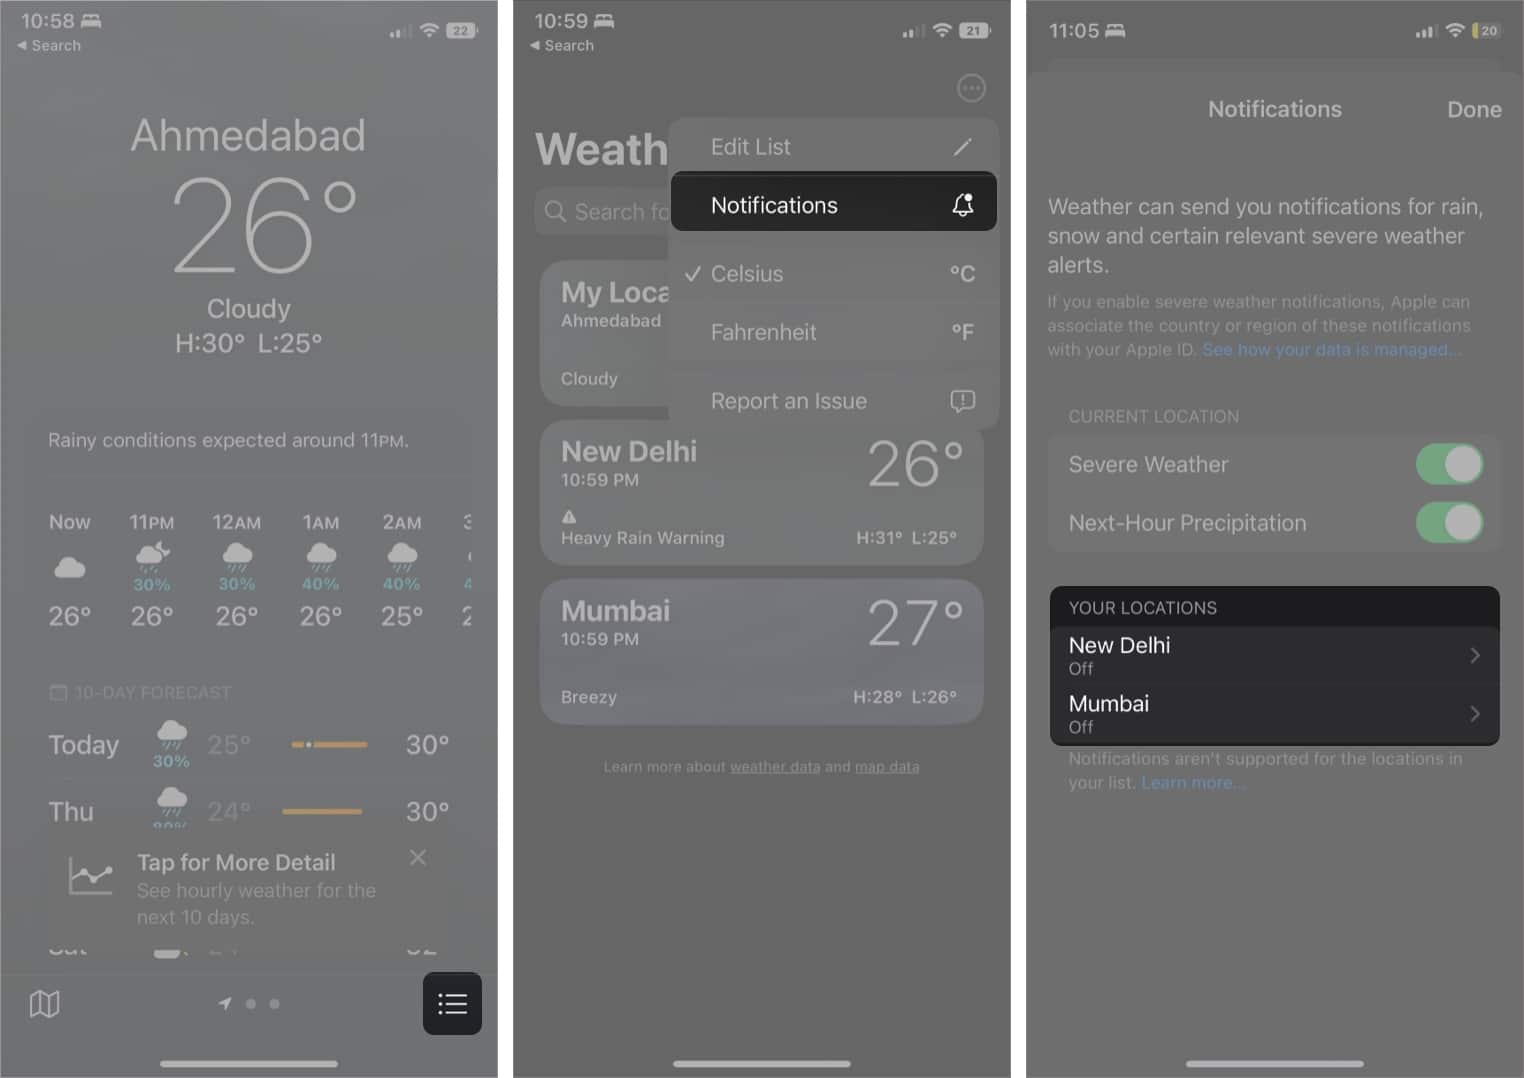
- Open the Weather app.
- Tap the bullet list icon at the bottom right.
- Next, tap the three dots icon at the top right.
- Select Notifications → Tap Continue.
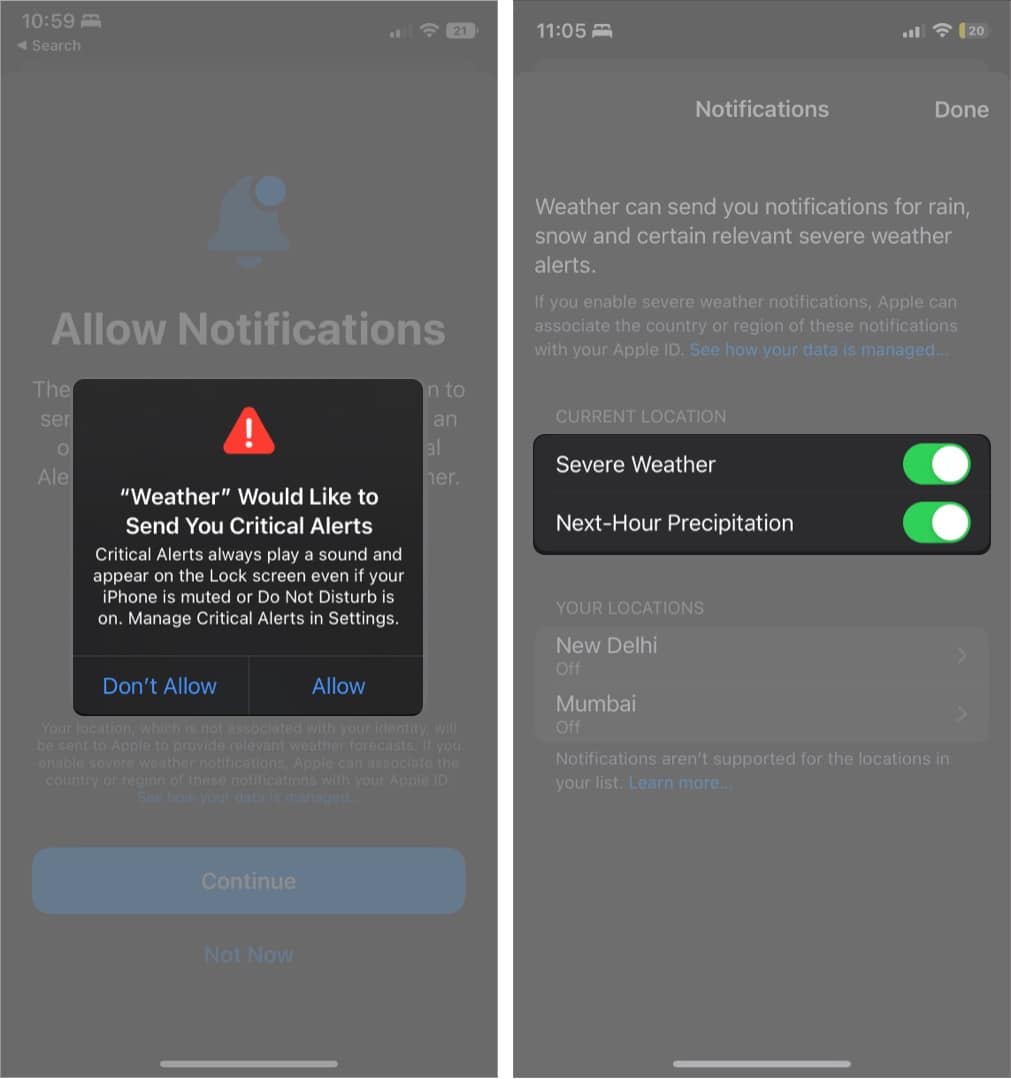
- If prompted, select Allow and then Allow again.
- Toggle on an option of your preference: Severe Weather and Next-Hour Precipitation.
- Tap Done to complete the process.
Now, you’ll get live notification updates for different weather conditions supported in your region.
Enable weather notifications for other locations
- Go to the Weather app → Bullet list icon.
- Tap the three dots icon → Notifications.
- Under the Locations section, choose the location.
- Toggle on:
- Severe Weather
- Next-Hour Precipitation
- Tap Done.
To disable weather notification of your location or other locations in your weather list, repeat the above steps, toggle off, and tap Done.
Conclusion!
While Apple still has a long way to compete with other third-party weather forecasting apps exist; I’ll take these smaller victories for now. At least we got a weather app on iPad for the first time in 12 years.
I suggest you don’t let the Weather app sit there doing nothing. Instead, enable the severe weather alerts to exercise its muscle and let Apple know that’s it on the right track. Have more queries or ideas to share? Use the comment section.
Read more:

