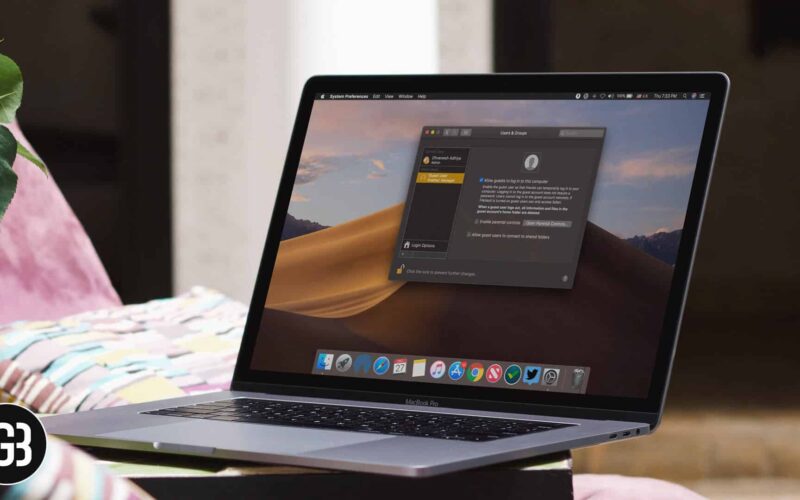
We all have those kinds of friend or family members that usually drop-in without prior notice; either to complete an assignment or send an important E-mail. A personal computer is called personal for a reason and letting our Mac operated by someone else is something against the concept.
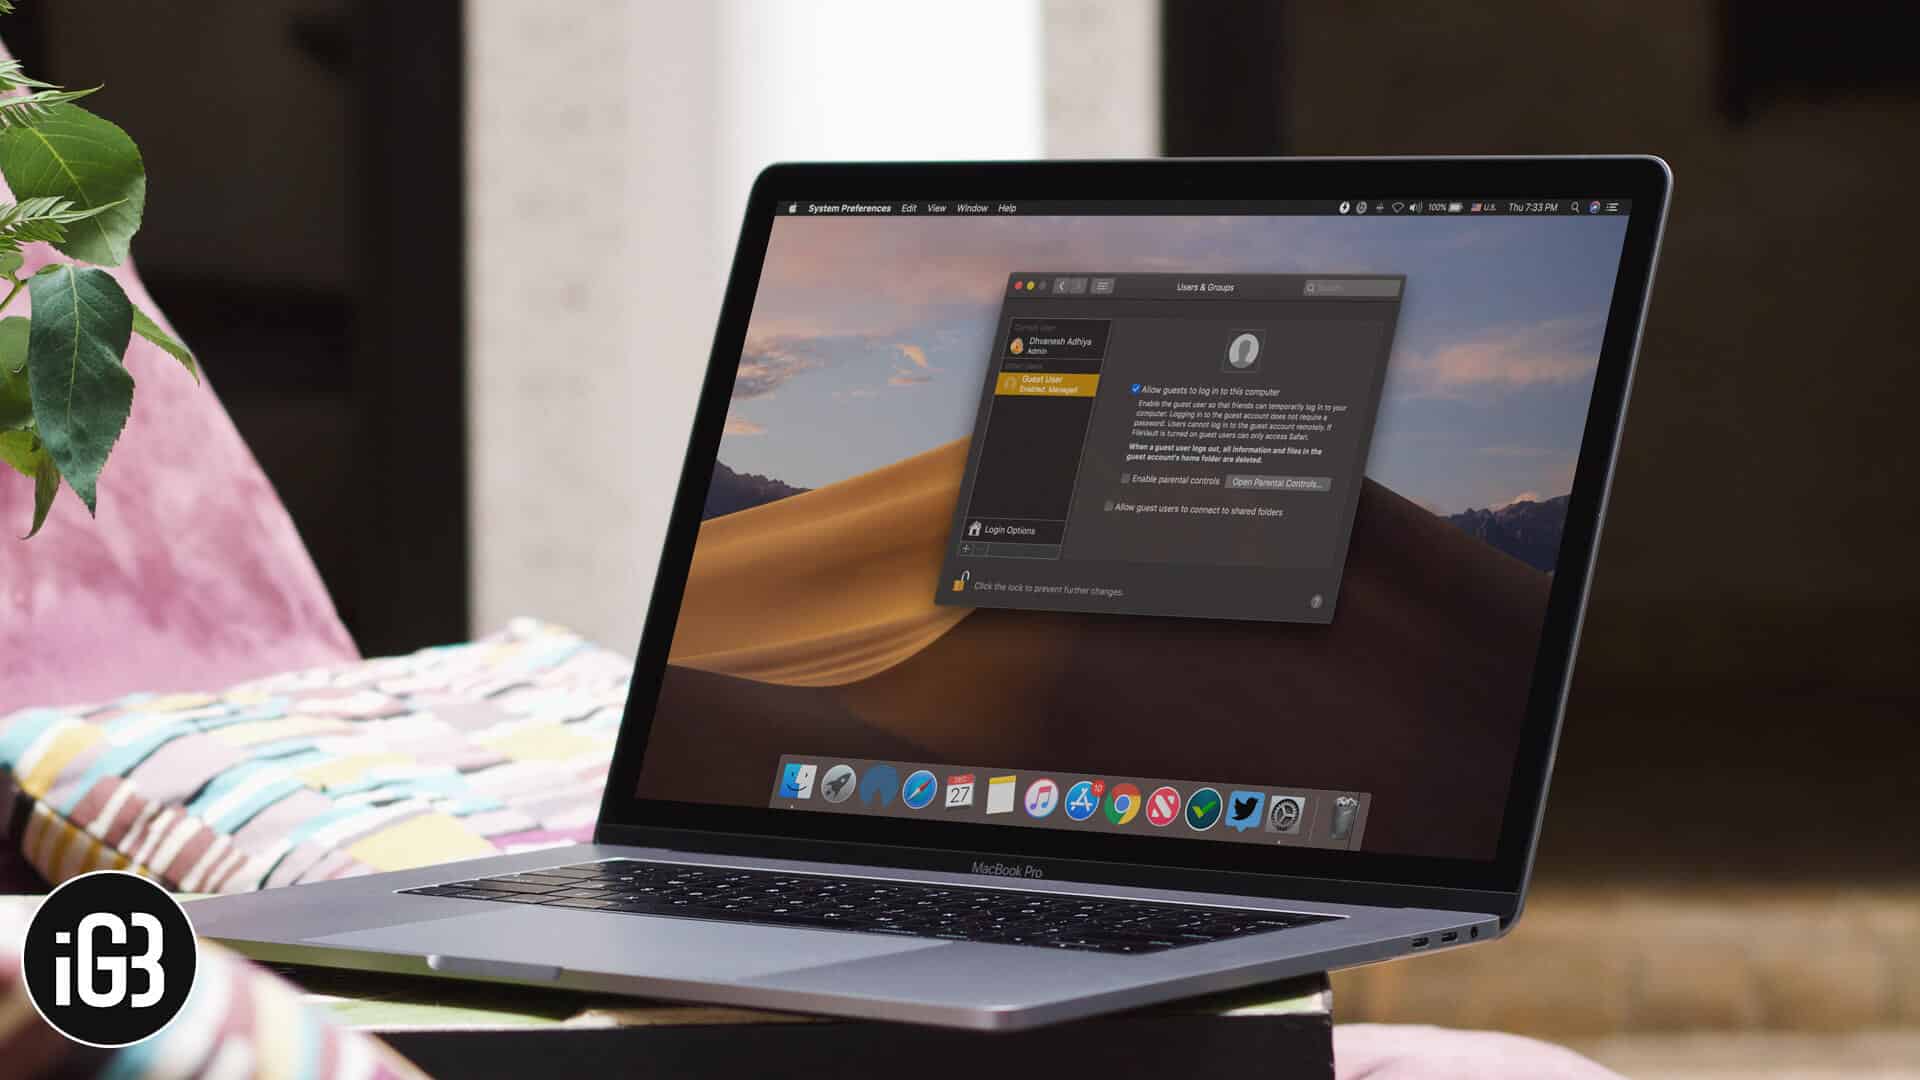
To tackle this, it is highly recommended to create a guest user account on Mac for that irritating human being.
Enabling a guest user on Mac has its benefits. Just like an actual guest that don’t get access to your entire house, similarly, a guest account on Mac does not give full access to the user. It protects your privacy. To learn how to create one, follow the tutorial provided below.
Table of Content
How to Enable Guest User Account on Mac
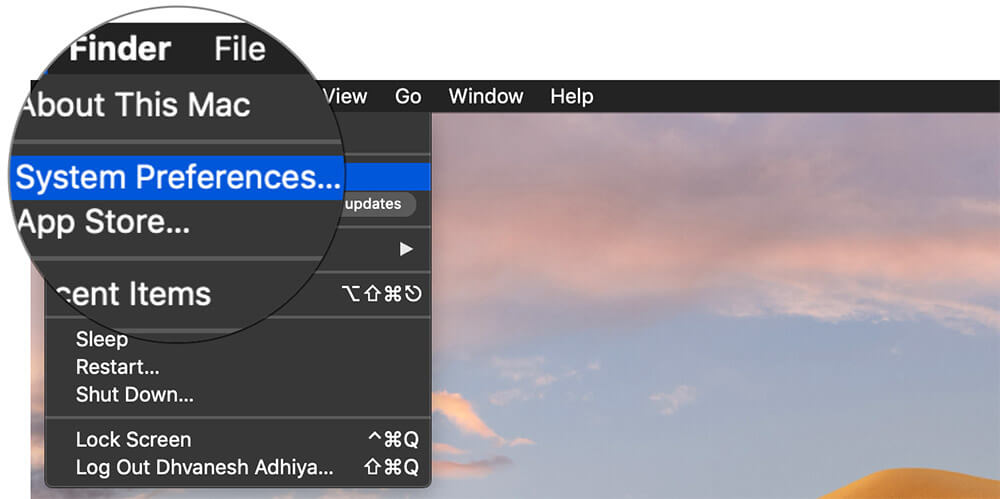
Step #1. Click on “Apple Menu” and then choose “System Preferences.”
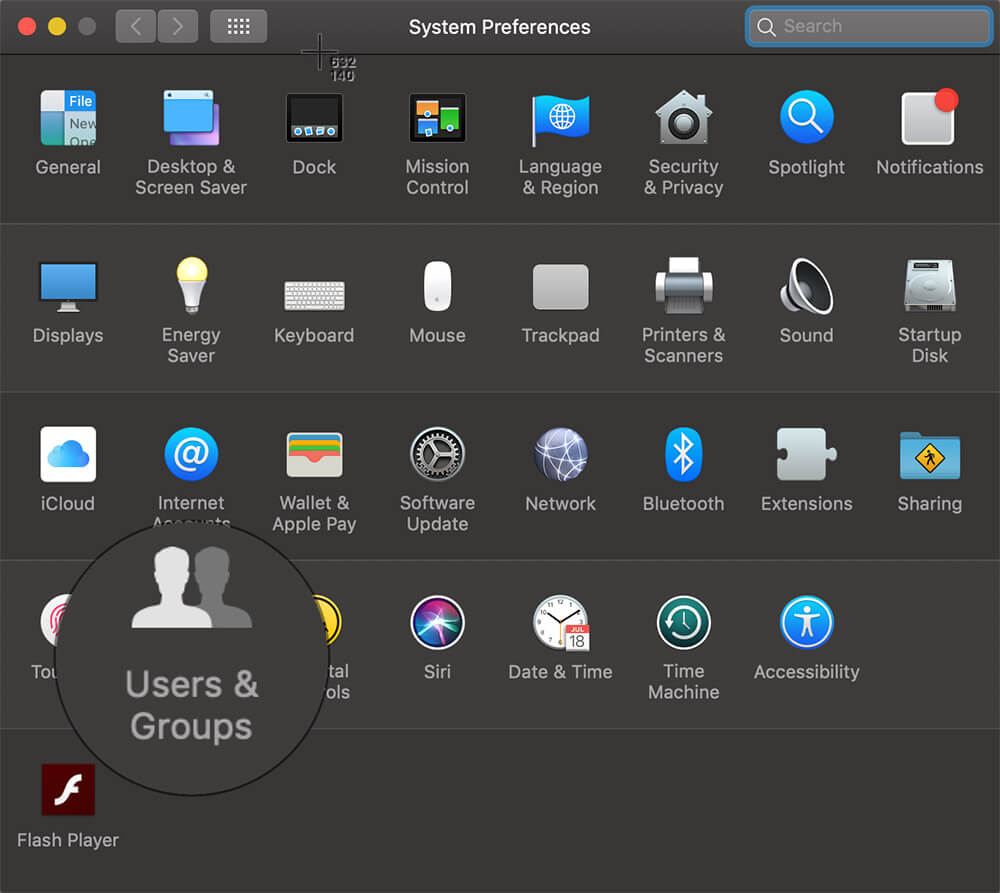
Step #2. Now, click on “Users & Groups.”
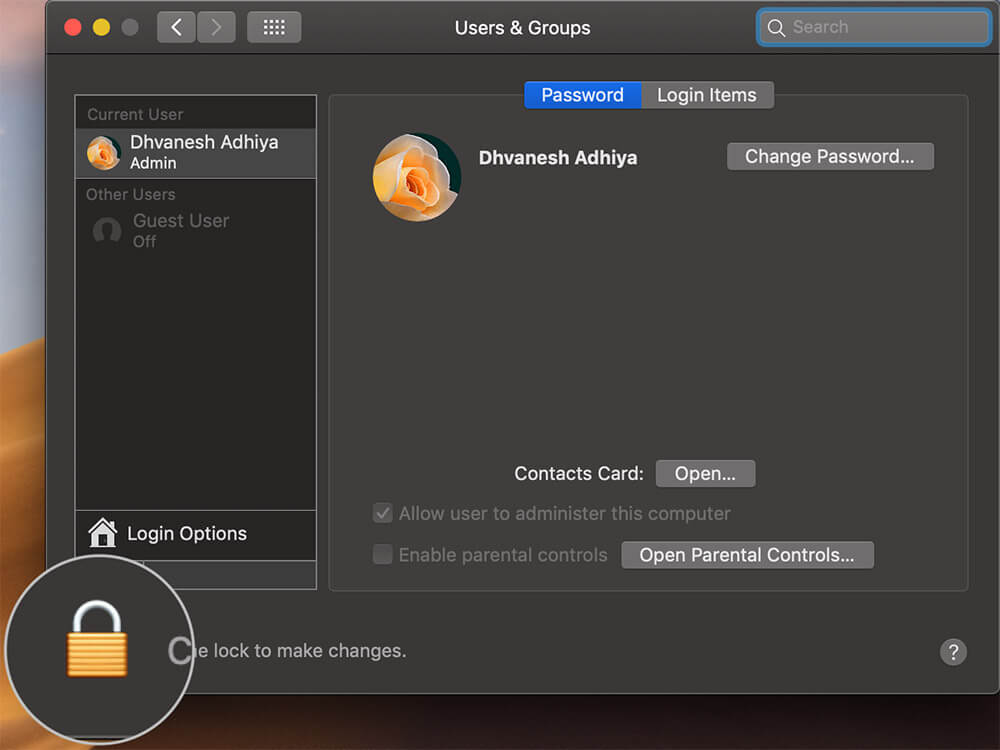
Step #3. If you have a Mac password setup, click on the “lock” icon at the bottom of the screen.
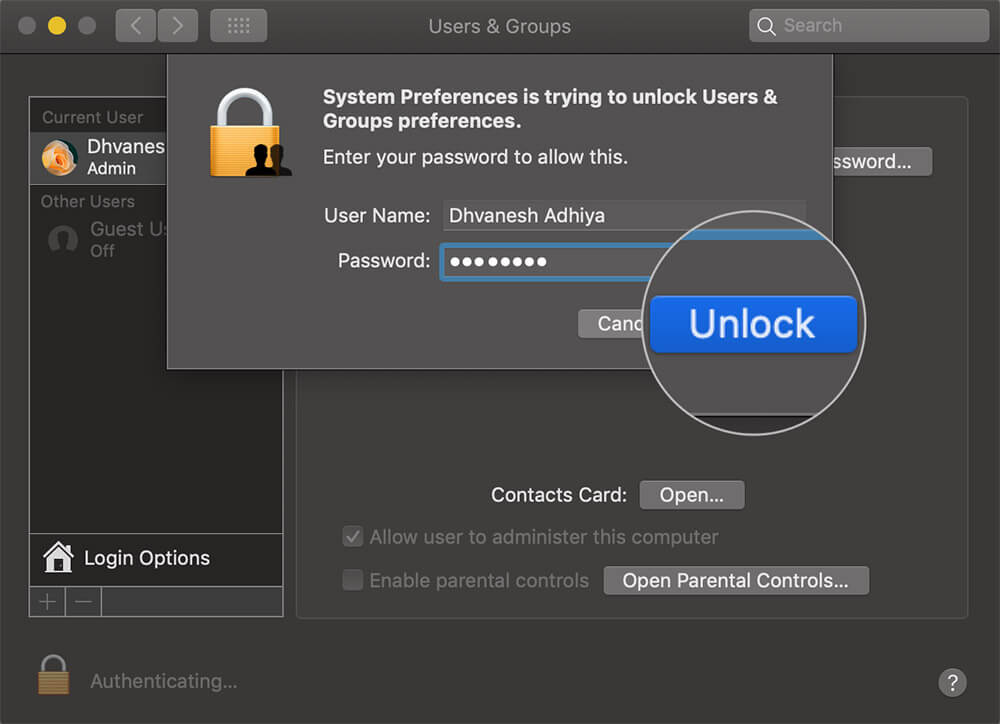
Step #4. Enter your Mac password. This will unlock the settings.
Step #5. Click on Guest User from the sidebar showing the user list.
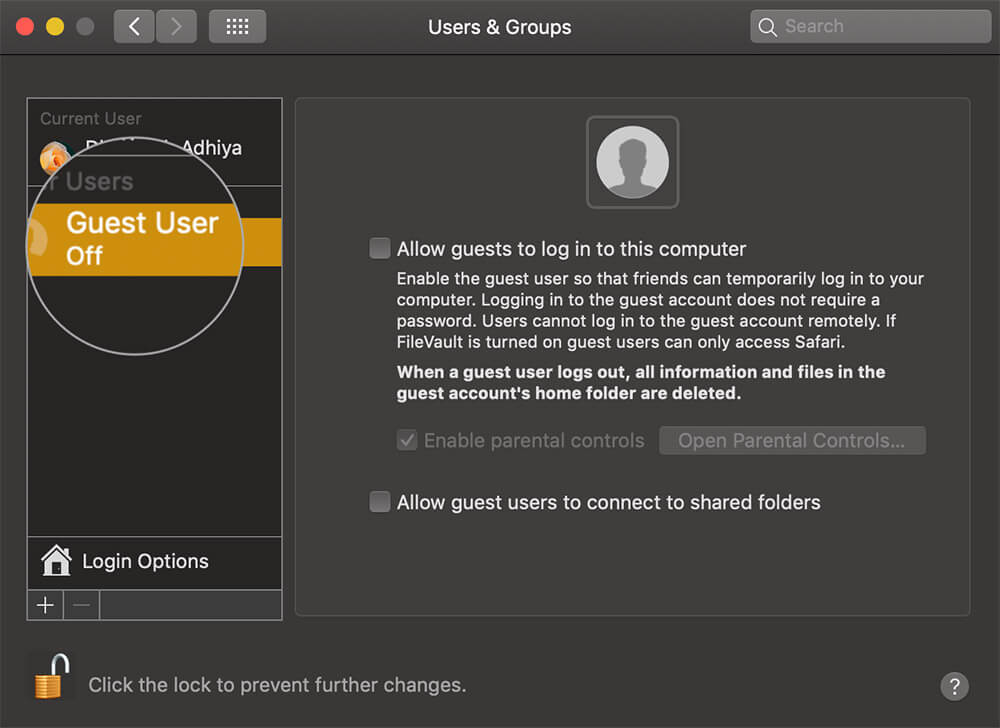
Step #6. On the right side, you can see three checkboxes.
- Allow guests to log in to this computer
- Enable parental controls (You can enable it (tick the checkbox) and then configure the parental controls by clicking on that button labeled “Open Parental Controls”)
- Allow guest users to connect to shared folders. (If you want to the guest user to be able to access just your shared folder (/User/Shared), check the “Allow guests to connect to shared folders” This will let the guest user access shared folders.)
Check “Allow guest to log to the computer” to Enable it.
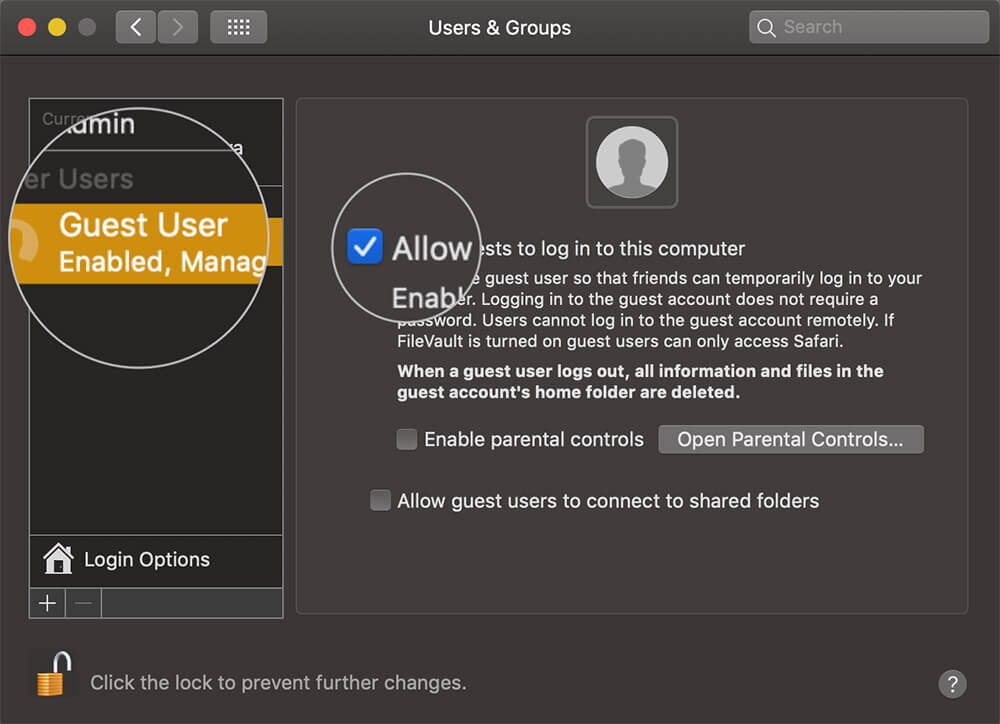
To confirm you have created guest account successfully, shut down all the windows on your Mac and restart your computer. When your Mac restarts, you can see that Guest User icon on the screen. The “guest” can use Safari and a few other apps but won’t be able to view your files/folders.
That’s all, mate!
Signing off
Remember, creating a new user takes a different method. When you create a guest user, no password is required to log in.
You may also like to explore:
Would you like to create a guest account on your Mac? Share your feedback with us in comment section.

