If you’ve noticed that text on your Mac’s screen looks a little blurry or too sharp, the font smoothing might be the reason. It helps optimize text rendering for better readability, but many users have found it less appealing. The smoothing sometimes makes the installed Mac fonts look different. To get rid of this, I’ll show you how to adjust or disable font smoothing on Mac.

What is font smoothing on Mac?
Font smoothing or antialiasing is a macOS feature that removes jagged edges and makes fonts look slightly bolder and softer. Apple designed it to help you read texts better and improve your reading experience. So, this feature has been turned on by default since the macOS Big Sur update.
However, many users have felt that font smoothing messes with the styles of some fonts and makes the text appear blurrier, thus affecting readability. If you feel that way, you may want to turn off font smoothing on your Mac.
But there’s a catch; there is no toggle for this feature in the System Settings. Worry not! Read on to learn how you can adjust or entirely disable Mac font smoothing!
How to adjust font smoothing levels on Mac
You need to use the Terminal to adjust its intensity levels. Here’s how:
- Open Terminal on Mac. Press Command + Space to open the Spotlight search →
Type Terminal and press Enter. - Enter any of the following commands according to your needs:
- If you want less text smoothing, enter:
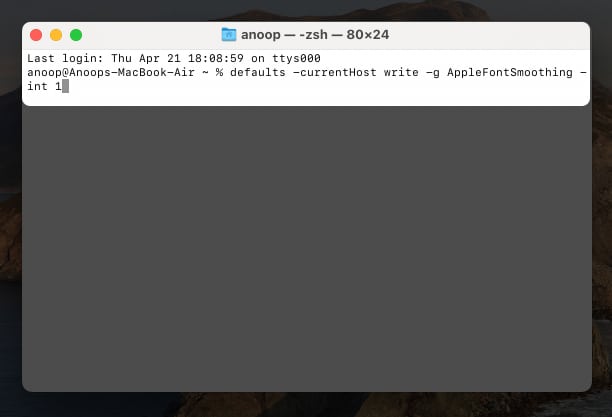
defaults -currentHost write -g AppleFontSmoothing -int 1 - For Medium level:
defaults -currentHost write -g AppleFontSmoothing -int 2 - Lastly, for Strong intensity:
defaults -currentHost write -g AppleFontSmoothing -int 3
- If you want less text smoothing, enter:
After entering any of the commands mentioned above, restart your Mac so that the changes can take effect.
The default macOS text smoothing value is 2. To reset font smoothing on your Mac, use the command for the Medium level.
How to turn off font smoothing on Mac
Since Apple removed the option to turn off font smoothing on Mac after the Big Sur update, there are two ways to enable or disable it.
Method 1: Using Terminal
You can quickly tweak any core system settings via Terminal, including font smoothing. Here’s how:
- Open Terminal using any of the steps: Go to Launchpad → Others → select Terminal or Open Spotlight Search and search for Terminal.
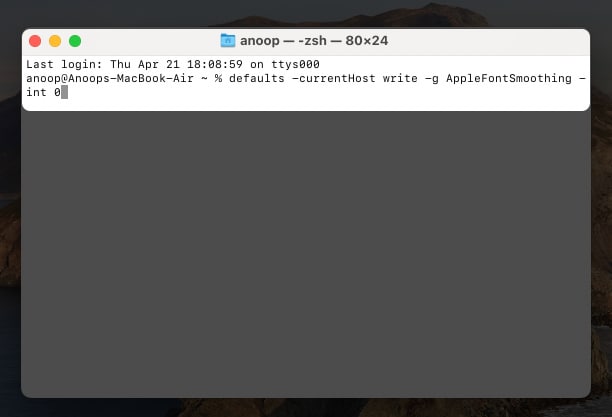
- Enter the following command
defaults -currentHost write -g AppleFontSmoothing -int 0 - Hit return on the keyboard.
- Finally, restart your Mac for the changes to take effect.
If you’re not comfortable manually adjusting settings from Terminal, you can use third-party tools to disable font smoothing on your Mac.
Method 2: Using a third-party tool
One popular option is the Font Smoothing Adjuster, a simple and user-friendly tool designed specifically for managing these settings.
- Download and install the Font Smoothing Adjuster tool.
- Once installed, launch the app from Launchpad.
- If asked, click on Open.
- Now, select Disabled from the options.
- It will prompt you to restart your Mac. Click Log out now.
When your Mac restarts, you will see sharper fonts. However, if you prefer the previous interface, you may return to the default settings and adjust the font smoothing intensity.
That’s it!
Despite Apple disabling the option to change or remove font smoothing on Mac, I have provided you with workarounds for doing the same. I think Apple should have given the option to adjust Font Smoothing just like they used to before the Big Sur update.
What do you think? Share your thoughts in the comments below.
Have some other troubles with Mac? Check these out:


