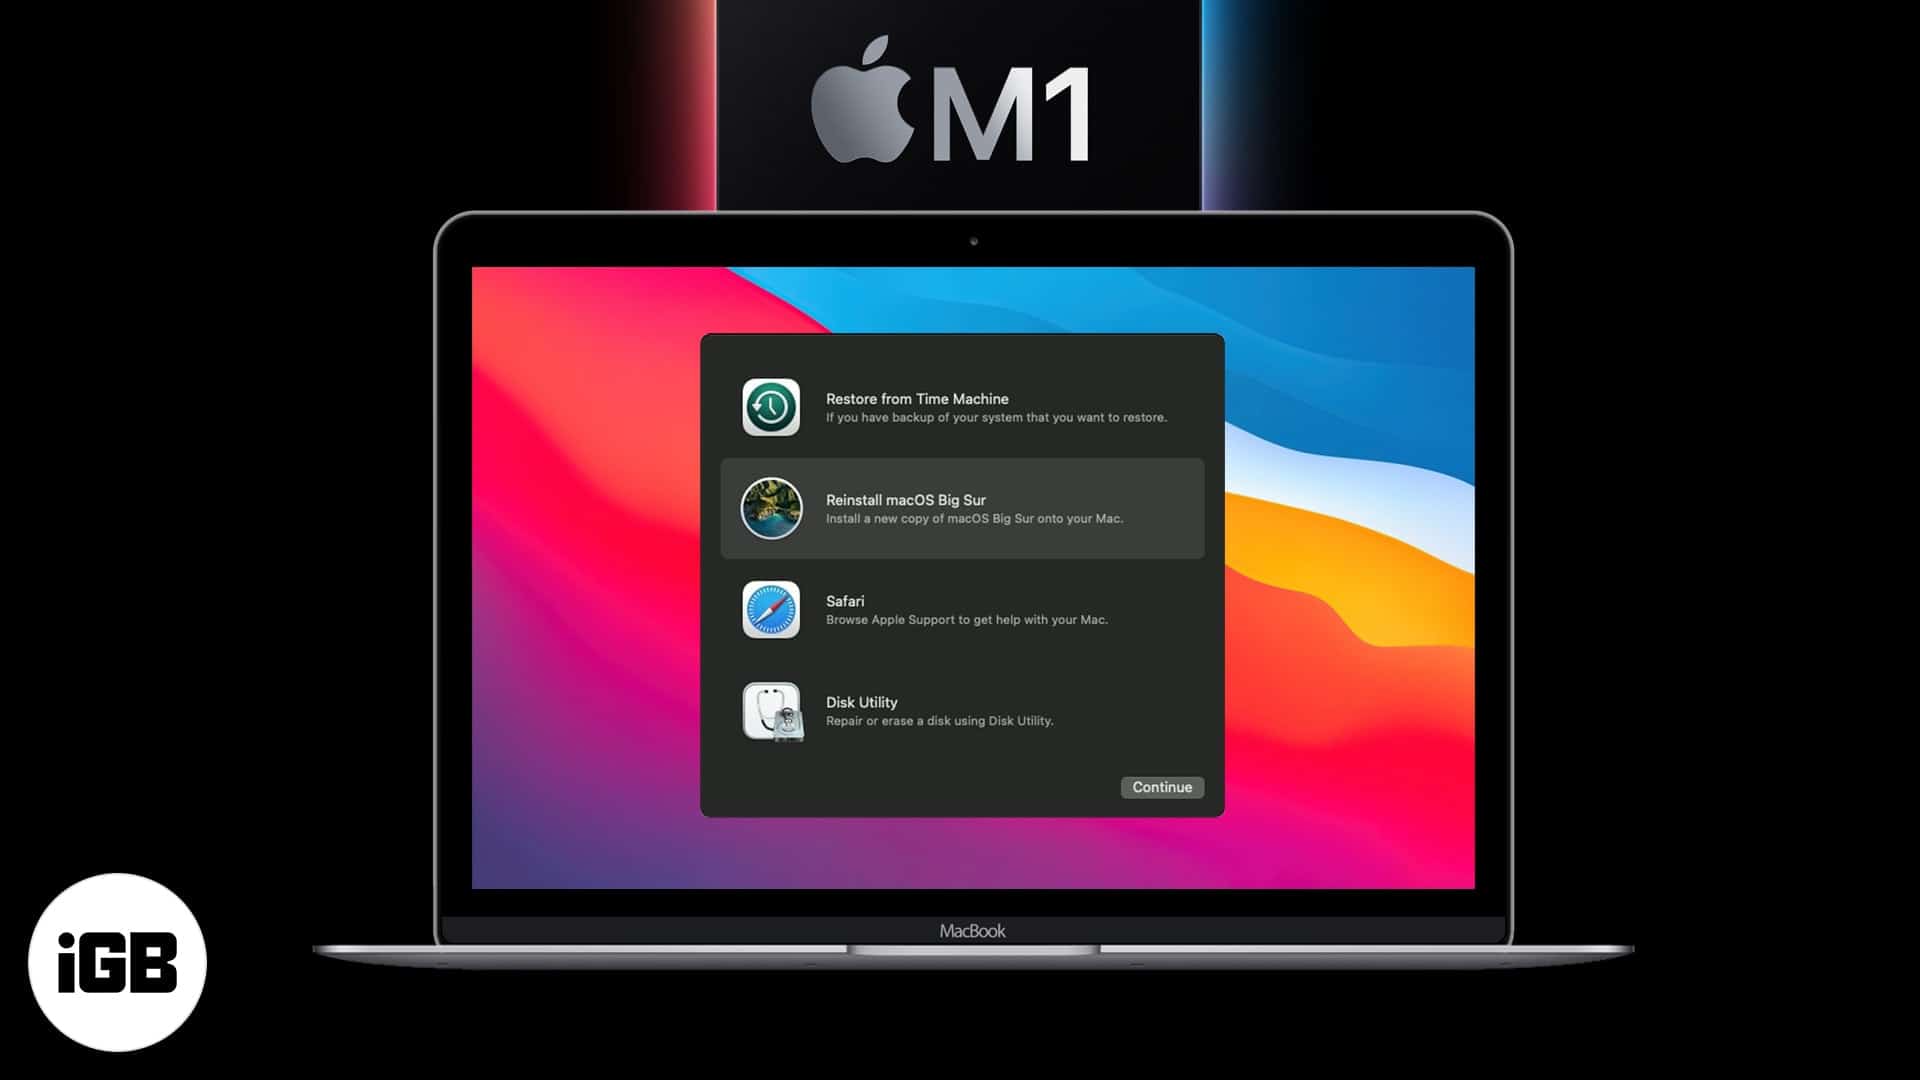
macOS Recovery on Apple Silicon M1 Macs has a host of features that let you troubleshoot problems related to the operating system, disks, etc. Besides letting you reinstall macOS and repair disks, it also presents helpful features like file transfer, Terminal, and Safe mode. Let me show you how to boot your M1 Mac into macOS Recovery mode.

- Identify Mac Computers with Apple Silicon
- How to Start your M1 Mac in Recovery Mode
- What You Can Do with macOS Recovery on M1 Mac
Background: In 2020, Apple announced its plans to transition away from Intel processors to in-house Apple silicon (M series). It is effortless to know if your Mac has an M1 chip or not.
Identify Mac Computers with Apple Silicon
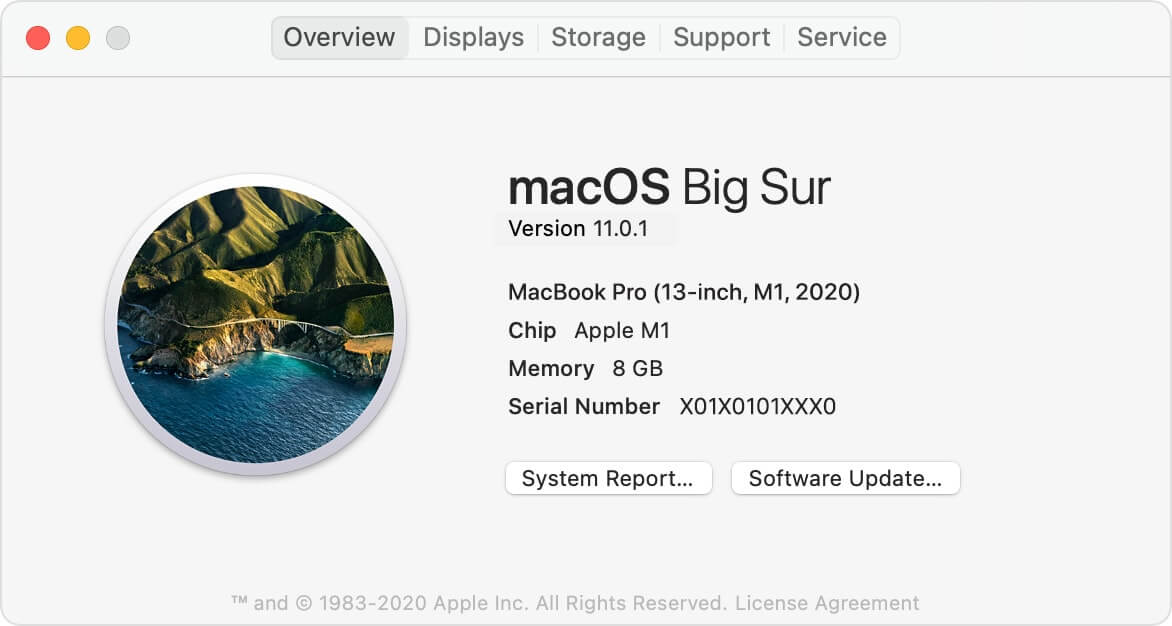
First, click on the Apple logo from the top left and choose About This Mac. Here, you will see the name Apple M1.
Tip: In Intel-based Macs, you see the word ‘Processor’ while on Macs with Apple silicon, it is ‘Chip.’ 
Currently, these are the three available models with the M1 chip.
- MacBook Pro (13-inch, M1, 2020)
- MacBook Air (M1, 2020)
- Mac mini (M1, 2020)
How to Start your M1 Mac in Recovery Mode
- Make sure your Mac is turned off. If not, click on the Apple logo and choose Shut Down.
- Now, switch on your Mac and keep pressing the power button. Let go of the key when you see the startup screen.
- Click on Options.
- Click on Continue.
- If asked, select a user, click on Next, and enter its administrator password.
You are now successfully in recovery mode.
Note: If you have an Intel-based Mac, the process is different. Follow our full guide on how to enter macOS Recovery on Macs with Intel processor.
What You Can Do with macOS Recovery on M1 Mac
- Restore from a Time Machine backup, if you have one.
- Reinstall macOS.
- Use Safari to get online help regarding these options.
- Repair or erase your internal or other such connected disks and partitions.
- Connect your Mac with Apple Silicon to another Mac using USB, USB-C or Thunderbolt cable, and then your Mac with M1 chip will appear as an external hard drive on the other Mac. Now you can transfer files between them. For this, choose Options → Continue → Utilities → Share Disk → Select the disk you want to share → Start Sharing.
- Enable security options for the disks.
- Choose a different startup disk.
- Use the Terminal for various actions.
- Start your Mac in Safe Mode. For this, click on Options, press and hold the Shift key, and click on Continue.
To Exit macOS Recovery on M1 Macs
Click on the Apple logo from the top left and choose Restart or Shut Down. After this, the M1 powered computer will start normally.
M1 Mac Successfully Put in Recovery Mode!
This is how you can enter macOS Recovery to fix things in case of difficulties or access multiple options. If you need, here’s how to use Terminal in macOS Recovery. Finally, in case, Recovery mode doesn’t work, head over to this guide to learn about some tips to fix it.
You may also like to read:


