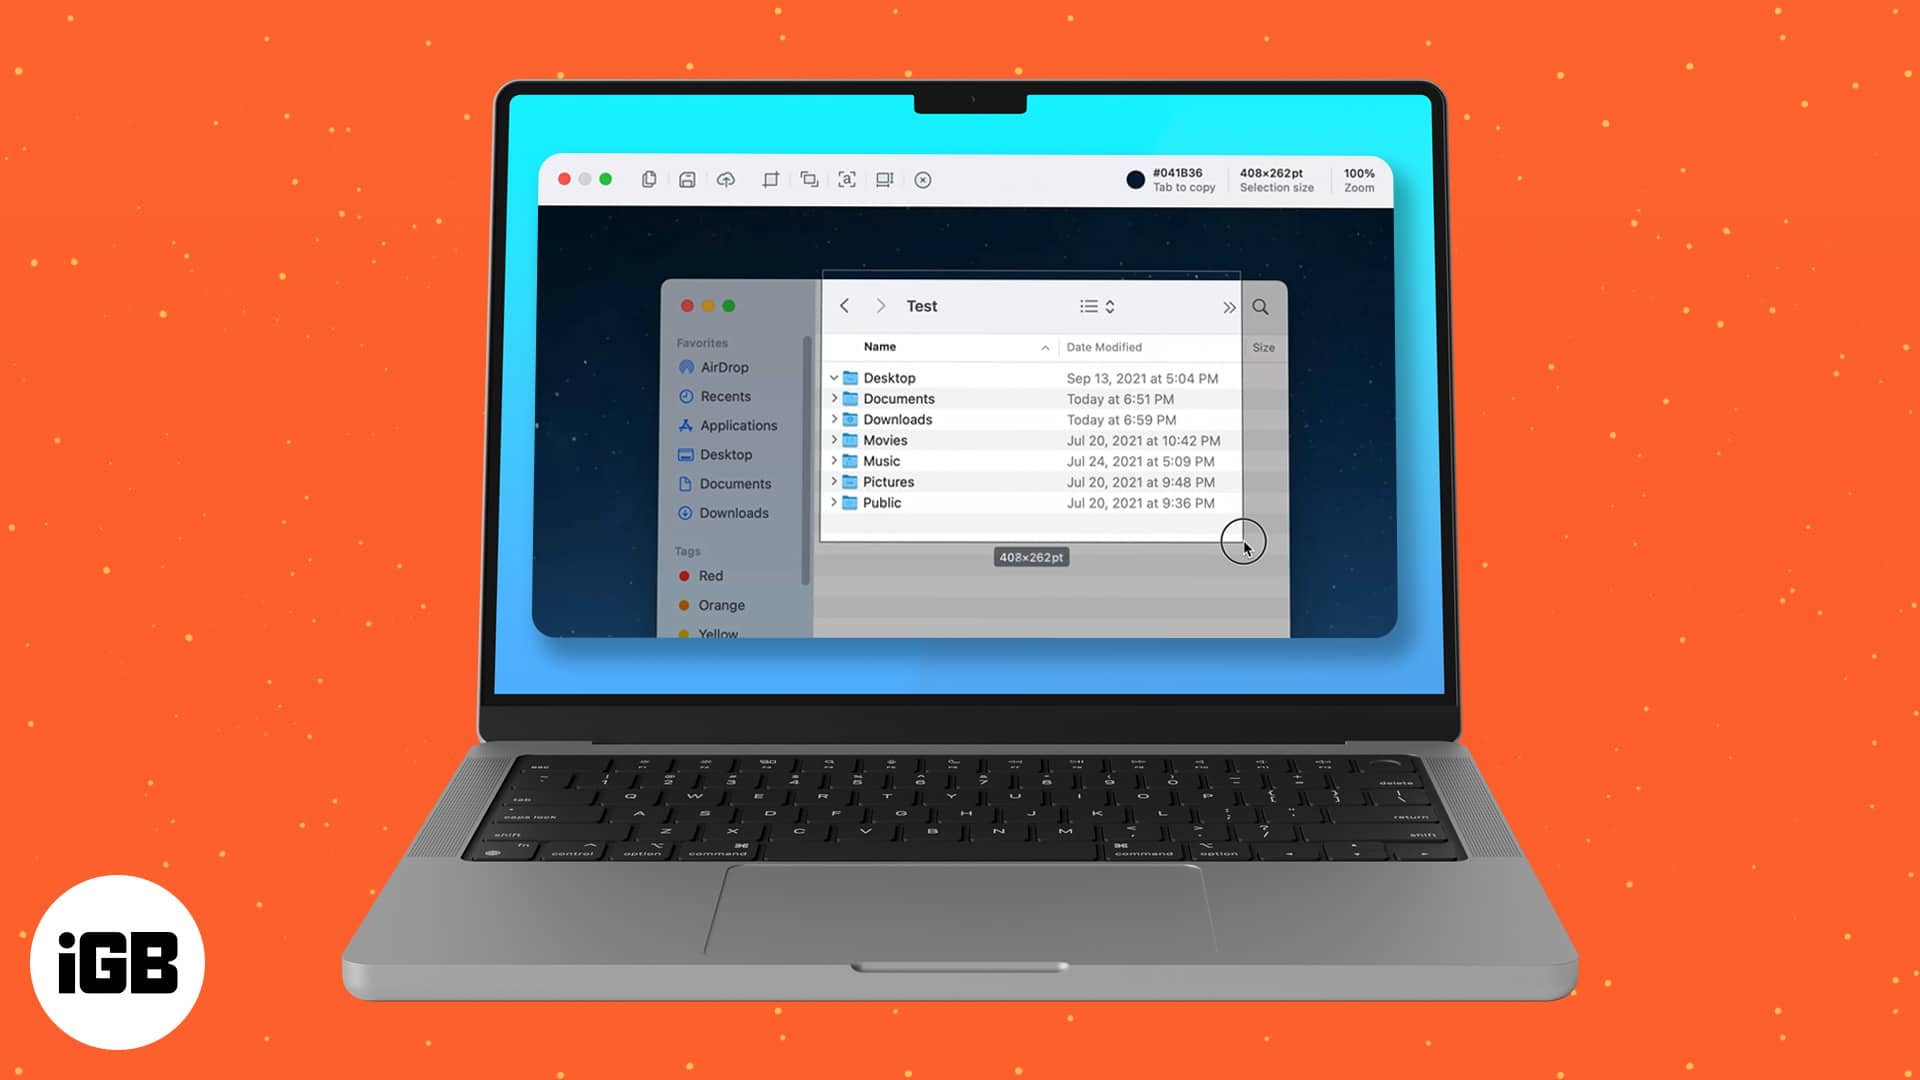
A screenshot is an image of what is displayed on your screen. All you need to do is press a few keys, and whatever is on your screen turns into a shareable image. There are numerous reasons why one would need to take screenshots. While macOS has an in-built screenshot tool, other third-party tools offer additional features. Here is a list of the best screenshot tools for Mac that might come in handy.
1. Monosnap – Editor’s choice
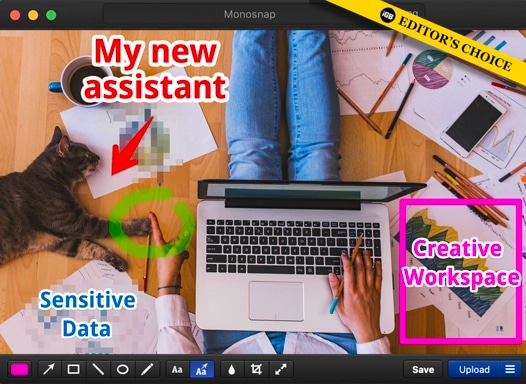
Monosnap provides the most utility among all the tools listed. While it offers a free version, you can also avail of a 30-day free trial before buying its subscription. The app has good developer support and gets updated regularly. Besides, you can revamp the hotkeys to your liking.
When I say this tool has a lot of functionality and features, I actually mean it. For, e.g., as soon as you click a screenshot, you can open it in the app’s native editor or external editor or even copy the screenshot to the clipboard.
Further, there is an option to change the font of the tool’s interface. If you come across some bugs or glitches, you can directly report them in the embedded feedback section of the tool itself.
The user is also offered the ability to screen record in two formats, MPEG and GIF. Do you know what the icing on the cake is? You can see not only the quality of the video but also the FPS it records the screen in. Too good, right?
Pros
- Annotate and Highlight
- Revamp Hotkeys
- Record Videos/GIFs
- Blur images
Cons
- No significant cons
Price: Free (Paid monthly subscription starts at $4.99)
2. Lightshot Screenshot – Easy sharing

Lightshot Screenshot is for people who want basic things done right. It is clean and minimal. Once the screenshot is captured, it lets you annotate.
Also, sharing these screenshots is quite easy, too. Once you select the screen area, you can directly share it with Twitter, Facebook, and Pinterest. If you want to share it elsewhere, you can also directly share the link.
While the tool has these perks, it also comes with its set of quirks. The motion is slow and lagging while dragging the cursor to grab a screenshot.
And this tool can only capture screenshots. It offers no other features like a timer, scrolling screenshots, etc. Further, you can’t capture the screen with the press of a button. You will need to select the area manually.
Pros
- Completely free
- Provides a link right away
- Annotate easily
Cons
- Limited functionality
- Time-consuming for beginners
Price: Free
3. Shottr – Fastest among all
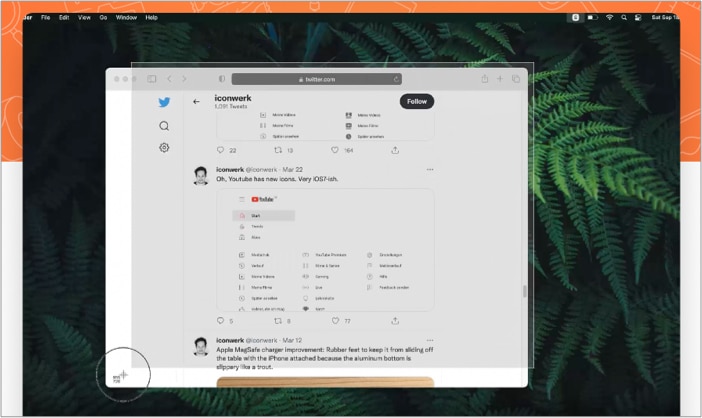
Shottr is the fastest screenshot tool on this list. A screenshot is taken within 17ms. This is possible as the company optimized this tool for Apple’s M1 SoCs. Moreover, it occupies just 1.2MB of space.
The tool allows you to copy text from the screen right away by mapping shortcut keys, and if that wasn’t enough, the preview window also displays color codes from a screenshot as you move your cursor over it.
Another unique feature of the tool is that it allows scrolling screenshots to set the speed for it. The app interface is also minimal and extremely user-friendly. Further, the preview window offers annotation and other features like copying the image to share, uploading it on the Shottr cloud, etc.
Pros
- Fastest screenshot tool
- Supports scrolling screenshots
- Copy text on the go
- Optimized for M1
Cons
- Doesn’t support screen recording
Price: Free
4. Xnip: Screenshot and Annotation – Jack of all trades
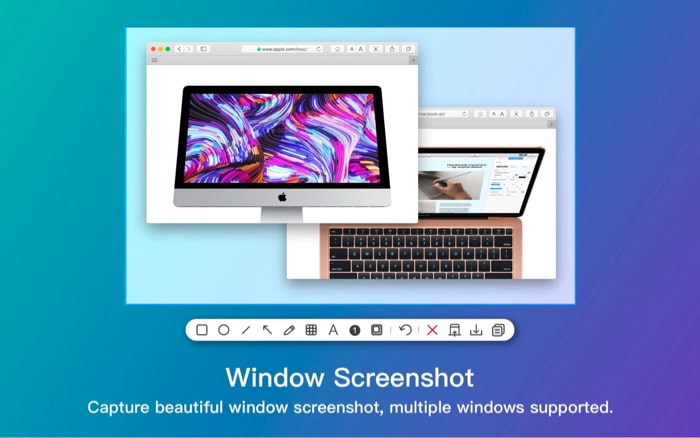
Xnip is a basic screenshot tool. It allows you to pin a screenshot on any tab you’re working on. This nifty feature is exclusive to Xnip on this list. The app interface is straightforward and has great developer support.
Support for scrolling screenshots can be seen here as well. Revamping the hotkeys is also possible. While the tool isn’t the fastest on the list, it isn’t slow either. You have to drag and select the area you want to capture and can annotate it on the go.
While the tool is free to use, subscribing to the paid version will remove the watermark from scrolling capture and step annotation. Additionally, it will also allow custom file names.
Pros
- Screenshot pinning
- Can save images in multiple formats
- Supports revamping hotkeys
Cons
- Lacks screen recording
- Watermark on certain screenshots
Price: Free (Paid subscription starts at $4.99)
5. Cleanshot X – Hide files and folders
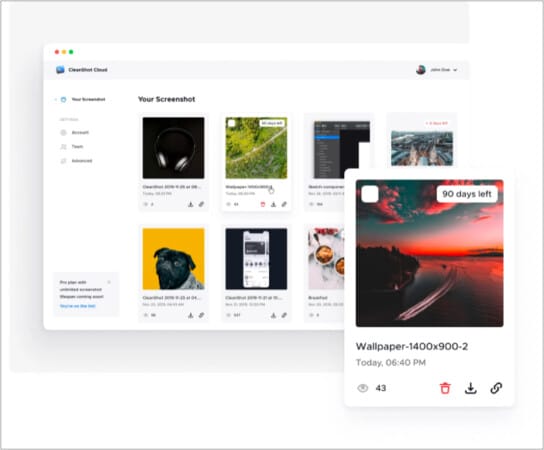
When you take a screenshot with Cleanshot X, a smart overlay pops up at the corner of your screen. This small preview has quite-useful options. As soon as you move your cursor on the small preview window, you can copy the image, save it, or even upload it to the cloud and annotate it. You can also upload the image to the cloud and get a link to share.
Scrolling screenshots and screen recordings are present on this tool. If you get a lot of notifications that usually keep showing up in your screenshots, this tool has a feature that can automatically mute notifications in the screenshot. Amazing, right?
Our desktops are cluttered with files and folders, and this tool allows you to hide everything on your desktop while taking a screenshot. The tool also allows you to set a custom wallpaper for it. Also, it is one of the few tools that allows you to pin the image.
Pros
- The best preview interface
- Cloud storage
- Screen recording and Screen recording
Cons
- Paid
Price: $29 for one-time payment | $8 per user/mo
That’s it!
So, this was our list of the best screenshot tools for mac. Let us know if you found this list useful. If any of these tools do not cater to your needs, make sure to drop a comment, and we will try to help you further.
Read more:
