Screenshots offer a great way to capture and share information from your Mac screen. However, sometimes, you may need to remove unnecessary elements from the captured images to focus on specific details. In such instances, knowing how to crop a screenshot on your Mac can help.
In this guide, I’ll walk you through various methods to crop screenshots on your Mac. Whether you’re an experienced macOS user or entirely new to the device, I have something useful for everyone. So, without any further ado, let’s get started!
How to crop a screenshot on Mac using keyboard shortcut
Apple offers several ways to take screenshots on your Mac. One of those methods allows you to capture just the desired portion, which eliminates the need for cropping altogether!
Here’s how it is done:
- Press and hold Command + Shift + 4 keys simultaneously on the keyboard.
Once you press these keys, the mouse pointer will turn into a crosshair (+). - Drag the crosshair (+) to select the area of the screen you wish to capture.
You may press the Esc (Escape) key to cancel taking the screenshot. - Release the mouse or the trackpad to capture the screenshot.
You’ll see a thumbnail of the cropped screenshot on the bottom right of your screen. To view it, just click on it.
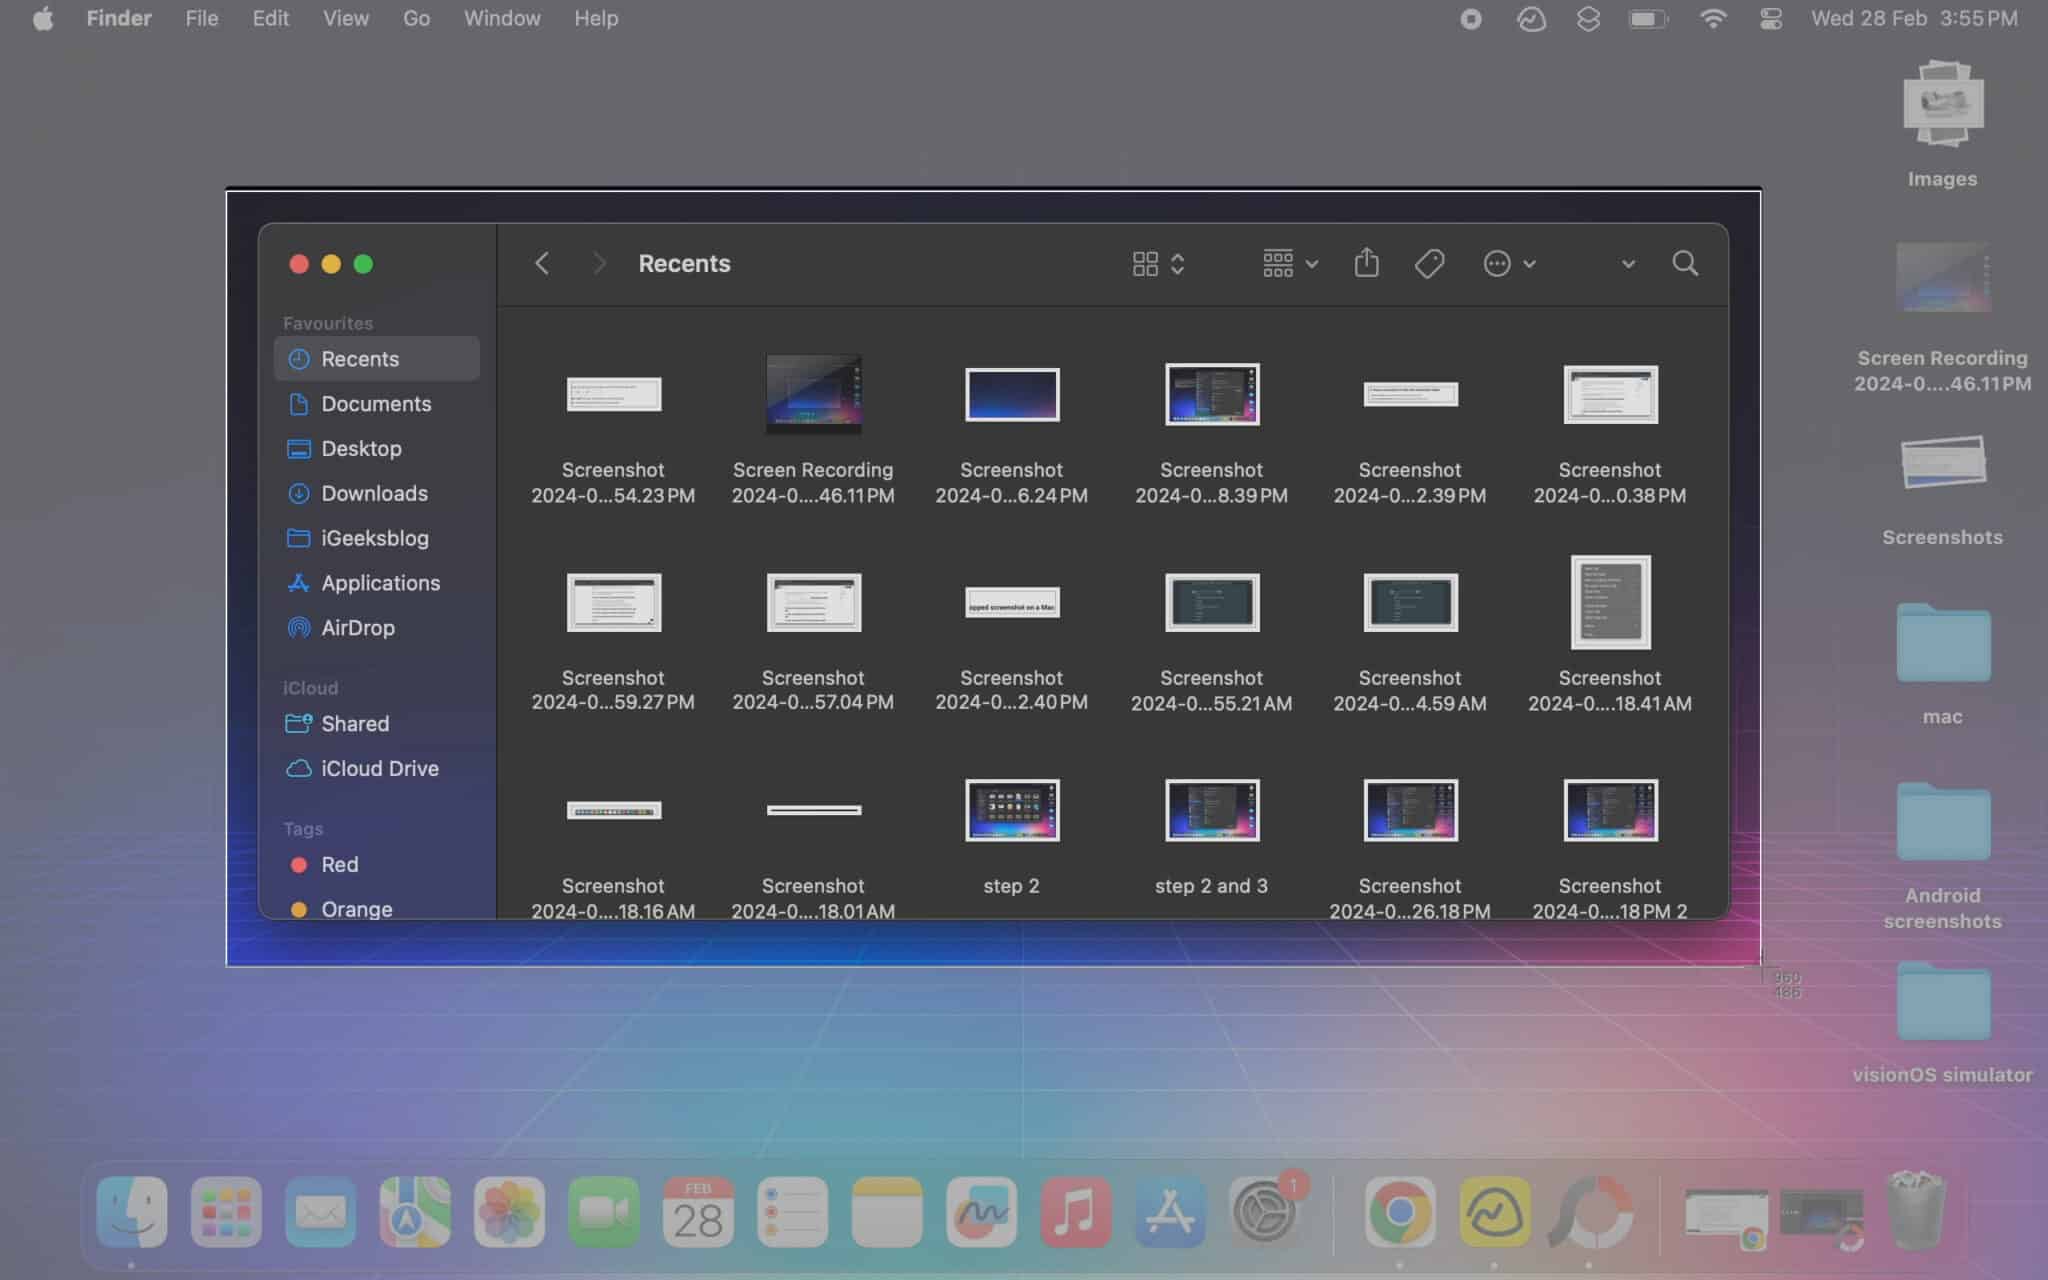
By default, the screenshot will be saved on the Desktop of your Mac.
If you’re using a MacBook Pro with a Touch Bar, you can also tap the screenshot button on the Touch Bar to take cropped screenshots. However, to add this option, you must customize the Touch Bar.
Crop a screenshot on Mac using the built-in tool
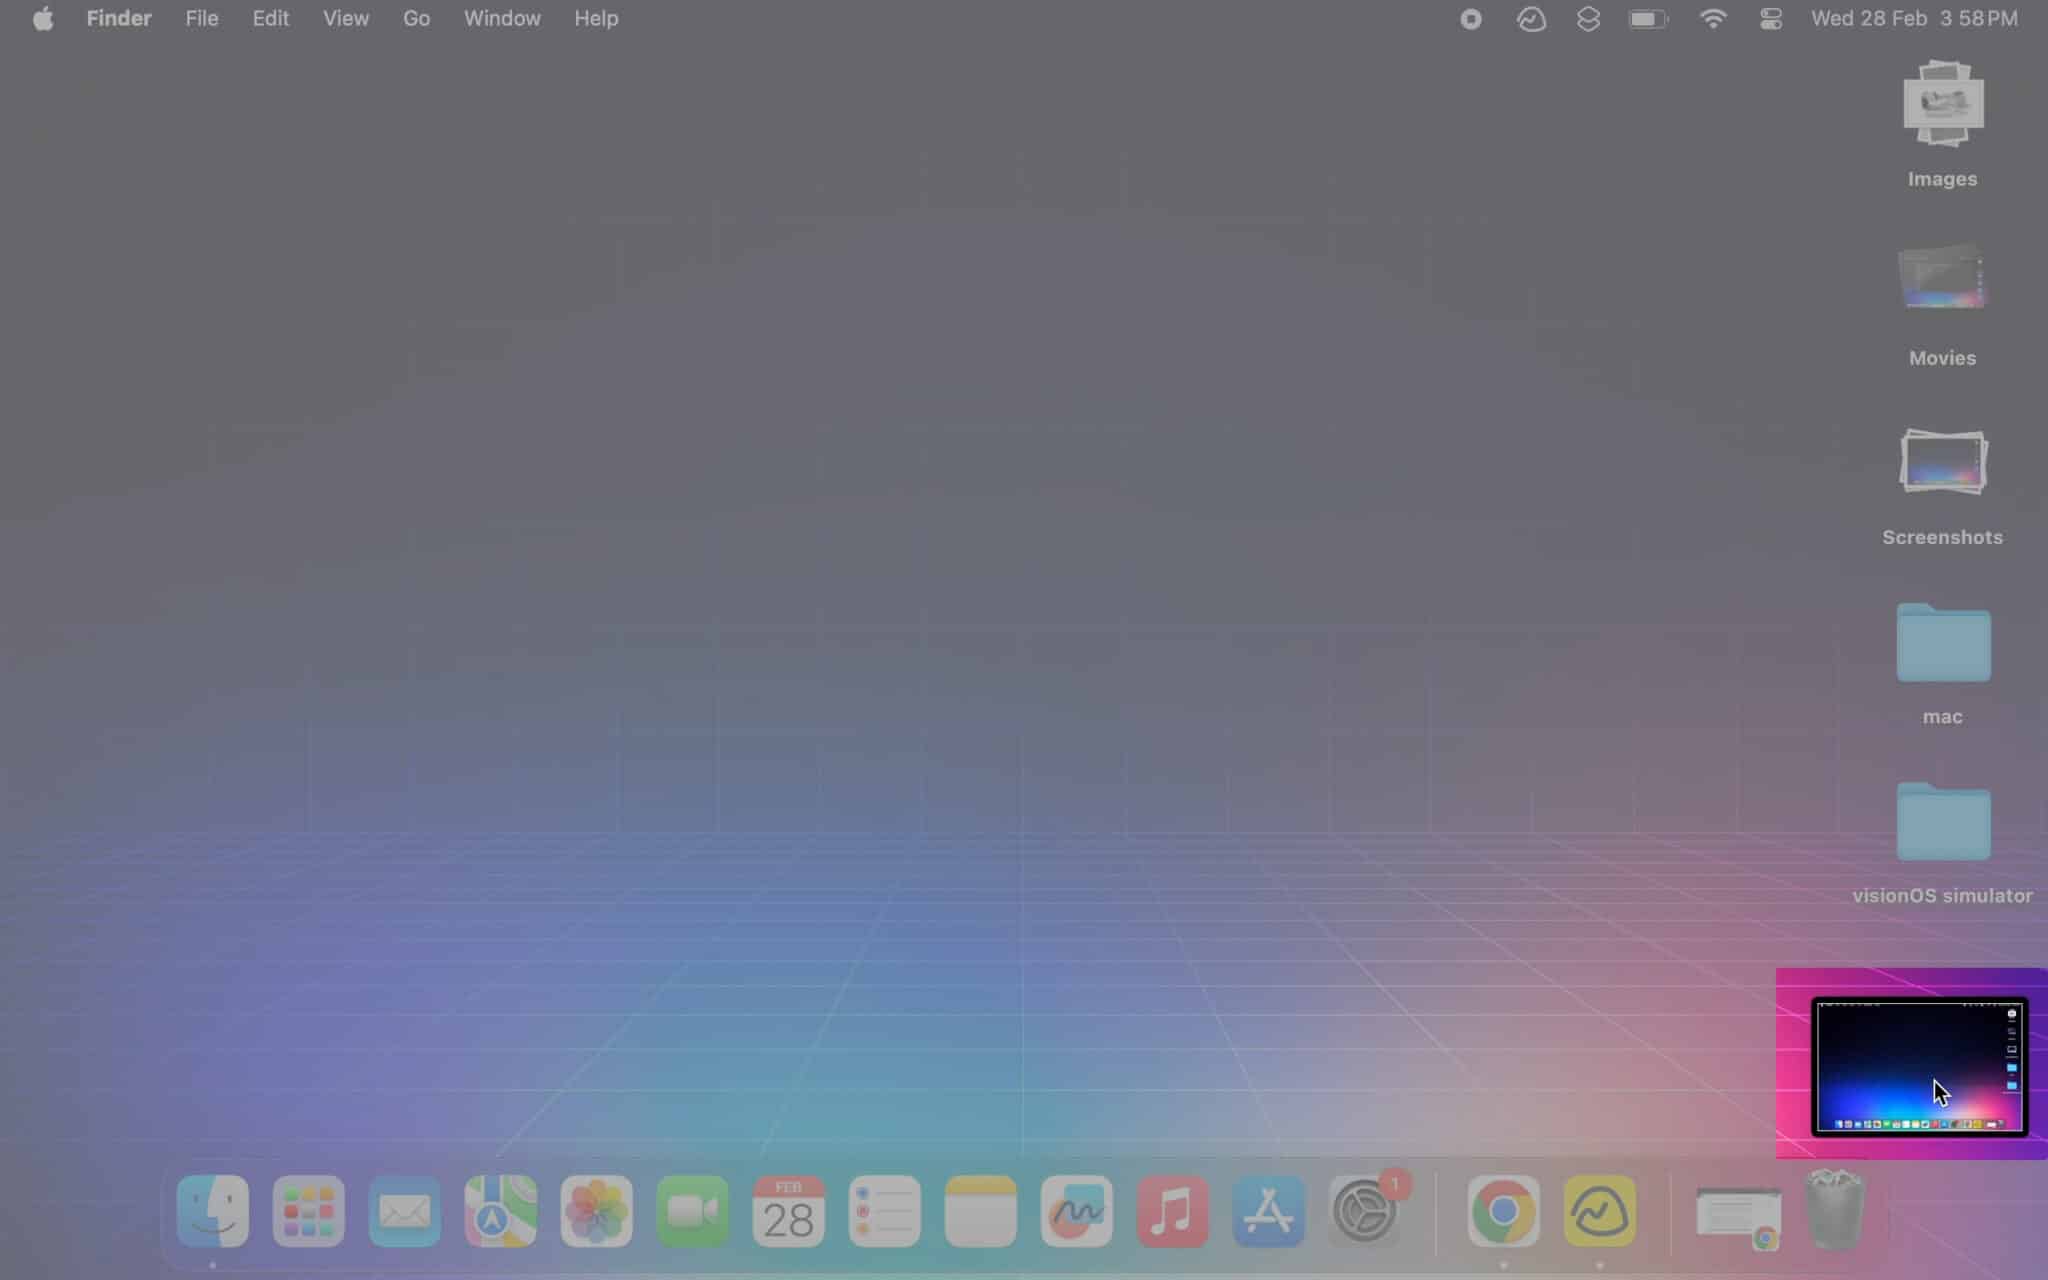
When you take a screenshot using the built-in screenshot tool on Mac, you’ll see a floating thumbnail appear in the bottom right of your screen.
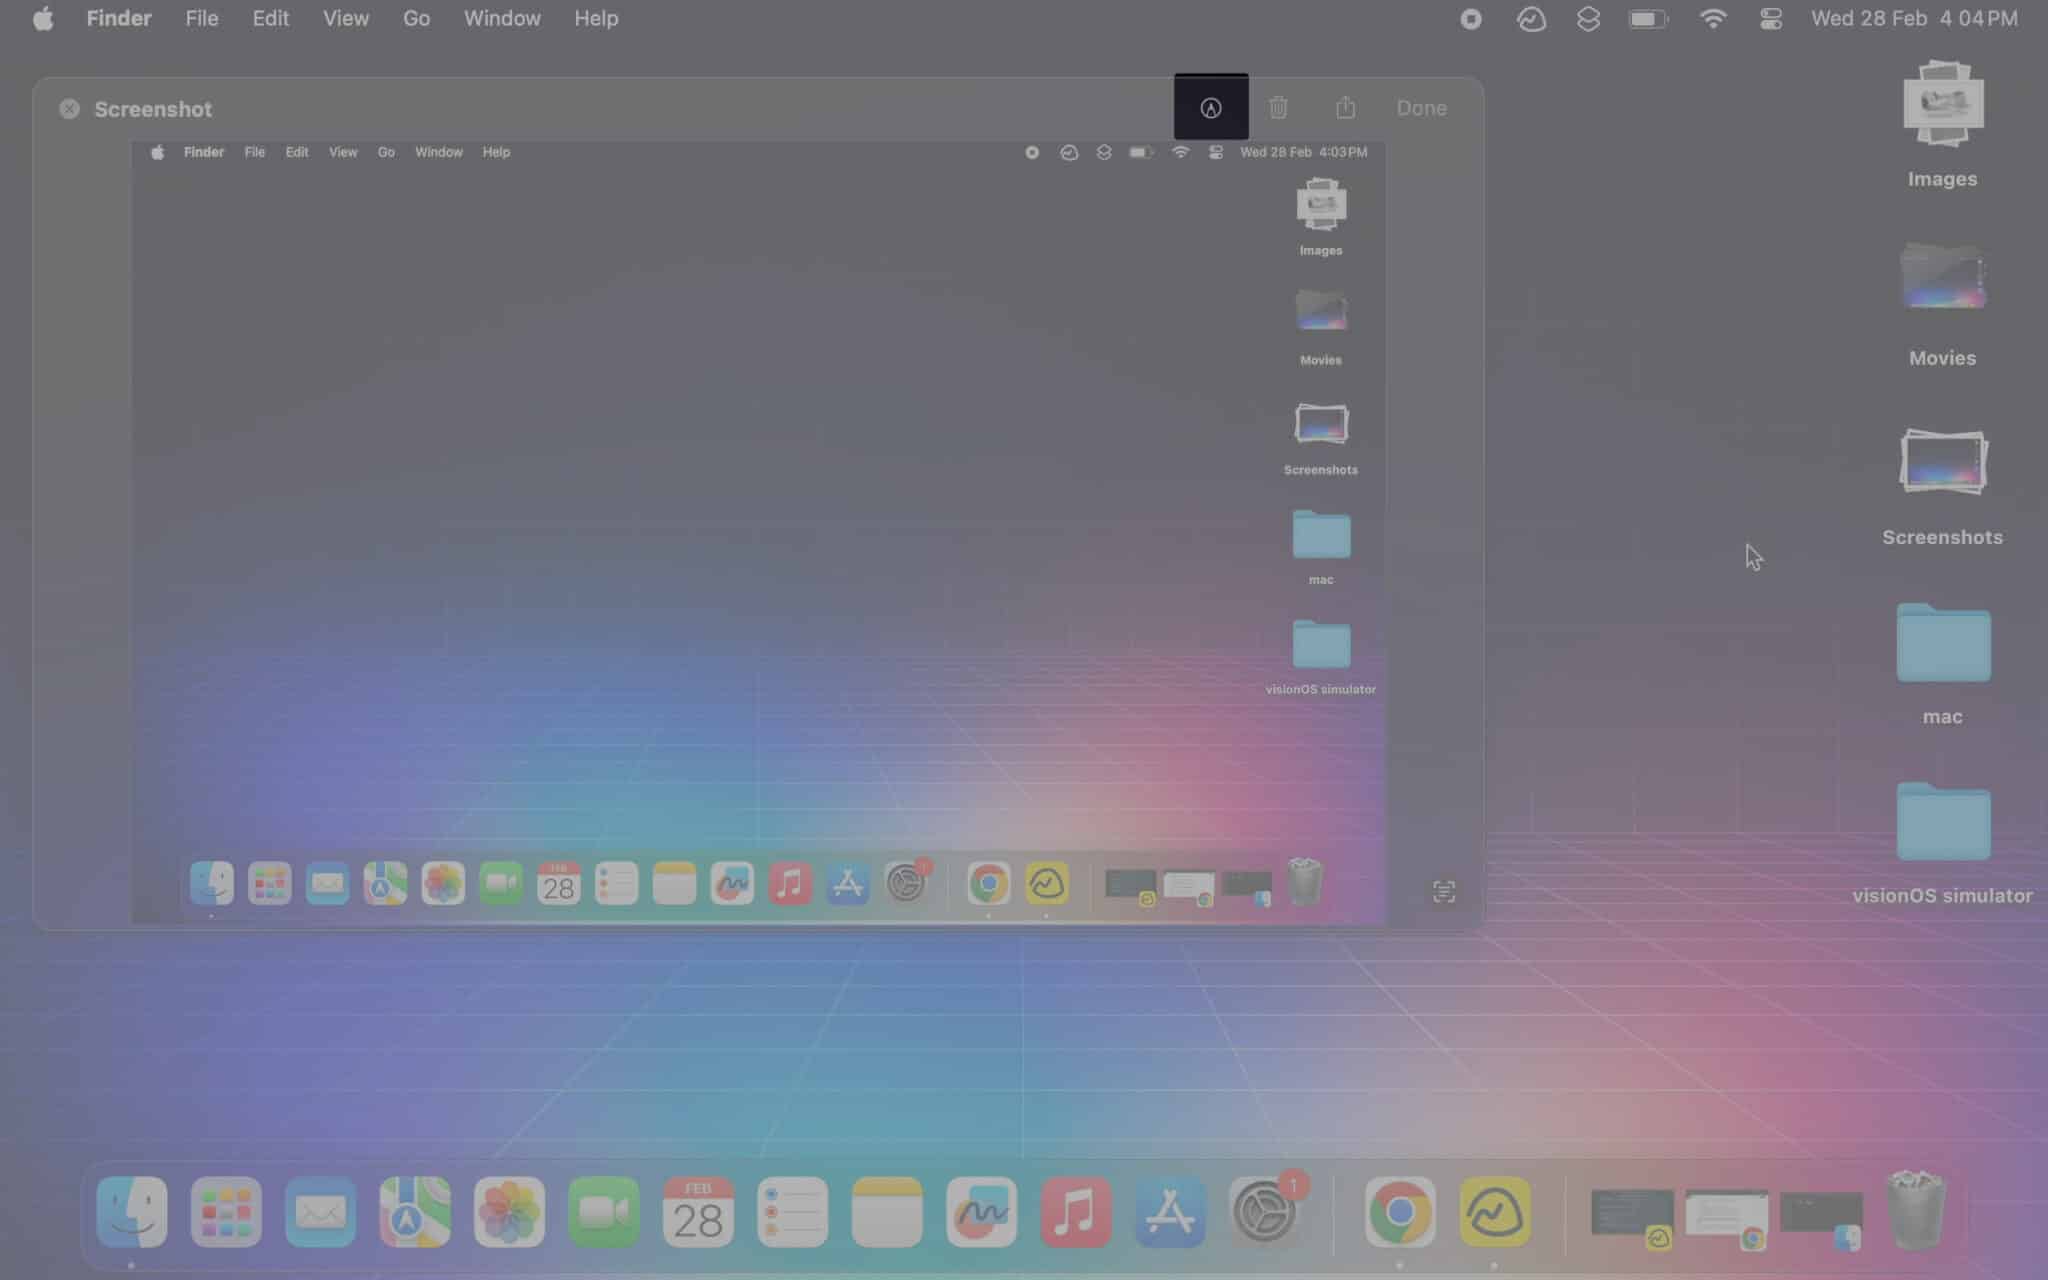
You can click this thumbnail to preview the image and access a built-in editor that can be used to annotate or crop the screenshots. Here’s the step-by-step process:
- Take a screenshot on your Mac using your preferred capturing option.
For demonstration, I am going with the famous Command + Shift + 3 combination. - Click the screenshot preview that appears at the bottom right corner.
- Click the Markup button (circular icon with a pen) in the preview window’s top right corner.
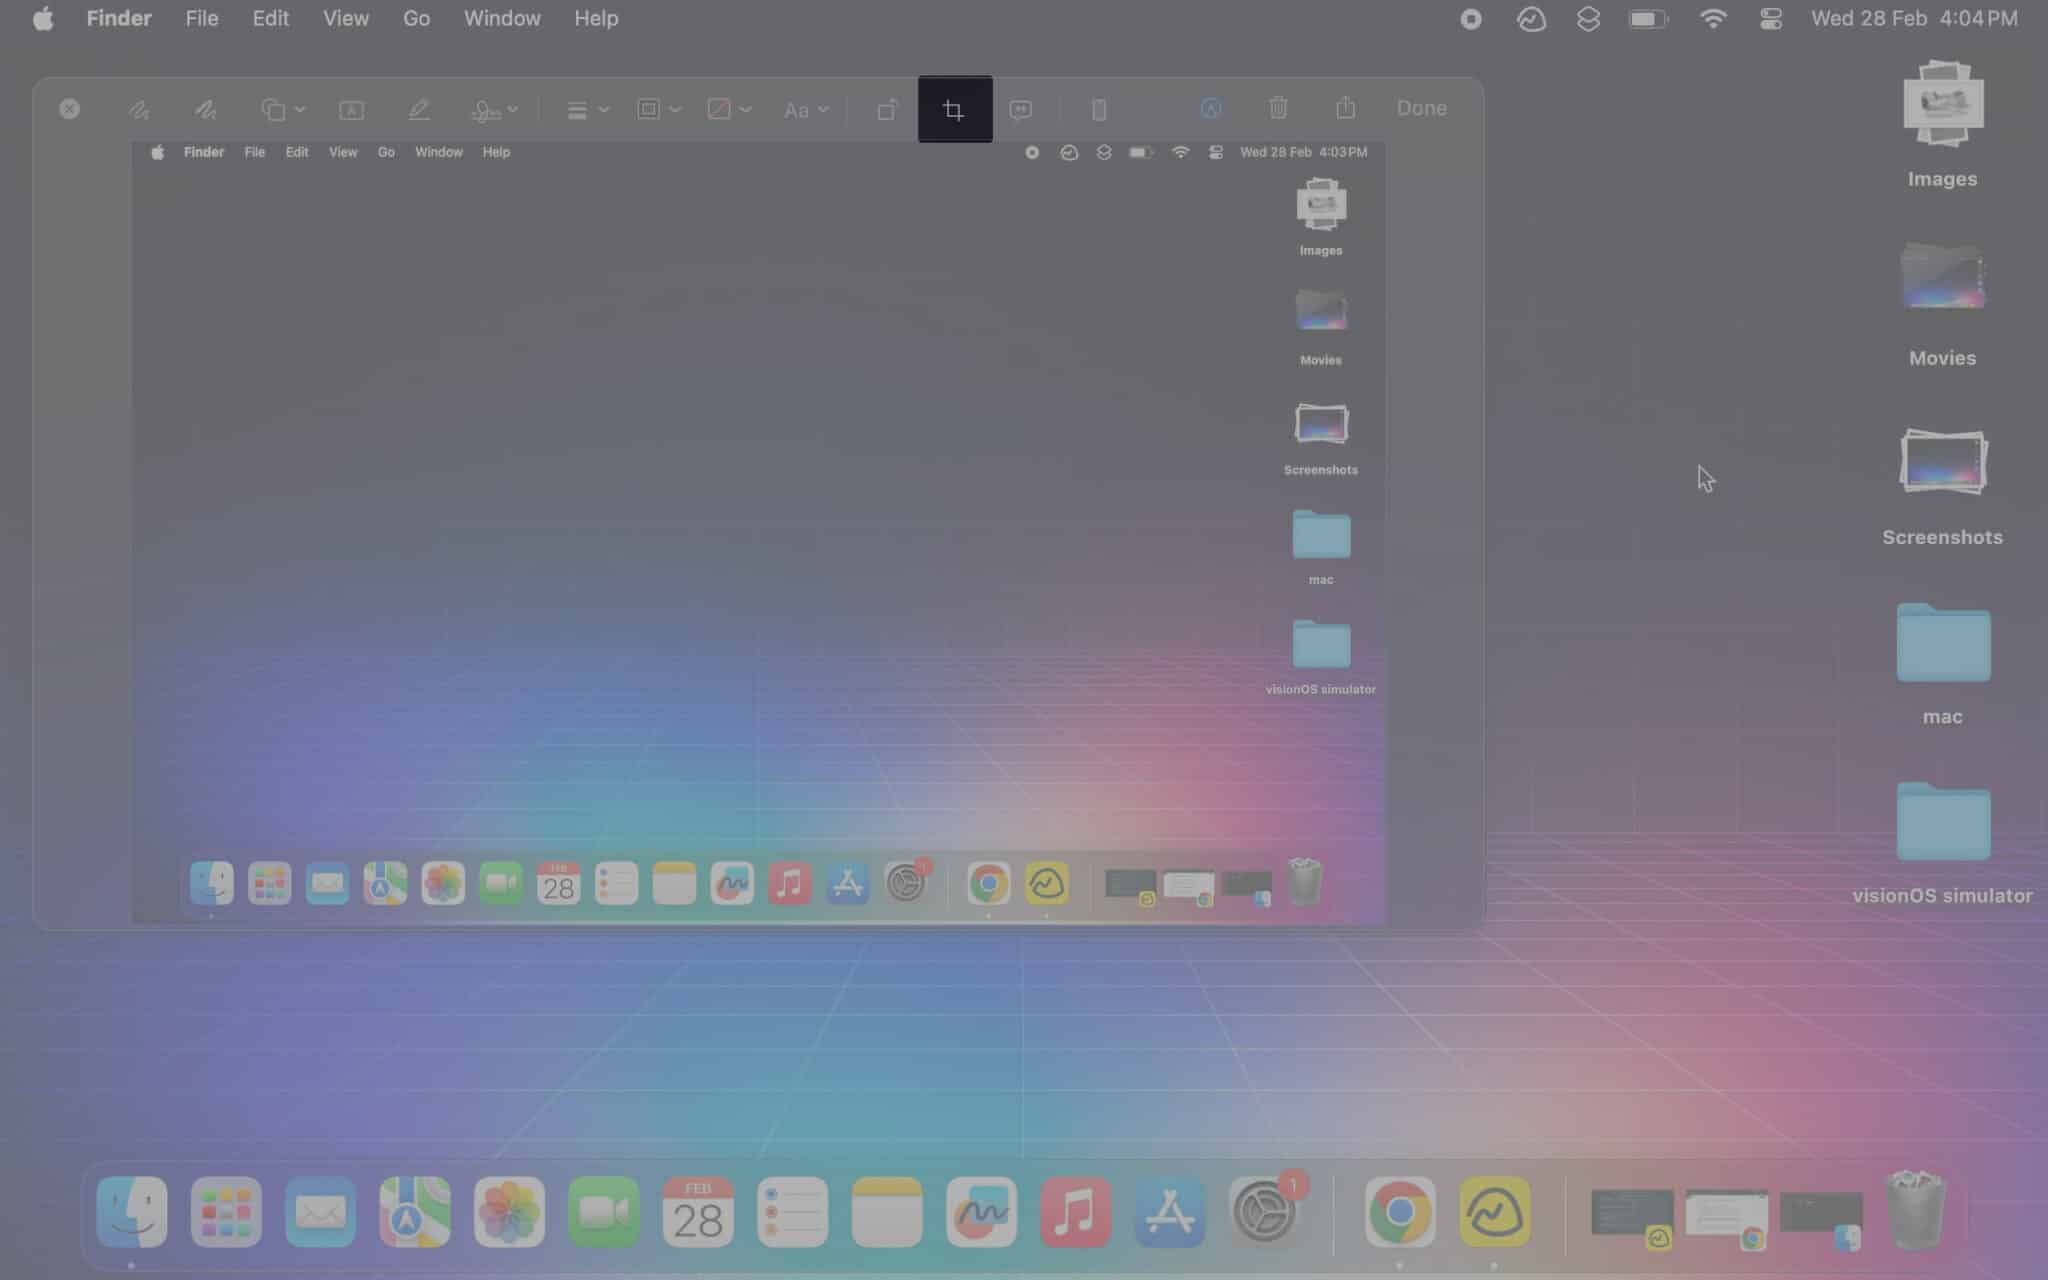
- Click the Crop button (sixth option from the right) located at the center of the Preview window’s toolbar.
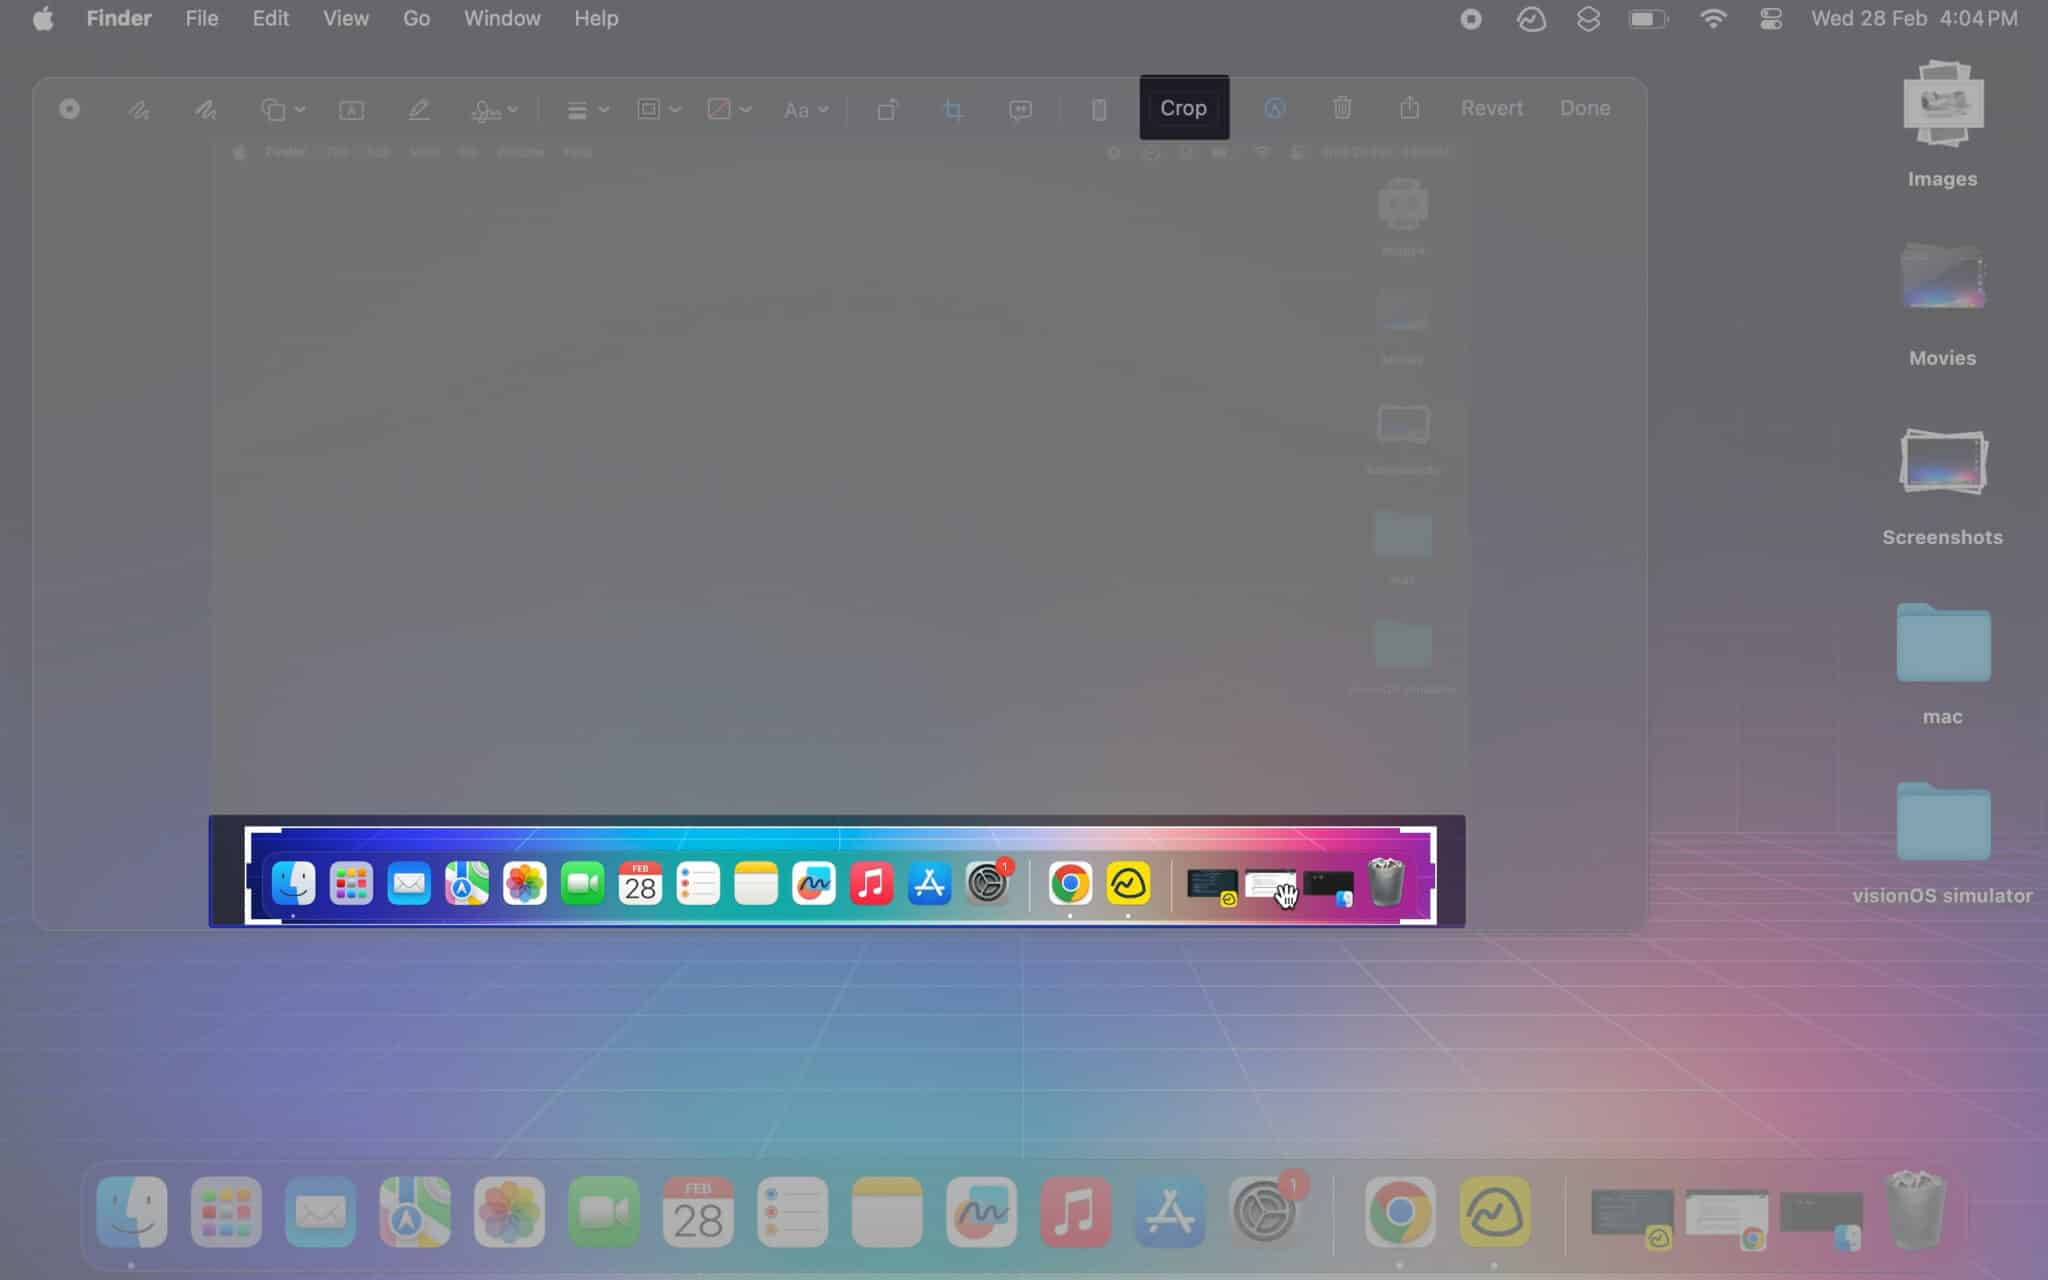
- Drag the corners inwards or outwards to select a portion you wish to save → Then, select Crop to save the changes.
Crop an existing screenshot using the Preview app
Yet another way you can crop screenshots on Mac is through the Preview app. Although the preview app’s main function is to let you view images and PDFs in macOS, you can also use the tool to edit screenshots.
- Launch Finder from the dock on your Mac.
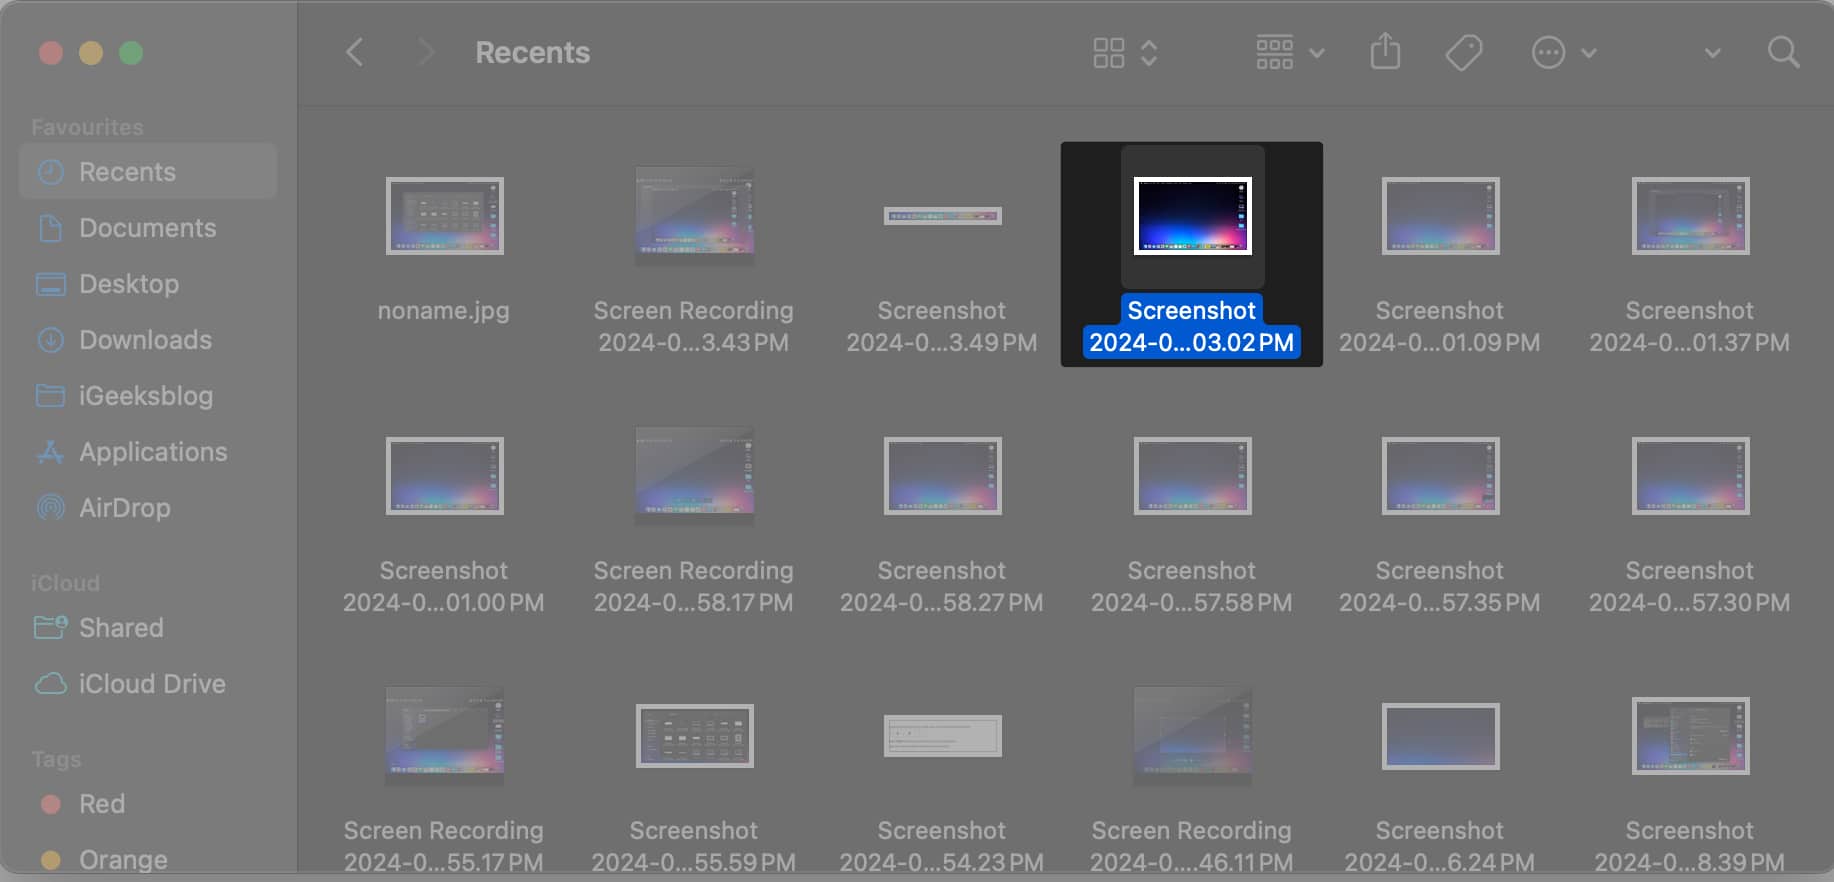
- Locate the saved screenshot → Double-click to open it.
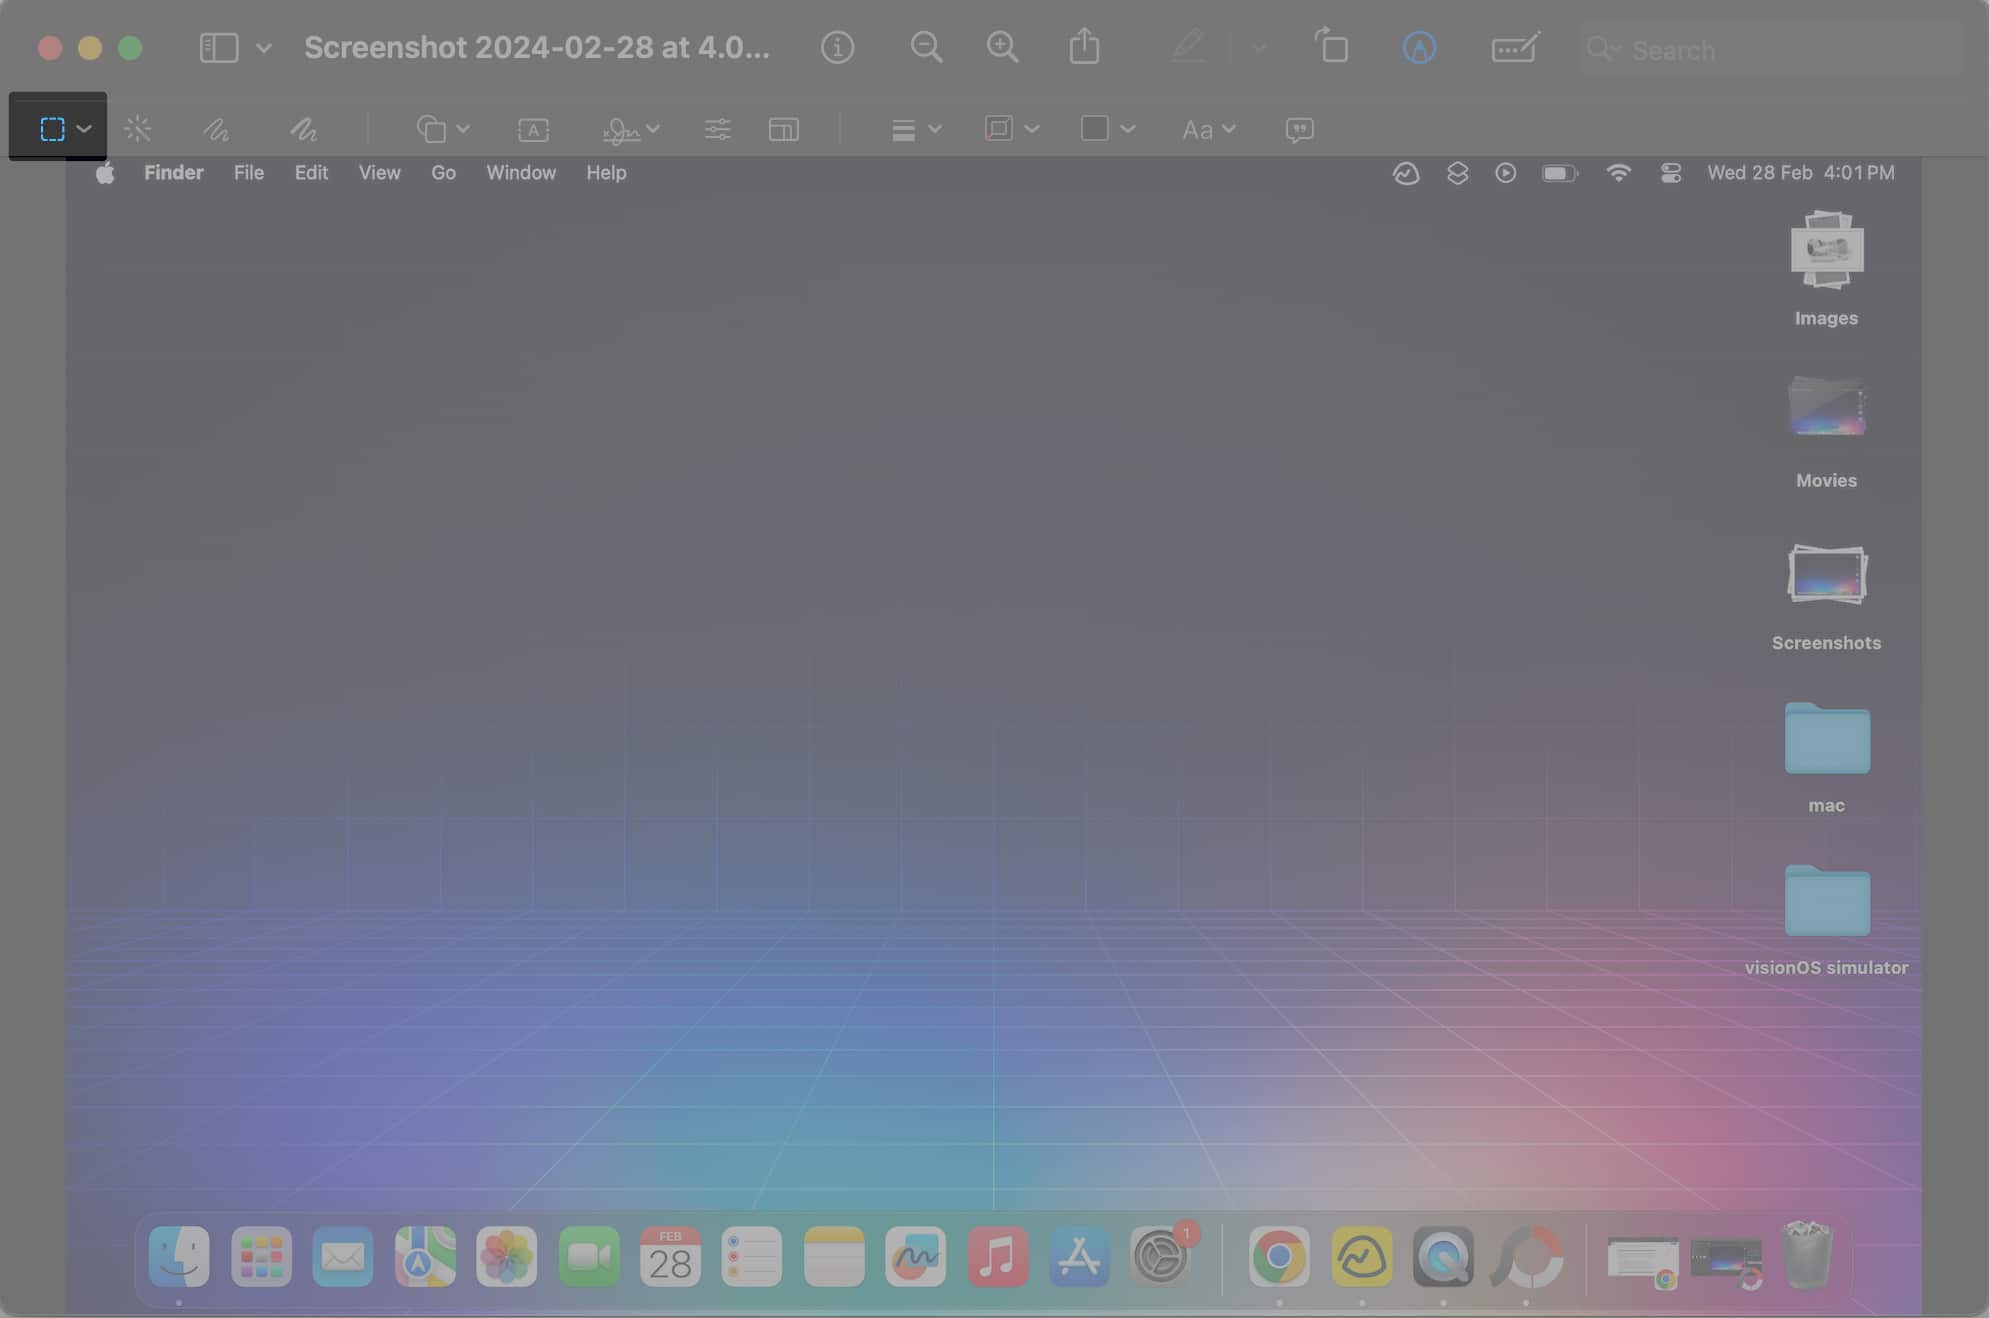
- Click the Markup button (circular icon with a pen) from the toolbar.
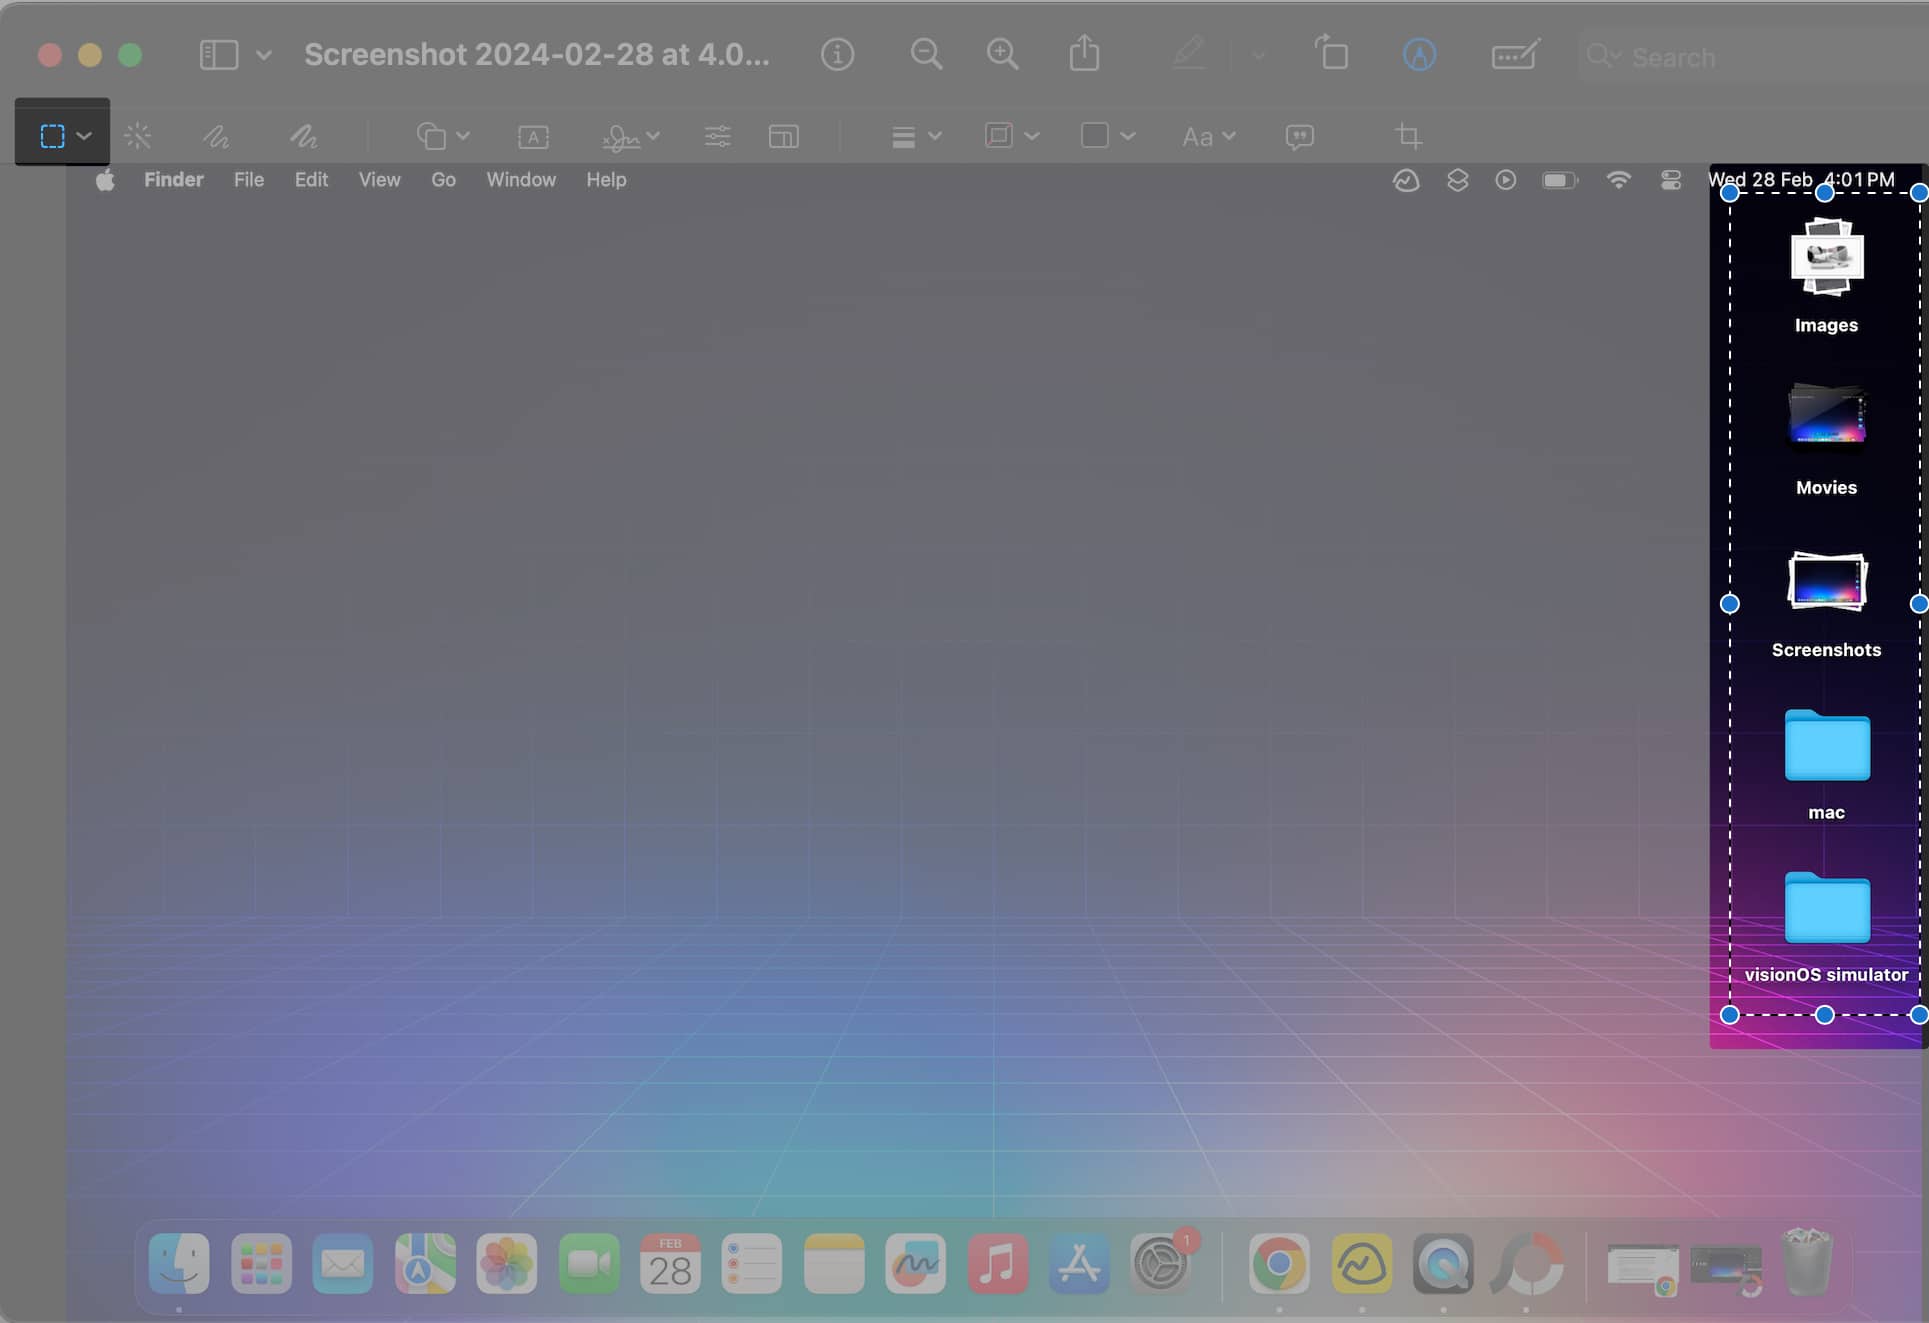
- Now, click the first button with a dotted square from the new options that appear.
- Double-tap and drag to select a part of the screenshot → Then, click the Crop button.
Crop an existing screenshot using the Photos app
You can quickly crop a screenshot using the editing options available in the Photos app of your Mac.
The downside of this method is that you would need to perform a couple of extra steps to import the screenshot into the Photos app. With that said, here’s how you can do this:
- Locate and open the Photos app on your Mac.
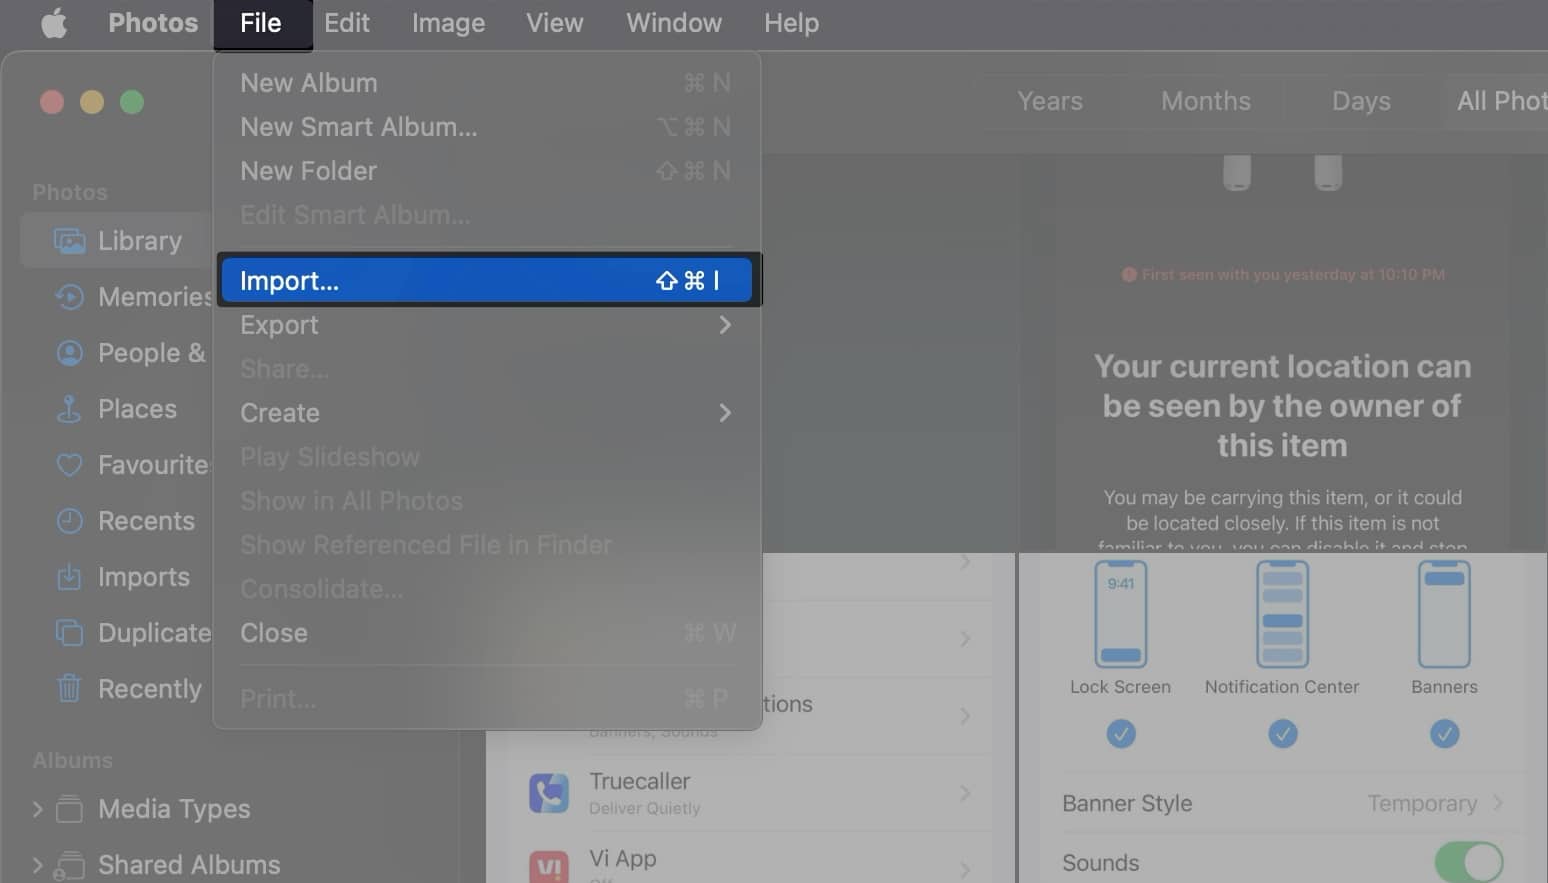
- Click on File from the Menu Bar → Select Import.
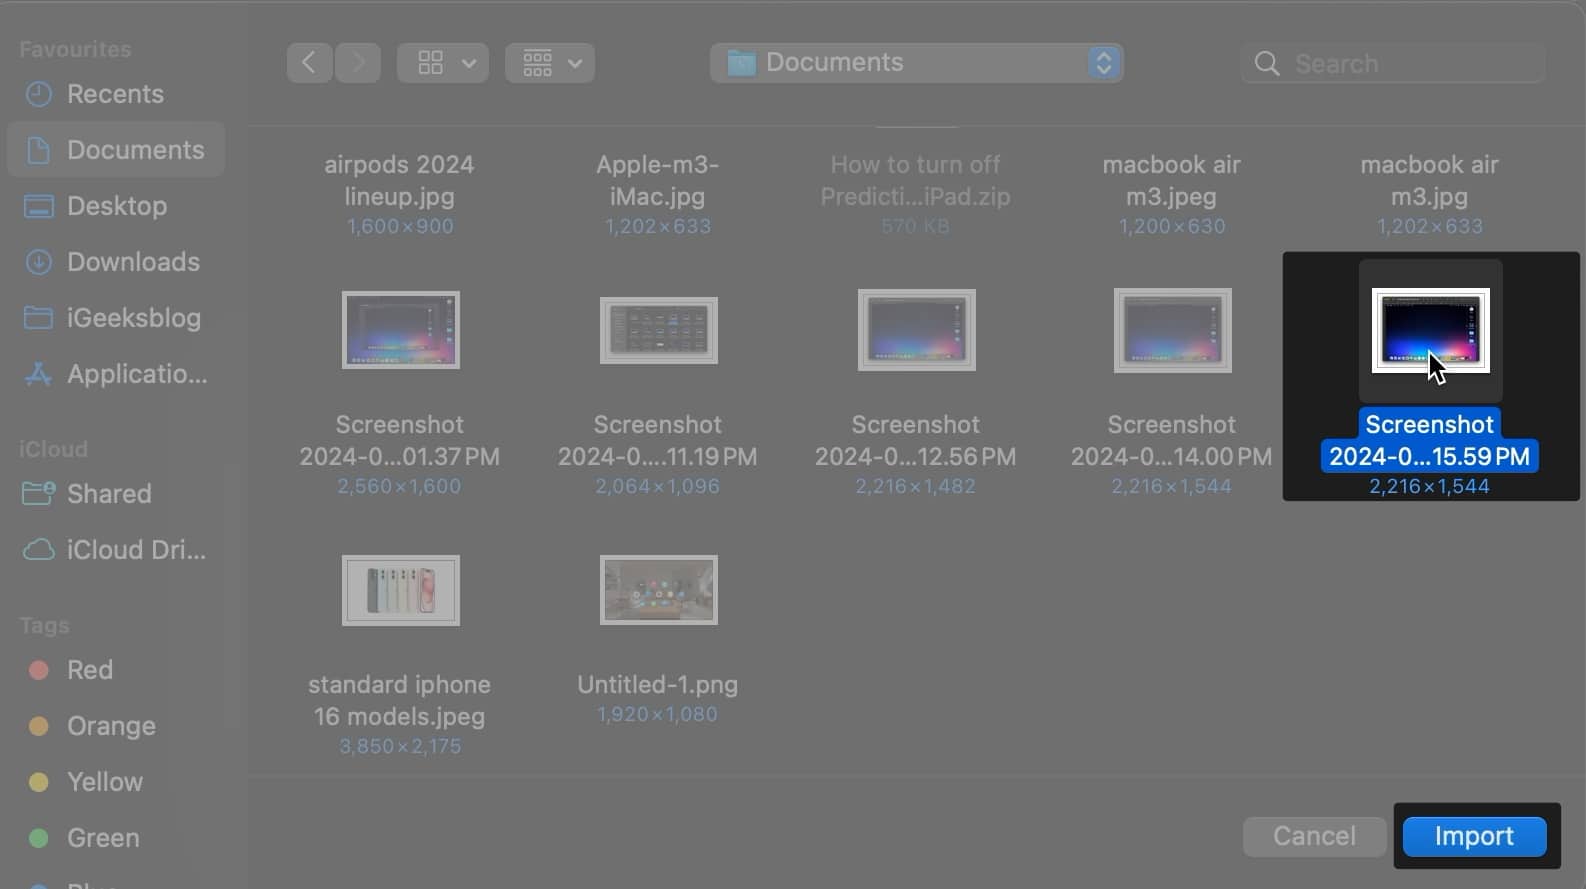
- Locate and select the saved screenshot → Click Import.
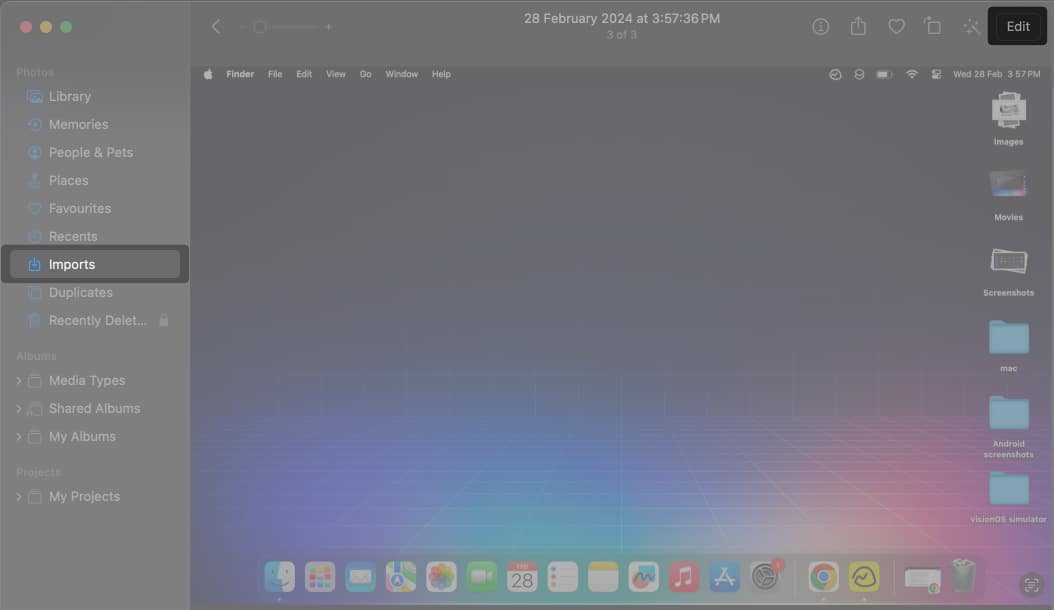
- Select Imports from the sidebar → Open the imported screenshot in the Photos app.
- Now, in the same window, click the Edit button located in the top right corner.
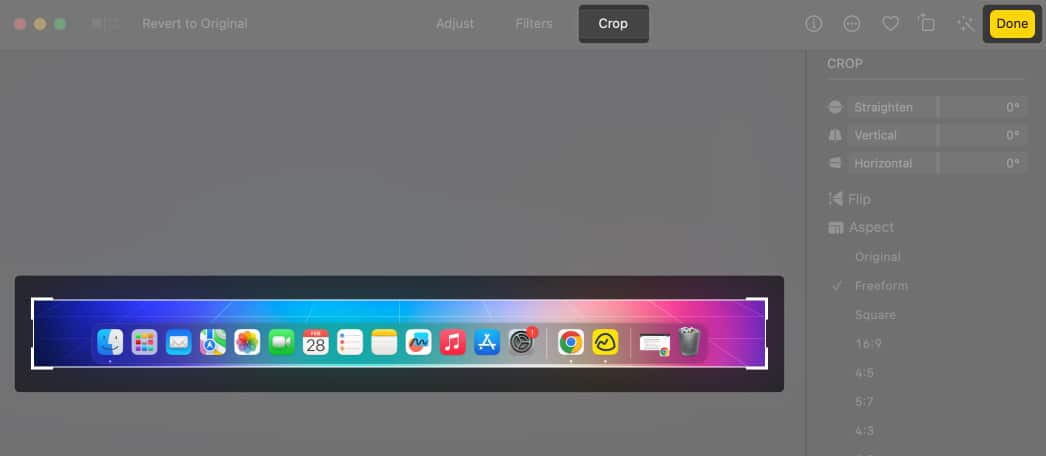
- Select Crop from the top of the window → Use the guides to select the portion of the image you wish to crop.
- Click Done to save the changes.
The cropped image will be saved in the Photos app.
Crop screenshots using third-party tools on Mac
Besides the native tools on Mac, you can even use third-party photo editing apps like PhotoScapeX to crop screenshots on your Mac.
These apps offer a wide range of features to modify your images. However, if you want to avoid downloading apps on your Mac, you can use online tools like Canva.
Wrapping up…
Whether you’re trying to remove distracting portions of a screenshot or simply trying to clean up a screenshot for aesthetic reasons, cropping screenshots on your Mac can be incredibly useful for a variety of purposes.
And, even though editing images can be a somewhat boring process, cropping screenshots on your Mac should be a piece of cake, thanks to the methods outlined in this guide. If you face any difficulty while trying these methods, do drop your concern in the comments below. I’d be happy to help!
Also read:

