The idea of capturing the close-up pictures of the Moon with your iPhone sounds fantastic. But it requires patience, extreme carefulness, and advanced techniques. To simplify this, I will share how to take a picture of the Moon with your iPhone. From the basics of camera settings and the best time to take your shots, this guide contains everything you need to know.
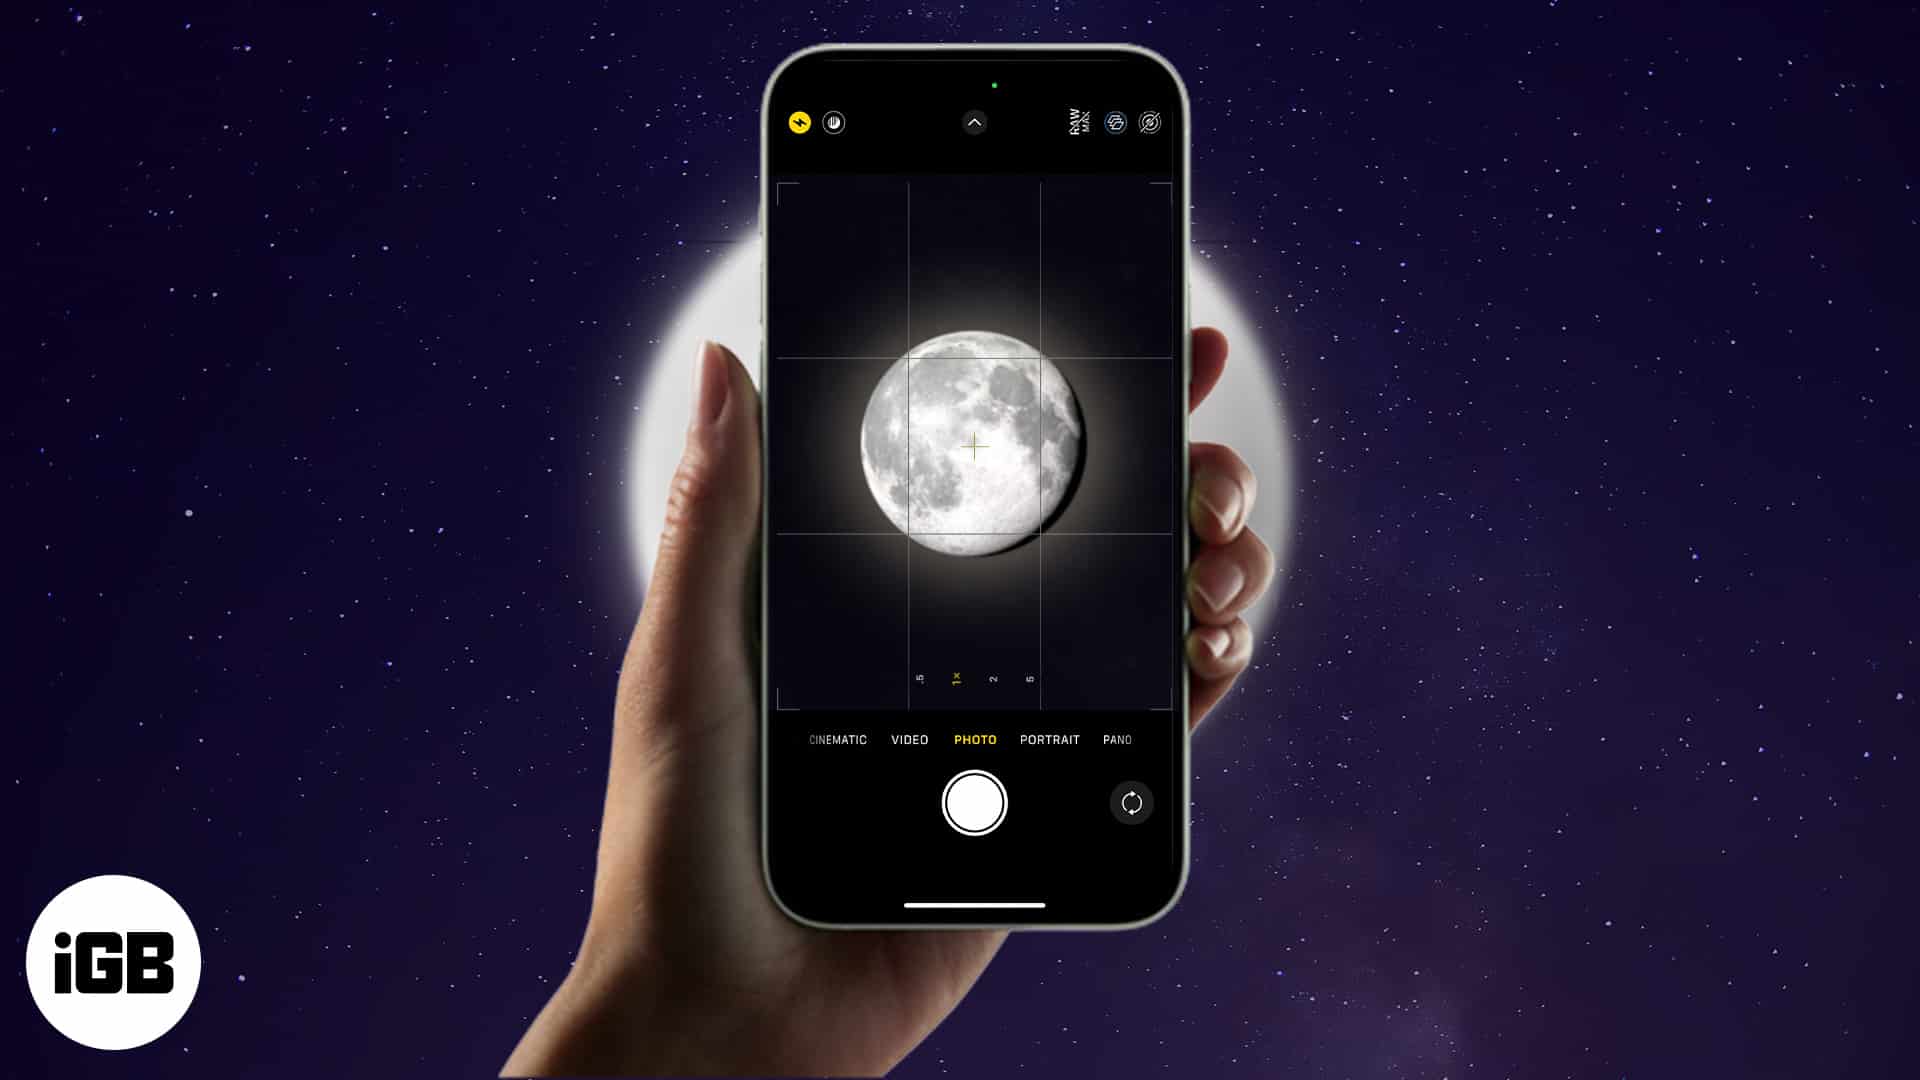
Prepare your iPhone for the night sky shoot
Since the Moon looks so tiny and shines against the black sky, it is difficult to take clear pictures of it. It usually ends up with a grainy, out-of-focus picture or an overly bright moon. The iPhone camera cannot capture the whole quantity of light that the Moon emits.
Furthermore, the camera on your iPhone isn’t designed to capture pictures of objects that are really far away. So, if you crave a high-definition image of the Moon from your iPhone, ensure your device and every related parameter are in prime state.
- Clean the camera lens with a microfiber cloth to remove any dust or fingerprints that may hinder image clarity. I prefer using a microfiber cloth slightly damped with isopropyl alcohol.
- Ensure your device is charged and set to last for a long time.
- Update your device to the latest version to avoid camera bugs.
- Clear up space for new images and videos. You never know how many pictures you’ll end up with. Precaution is better than cure.
Combining these steps, you will start strong to take good pictures of the Moon using your iPhone.
How to take clear pictures of the Moon with your iPhone
To capture a picture of the Moon with your iPhone and achieve an exceptional night sky shot, there are step-by-step methods you can employ.
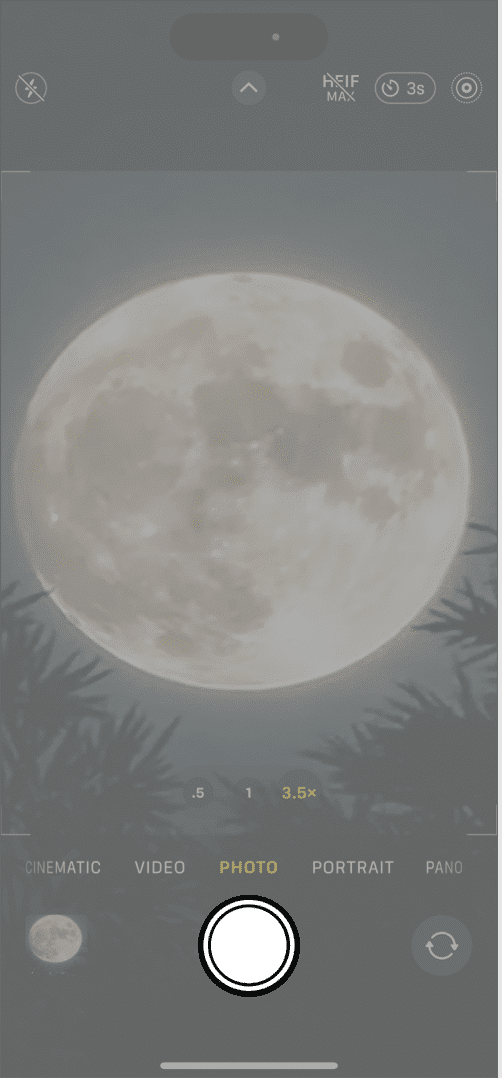
- Go to a location away from lots of lights for better visuals. Now, launch the Camera app.
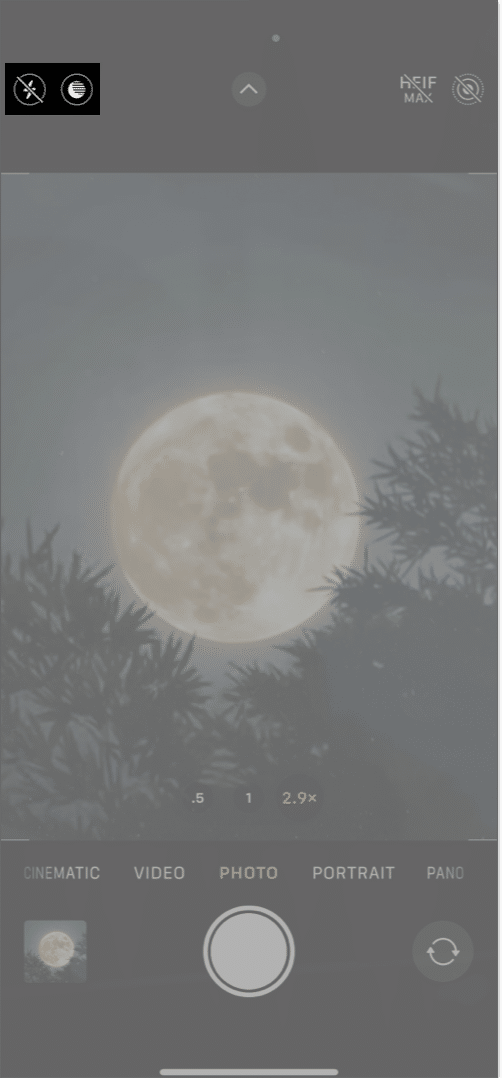
- Look for a yellow moon icon on your frame to ensure the night mode is activated.
- Click the yellow flash icon to turn it off.
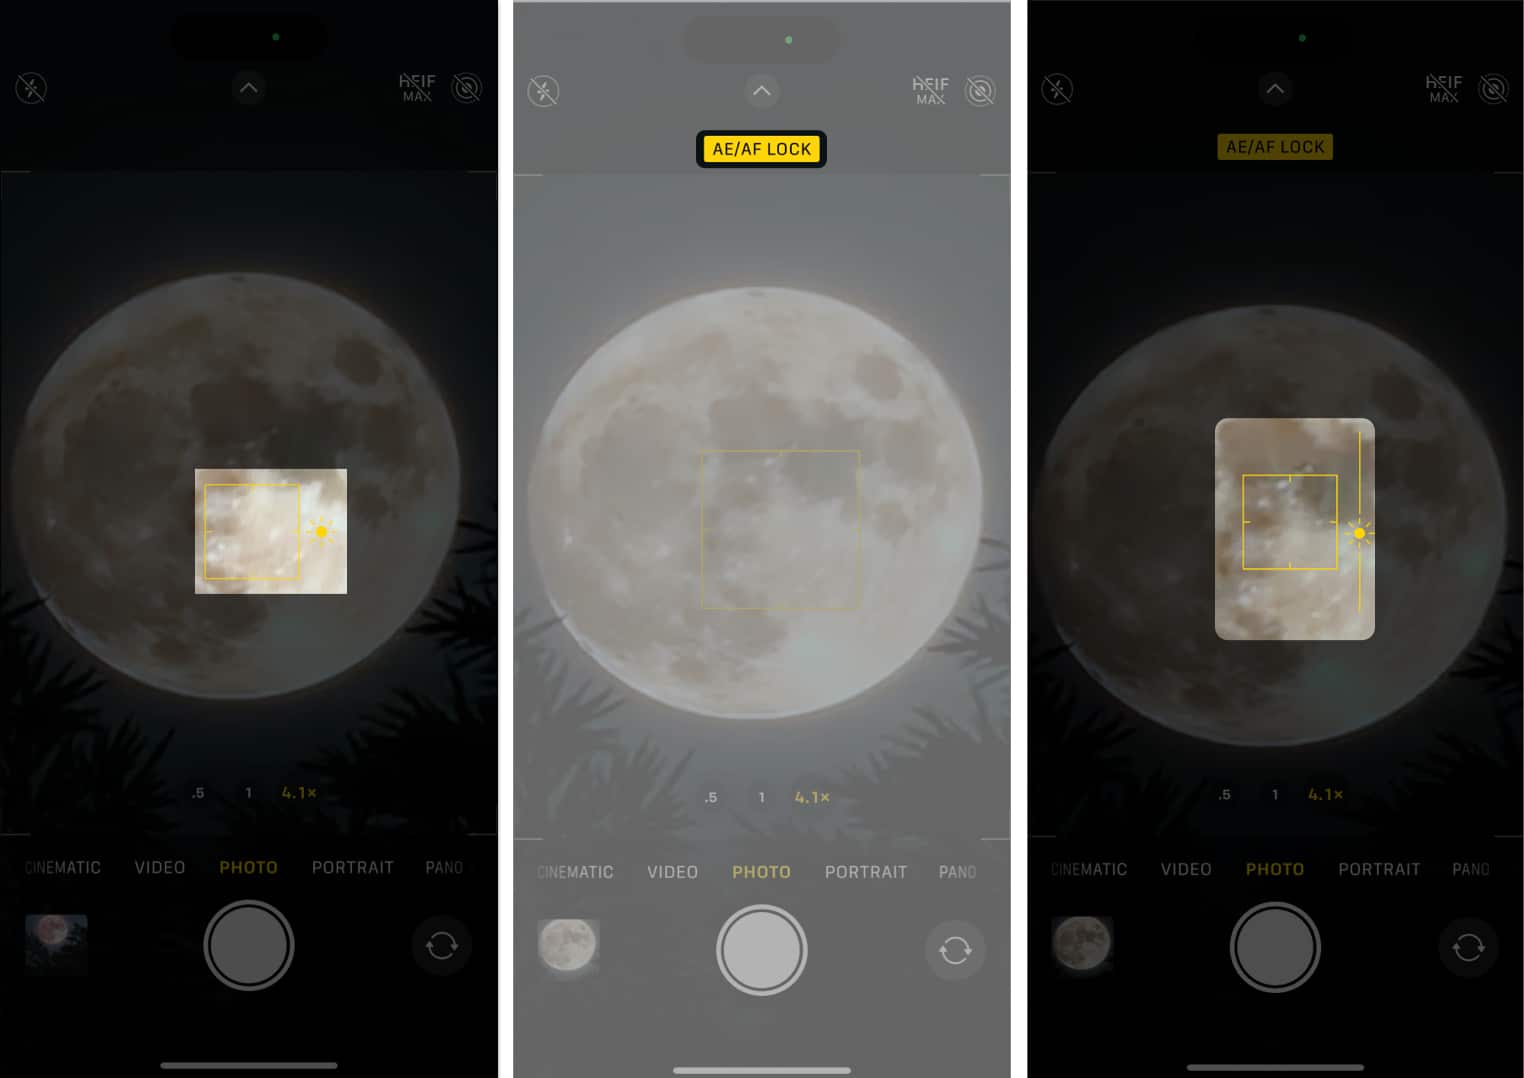
Flashlight interferes with the natural light passing in, resulting in uneven image exposure. - Now, zoom in optimally to frame the Moon.
Avoid over-zooming, as it can cause the loss of essential details and clarity in the image. - Tap the brightest part of the Moon to set the focus.
- Next, tap and hold on the yellow box on your iPhone screen until you see AE/AF Lock.
- Drag the sun icon down to lower the exposure to match the Moon’s brightness.
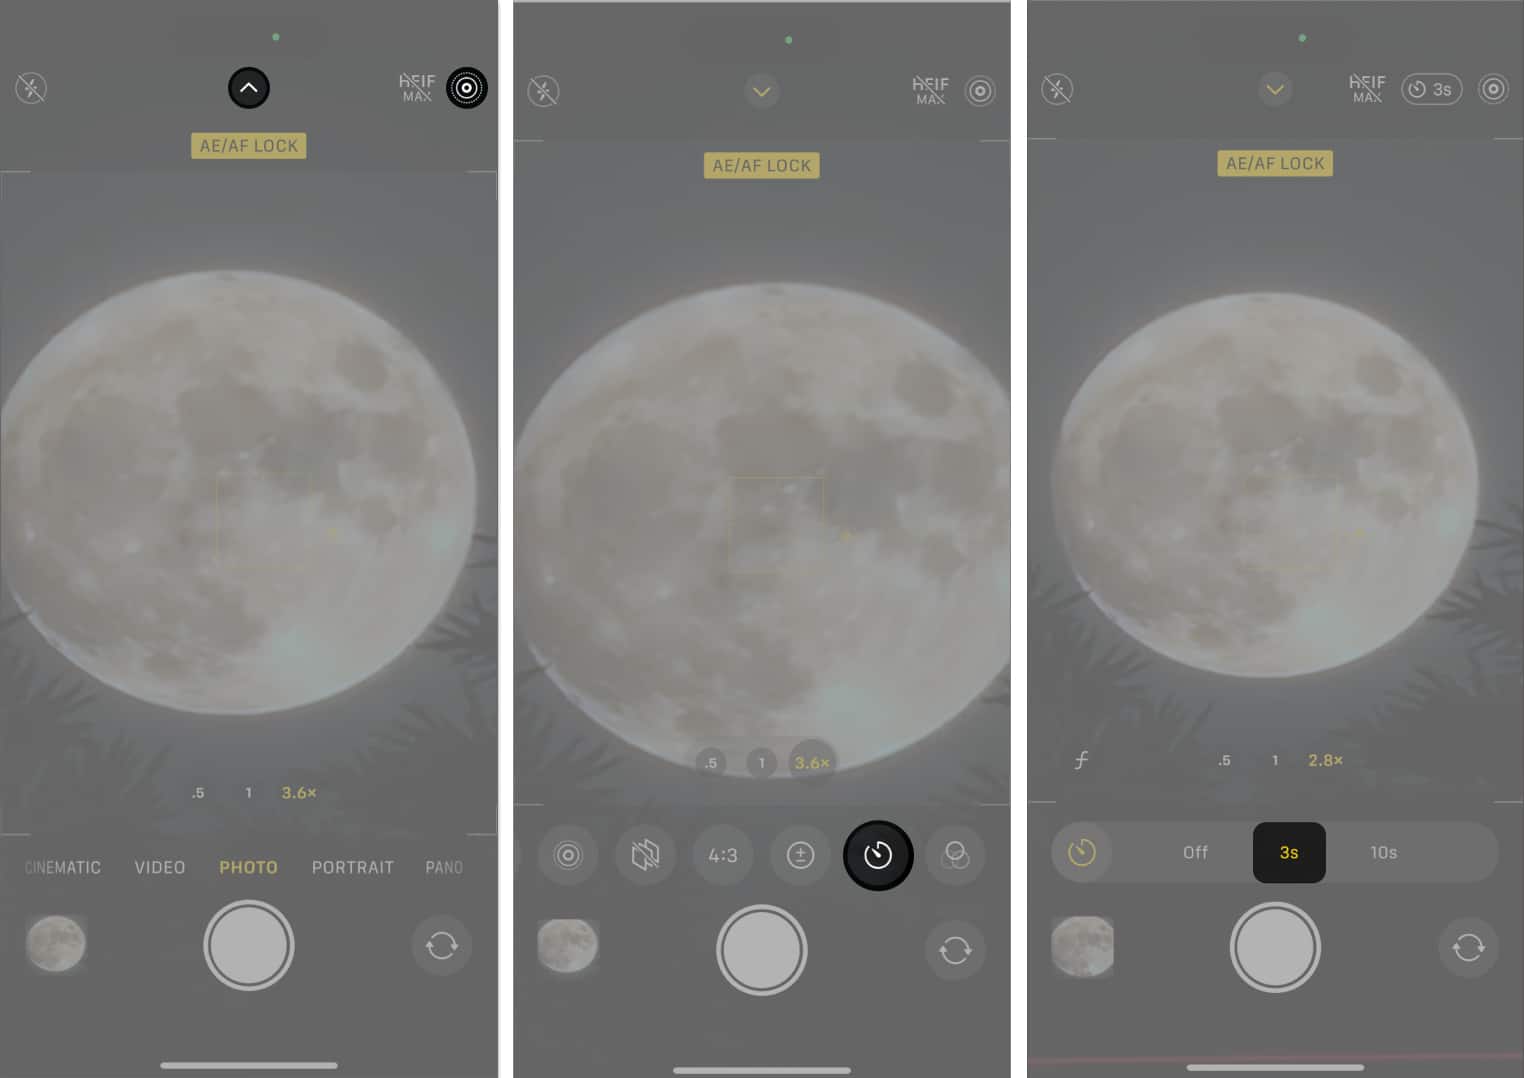
I prefer to set the exposure to 2.0. - Tap the three-circle icon to turn on Live Photos.
- Select the up arrow icon → Tap the timer button → Choose 3s.
The self-timer avoids any accidental movements when you click the image. - Finally, press the shutter button.
By implementing these techniques, your iPhone can become a powerful tool to take clear photos of the Moon.
Edit to make your moon pictures shine using iPhone
If you’ve successfully captured pictures of the Moon from your iPhone, the next step is to edit the image. Following a few professional techniques and employing editing skills is imperative to make your pictures truly shine.
In my opinion, consider a professional image editing app such as Adobe Lightroom. It is one of the best RAW photo editing apps for iPhone. You can adjust essential parameters such as exposure levels, sharpness, clarity, alter natural tones, and more.
So, take your time and explore all the parameters one by one. It may look exhausting, but trust me, using appropriate editing techniques, your moon pictures will stand out.
Enhance your moon shots with iPhone tools and accessories
To capture a stunning picture of the Moon using your iPhone, several camera accessories and tools can do wonders.
- One essential accessory is a sturdy tripod to stabilize your iPhone. It helps to avoid image blur caused by shaky hands or movement.
- Additionally, attaching a telephoto lens to your iPhone can significantly magnify details on the Moon’s surface, allowing for more precise and more captivating photographs.
- Consider using an app specifically designed for astrophotography, which provides manual controls for adjusting exposure, focus, and shutter speed.
- Make the Live Photos into long exposure pictures to get star trails with a beautiful Moon.
Practicing these factors will give you greater control over your outcome and enhance the clarity and impact of your lunar photos.
Tips to take clear photos of the Moon with iPhone
- Enable the image grid from Settings → Camera → Toggle on Grid. It can help you align the Moon in the frame.
- The 48MP ProRAW feature on iPhone 15 and 14 Pro models can capture mode detailed night sky images.
- Use a manual camera app to adjust camera settings. Lower the ISO between 25 and 64, and set a slower shutter speed, such as 1/257 sec.
- You must strategize your lunar photography. Take help from a lunar tracking app or website to predict the Moon’s position, phases, and the ideal times to photograph it.
- Shooting the Moon while low in the sky is a terrific technique for capturing moon surface features more easily.
- Use apps like Star Walk to get a detailed map of when the Moon is visible in your location at any given time.
- Choose the appropriate environment, like a clear night sky, to capture the Moon clearly.
Capture the cosmos!
You can take amazing photos of the Moon using just your iPhone and some lunar knowledge. Remember to experiment, embrace the different phases of the Moon, and share your pictures with others. Let your imagination soar and capture the beauty of the Moon.
Thank you for reading. If any, consider leaving your thoughts in the comment section below.
FAQs
Absolutely! Use the built-in editing tools or explore third-party apps to enhance your lunar photos. Adjust brightness, contrast, and sharpness to create a more striking image.
The ideal time is during a clear night when the Moon is well-lit. Full moons can be captivating, but experimenting with different lunar phases adds variety to your shots.
Read more:

Thank you for providing detailed and actual information on how to use the iPhone camera to take a picture of the moon. Other articles that I’ve gone to in search have merely explained, “adjust“ without telling how! (In other words, Their articles are absolutely useless And frustrating!)
I do have a question, Eva. How do I get that moon icon to appear on the screen? iPhone 15 Pro latest iOS install installed. How do I get into the modes necessary to adjust those factors you’ve included in your article?Thank you so much!
Thanks for the appreciation! The yellow moon icon you are talking about is the night mode indicator. Whenever you open camera in a low light surroundings, it will open. If you don’t see it, tap the down arrow icon at the top and select the moon icon.