Requirements to access Shazam Music Recognition history on your iPhone and iPad:
- Shazam app should be updated to the latest version
- Two-Factor Authentication must be enabled on your iPhone or iPad
- In iCloud settings, Shazam Music Recognition should be turned on
No, I didn’t believe in magic until I used Shazam. When I first used this app, I was blown away by the high accuracy with which it recognized a song. Now the app makers have gone a step ahead and added Music Recognition history to Shazam’s arsenal.
I’m pretty sure you will also have your own Shazam stories where it helped you to find an unfamiliar song from any situation. Mind you, I didn’t test it in a quiet place where anyone could even hear a voice of heartbeat, but in a busy mall where the song was almost hard to differentiate from the loud crowd.
While you know how to recognize songs using Shazam, how do you find your previous Shazams? Join me as I will help you find your Shazam Music Recognition history on your iPhone and iPad.
Find previous Shazams on iPhone or iPad
There are two ways in which you can access Shazam. Similarly, there are also two ways in which you can see the previous Shazams on your iPhone and iPad.
View recent Shazams from app
- Open the Shazam app.
- Swipe up from the My Music part.

That’s it! From here, you can see all of your previous Shazams. If you want to see full history, scroll down and tap See All.
See Shazam history from Control Center on iPhone or iPad
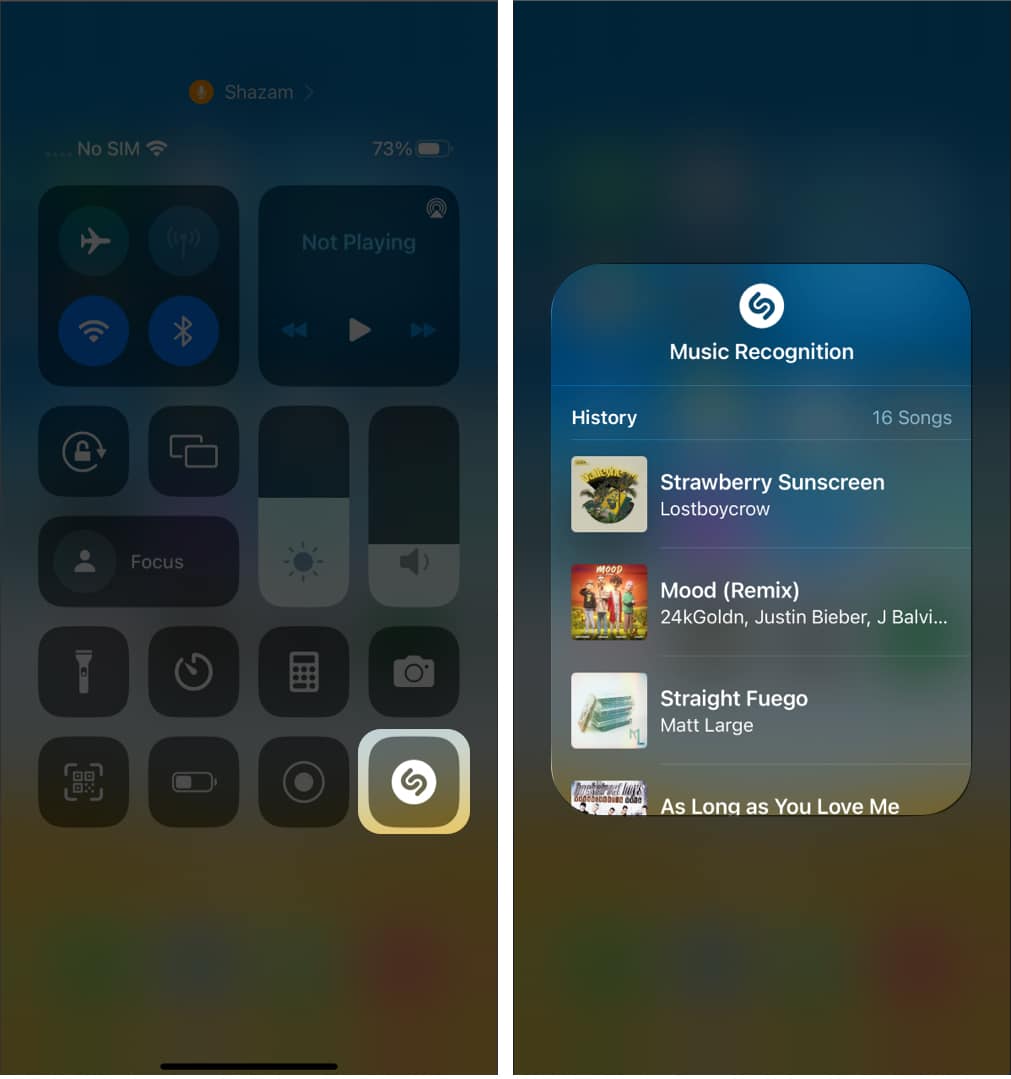
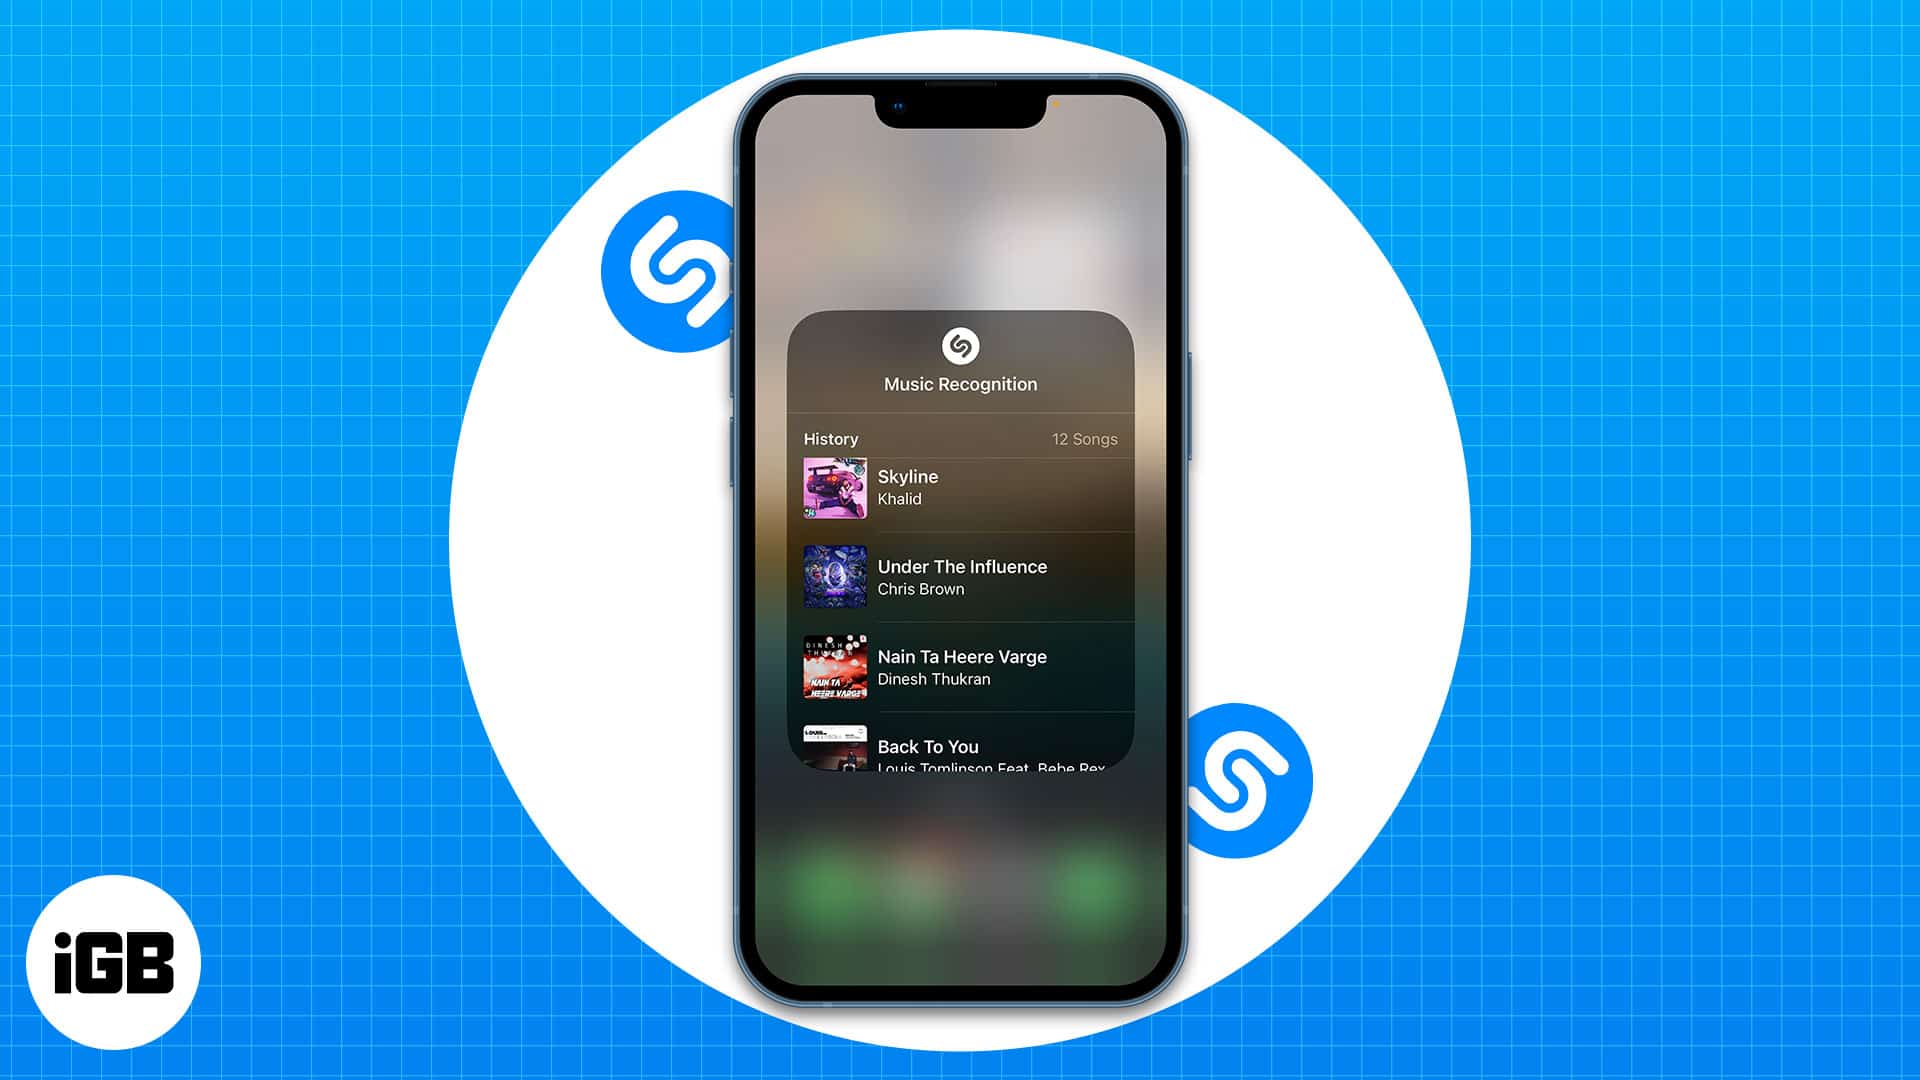
If you have added Shazam Music Recognition to Control Center, you can see its history by following these steps:
- Open Control Center.
- Tap and hold the Shazam icon.
Here, you can see the entire Shazam Recognition History. Tap on any song if you want to play them.
What if you haven’t added Shazam Music Recognition to the Control Center? No worries, you can easily enable it from Settings → Control Center → tap plus icon next to Music Recognition.
Download Shazam Music Recognition history on iPhone or iPad
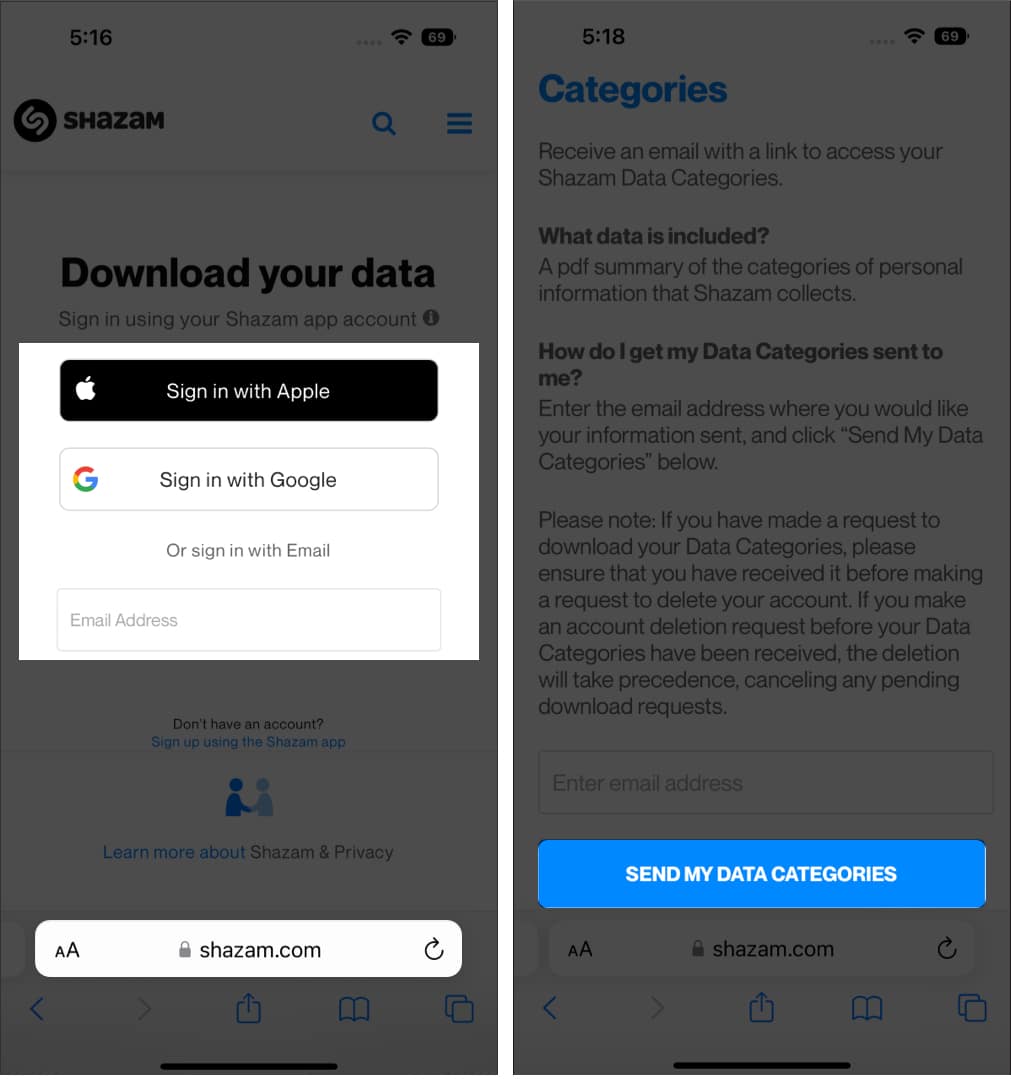
Other than these methods, you can also see your Shazam history by downloading your data. Here’s how you can do it:
- Visit Shazam’s official website.
- Login with your ID.
- Enter your email ID, and tap Send My Data Categories.
You will receive your Shazam data within 30 days of entering your data.
Back up your Shazam data via iCloud
Now that you know how to access your Shazams, what if you want to access them from another device? It’s super easy! Simply open Shazam, log in with your ID, and follow the same steps mentioned in the previous section.
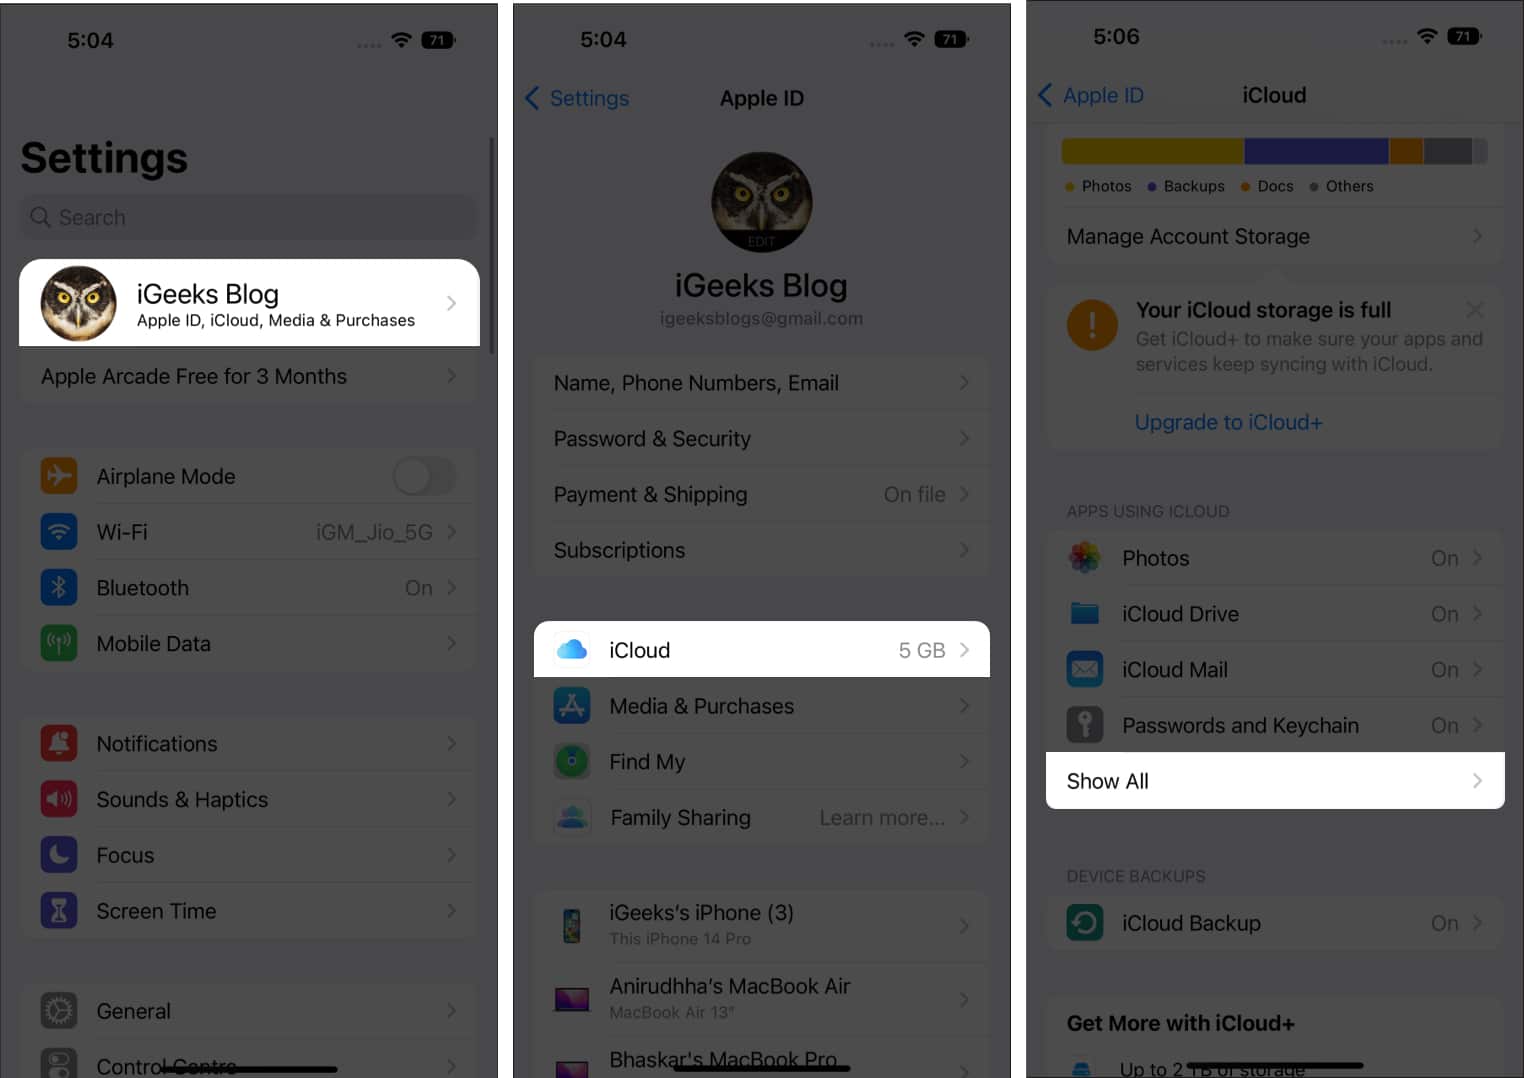
By default, Shazam’s data is synced with iCloud. But you can double-check it or even turn it off by following these steps:
- Open Settings
- Tap your Apple ID name.
- Select iCloud.
- Tap Show All under Apps Using iCloud.
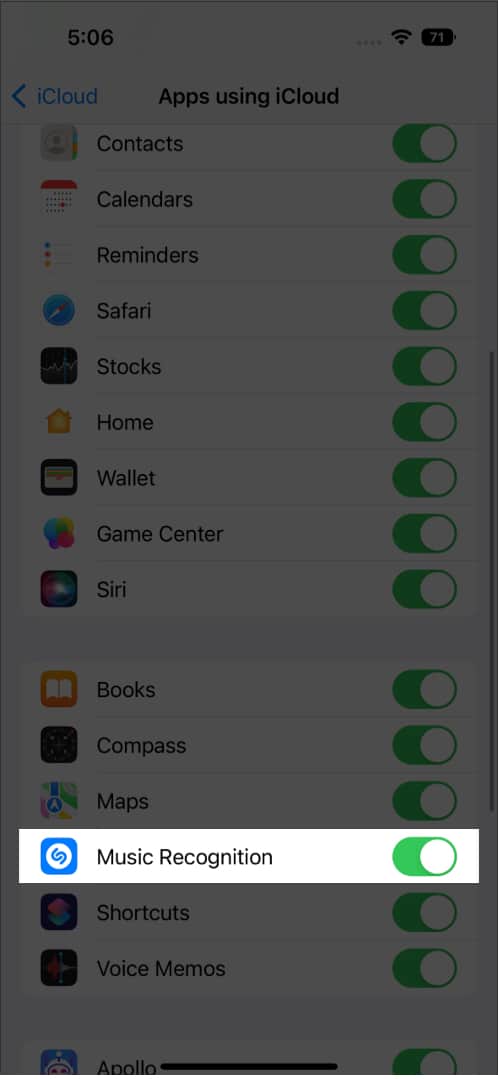
- Toggle on Music Recognition.
That’s it!
Shazam is an amazing app to have, as it can help us recognize almost every song that we get to hear in our life. And with the Shazam Music Recognition history, you will be able to track your past Shazams and revisit those songs.
Here are some more interesting reads for you:

