There are times when you miss a call because you’re too busy or it gets lost in the sea of notifications. Later, you realize it was an important call. This wouldn’t happen if you had Voicemail set up on your iPhone. If you’re wondering what Voicemail is, keep reading—I’ll explain it.
What is Voicemail?
Voicemail or Visual Voicemail is a feature that allows callers to leave a voice message when their call goes unanswered. It ensures you never miss important calls on your iPhone. It also helps filter spam and promotional calls, allowing you to identify and ignore pre-recorded messages from companies. Here’s how to set up and use Voicemail on your iPhone.
How to set up voicemail on your iPhone
- Open the Phone app on your iPhone.
- Head to the Voicemail tab on the bottom nav bar.
- If you’re setting things up for the first time, tap Set Up Now.
- Create a custom password for your voicemail, re-enter it, and then tap Done.
To set up a custom greeting
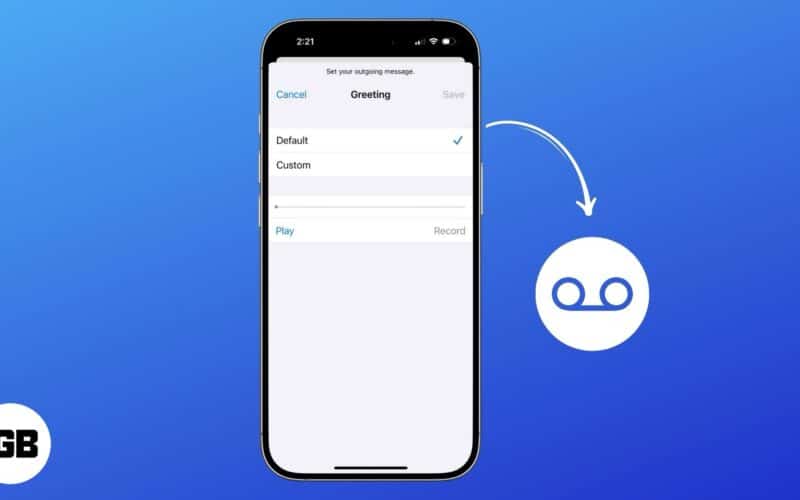
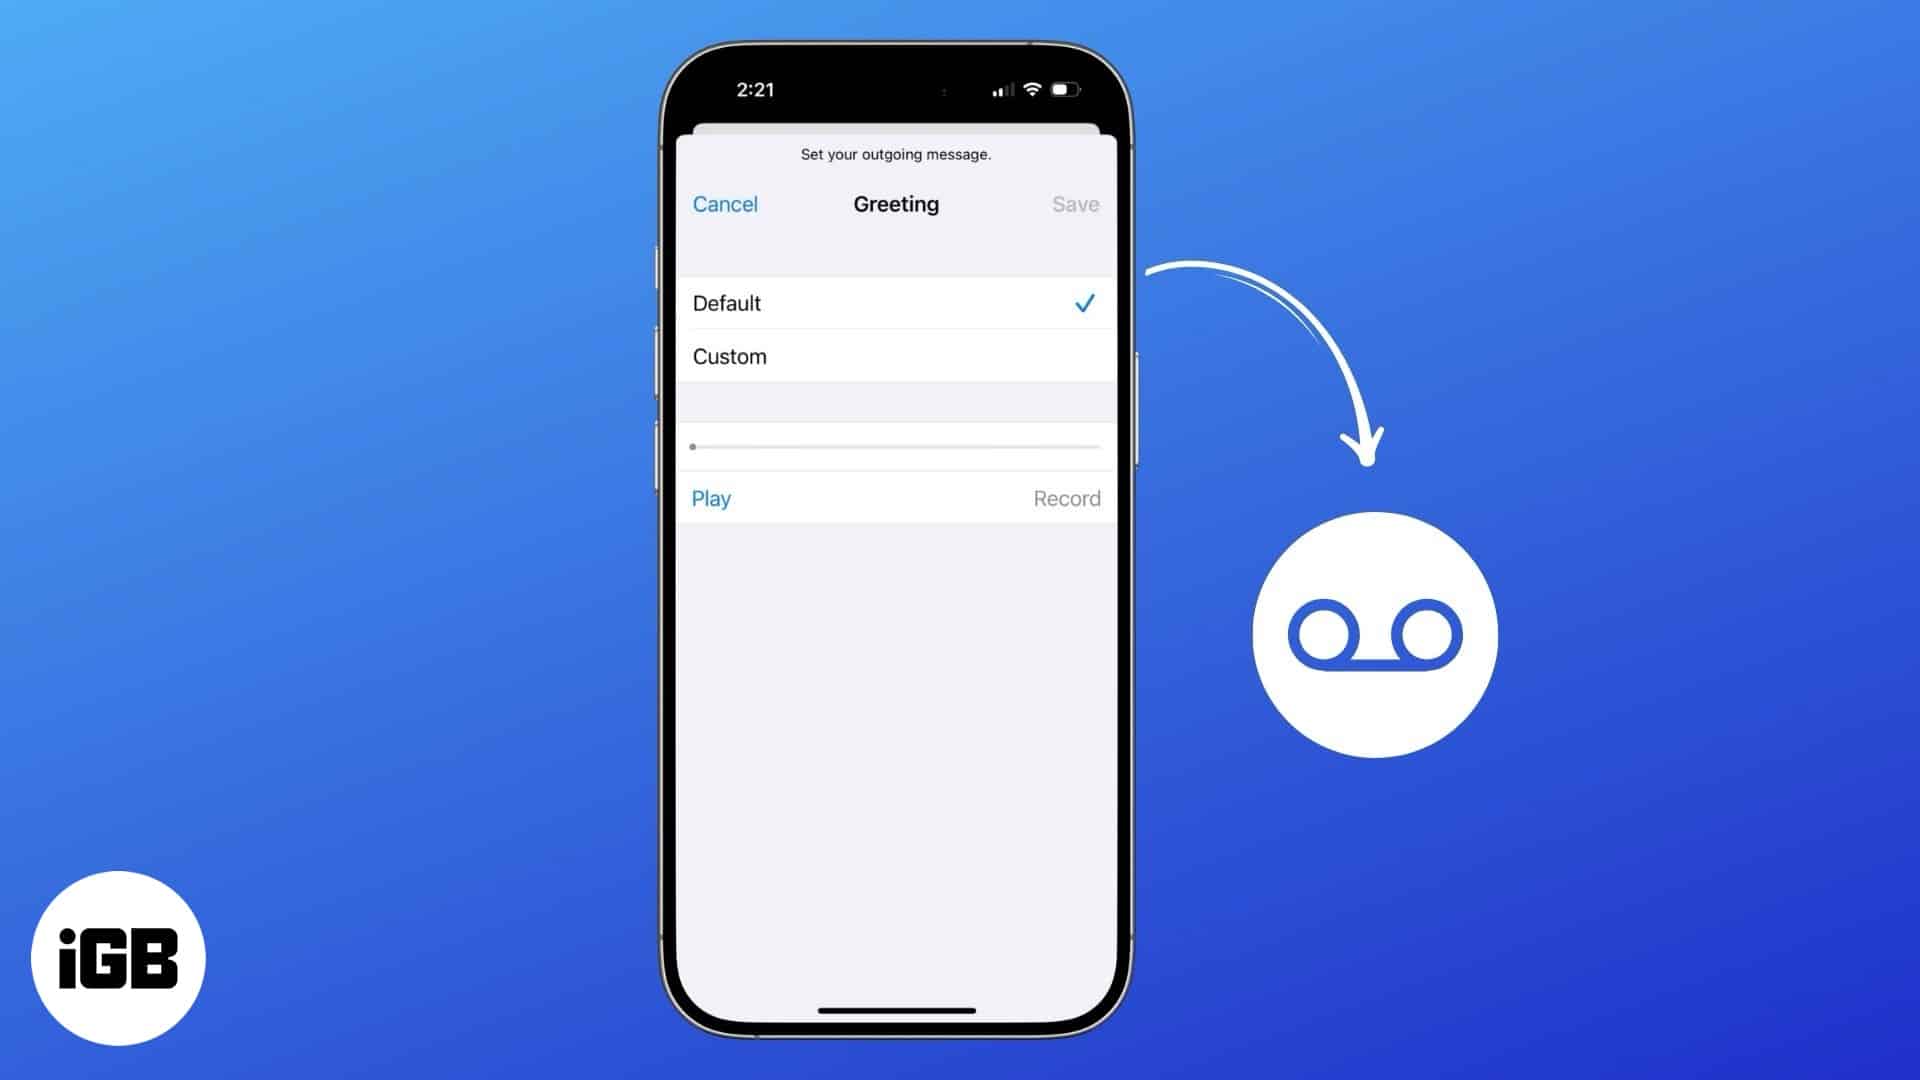
- Tap Greeting in the top left corner.
- Tap Custom.
- Now, tap Record and speak the message you want missed callers to hear clearly into your iPhone. When you’re done, press Stop.
Tap Play to hear it back. If you’re happy with it, tap Save in the top right corner, and you’ll be good to go. If you want to change it at any point, go back into the Greeting menu and select Default, then Save. Record a new custom message if you like, or leave it as the default.
That’s all you have to do to activate Visual Voicemail on your iPhone. Ready to learn how to set a custom password to protect your voicemails?
How to change voicemail password on your iPhone
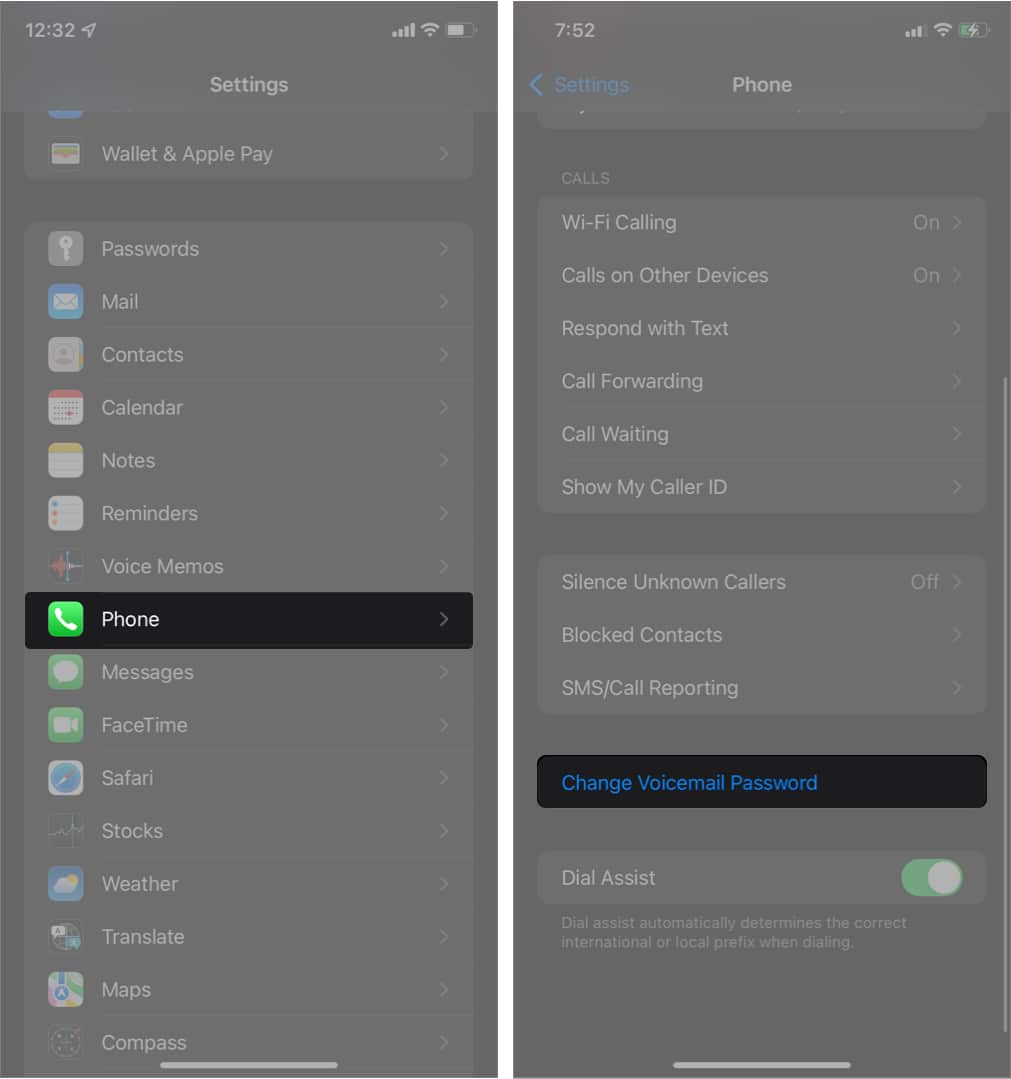
- Head to Settings → Apps → Phone → scroll down to Change Voicemail Password.
- Tap it, then enter a password (you can enter up to nine digits with a minimum of four) and select Done. Enter your password again, then tap Done. That’s it!
If you want to change your iPhone’s sound when it receives a voicemail, you can find the settings under Settings → Sounds and Haptics → New Voicemail.
Now that you have everything set up the way you want, read on to learn what you need to know on how to use your iPhone’s voicemail.
How to manage voicemail messages on iPhone
Remember when we set up a custom greeting under the Voicemails tab of the Phone app? That same Voicemails tab is what you’ll use to listen to, share, or save your voicemails. To listen to a voicemail, simply tap one from the list, then hold your iPhone up to your ear.
This is how you’ll view voicemail transcripts, as well. Tap one from the list, and the Transcription will be displayed under the play, callback, and trash icons.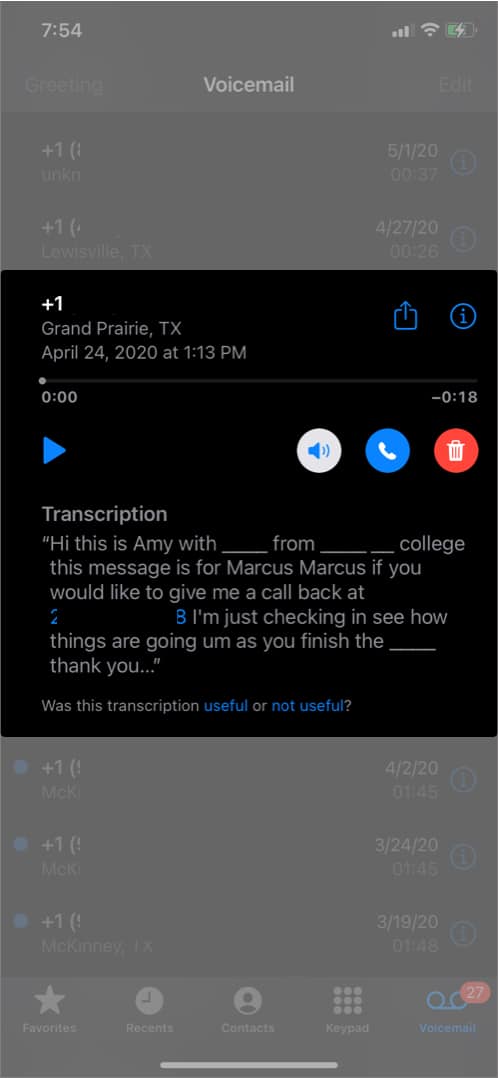
It should play automatically, though this feature doesn’t always seem to work. If it doesn’t play automatically, tap the play icon. If you want to play the voicemail on speaker mode, tap the speaker icon to change it from blue on white to white on blue.
To share a voicemail, tap on one and then tap the share icon at the top of the card. Select the contact or app you want to share the voicemail with (you’ll need to confirm the send on some apps, such as Messages).
This is also how you’ll save a voicemail by “sharing” it to your Voice Memos or Files.
To delete a voicemail, select it, then tap the trash icon. Off it goes, taking up storage space no more. If you want to delete multiple voicemails at once, tap Edit in the top right corner. Select all voicemails you wish to Delete or Mark as Read (tap the respective button for what you want to accomplish). Then tap Done. 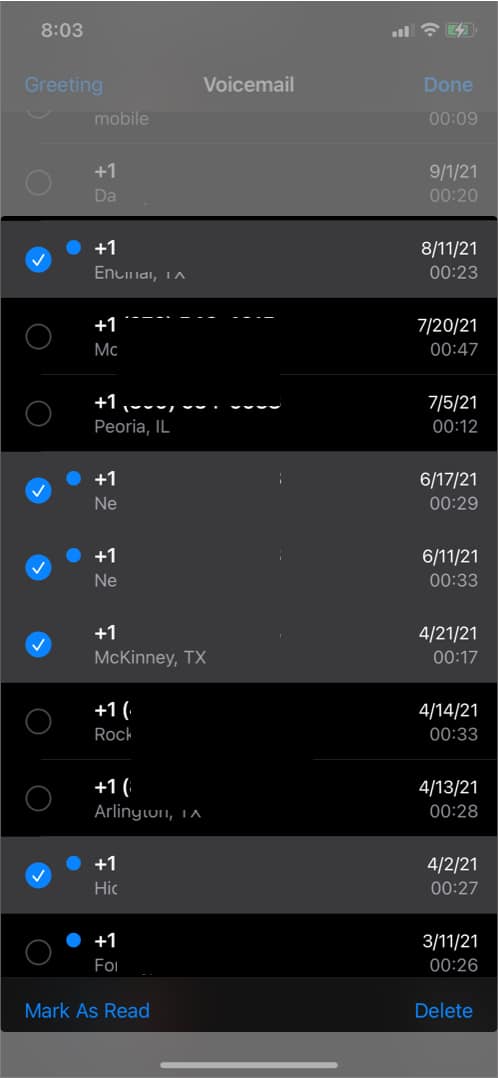
That’s all there is to it.
Send a voicemail on your iPhone
We’ve all made a call that doesn’t go through. When prompted to leave a message (either by the default voicemail response or a custom one), speak clearly and hang up when you’re finished with your message.
That’s all you have to do to send a voicemail on your iPhone.
What is Live Voicemail, and how to use it?
As an extension of the Voicemail feature, Live Voicemail significantly enhances this feature. With Live Voicemail, you get a real-time transcription of the Voicemail as the caller records it. To learn more about it, check out our detailed guide on how to use Live Voicemail on iPhone.
Wrapping up…
So, now you know how to record a custom greeting, edit your voicemail’s custom password, share, save, and delete voicemails, and view their transcripts. That’s everything you need to know about how to set up and use voicemail on iPhone.
Have any questions? Get stuck along the way? Ask away in the comments below, and we’ll get back to you.
We think you’d like:

