Apple allowed users to fully control their device using Voice Controls on Mac with the launch of macOS Catalina. This easily accessible feature acts as your assistant and comes in handy to accomplish numerous tasks with just your voice. It is especially useful for people with limited mobility.
If you haven’t used this feature until now or didn’t know about it, scroll down and learn about how to use Voice Control on your Mac.
- How to turn on Voice Control on Mac
- How to use Wakeup/Sleep in Voice Control on Mac
- How to use Voice Control on Mac
- How to enable dictation in macOS Mojave and earlier
- How to turn off Voice Control on Mac
How to turn on Voice Control on Mac
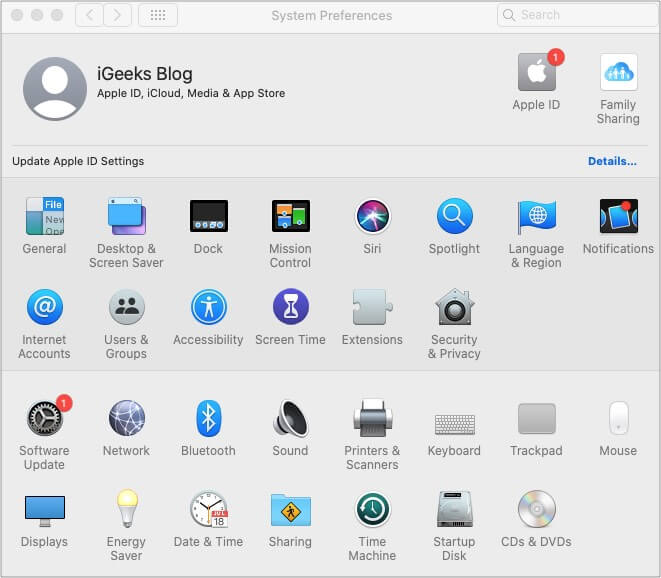
- Click the Apple icon at the top-left corner and select System Preferences.
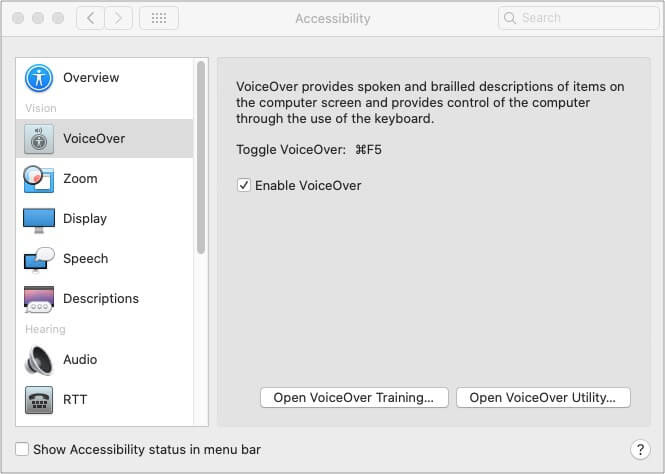
- Click Accessibility.
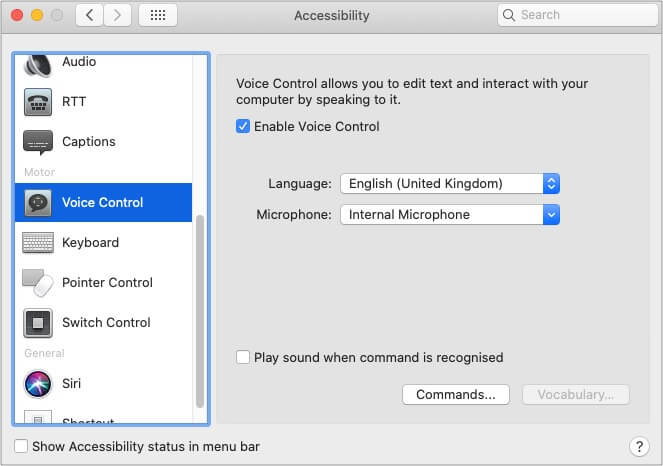
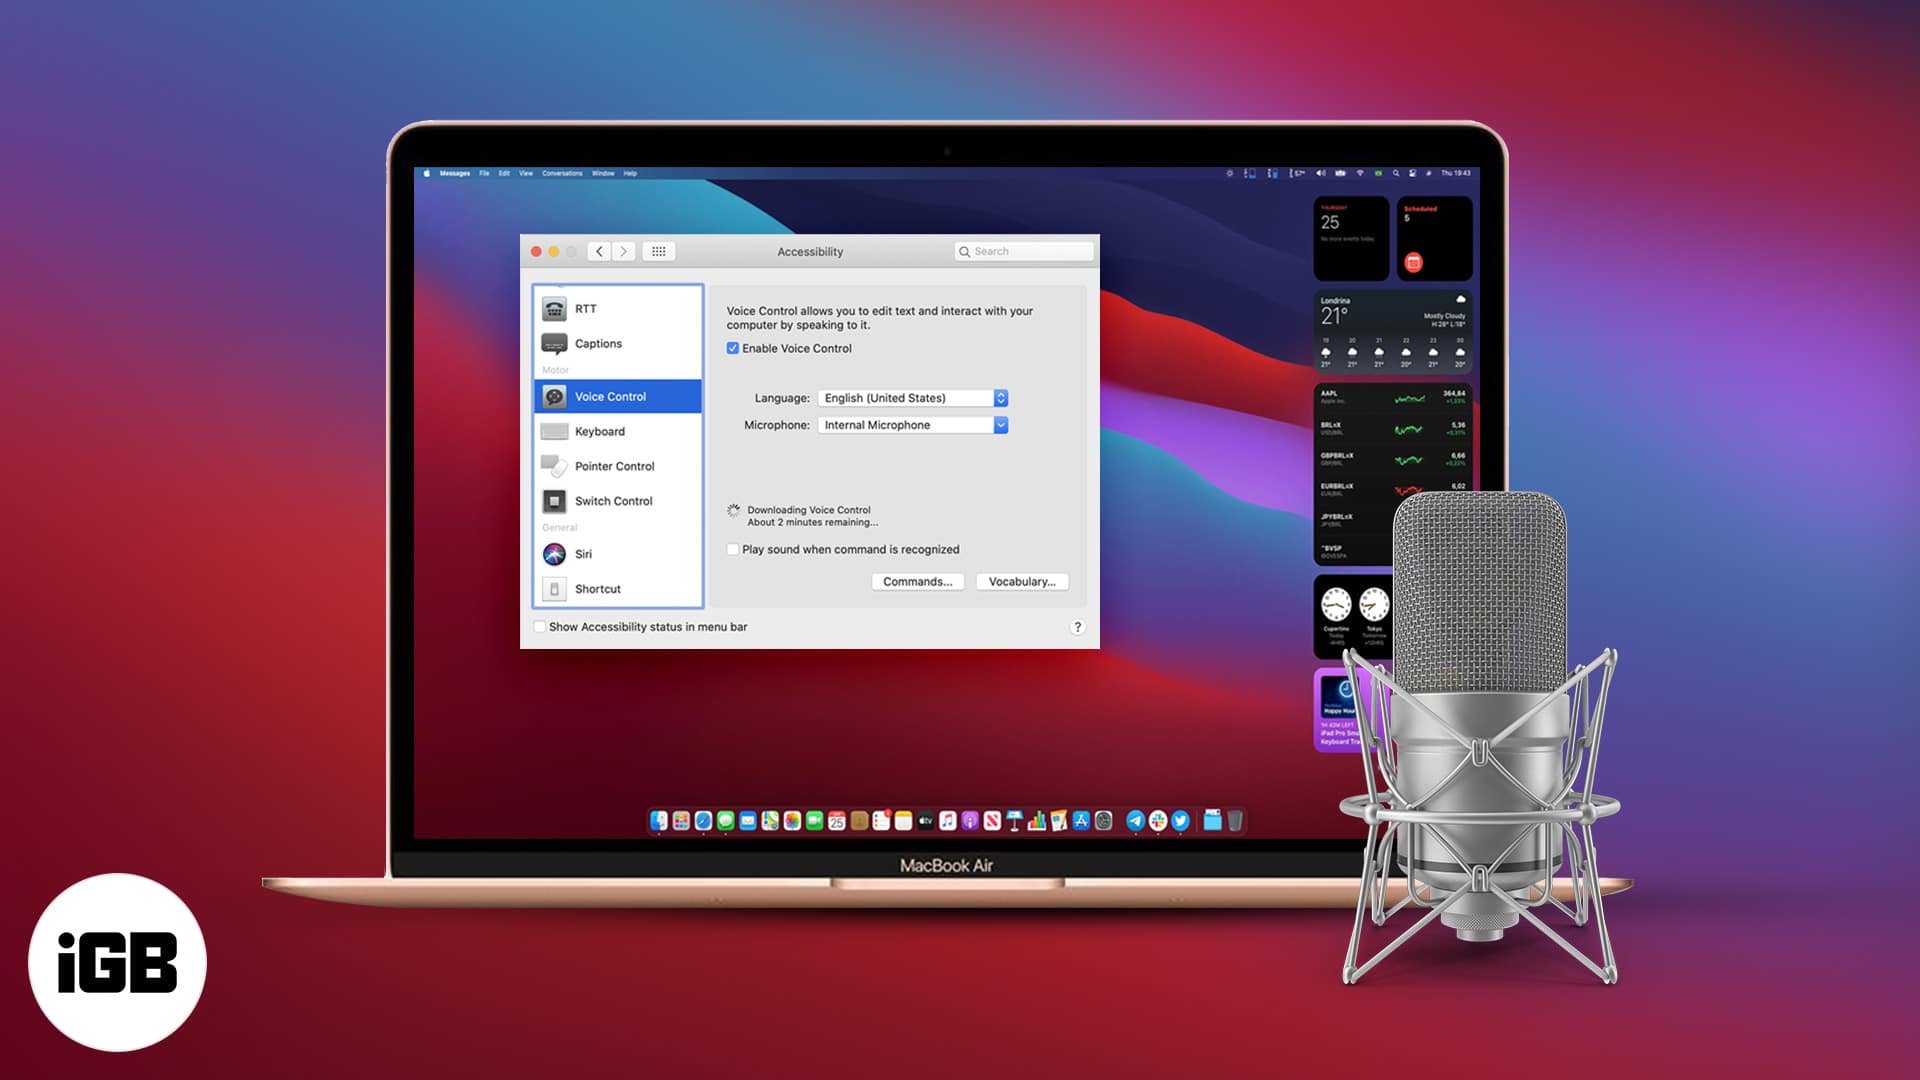
- From the sidebar on the left, select Voice Control and check Enable Voice Control.
- Mac will initiate a one-time download when you enable it for the first time.
Note: Once Voice Control is enabled, you’ll see an on-screen microphone on your Mac.
How to use Wakeup/Sleep in Voice Control on Mac
To temporarily disable Voice Control on Mac, use either voice command by saying ‘Go to Sleep‘ or click Sleep on the small microphone box that appears on the Home screen. To reactivate voice commands, simply say ‘Wakeup‘ or click Wakeup.
How to use Voice Control on Mac
Once you have enabled Voice Control on Mac, you can perform a host of commands and actions using it. Let’s begin with the basic navigation.
Use Basic Navigation
- Click the Apple icon and select System Preferences.
- Now go to Accessibility.
- Select Voice Control under the Motor section.
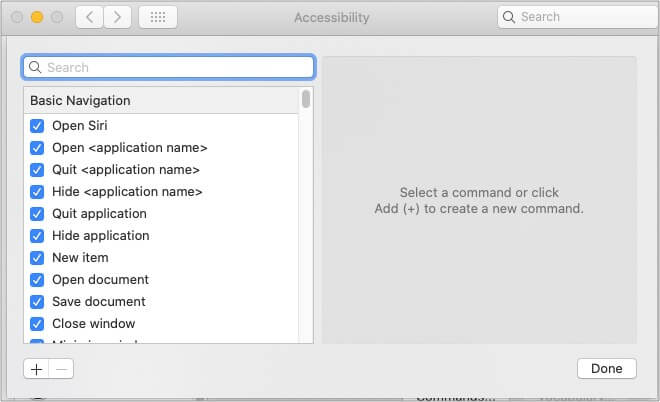
- I presume you have voice control enabled. Click Commands.
- Now, you’ll have an entire list of basic commands to learn from.
- Alternatively: You can say ‘Show Commands‘ after Voice Control is enabled.
- By default, the commands will be checked. To disable any command, simply uncheck.
Add and change the language in Mac’s Voice Control
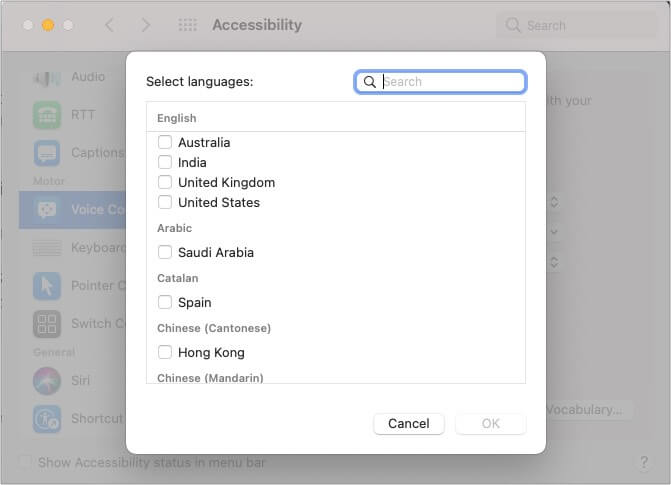
- Go to Voice Control under the Motor section (as mentioned above).
- On the right side, click the pull-down menu next to Language.
- Click Customise.
- Check your preferred language from the available options and click Ok.
- The checked languages will be added (and downloaded, if not already) in Voice Control.
Create custom commands using Voice Control
- Go to Voice Control using above mentioned methods.
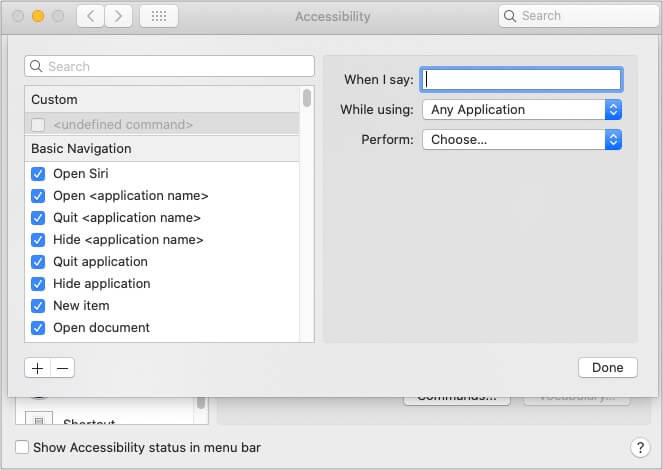
- Click Commands.
- Click the + icon in the left sidebar.
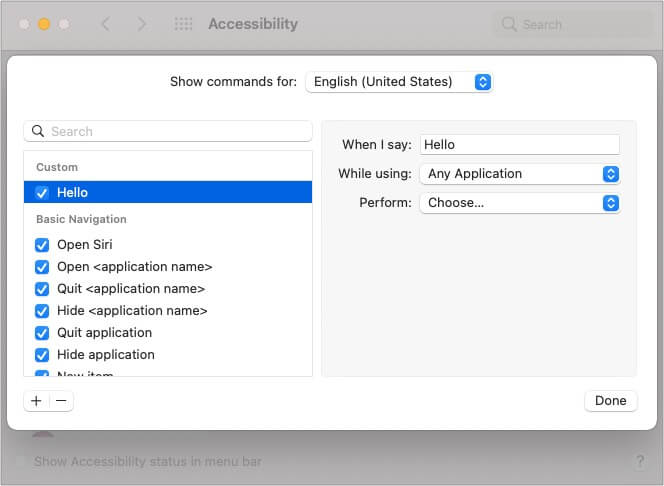
- Now enter your preferred command next to the ‘When I say‘ section. By default, the voice command will be enabled on all.
- To limit it to specific apps, select the options for while using and perform accordingly.
- Click Done.
Delete custom commands in Mac’s Voice Control
- Go to Voice Control under the Motor section and click Commands on the right section of the window.
- Click the custom command you want to delete.
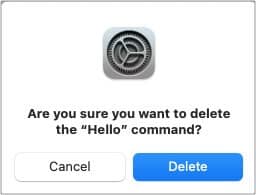
- Select ‘-‘.
- Hit Delete when prompted.
- Select Done to return to the Voice Control menu.
Note: You can’t delete inbuilt voice commands.
Change the Voice Control microphone on Mac
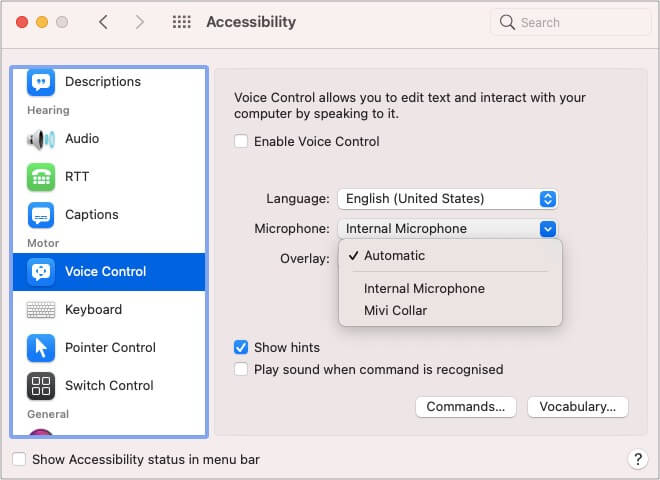
- Go to Voice Control and click the pull-down menu next to Microphone.
- All the connected audio devices will appear on the screen. Select your preferred option.
Enable and use Overlay in Voice Control on Mac
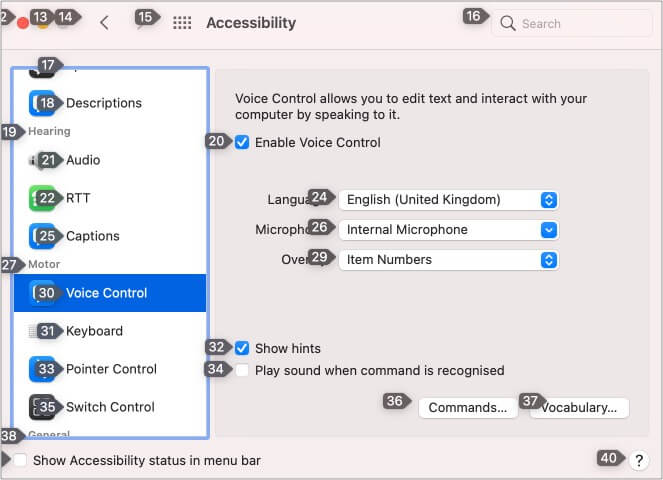
Overlay is a recent Voice Control feature that the menu option names with numbers. Thus, enabling you to interact with different parts of your Mac’s screen easily. Just say the dedicated number, and you’re done. Here’s how you can turn it on and use it;
- On the right section of Voice Control, click the pull-down menu next to Overlay.
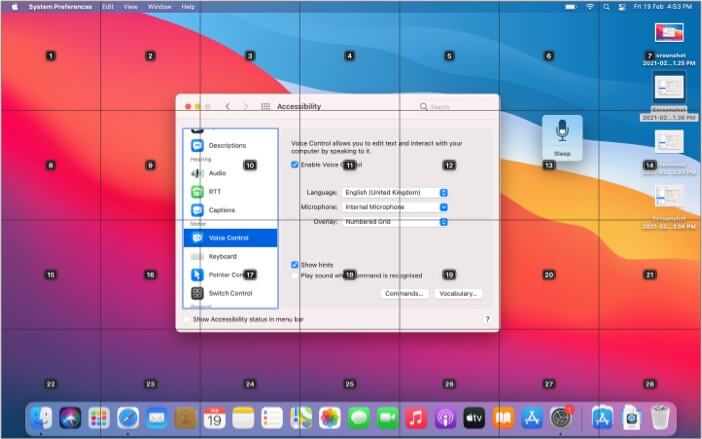
- By default, the option will be none. Change it to Item Numbers or Numbered Grid.
- Item Numbers: On selecting this, each actionable text/icon on the screen (be it a menu, dialog box, etc.) will be given a dedicated number. Simply say the number to perform the action.
- Numbered Grid: On selecting this, your Mac’s screen (or an active window) will be divided into a grid. To interact with a different part of your screen, say the dedicated number. Pretty neat, eh?
- Item Numbers: On selecting this, each actionable text/icon on the screen (be it a menu, dialog box, etc.) will be given a dedicated number. Simply say the number to perform the action.
- You can perform many actions like Zoom in, drag a picture, etc.
Note: You can also use the below voice commands:
- To turn on Overlay, say “Show numbers.“
- To turn on Numbered Grid, say “Show grid” or “Show window grid” (for displaying the grid on the active window).
- To hide both grid and numbers, say “Hide Grid.“
- To turn on Item Numbers, say “Show numbers.”
- To hide numbers, say “Hide numbers.”
How to enable dictation in macOS Mojave and earlier
- Click the Apple icon and select System Preferences.
- Now go to Accessibility.
- Click Dictation under Interaction in the Side Bar, followed by Open Dictation Preferences.
- Click On in the next window.
How to turn off Voice Control on Mac
- Click the Apple icon followed by System Preferences.
- Now, go to Accessibility.
- Select Voice Control from the sidebar and uncheck Enable Voice Control.
FAQs on using Voice Control on Mac
Q. Why is my Mac not recognizing my microphone?
One of the primary reasons could be due to sound input settings. A quick way to troubleshoot can be to go to System Preferences → Sound → select the Input tab. Check and ensure that the input volume tab isn’t at the extreme left/center. Adjust it to make the changes.
Q. How do I activate Voice Control on my iPhone?
Similar to Mac, you can also access your iPhone/iPad using voice commands. The tool allows you to use your iPhone without any physical touch. To learn about it click here: Use voice control on iPhone
Q. How do I control my microphone on Mac?
Click the Apple icon at the top-left corner → Security Preferences → Security & Privacy → click Microphone. In this section, you’d be allowed to give microphone access to apps individually. To turn off the access, uncheck the box.
Ready to use Voice Control on your Mac?
We have been in love with Siri and the way it makes using Apple devices easier. Controlling your Mac with voice commands undoubtedly takes experience to an all-new level. What are your thoughts about it? How has your experience been using it? Do share with me in the comment section.
Read more:

