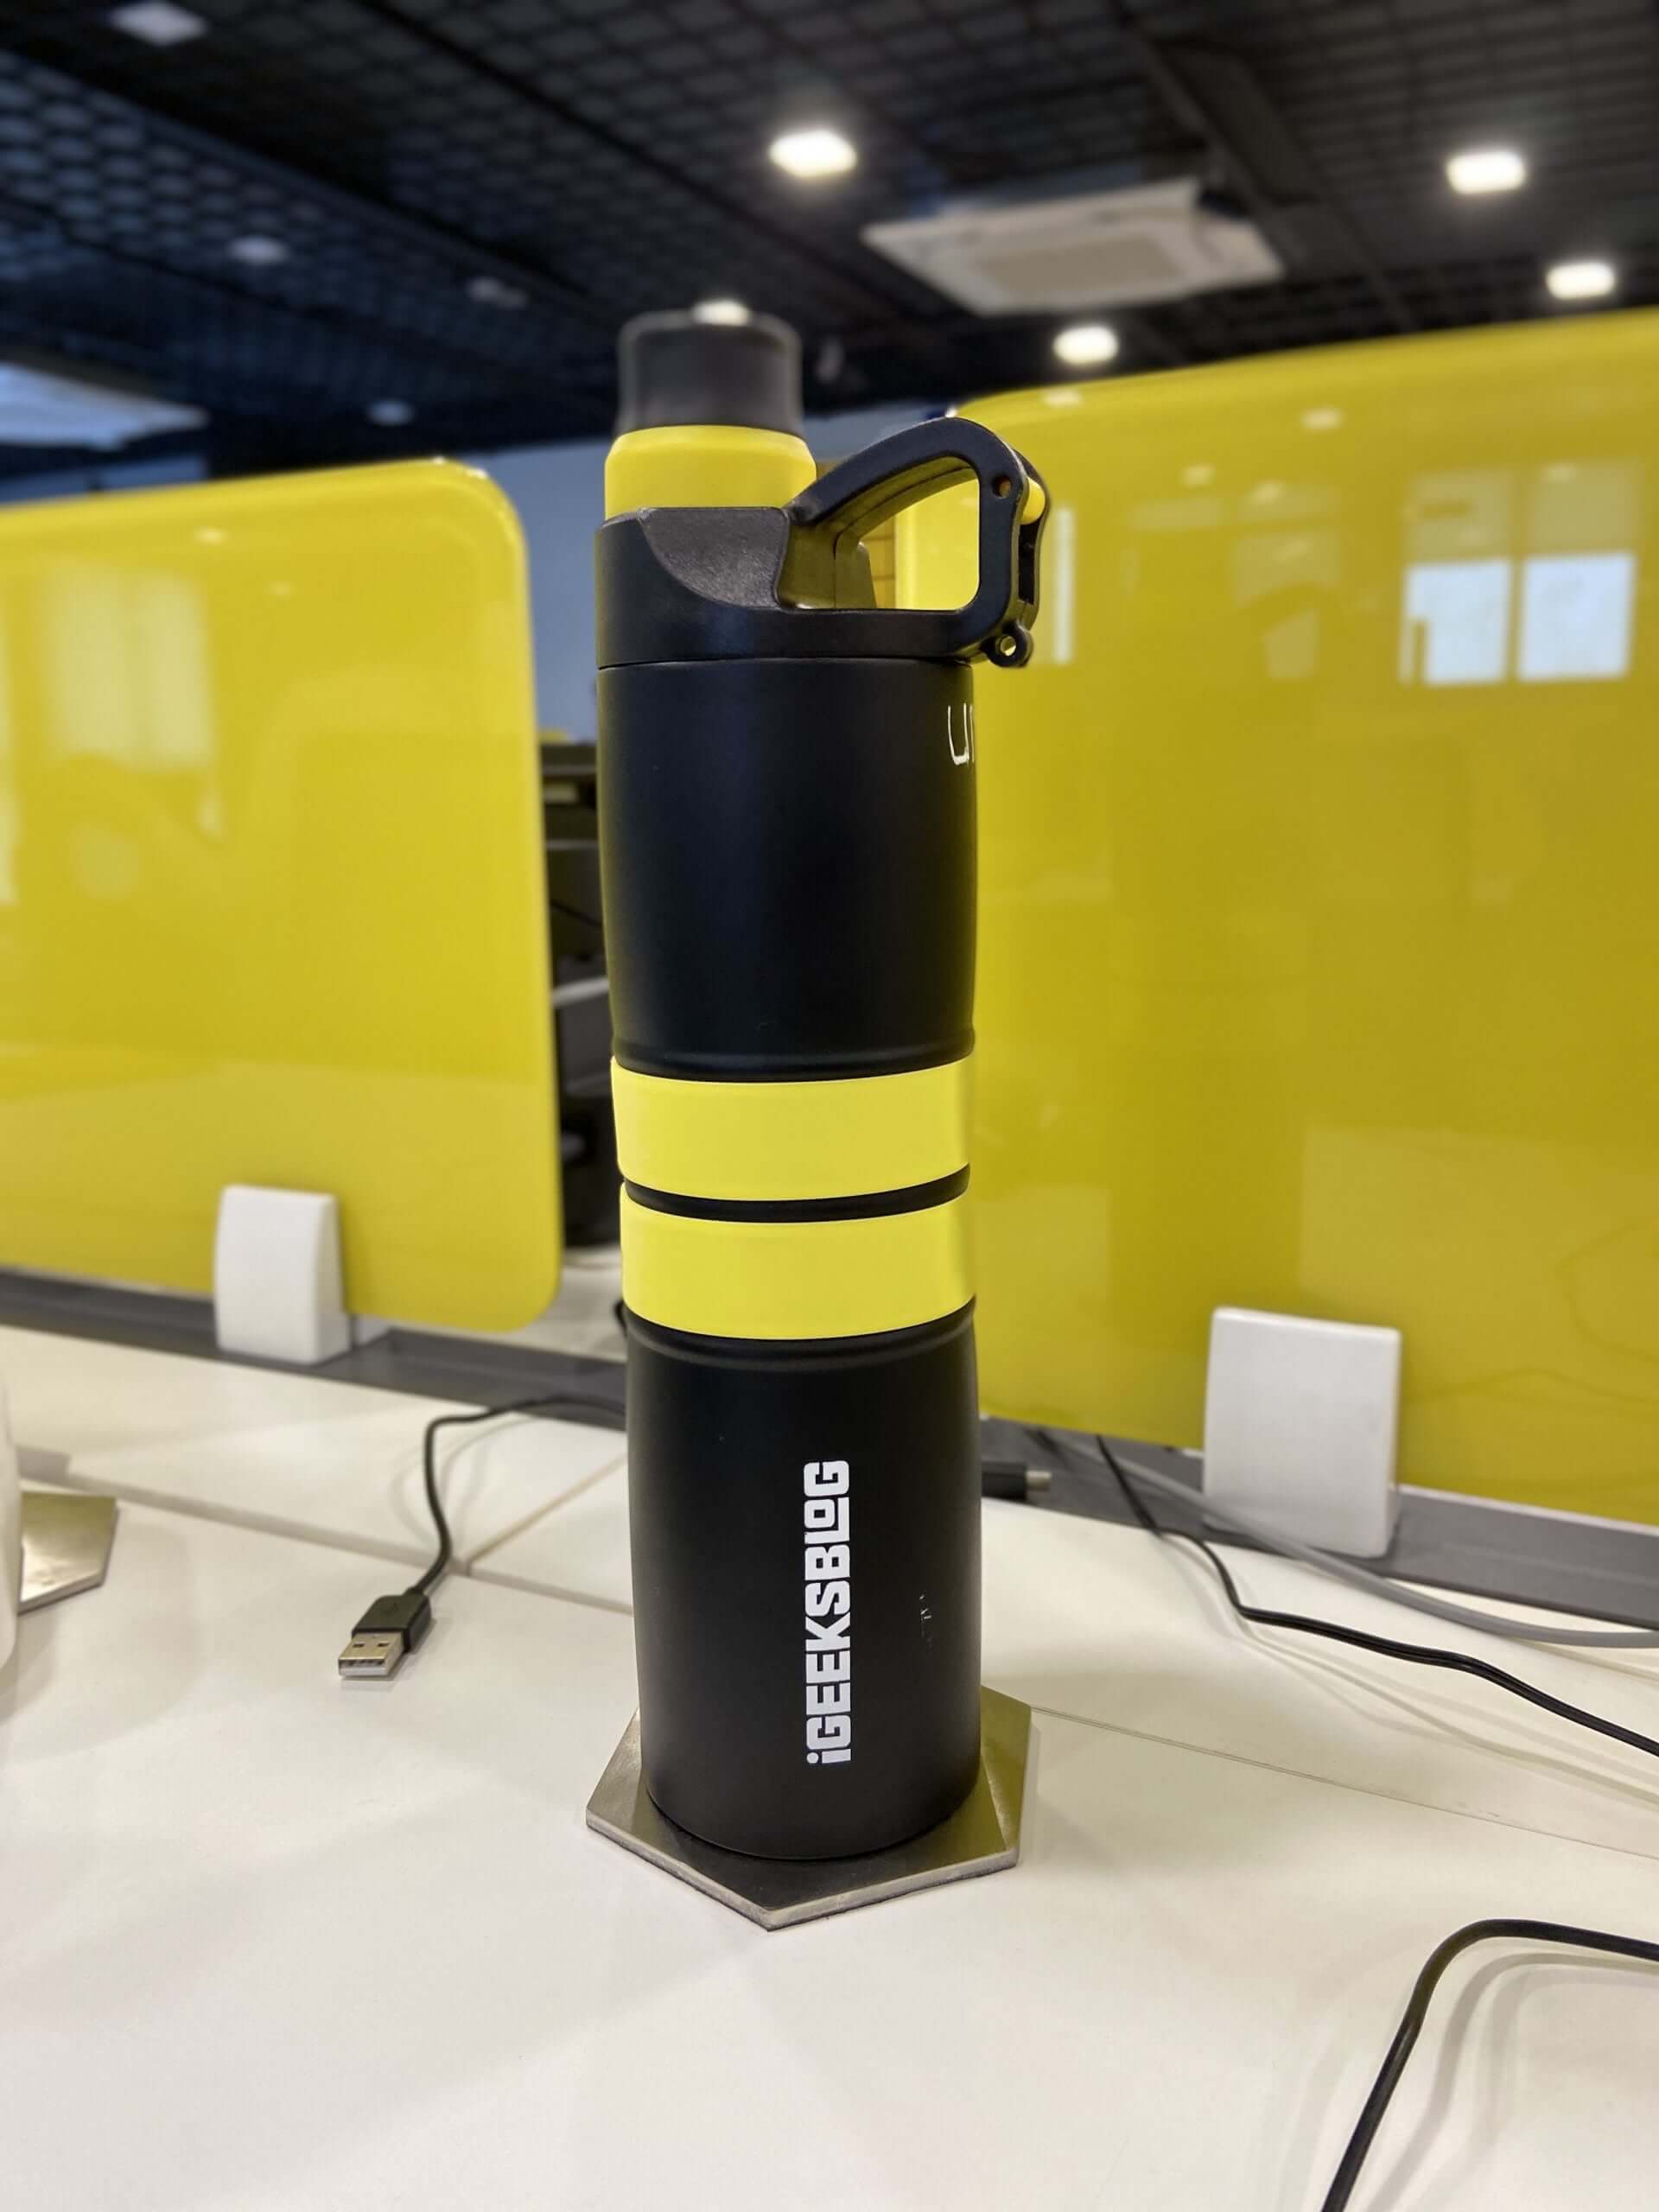
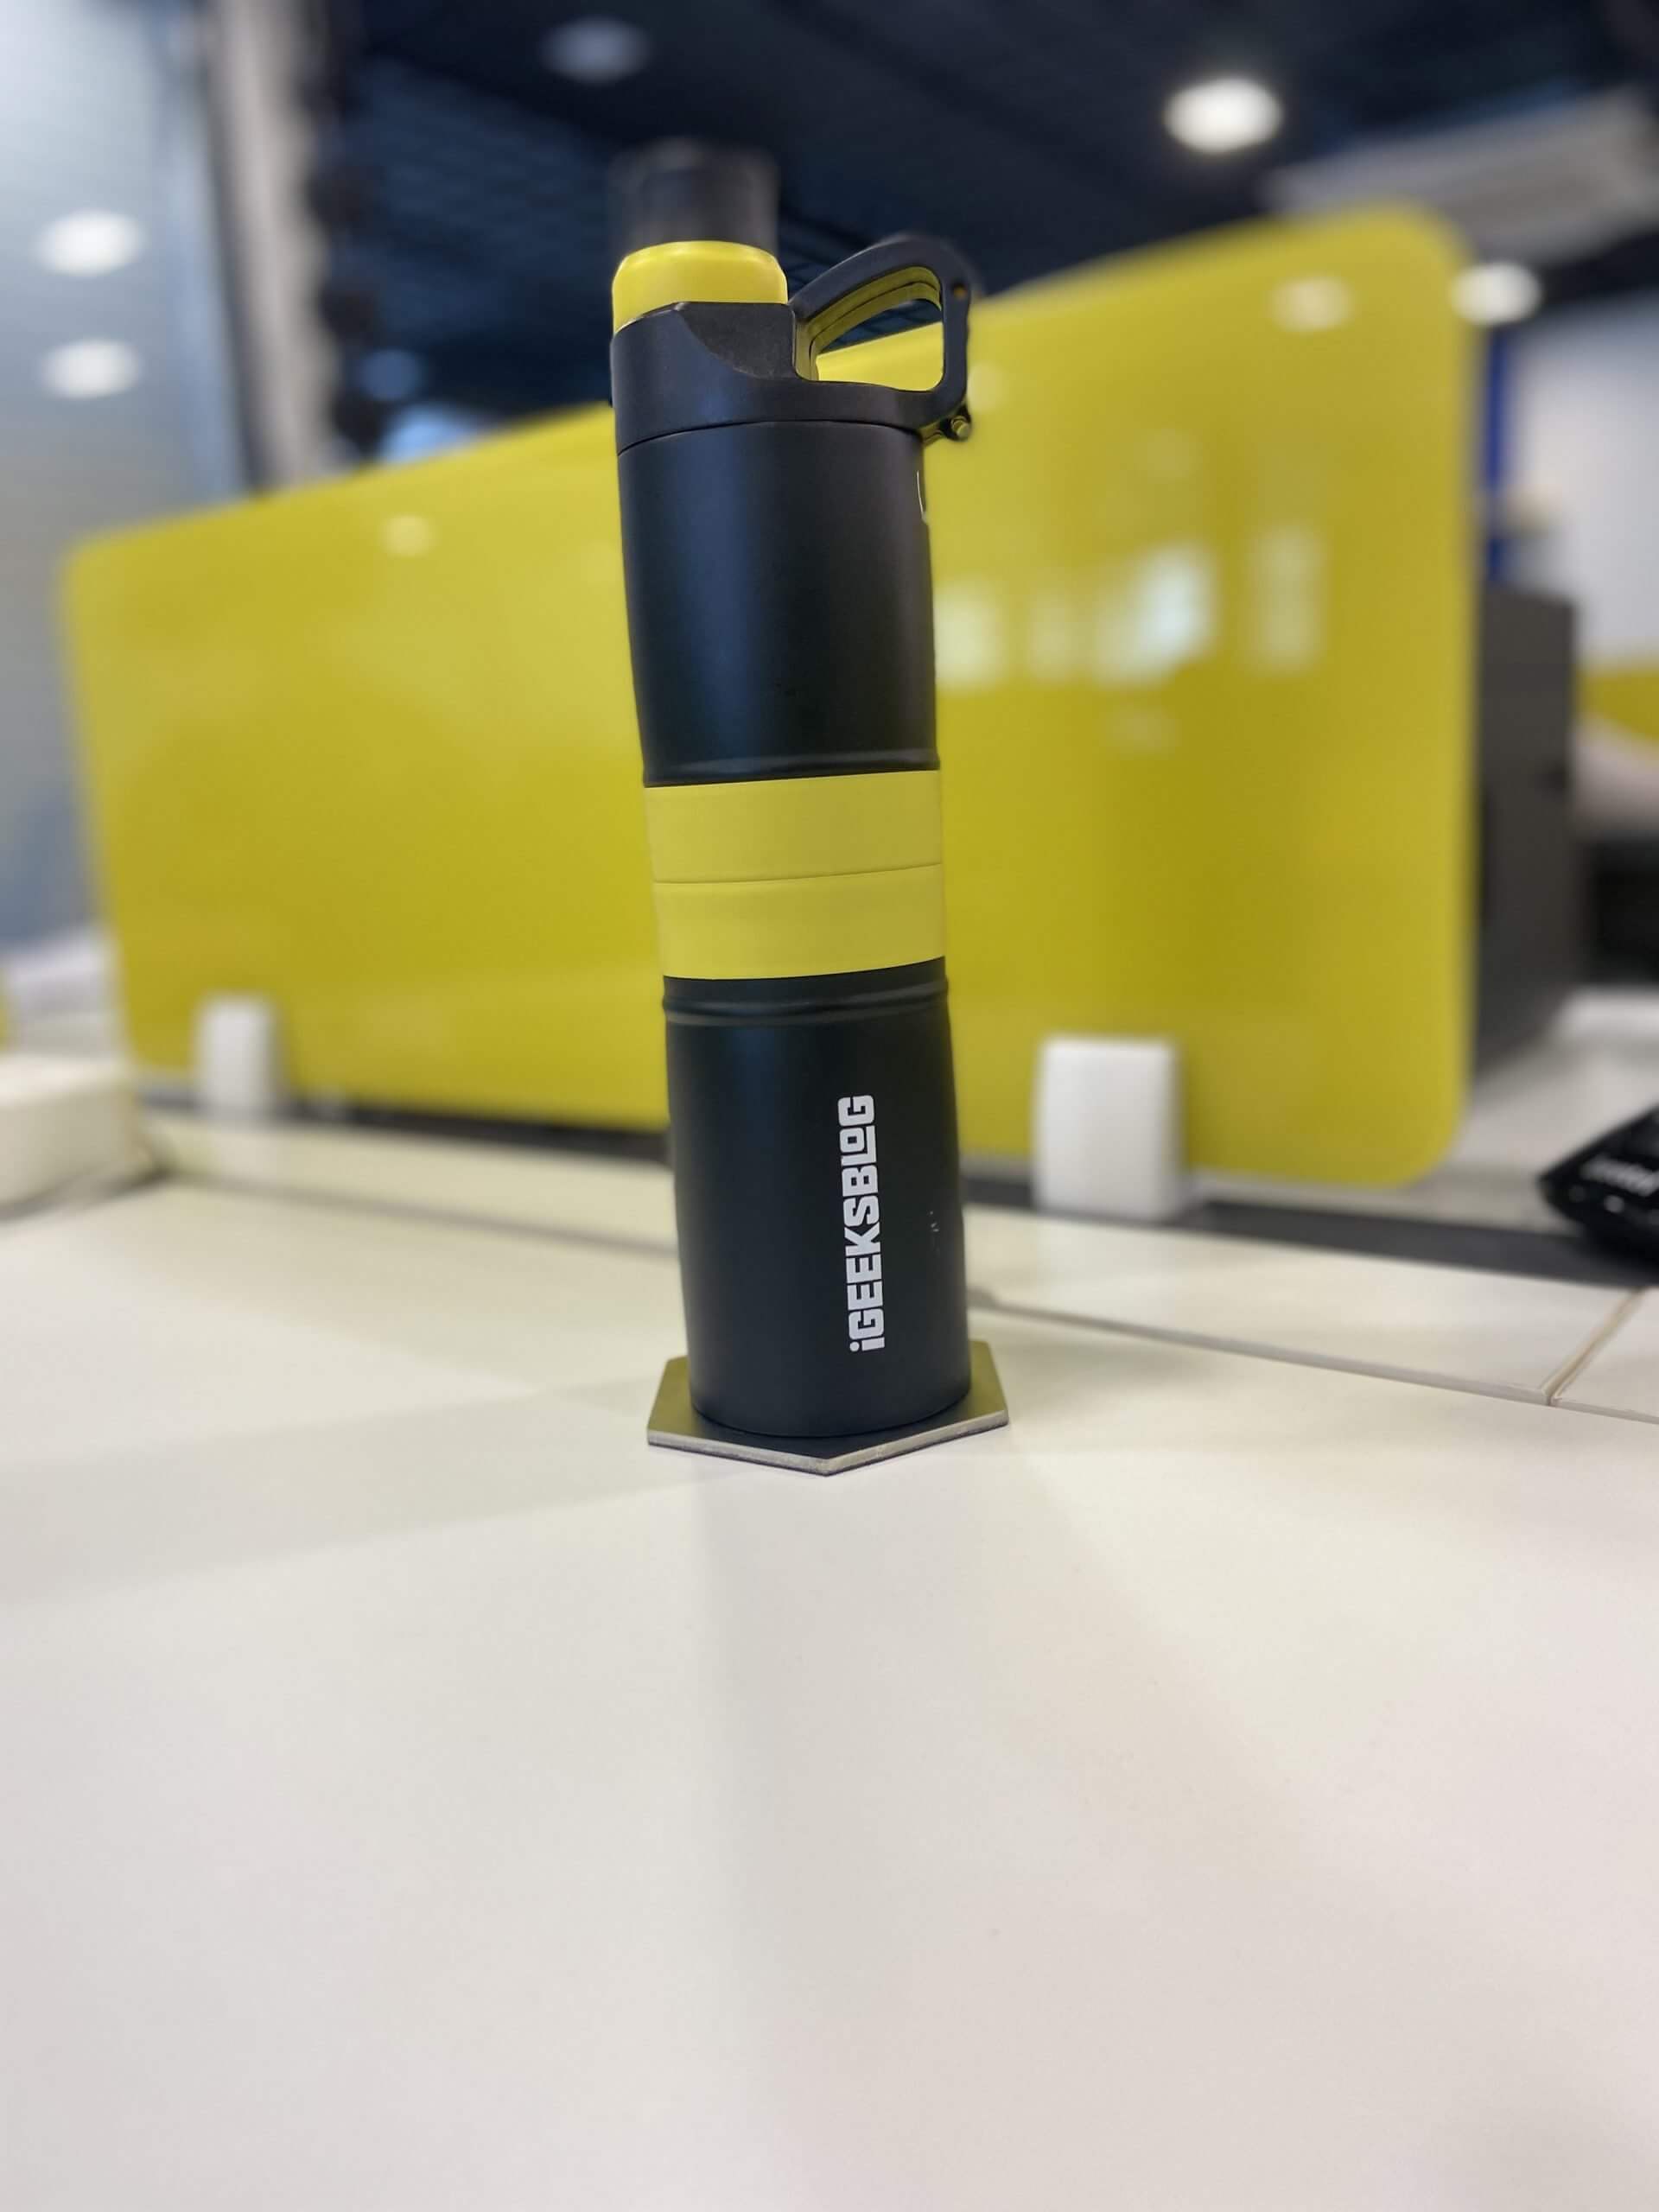
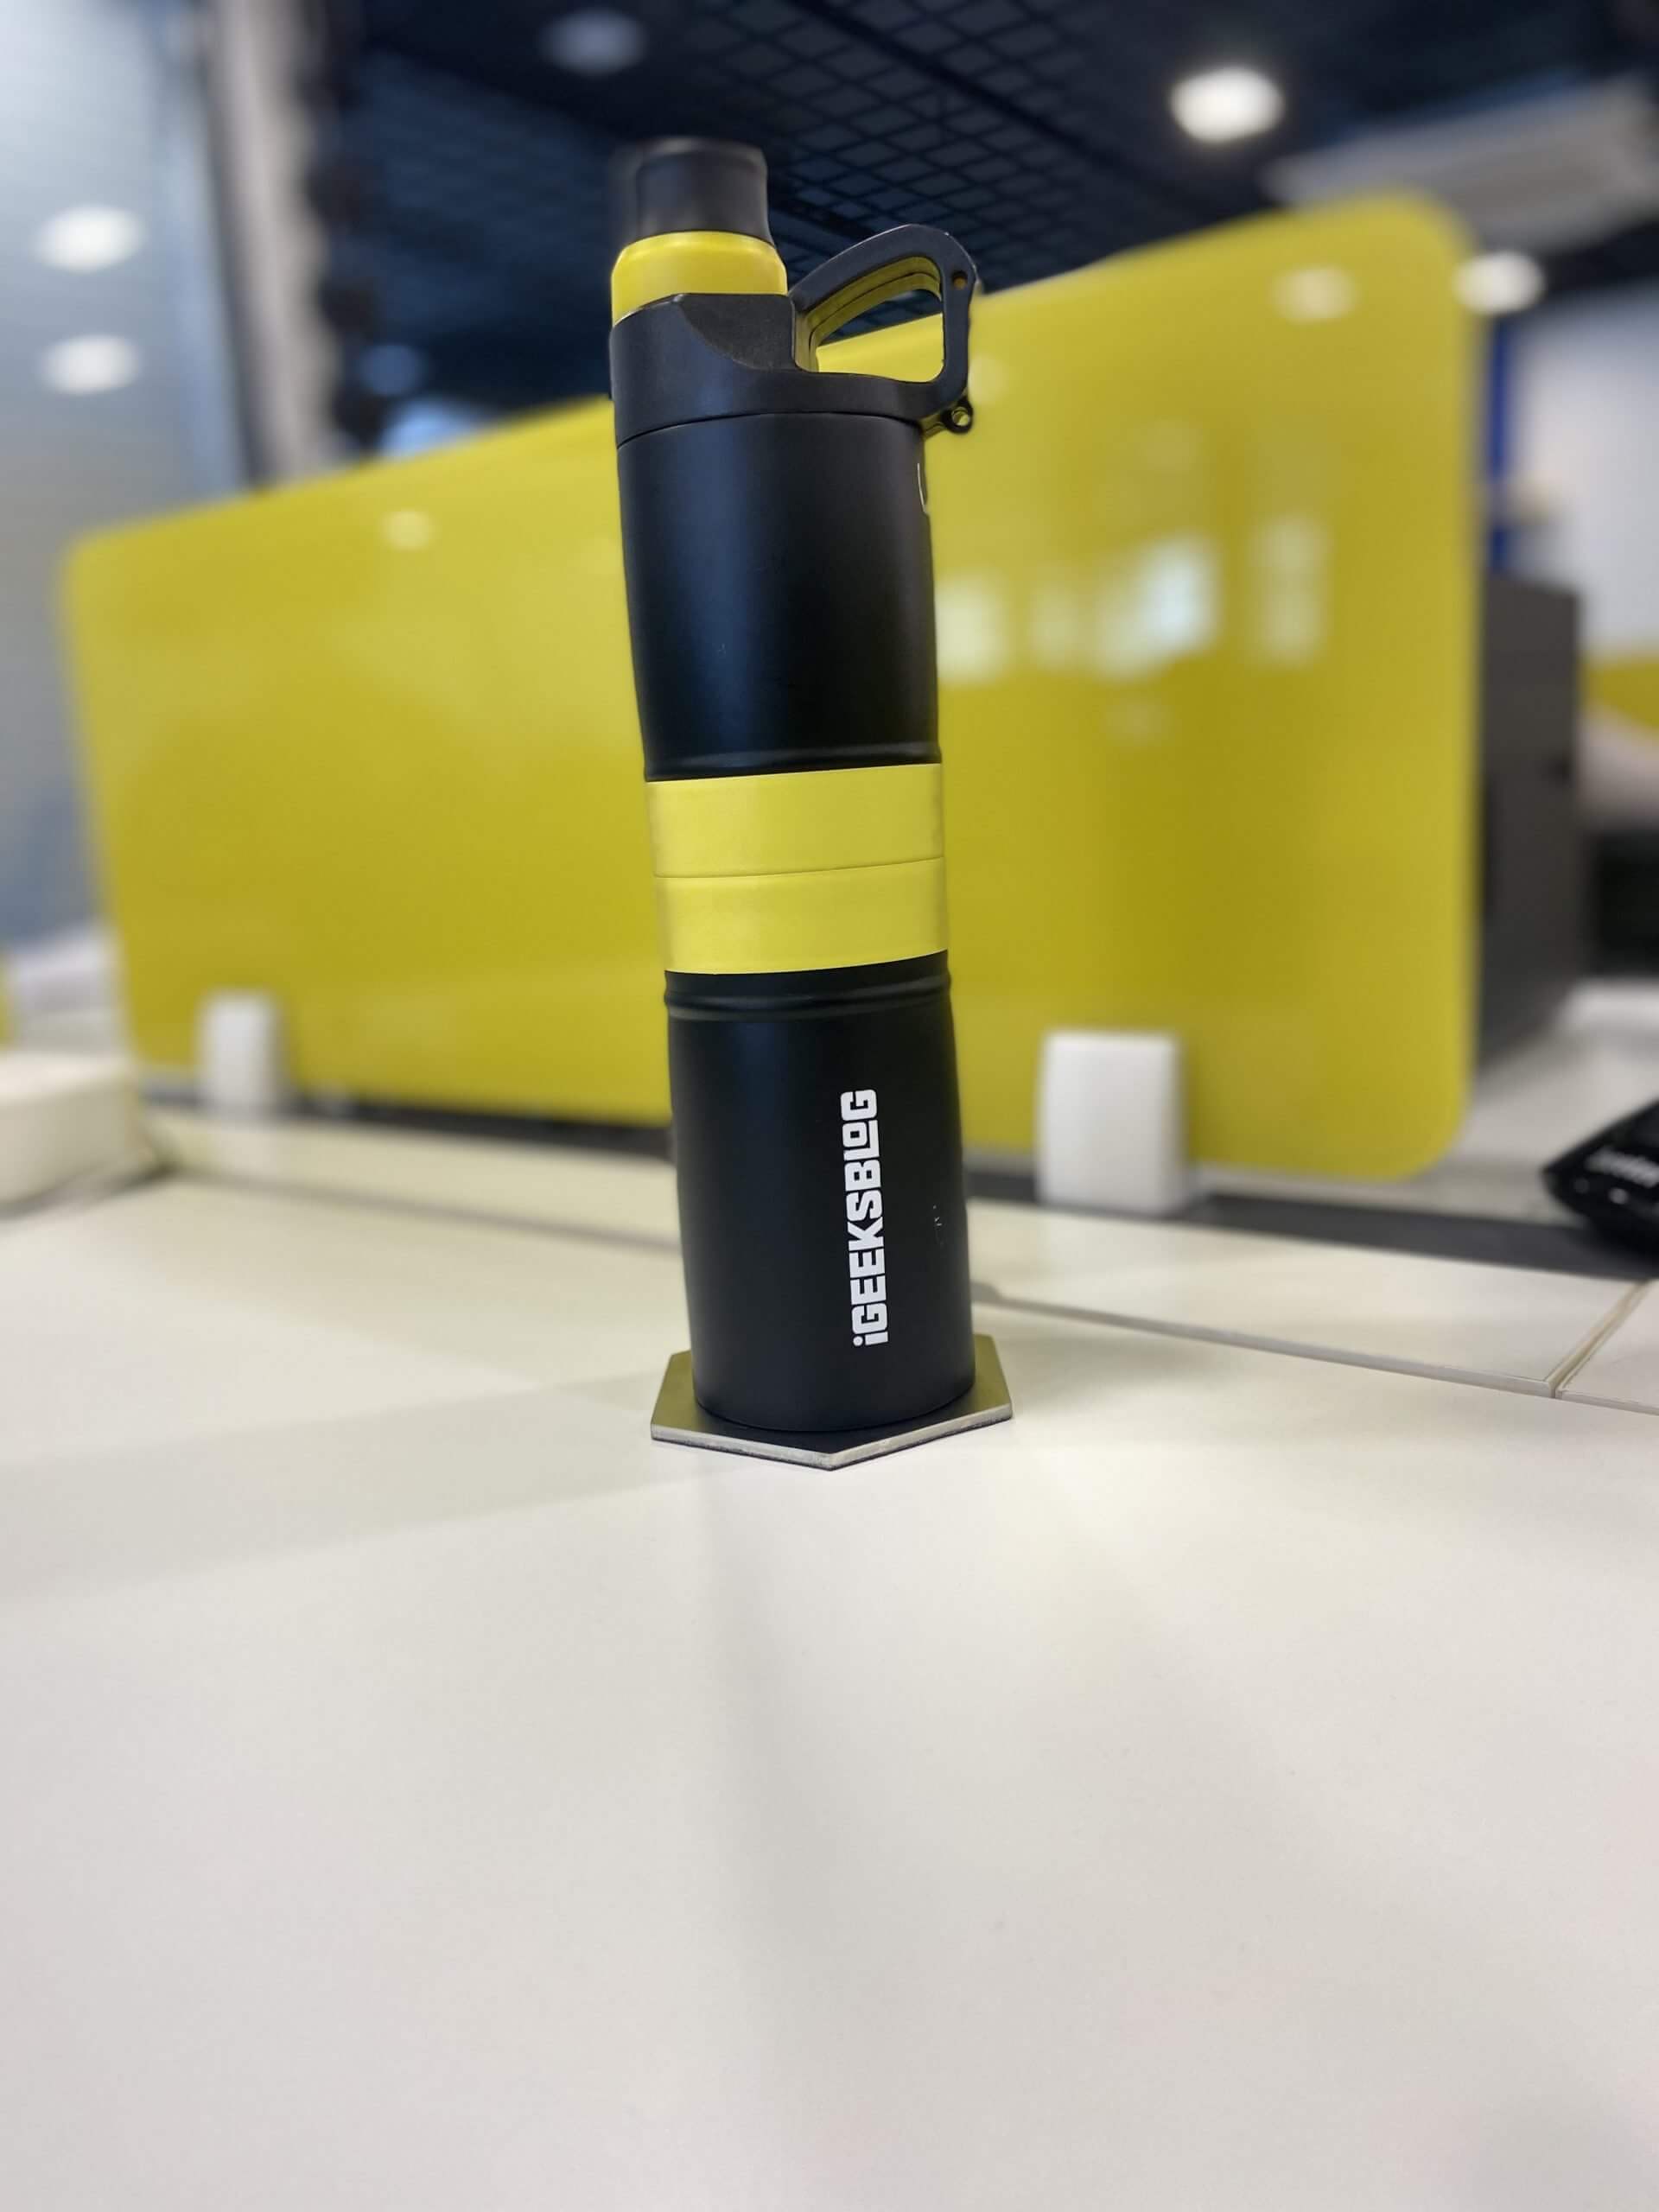
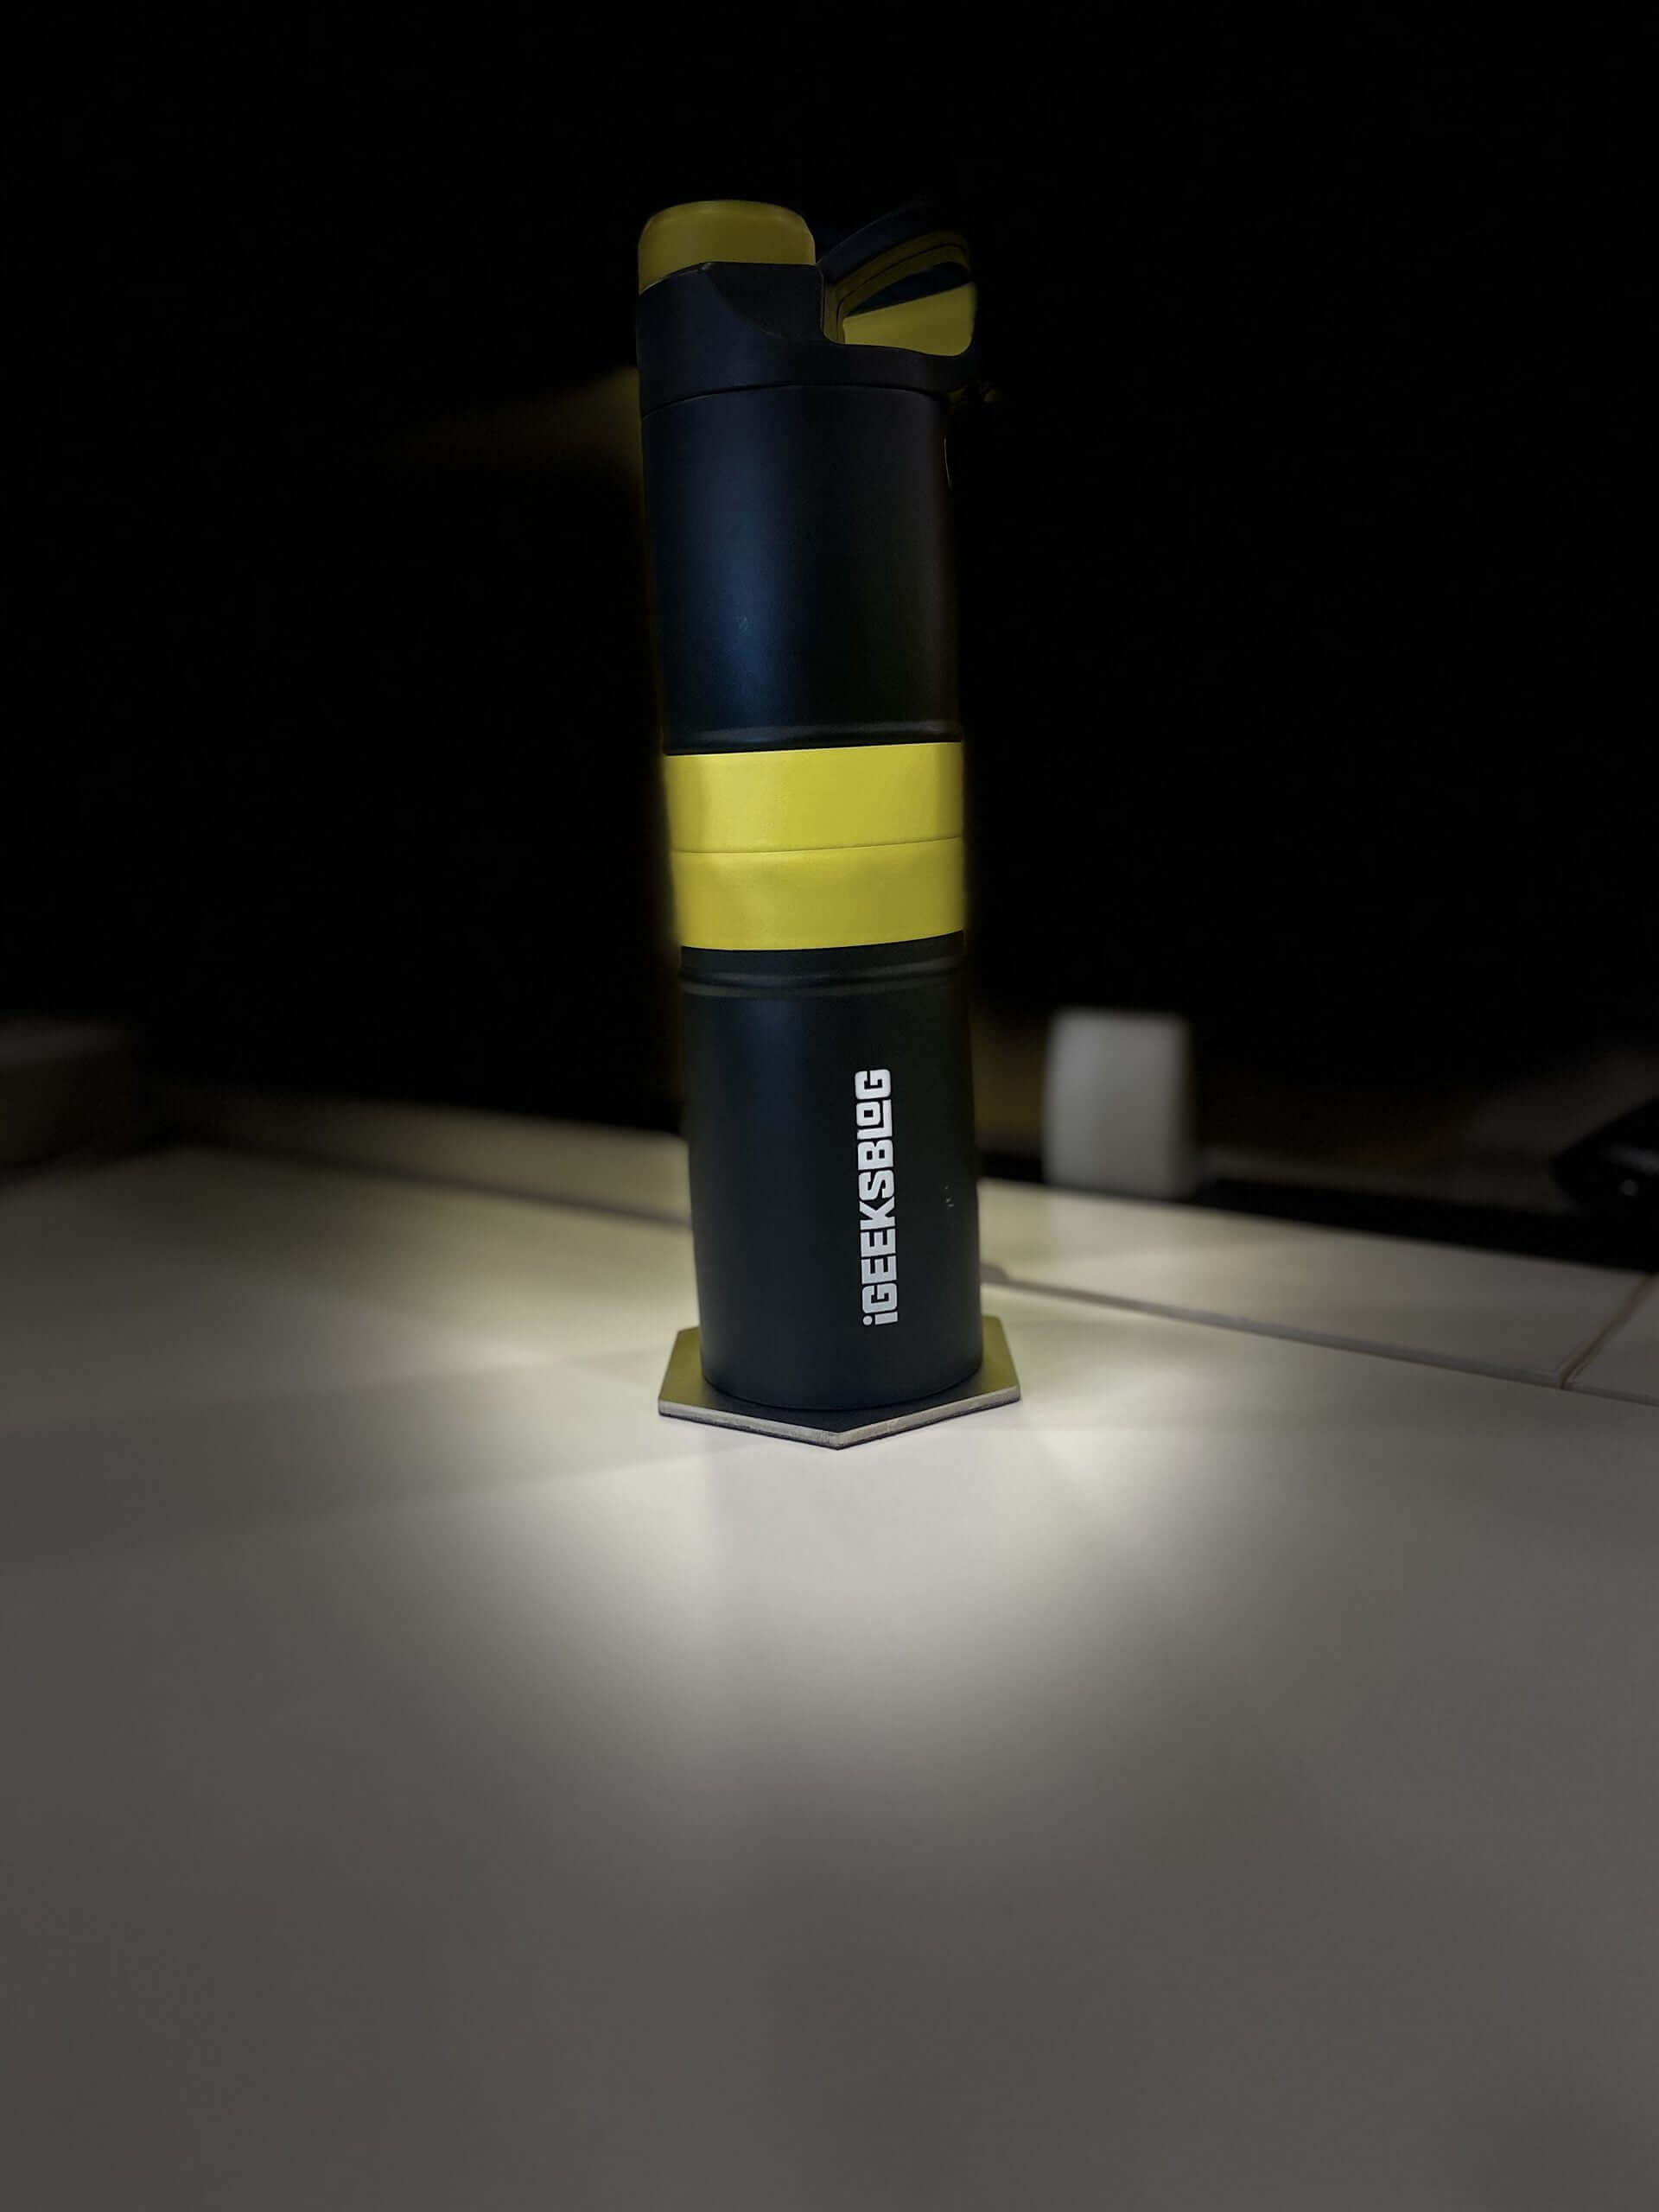
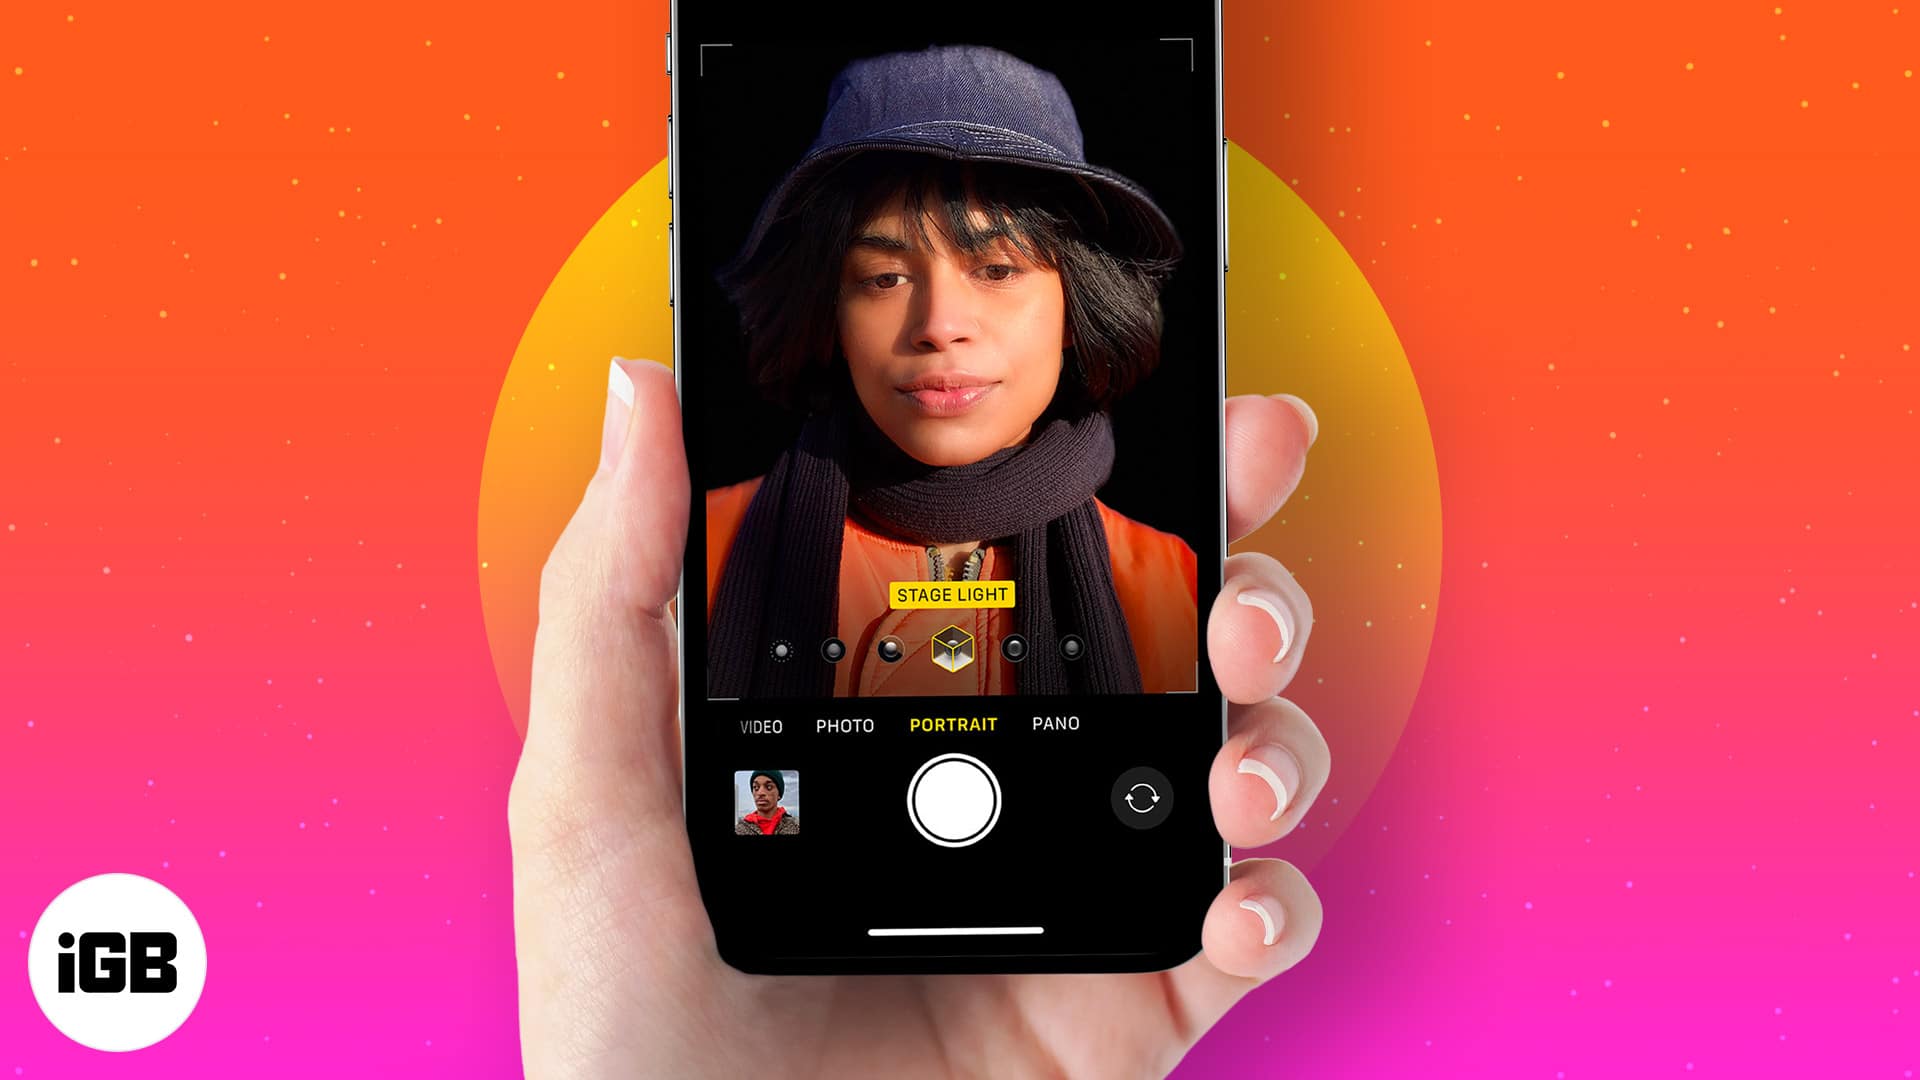
Portrait mode is a feature that lets you click pictures with the main subject in focus while keeping the background blurred. The feature is identical to that of a DSLR camera. So, if you are wondering how to take Portrait snaps, apply filters and effects, edit portrait photos, or more, then read ahead and be the master for portrait photography with your iPhone.
- iPhone models that support Portrait mode
- Difference between Portrait mode and Portrait Lighting
- How to take Portrait mode Photos on iPhone
- How to use Portrait Lighting effects on iPhone
- How to take a Portrait mode selfie
- How to change Portrait Lighting effects afterwards
- How to use Depth Control on iPhone
- How to remove Portrait mode effect from Photos
iPhone models that support Portrait mode
Apple debuted Portrait mode for the first time on iPhone 7 Plus. Since then, most devices support it. Here is the full list.
- iPhone 7 Plus
- iPhone 8 Plus
- iPhone X
- iPhone XR
- iPhone Xs and Xs Max
- iPhone 11, 11 Pro, and 11 Pro Max
- iPhone SE 2020
- iPhone 12 mini, 12, 12 Pro and 12 Pro Max
- iPhone 13 mini, 13, 13 Pro, 13 Pro Max
- iPhone 14, 14 Plus, 14 Pro, 14 Pro Max
- iPhone 15, 15 Plus, 15 Pro, 15 Pro Max
Notes:
- Except for iPhone 7 Plus, all models listed above support Portrait Lighting, though the number of effects varies. For example, iPhone XR only supports Natural Light, Studio Light, and Contour Light. High-Key Light Mono is available on both cameras of iPhone Xs and later, but only on the front camera of the iPhone XR
- On iPhone 11 Pro and newer, tap the 2x button to zoom out and use the Wide camera. By default on these devices, the Portrait mode uses the Telephoto camera
- For clicking Portrait Selfie, you need iPhone X and later
Difference between Portrait mode and Portrait Lighting
These two terms may seem similar. However, there is a difference.
- Portrait mode blurs the background and keeps the main subject sharp. In short, it tries to mimic (using multiple cameras and/or software) the bokeh-style effect of DSLR cameras
- Portrait Lighting (on all models listed above except iPhone 7 Plus) are studio-quality lighting effects (Studio Light, Contour Light, Stage Light, Stage Light Mono, High-Key Mono) that you can apply to Portrait mode photos while shooting or while editing in Photos app
How to take Portrait mode Photos on iPhone
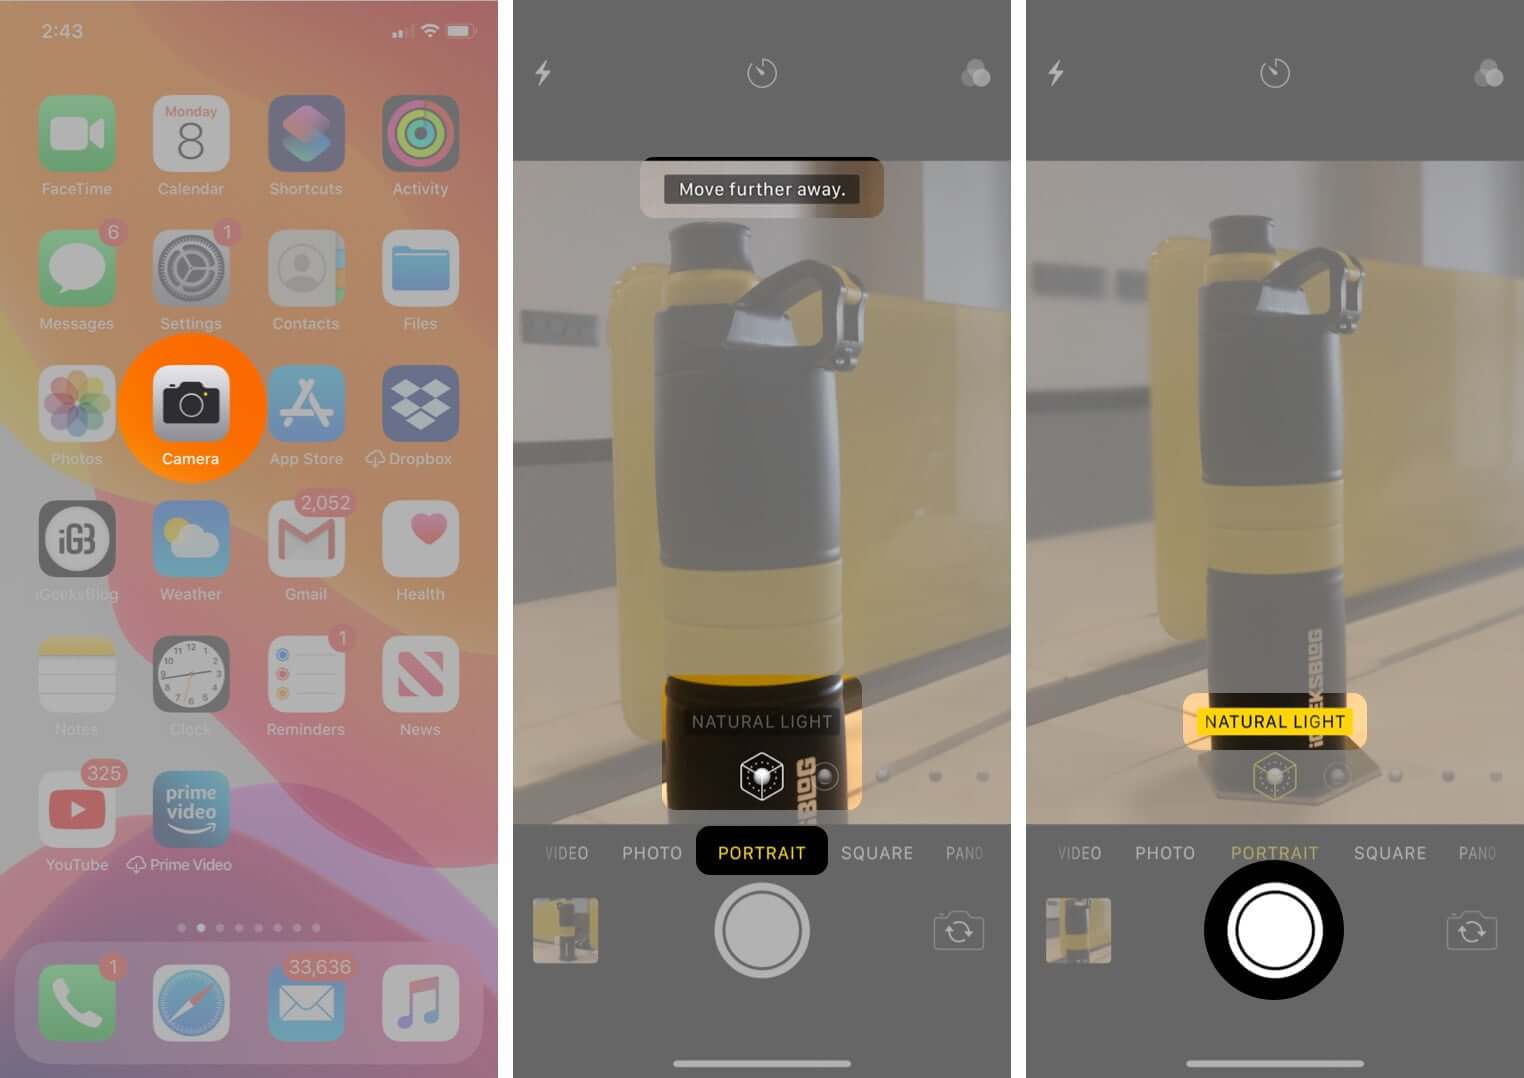
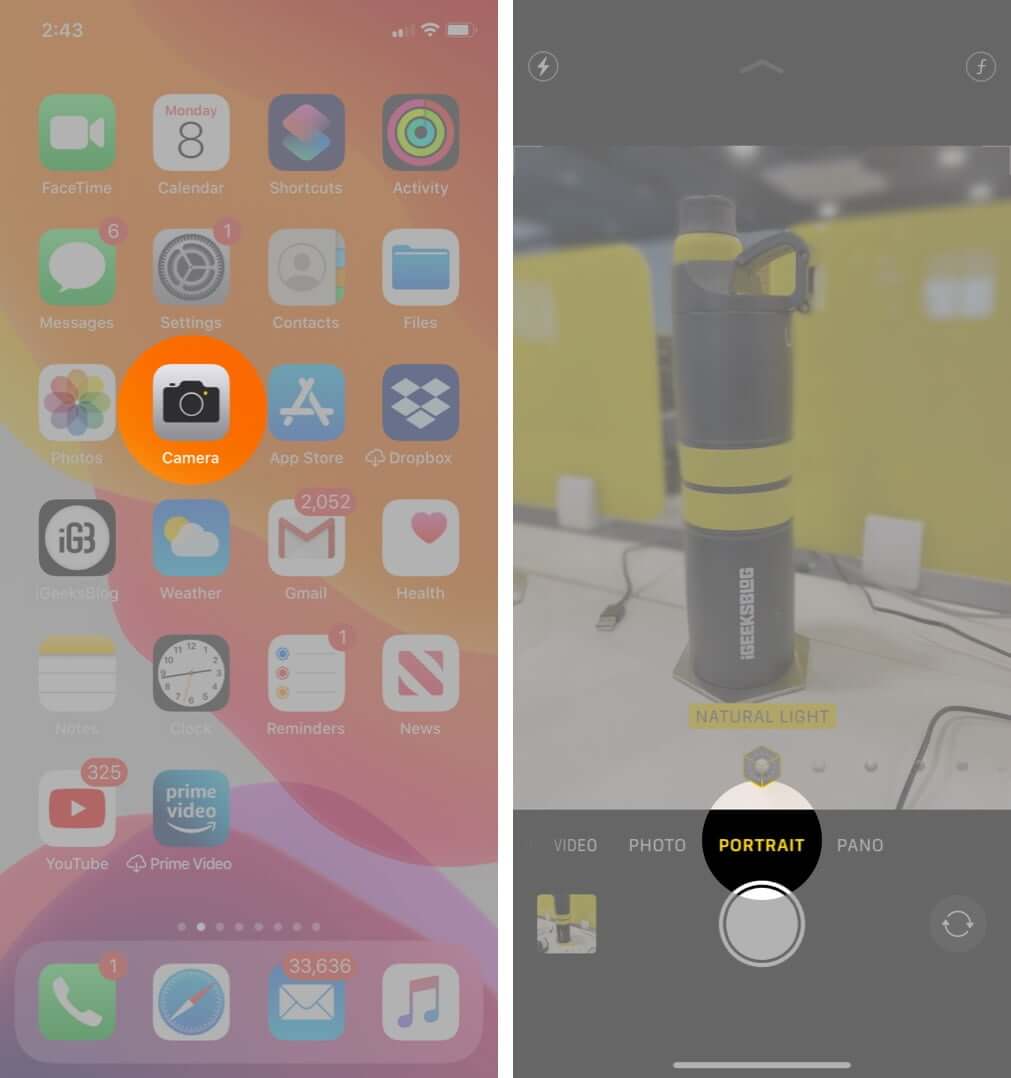
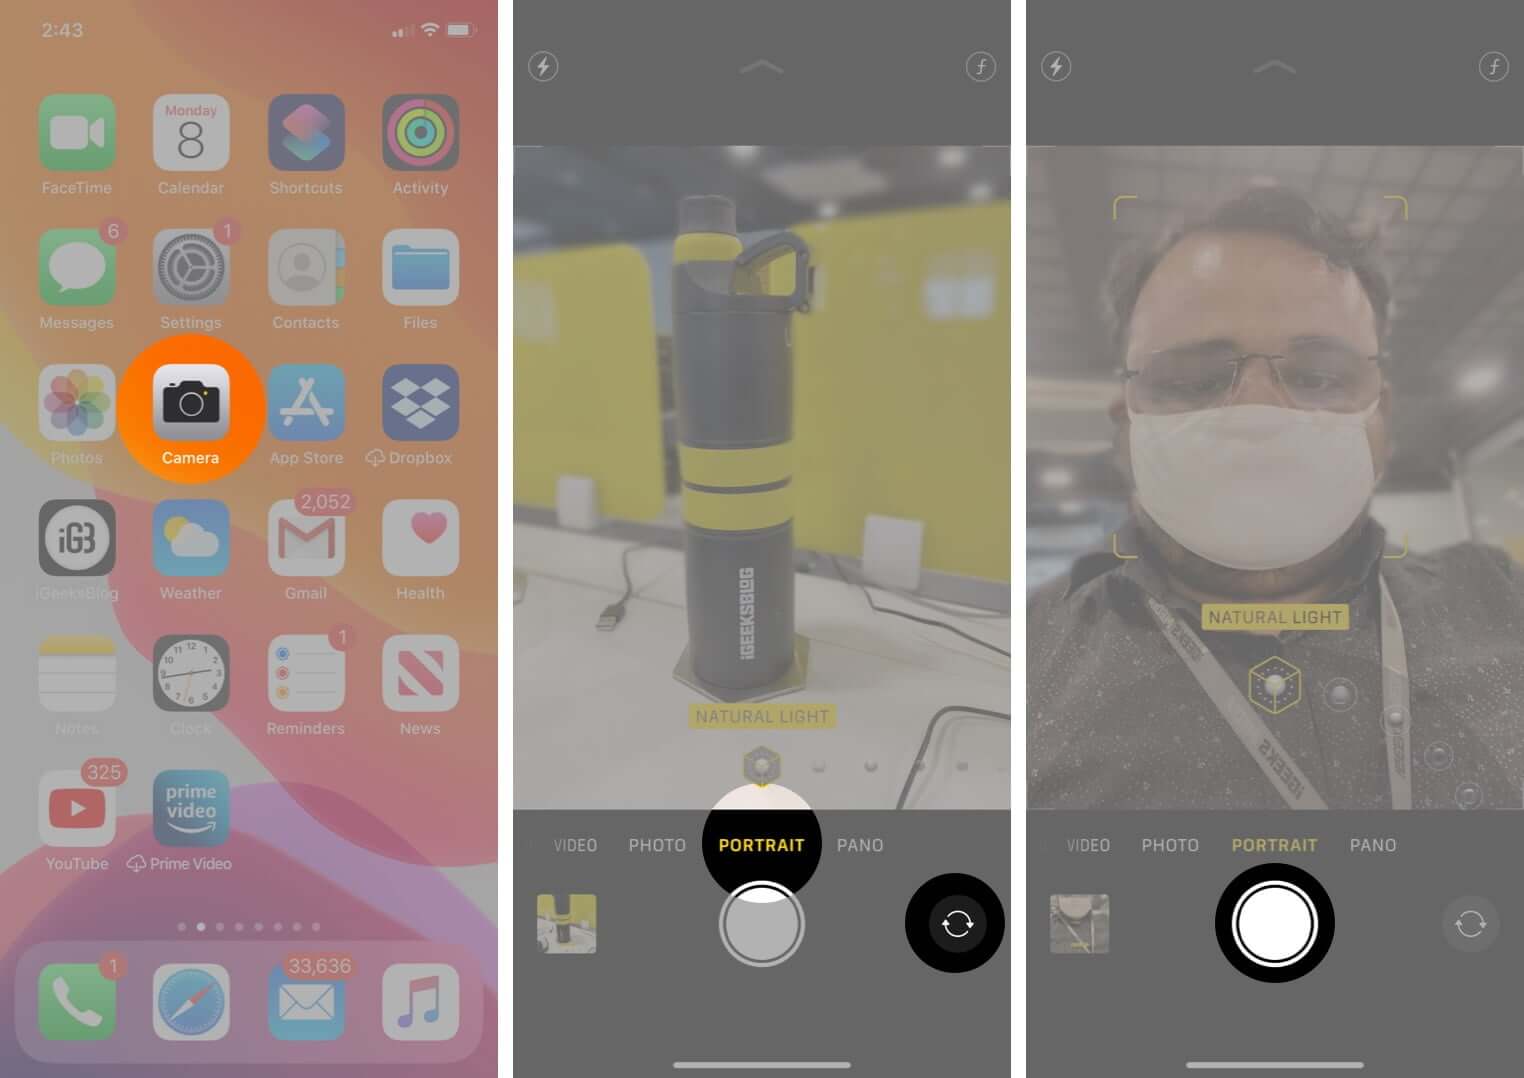
- Open Camera and select Take Portrait. Or, open Camera and swipe to PORTRAIT mode
- Make sure you are within 2-8 feet of the photo’s subject. Follow the on-screen instructions (like, move further away), if any
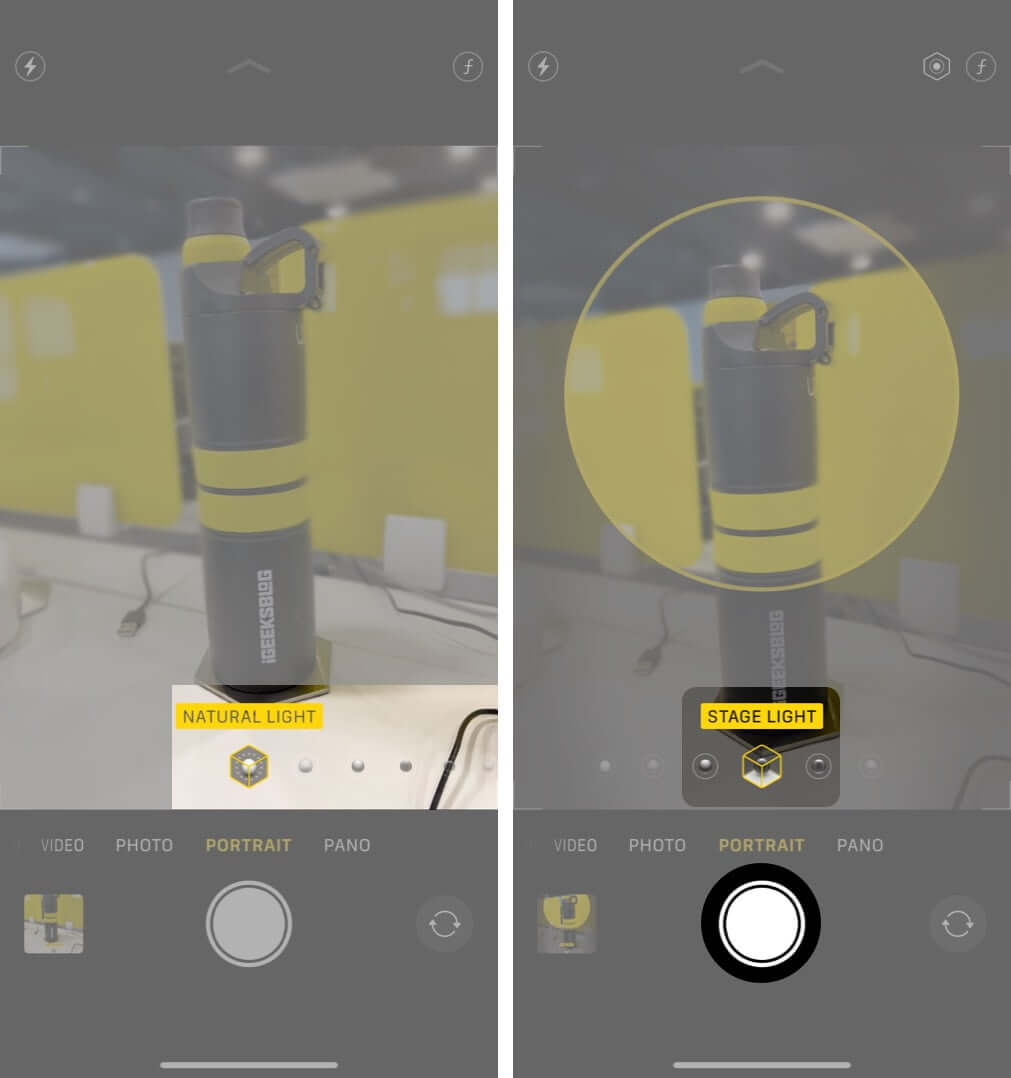
- When everything is set, the name of the effect like DEPTH EFFECT on iPhone 7 Plus or NATURAL LIGHT on other iPhones will turn yellow. You will also see the background blur in real-time
- Tap shutter button or volume up or volume down button to take the picture.
Note: Suppose you do not follow the on-screen instruction and the effect name does not turn yellow, but you still click the picture. In this case, it will be a regular photo without any background blur effects.
How to use Portrait Lighting effects on iPhone
You can click a photo in Portrait mode and apply the Portrait Lighting effect while editing. You may also click with these effects. The steps and instructions are almost the same as above.
- Open Camera and swipe to PORTRAIT mode.
- Touch the NATURAL LIGHT button in the viewfinder and swipe it to select a Portrait Lighting effect.Natural Light: As far as functionality is concerned, it’s quite similar to the iPhone 7 Plus Portrait mode. It simply works by keeping the subject’s face in focus by blurring the background.
- Follow the on-screen instructions. Make sure the Portrait Lighting effect name turns yellow.
- Tap shutter button or any volume button.
How to take a Portrait mode selfie
On iPhone X and later, you can use the front camera to click Portrait Selfies. The process is the same as Portrait mode shots.
- Open Camera and select Take Portrait selfie.
Or, open Camera app, swipe to PORTRAIT mode, and then switch to the front camera - Follow the instructions shown on the screen. Ensure the effect name turns yellow.
- Tap shutter button. You may also press the volume button on the iPhone itself or the EarPods if it is connected to the device.
How to change Portrait Lighting effects afterwards
Suppose you click an image with the effect CONTOUR LIGHT, but now you wish to change it. You can do it effortlessly after the image is saved to the gallery.
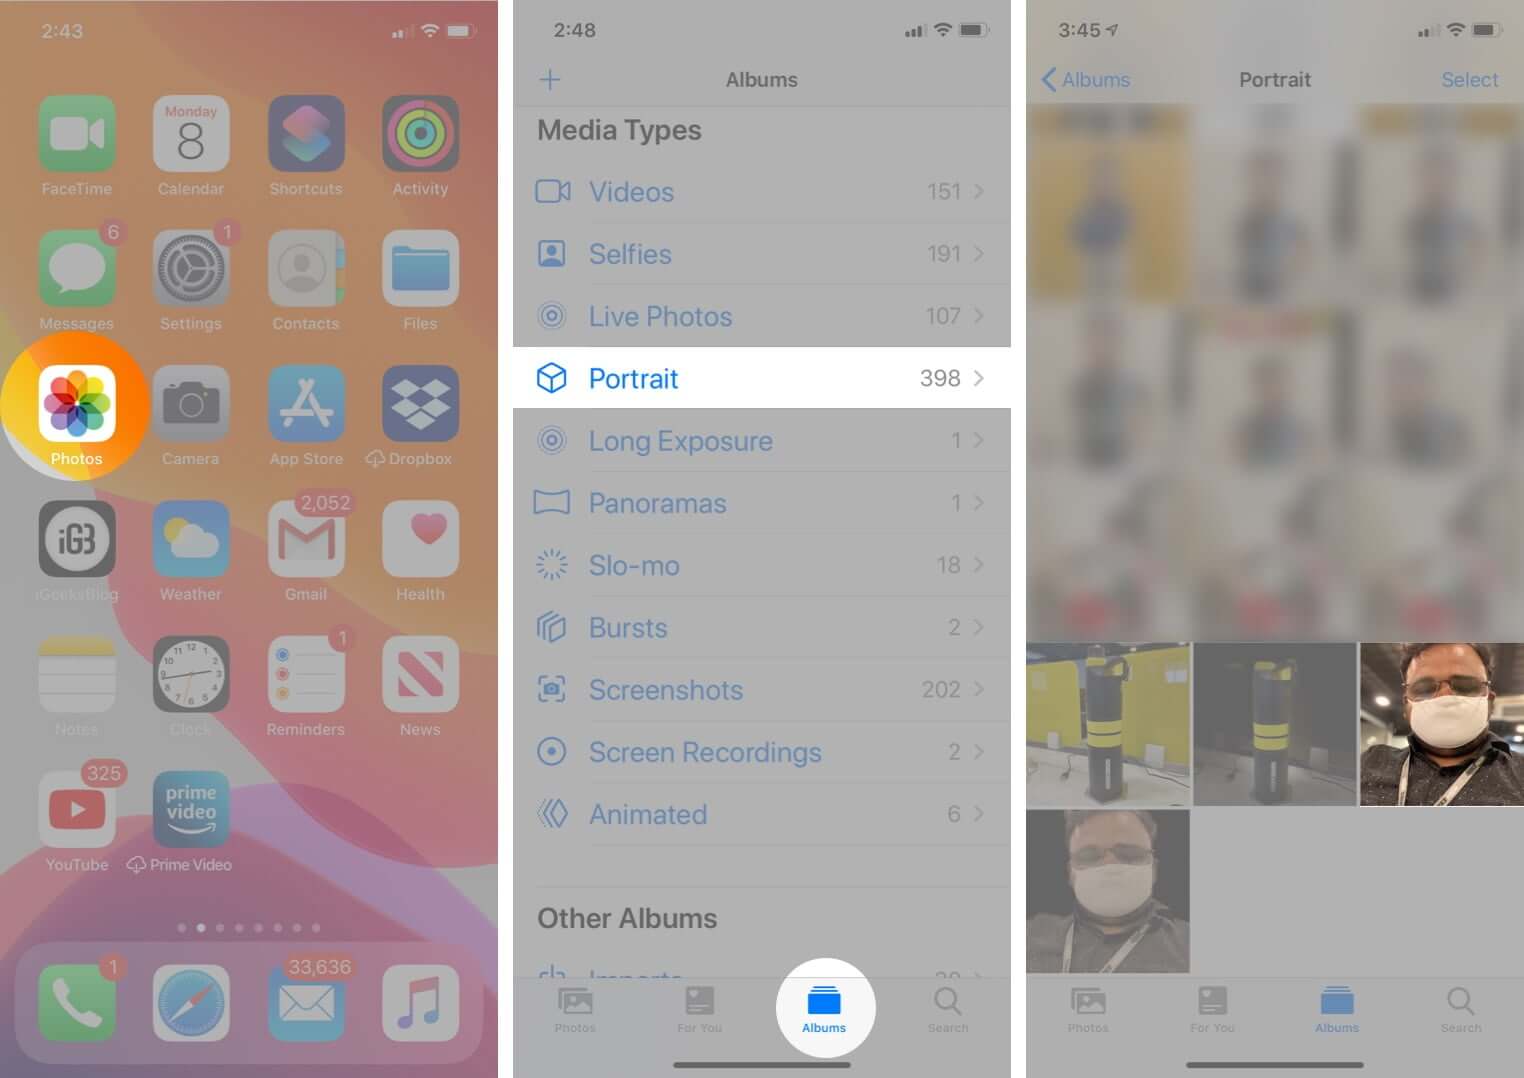
- Open Photos app and tap Albums.
- Scroll down and from under Media Types, tap on Portrait, and tap Image.
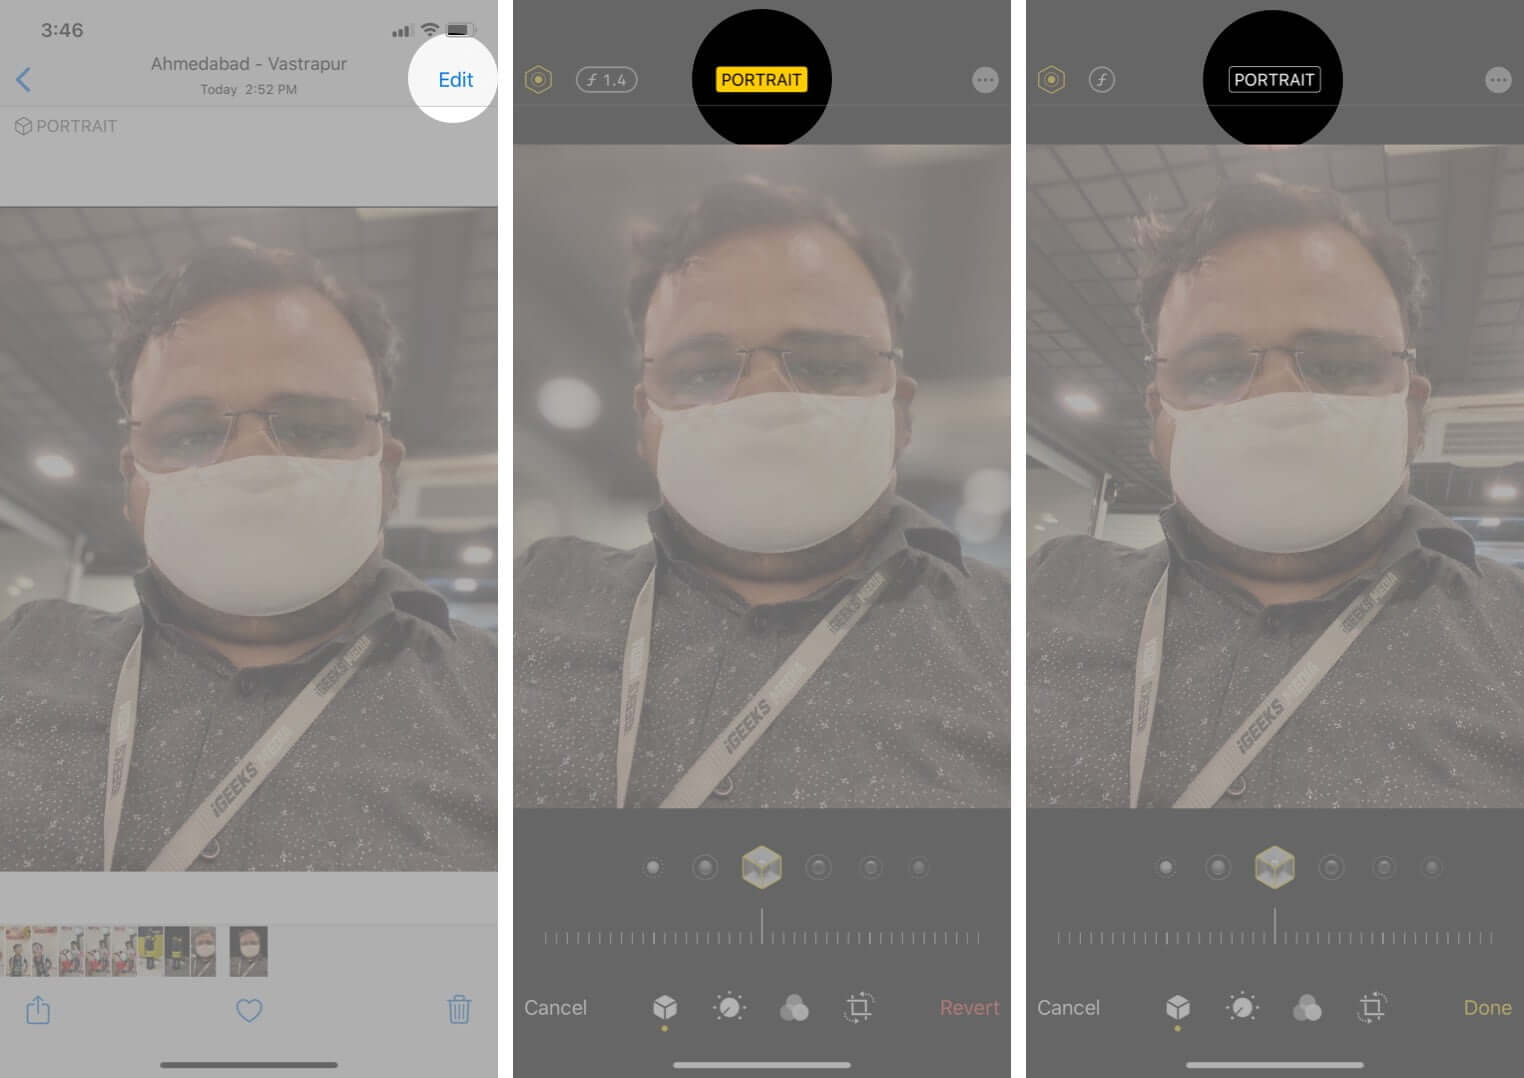
- Now, tap Edit.
- Touch the PORTRAIT button and swipe it to change the effect. See which looks best
- Finally, tap on Done.
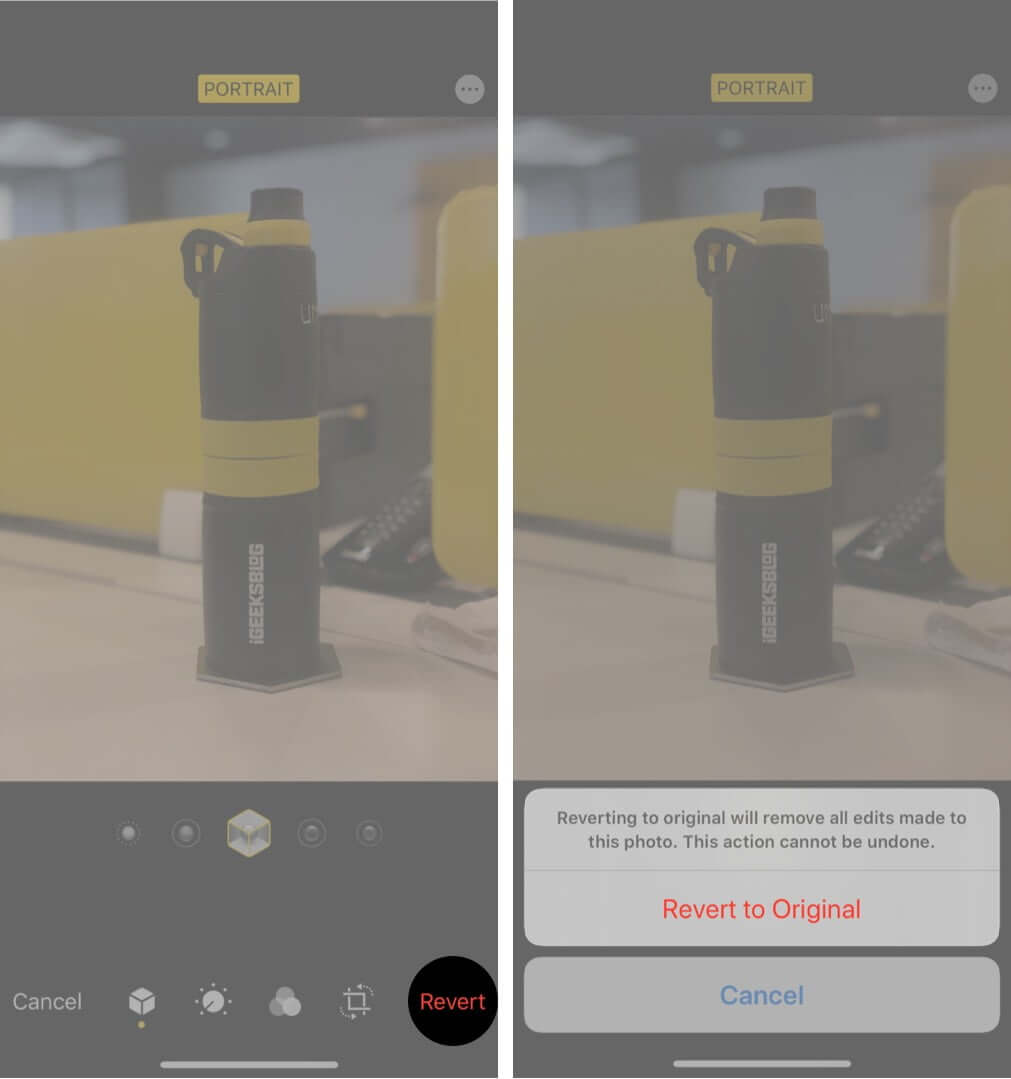
Note: After switching to a different effect, want to go back to the original? Follow up to step 3. Then tap on Revert and confirm by tapping Revert to Original.
How to use Depth Control on iPhone
Depth Control lets you change the level of a background blur of a Portrait mode image after you have clicked it. You can increase the blur or decrease it accordingly. You can use it on iPhone Xs, XR, and later. Here is how.
- Open Photos app and tap Albums.
- Under Media Types, tap Portrait.
- Tap to select a photo.
- Now, tap Edit and then tap Depth Control button. (f inside a circle)
- Move the slider to the left or right to adjust the depth
- Finally, tap Done.
Note: You can adjust the Portrait Lighting effect too following the above steps. Make sure in step 4, you tap on the Portrait Lighting button (dot and a circle inside hexagon).
How to remove Portrait mode effect from Photos
It is possible to convert Portrait mode photos to standard photos without any background blur. To do this:
- Open Photos and tap Albums from the bottom
- Tap Portraits under Media Types and open an image
- then Tap Edit.
- Tap yellow word PORTRAIT.
- Immediately, all blur will be removed. Tap Done to save the image.
Note: Changed your mind yet again and want to get back the blur effect? From Recent or All Photos, open the photo. (This time it would not be under Portraits). Tap on Edit. And then tap on the white word PORTRAIT. Tap Done.
Signing off…
This is how to click and edit Portrait mode pictures on the iPhone. I hope this guide was helpful. If you need some more assistance, please feel free to reach us using the comment sections.
Also, read similar articles…


