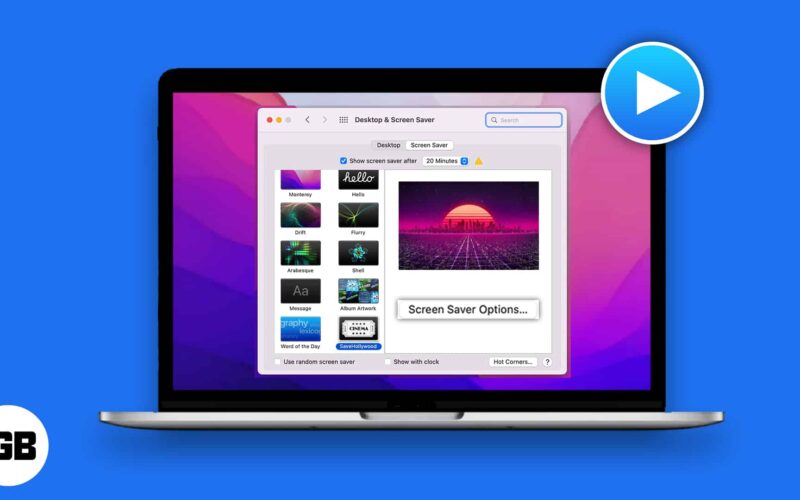
Despite having dynamic desktops, we are limited to using the old screen savers on MacBook. However, Apple lets you use a third-party app to help you choose from pre-installed images or videos. To help you with this, I have explained in this article how you can set a custom video as a screen saver on your Mac.
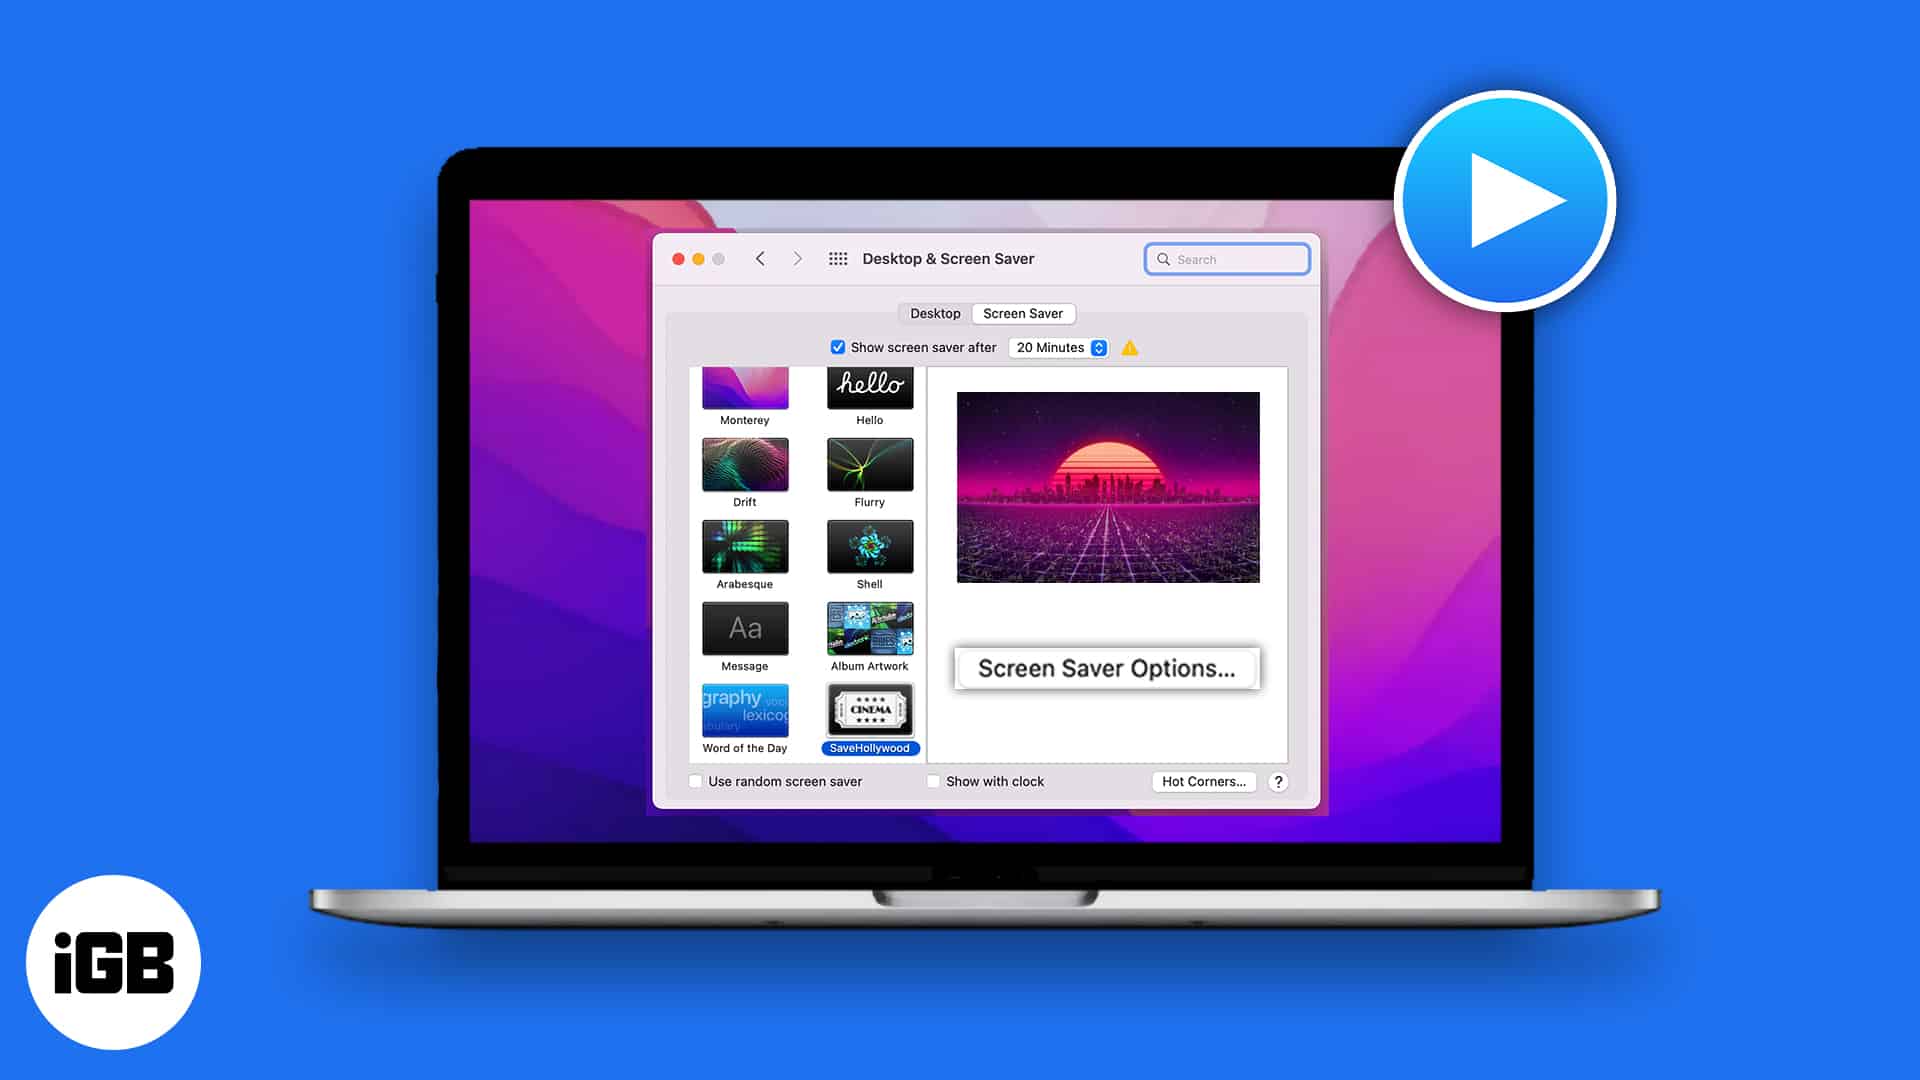
Table of Contents
How to use a video as your Mac screen saver
Before you set the screen saver, save your video in the Movies folder in your Mac Local Storage or iCloud storage to use them. Now, follow the instructions below to use a video clip as a screen saver for macOS Sonoma.
- Download and install SaveHollywood on your Mac.
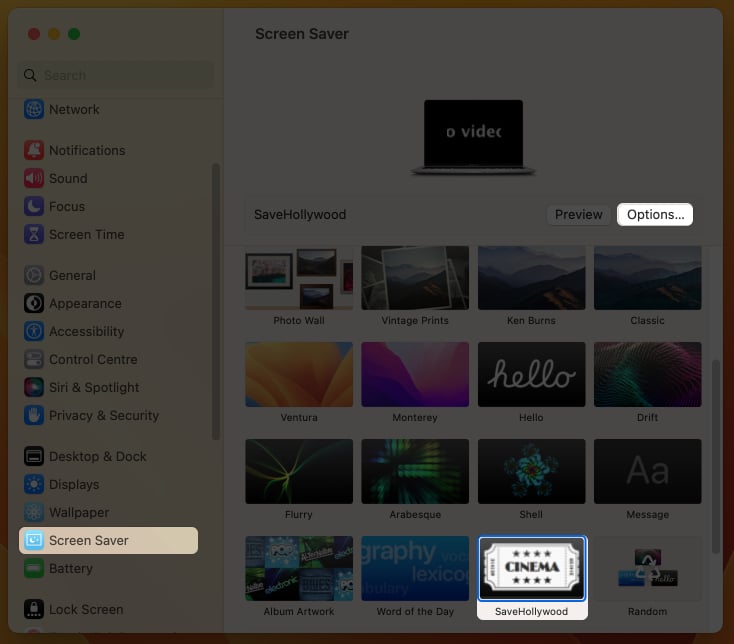
- Click the Apple logo and launch System Settings.
- Click Screen Saver → SaveHollywood → Options.
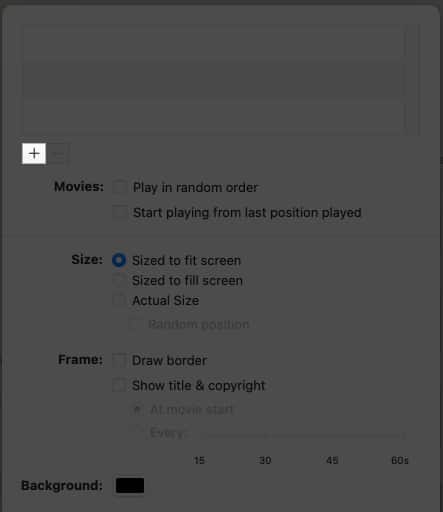
- Click the plus sign(+).
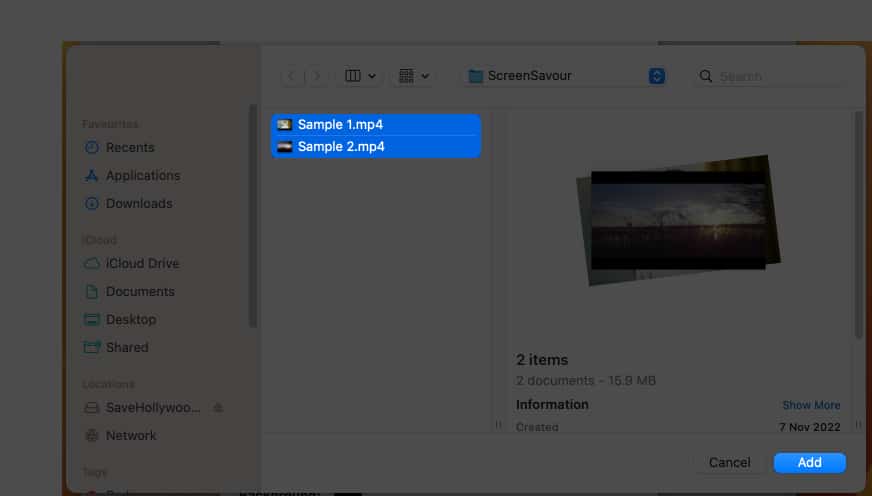
- Select video.
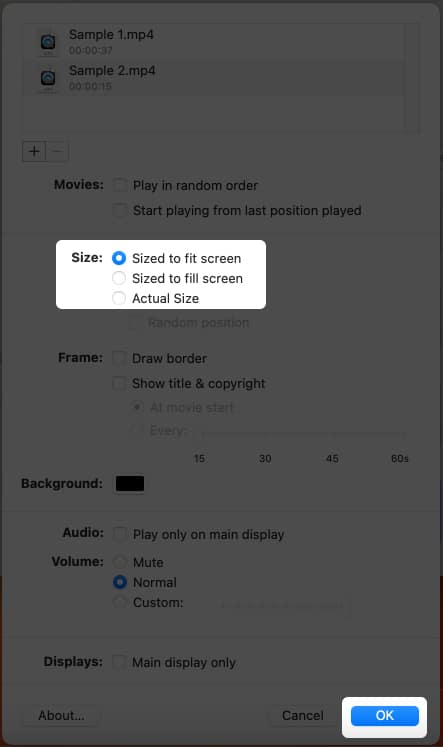
Go to the video source and select a video or multiple videos. - Hit Add.
Note: Adjust the Screen options according to your preference. - Click OK to confirm.
Note: You can check the custom screensaver using the Preview function. You can also change the start screensaver time by opening System Settings → Scrolling down to Lock Screen → Changing Start Screen Saver when inactive.
Ciao…
SaveHollywood is an easy way to set up a video as Mac screen saver. To my mind, this tool is quite useful for users, who doze off in front of their Mac.
A video with high sound will work as a wake-up alarm. Fun apart, SaveHollywood is a brilliant way to keep yourself motivated by some fantastic videos in office. At home, you can use videos of your family.
FAQs
Your screensavers can last up to 3 hours, depending on the time frame you’ve decided for you have set for Mac’s display.
Editor’s Recommendation:

