There can be multiple reasons to change the Apple ID security questions like your identity has been compromised, changed situations, or simply because you’ve forgotten them. Regardless of your reason, you can easily reset those questions for your ease and convenience. After all, they secure your Apple ID.

This guide will help you change your Apple ID security questions so that you don’t have to sit hours thinking about who your first teacher was. Let’s dive in!
Note: Apple IDs created in devices running iOS 10.3 and later or macOS 10.12.4 and later have two-factor authentication enabled by default. So you can’t enable or change security questions for them.
Change Apple ID security questions from iPhone or Computer
- Visit appleid.apple.com on a browser.
- Sign in to your Apple ID.
- Next, click Edit in the Security section.
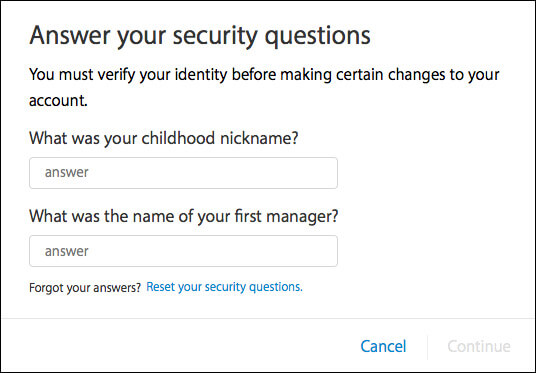
- Answer your previous security questions to proceed.
- Click Change Questions.
- Now, choose the new security questions, and answer them.
- Finally, confirm your rescue email address.
That’s it! But if you forgot answers to the security questions, fret not! Move on to the following method.
How to reset Apple ID security questions if you forgot the answer
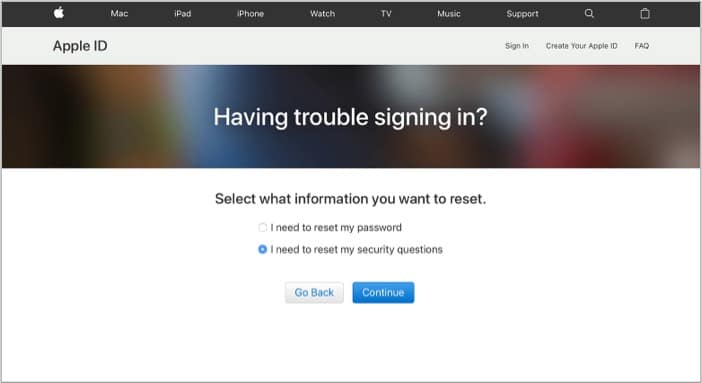
- Open iforgot.apple.com in your browser.
- Type your Apple ID, and click Continue.
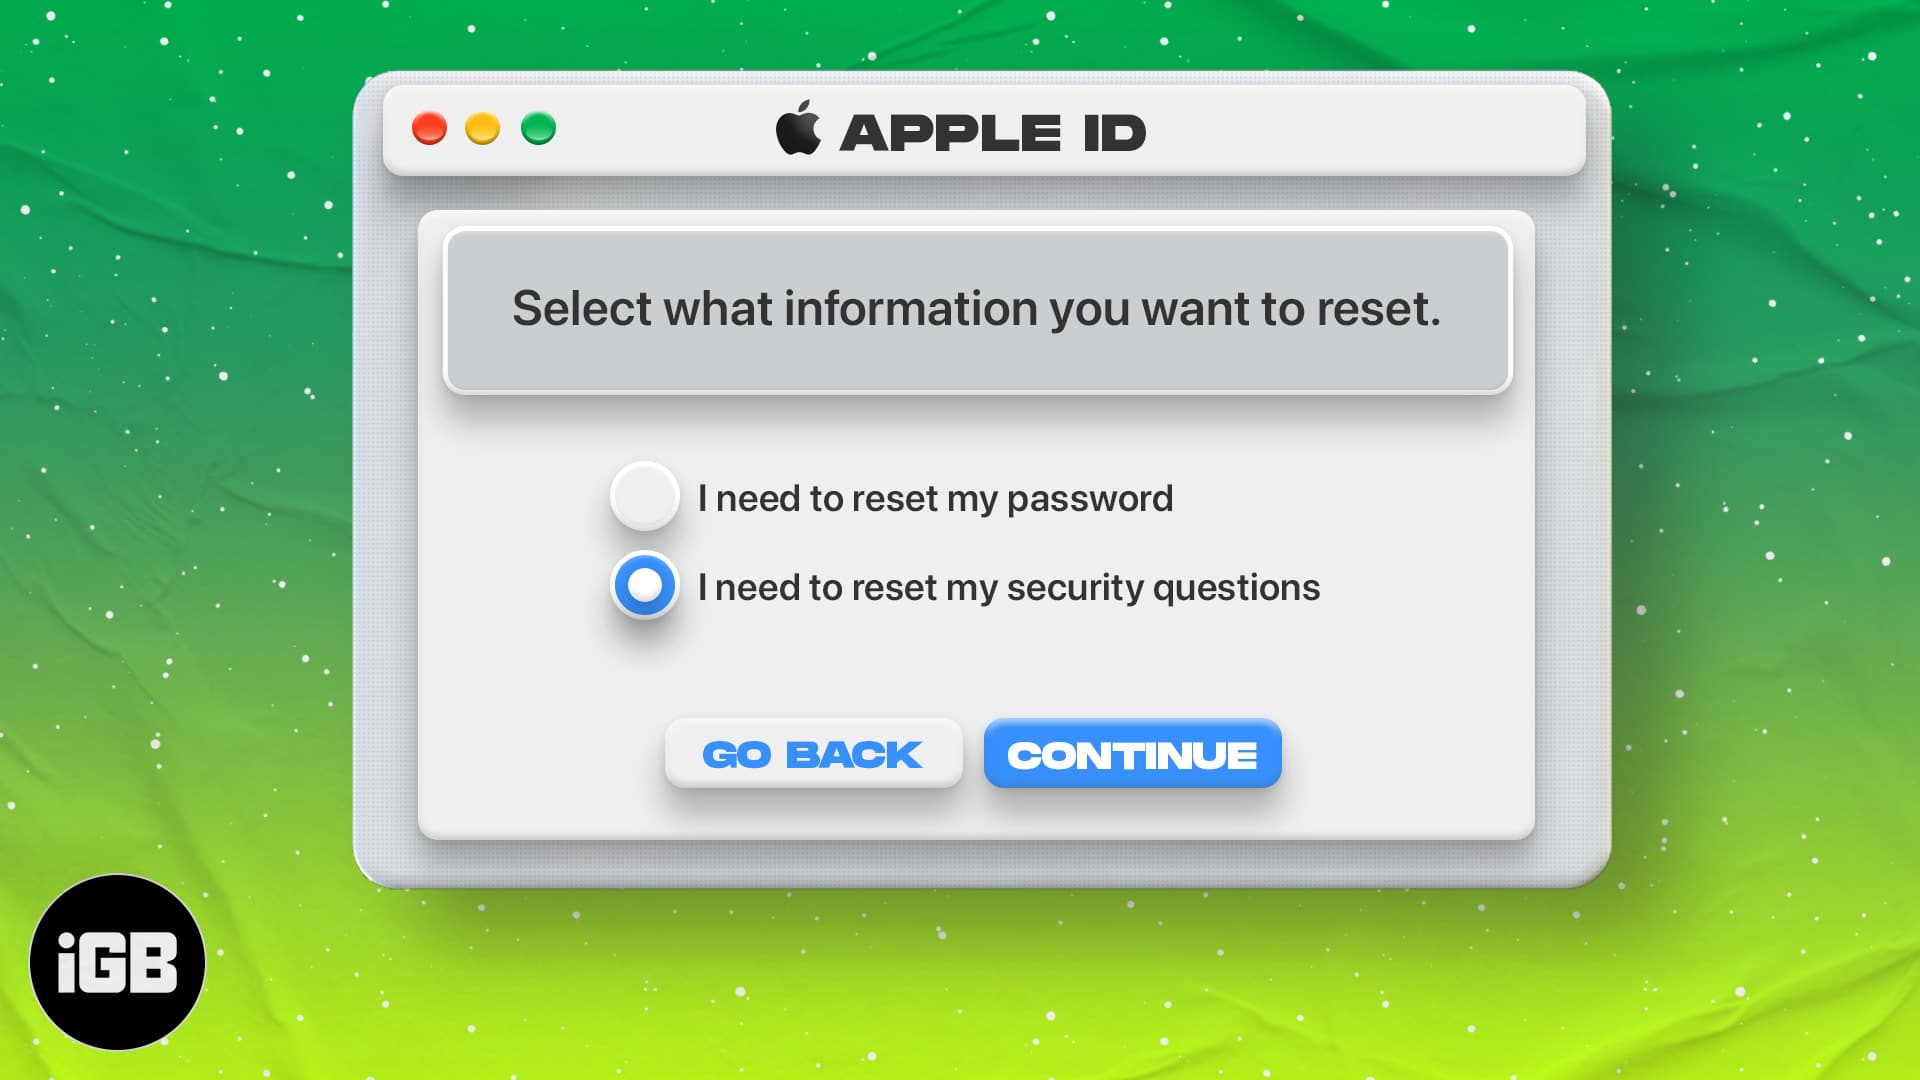
- Next, select I need to reset my security questions and hit Continue.
- Enter the Apple ID password and select Continue again.
- Follow the on-screen instructions to verify it’s you.
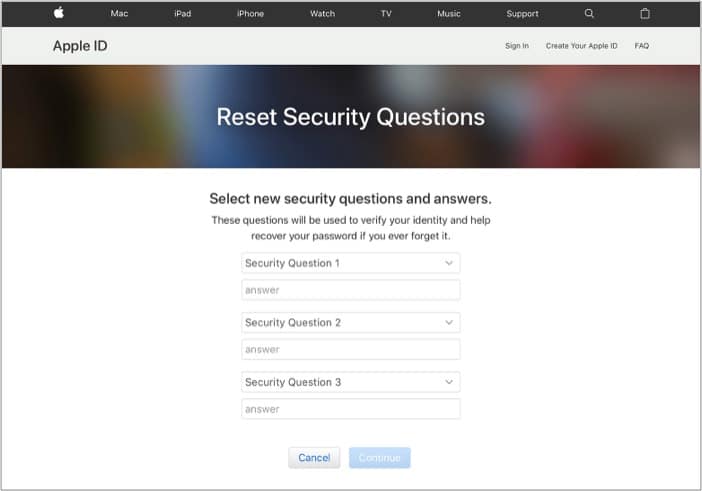
- Now, choose the new security questions and answer them.
- Select Continue, and you’re done.
This should help you reset the Apple security questions list. Ensure you note the answers somewhere this time.
Additionally, if you want to remove the hassle of remembering the Apple ID secret questions, you can simply set up two-factor authentication on iOS 9 or macOS X or later. This will secure your Apple ID account without those questions.
However, if you fail the verification process, you won’t be able to reset the Apple ID secret questions. Thus, you will get a message, “Cannot reset security questions. We don’t have sufficient information to reset your security questions.” Learn what to do next!
Fix the “We don’t have sufficient information to reset your security questions” issue
- Visit the Apple ID Support Page.
- Select your region.
- Now, select Forgot Security Questions.
- You will be given various support options. Select the one which suits you the best.
Note: These support options may vary depending on your region. For instance, you can either chat with the support team or arrange a call back from the Apple support team to fix this issue in India.
FAQs related to Apple ID security questions
Yes. However, you will need to enable Two-Factor Authentication (2FA). It verifies your identity using a four-digit code sent to your trusted device and eliminates the need to create any security questions.
No, you can’t reset your Apple ID security questions without a rescue email address.
These were some of the solutions related to common Apple ID security question issues. I hope you found a way to change your Apple ID security question. If you still have any queries, leave them in the comments section below. I’ll try my best to help you out!
Read more:


