Dropbox for the iPhone/iPad is a real boon for a lot of users who rely on Dropbox. Instant access to files – even to the point of getting offline access – is something every Dropbox user needs.
For all its features, Dropbox does make a few things a little complex. Today, we’re looking at uploading photos manually instead of letting the app take control of syncing your Camera Roll photos.
Dropbox was basically designed to give “access” to your files. That’s why the first version of the app had very little in the way of creating, uploading or editing files. The recent update, about which we posted recently, brings some really useful features like share, swipe-gestures and multiple uploads/sharing.
You can upload all the photos in your camera roll to Dropbox by enabling the Camera Upload feature. If it’s not yet enabled, go ahead. Try it. Open the Photos menu (from the bottom menu bar) and tap on ‘Enable’ where it says ‘Turn on Camera Upload’. You’ll not see this message if Camera Upload is already enabled.
But there’s a catch to this feature: all the photos in your camera roll get uploaded and whenever you click a new picture on the iPhone/iPad, that gets uploaded to Dropbox too! Sounds a little too obtrusive right?
You want to stop this but you still want to upload specific photos to Dropbox. How do you do that? That’s precisely what we’re going to look at:
How to Upload iPhone or iPad Photos to Dropbox Manually
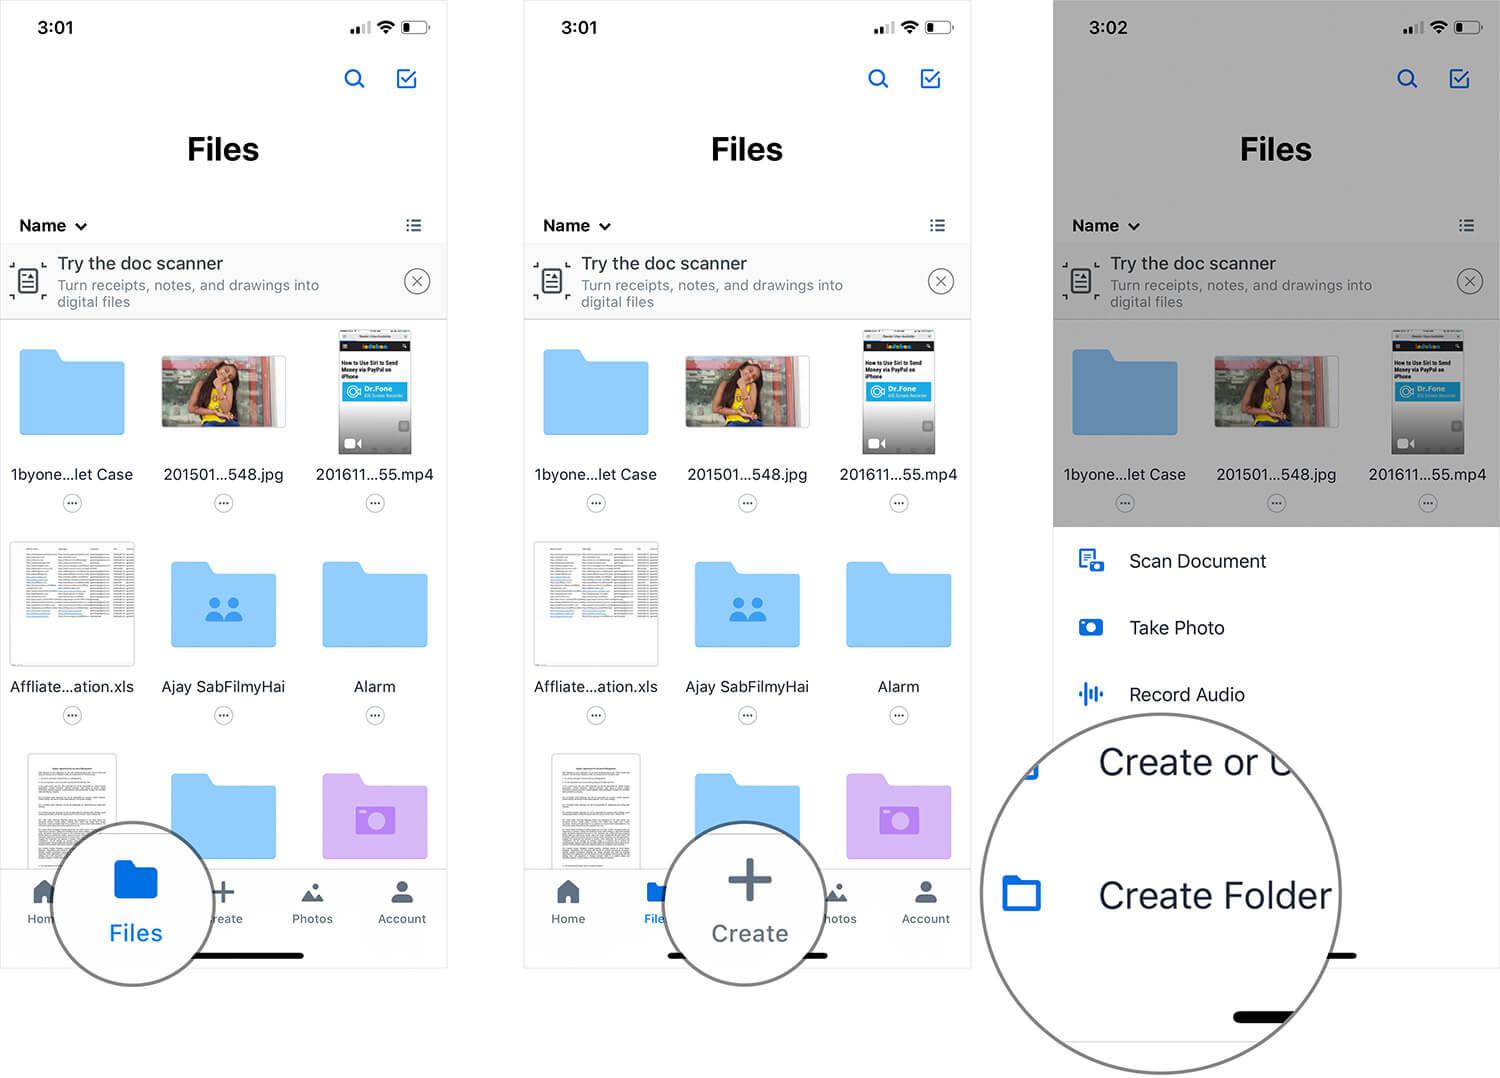
Step #1. Open Dropbox → We’re going to create a new folder where we’ll upload the photos. This way, you can see the photos easily. To do this, tap on Files tab → tap on + Sign → tap on Create Folder.
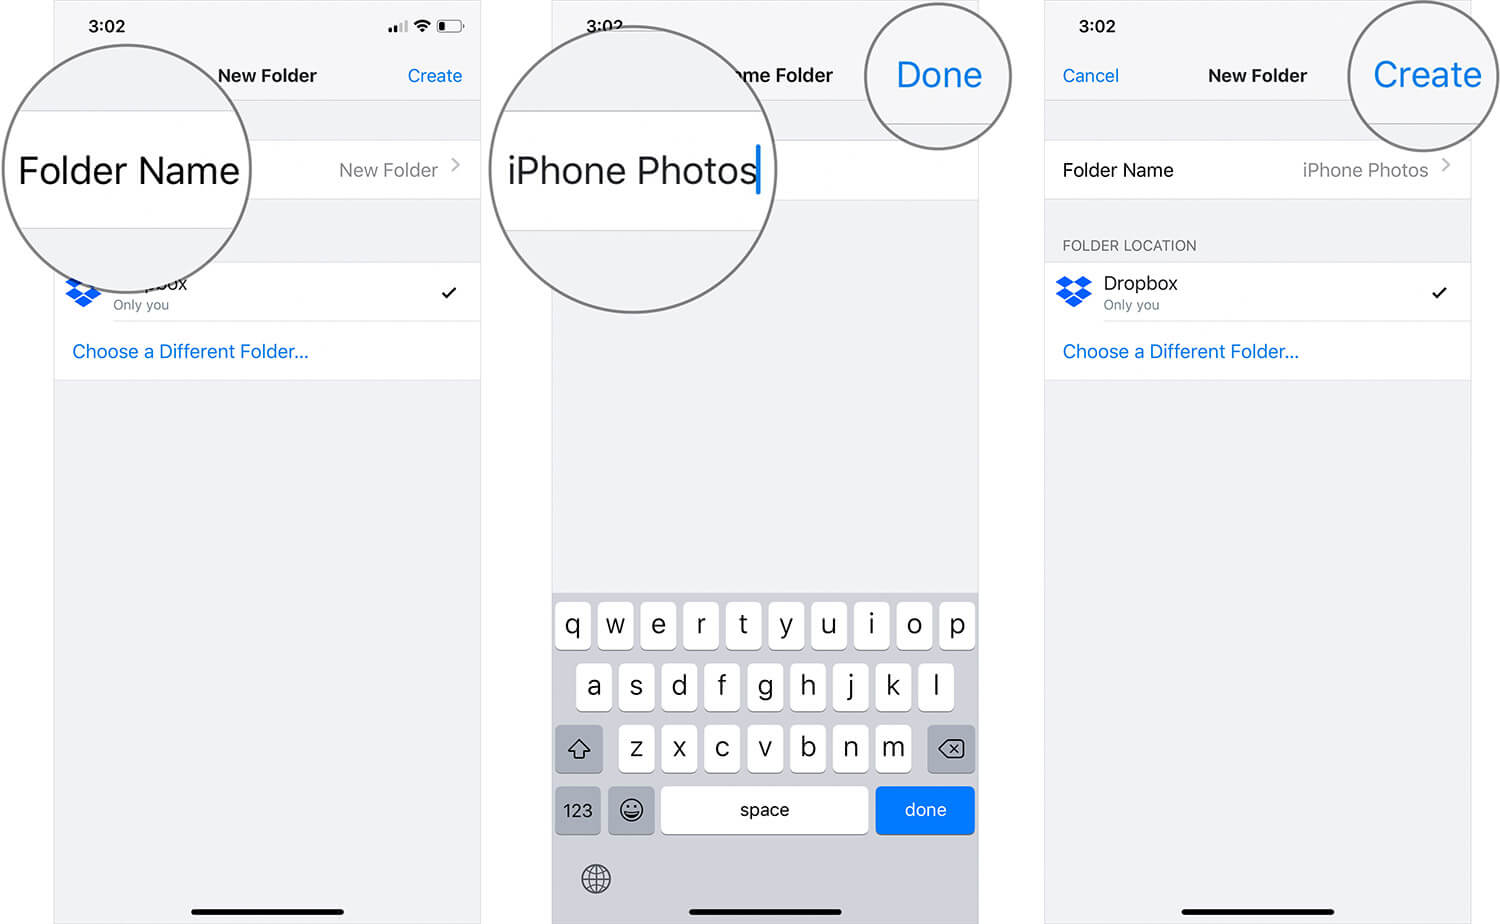
Step #2. Give it a name.
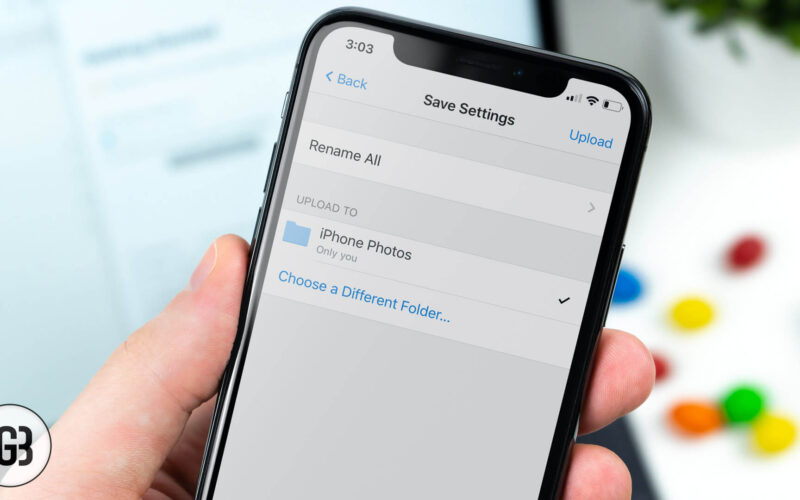
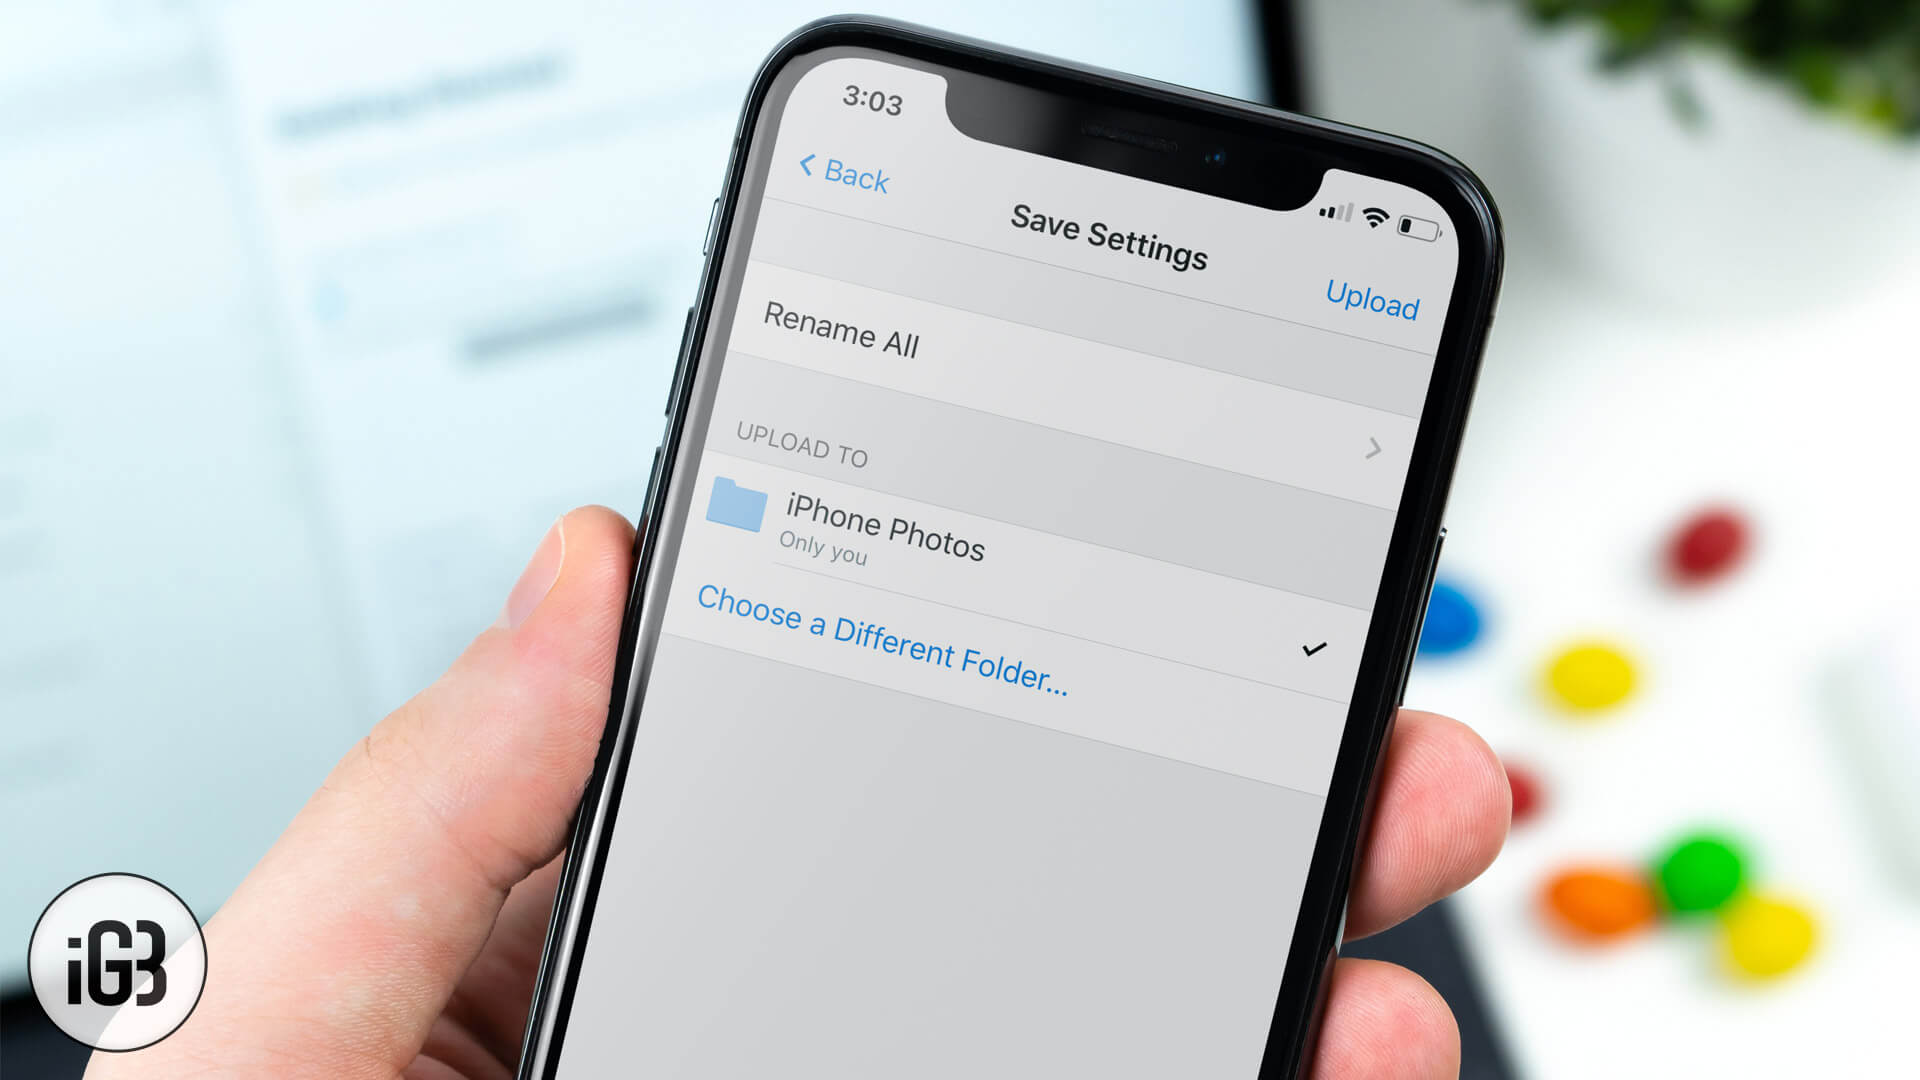
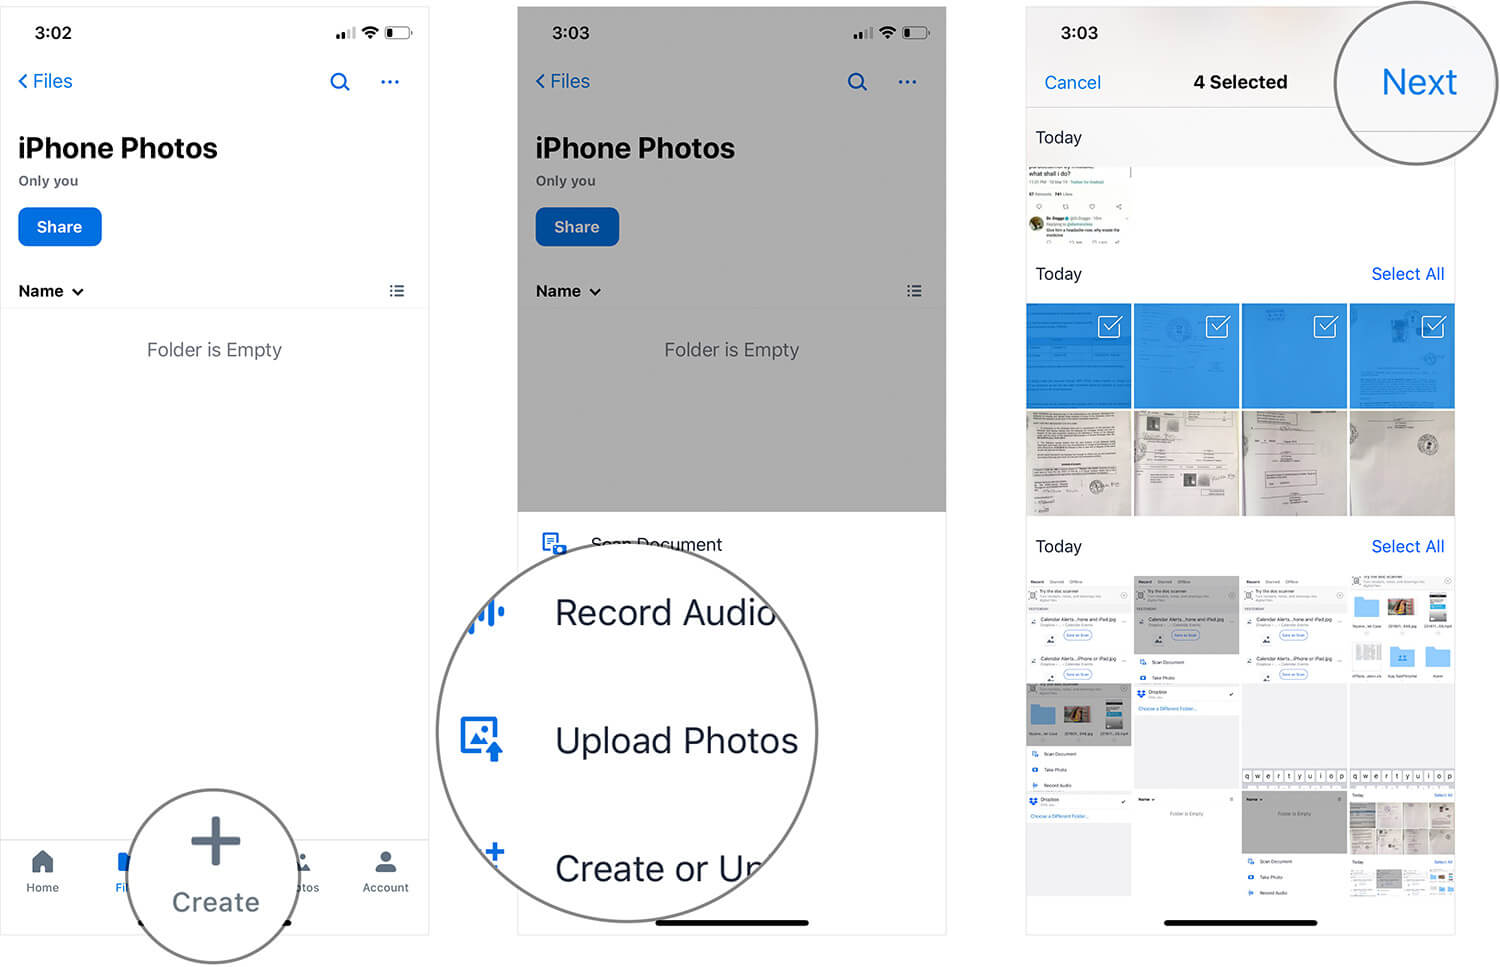
Step #3. Tap on + Icon again → Tap on Upload Photos → Select the Photos and Tap on Next.
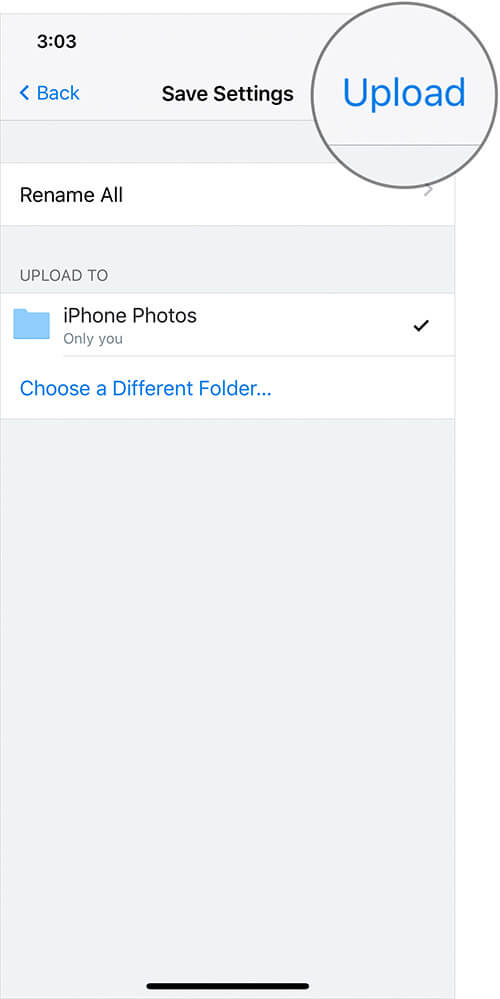
Step #4. Finally, tap on Upload.
That’s all, folks!
So this is how you can upload photos to Dropbox. The problem, however, is that the folder doesn’t switch to a photo-view and the photos don’t show up in the Photos menu. To fix this, you have to temporarily enable Camera Uploads and then break it off. This way, a camera roll upload album is created. You can now add photos to this album and they’ll be reflected in the Photos menu.
Do share your feedback with us in the comment below.

